Certified Jenkins Engineer
Agents and Nodes in Jenkins
Demo Utilize Agents in Jobs
In this guide, you’ll learn how to run builds on external agents and orchestrate multiple agents in declarative pipelines. We’ll cover:
- Registering and verifying Jenkins nodes
- Configuring a Freestyle job on an external agent
- Defining global and stage-level agents in a Pipeline job
1. Freestyle Job on an External Agent
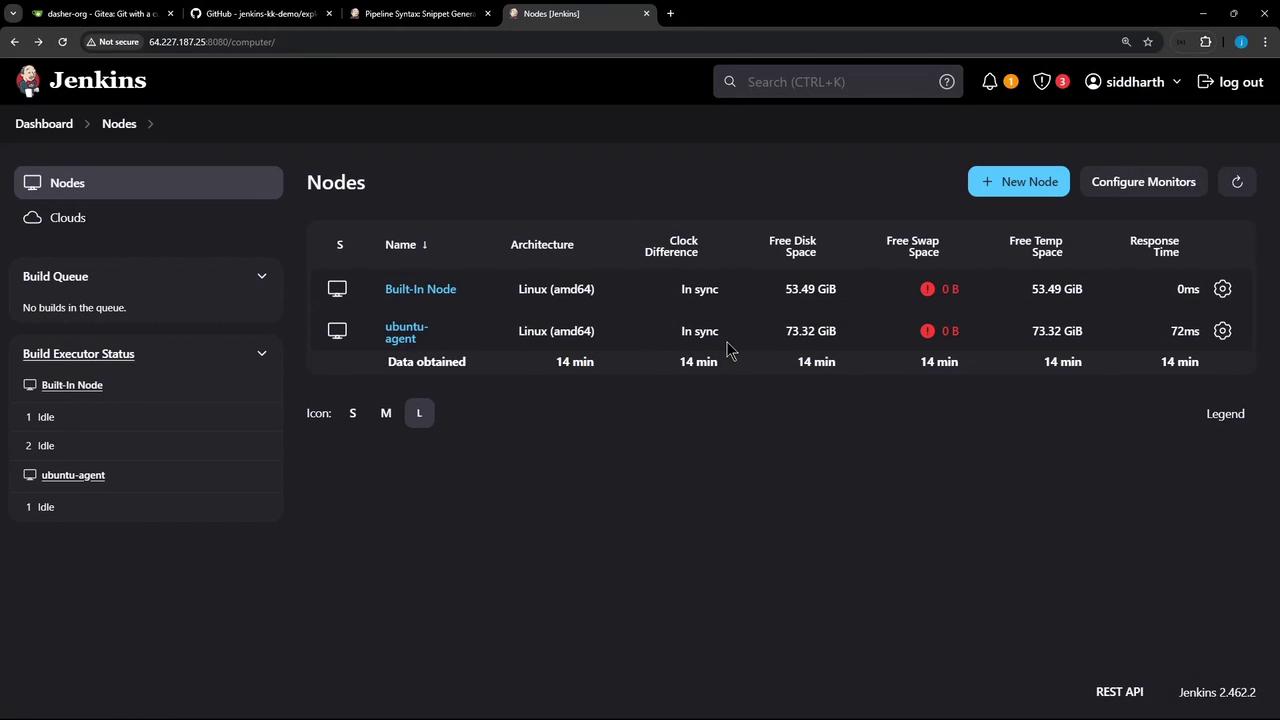
1.1 Verify Available Nodes
Navigate to Manage Jenkins → Manage Nodes and Clouds to confirm your agents are online:
1.2 Create a New Freestyle Project
- Click New Item.
- Enter
freestyle-external-agentand choose Freestyle project. - Click OK.

1.3 Add Build Steps
In Build → Add build step, select Execute shell and enter:
cat /etc/os-release
node -v
npm -v

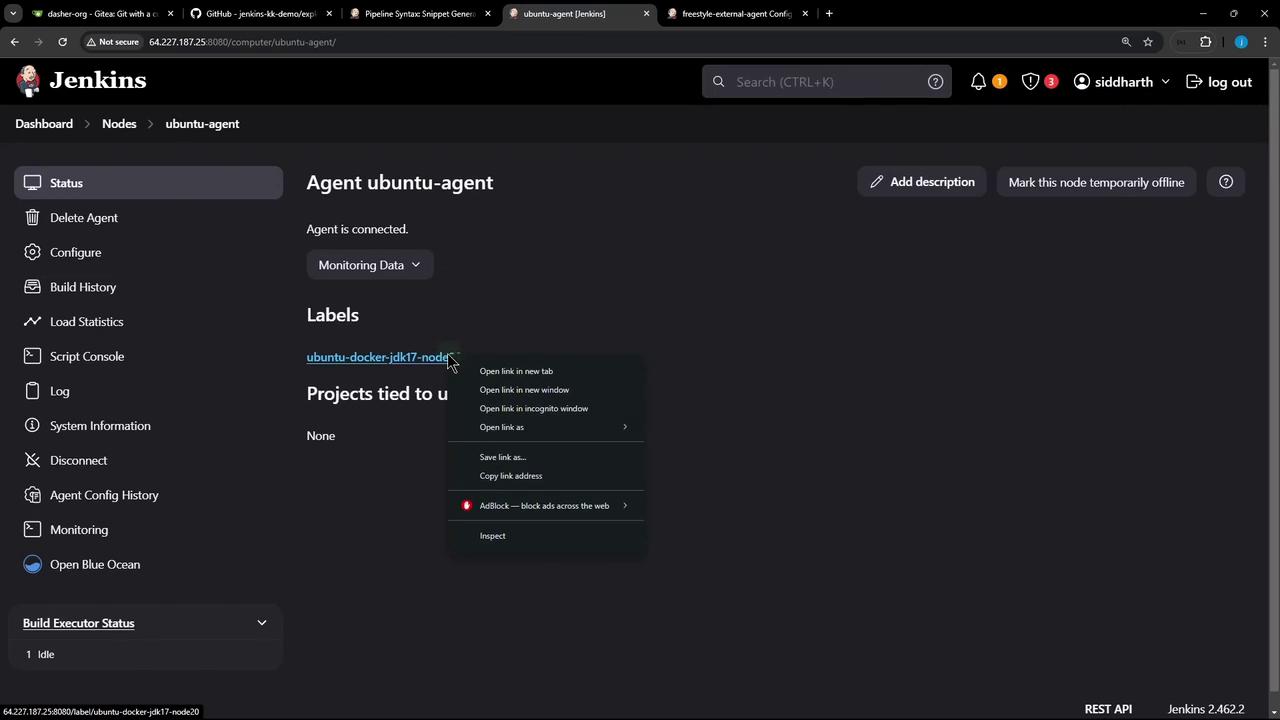
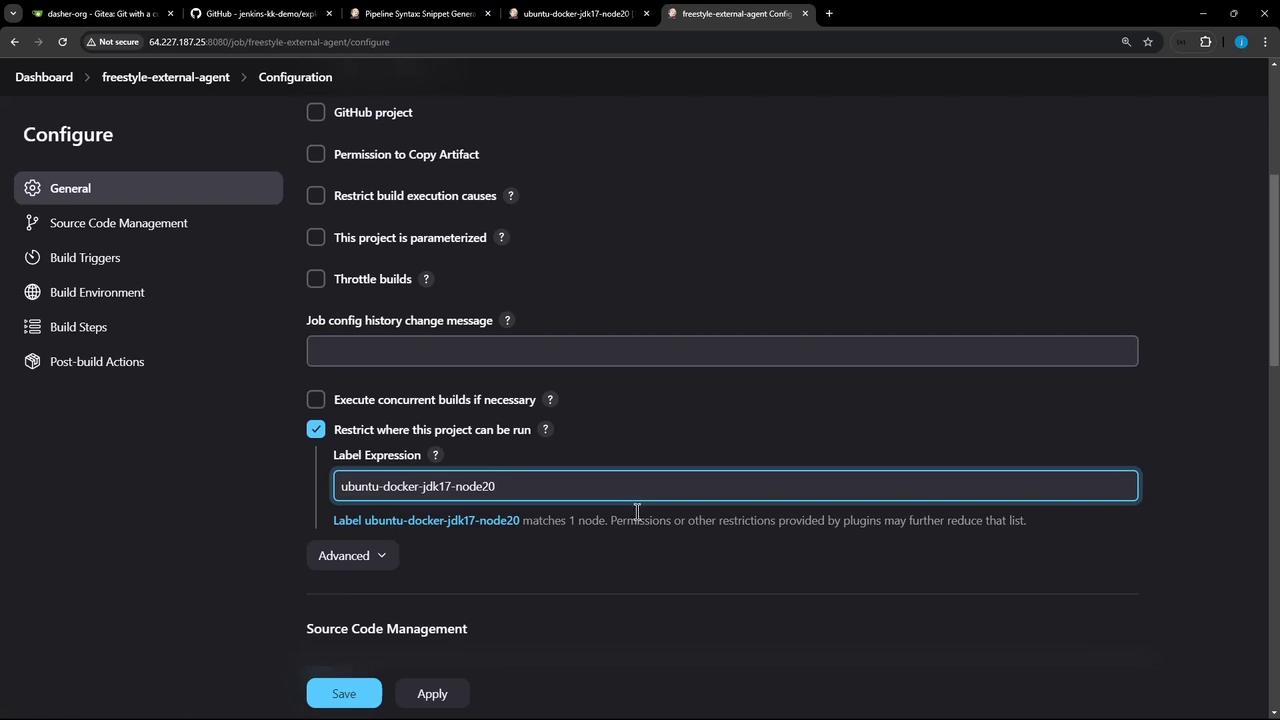
1.4 Restrict Execution to the External Agent
- Check Restrict where this project can be run.
- In Label Expression, paste your agent’s label (e.g.,
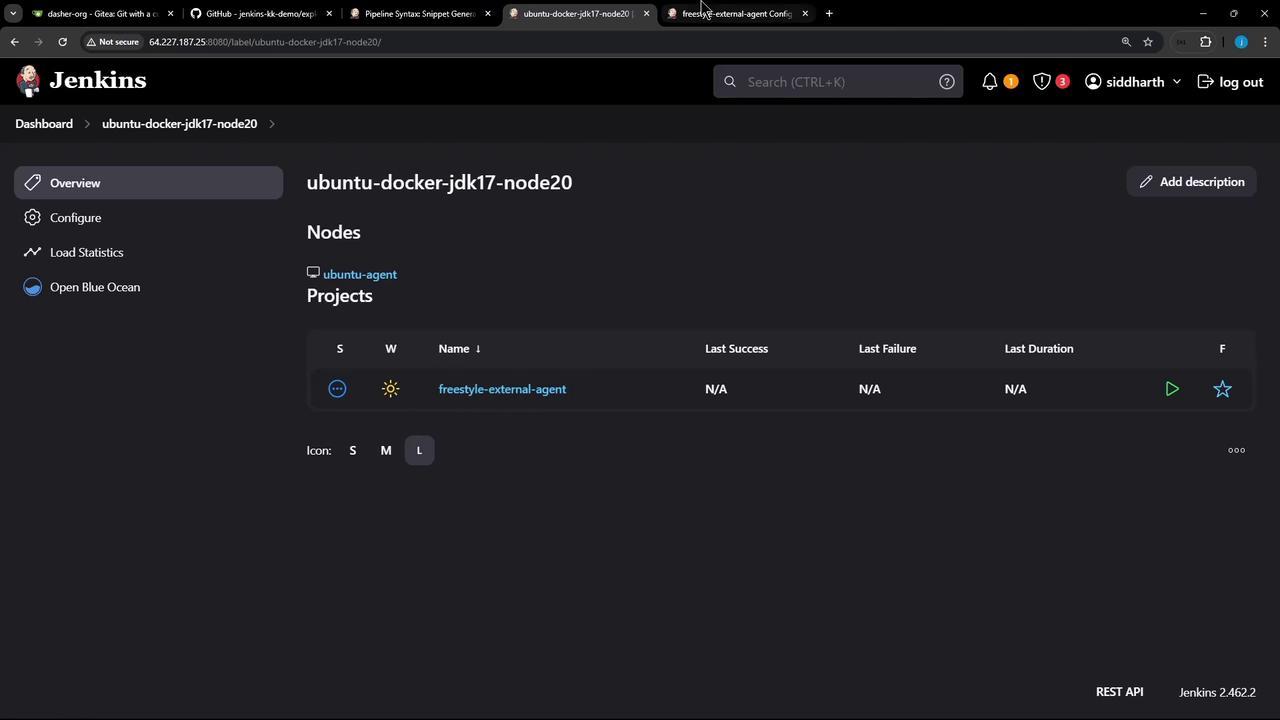
ubuntu-docker-jdk17-node20). You can copy it from the node’s details:
Save the job and click Build Now. In Manage Nodes, you’ll see it running on the external agent:
1.5 Verify Console Output
Open the build’s console log to confirm execution on the external node:
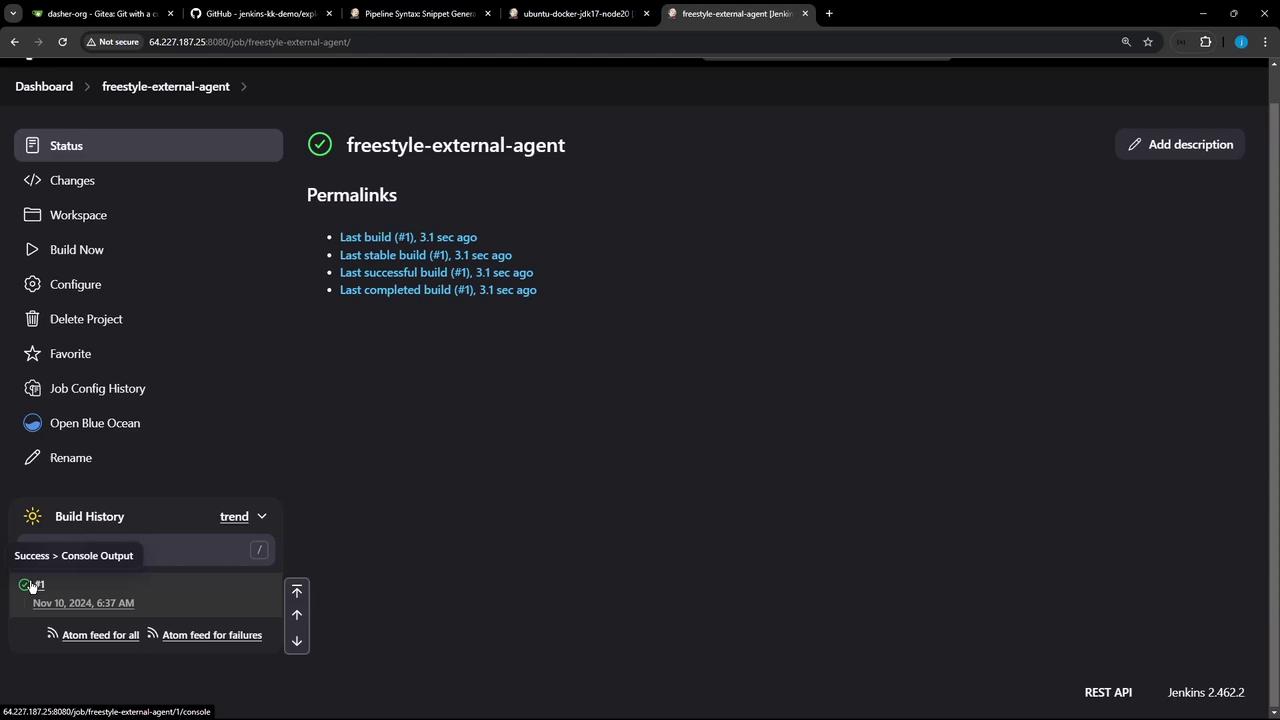
Started by user siddharth
Running as SYSTEM
Building remotely on ubuntu-agent (ubuntu-docker-jdk17-node20) in workspace /home/jenkins-agent/workspace/freestyle-external-agent
[freestyle-external-agent] $ /bin/sh -xe /tmp/jenkins17351491148126199661.sh
+ cat /etc/os-release
PRETTY_NAME="Ubuntu 24.04 LTS"
...
+ node -v
v22.11.0
+ npm -v
10.9.0
Finished: SUCCESS
Note
Using Label Expressions ensures that builds run only on matching agents.
You can combine labels with Boolean operators (e.g., linux && amd64).
2. Pipeline Job with Multiple Agents
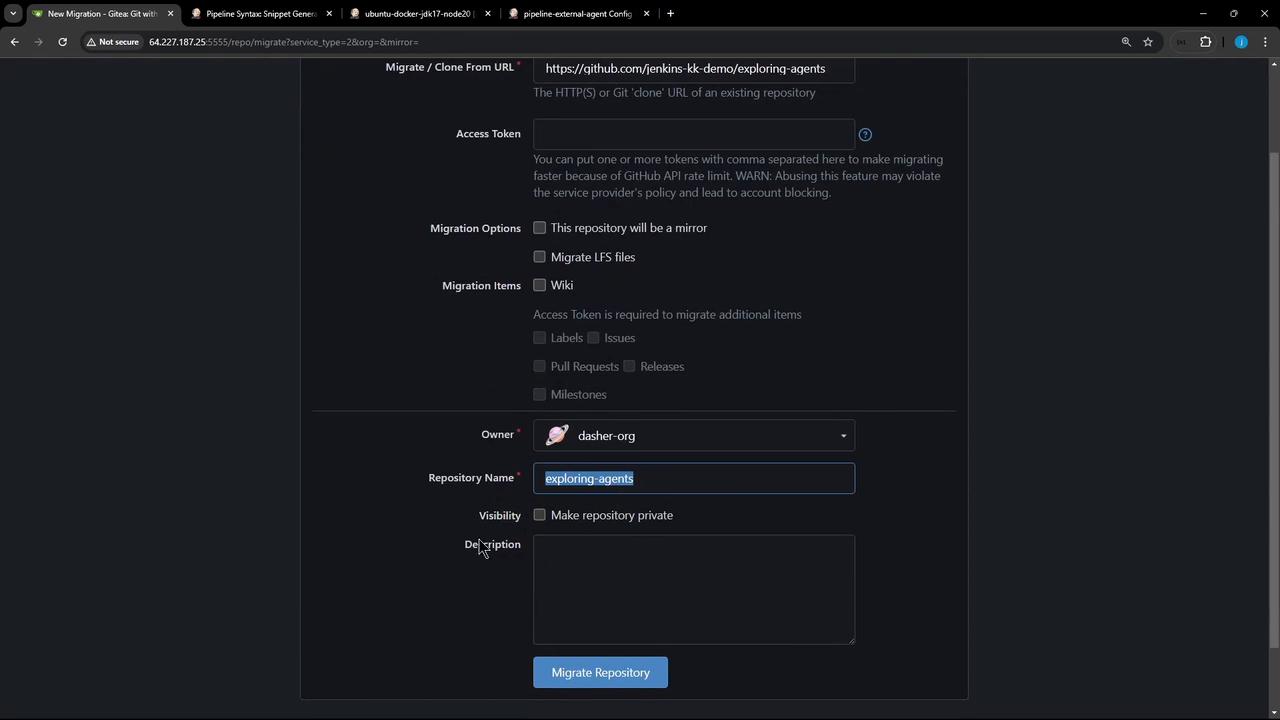
2.1 Prepare Your Repository
Clone or migrate the repository containing your Jenkinsfile:
2.2 Define the Declarative Pipeline
Create a Jenkinsfile with global and stage-level agents:
pipeline {
  agent any

  stages {
    stage('S1-Any Agent') {
      steps {
        sh 'cat /etc/os-release'
        sh 'node -v'
        sh 'npm -v'
      }
    }
    stage('S2-Ubuntu Agent') {
      agent { label 'ubuntu-docker-jdk17-node20' }
      steps {
        sh 'cat /etc/os-release'
        sh 'node -v'
        sh 'npm -v'
      }
    }
  }
}
- agent any: Runs on any available executor (often the controller).
- agent { label … }: Overrides the global agent for that stage.
You can generate snippets using the Pipeline Syntax Snippet Generator:

2.3 Create and Run the Pipeline Job
- Go to New Item, enter
external-agent-pipeline-job, and choose Pipeline. - Under Pipeline → Definition, select Pipeline script from SCM and point to your repository.
- Save and click Build Now.
In the classic console or Blue Ocean, you’ll observe:
- Stage S1-Any Agent on the controller (e.g., Node.js v18.16.0).
- Stage S2-Ubuntu Agent on the external agent (Node.js v22.11.0).
# To inspect the workspace on the external agent:
ssh jenkins-agent@<host>
cd ~/jenkins-agent/workspace/external-agent-pipeline-job
ls -l
3. Quick Comparison
| Job Type | Agent Declaration | Example Label Usage |
|---|---|---|
| Freestyle | Restrict where project runs | Restrict where this project can be run: ubuntu-docker-jdk17-node20 |
| Pipeline | Global agent any + stage-level agent {} | agent any and agent { label 'ubuntu-docker-jdk17-node20' } |
Links and References
Watch Video
Watch video content