1. Open S3 in the AWS Console
Sign in to the AWS Management Console and search for S3. If you have no buckets yet, the S3 dashboard shows a prompt to create one. If you already have buckets, you will see a list and the same “Create bucket” action.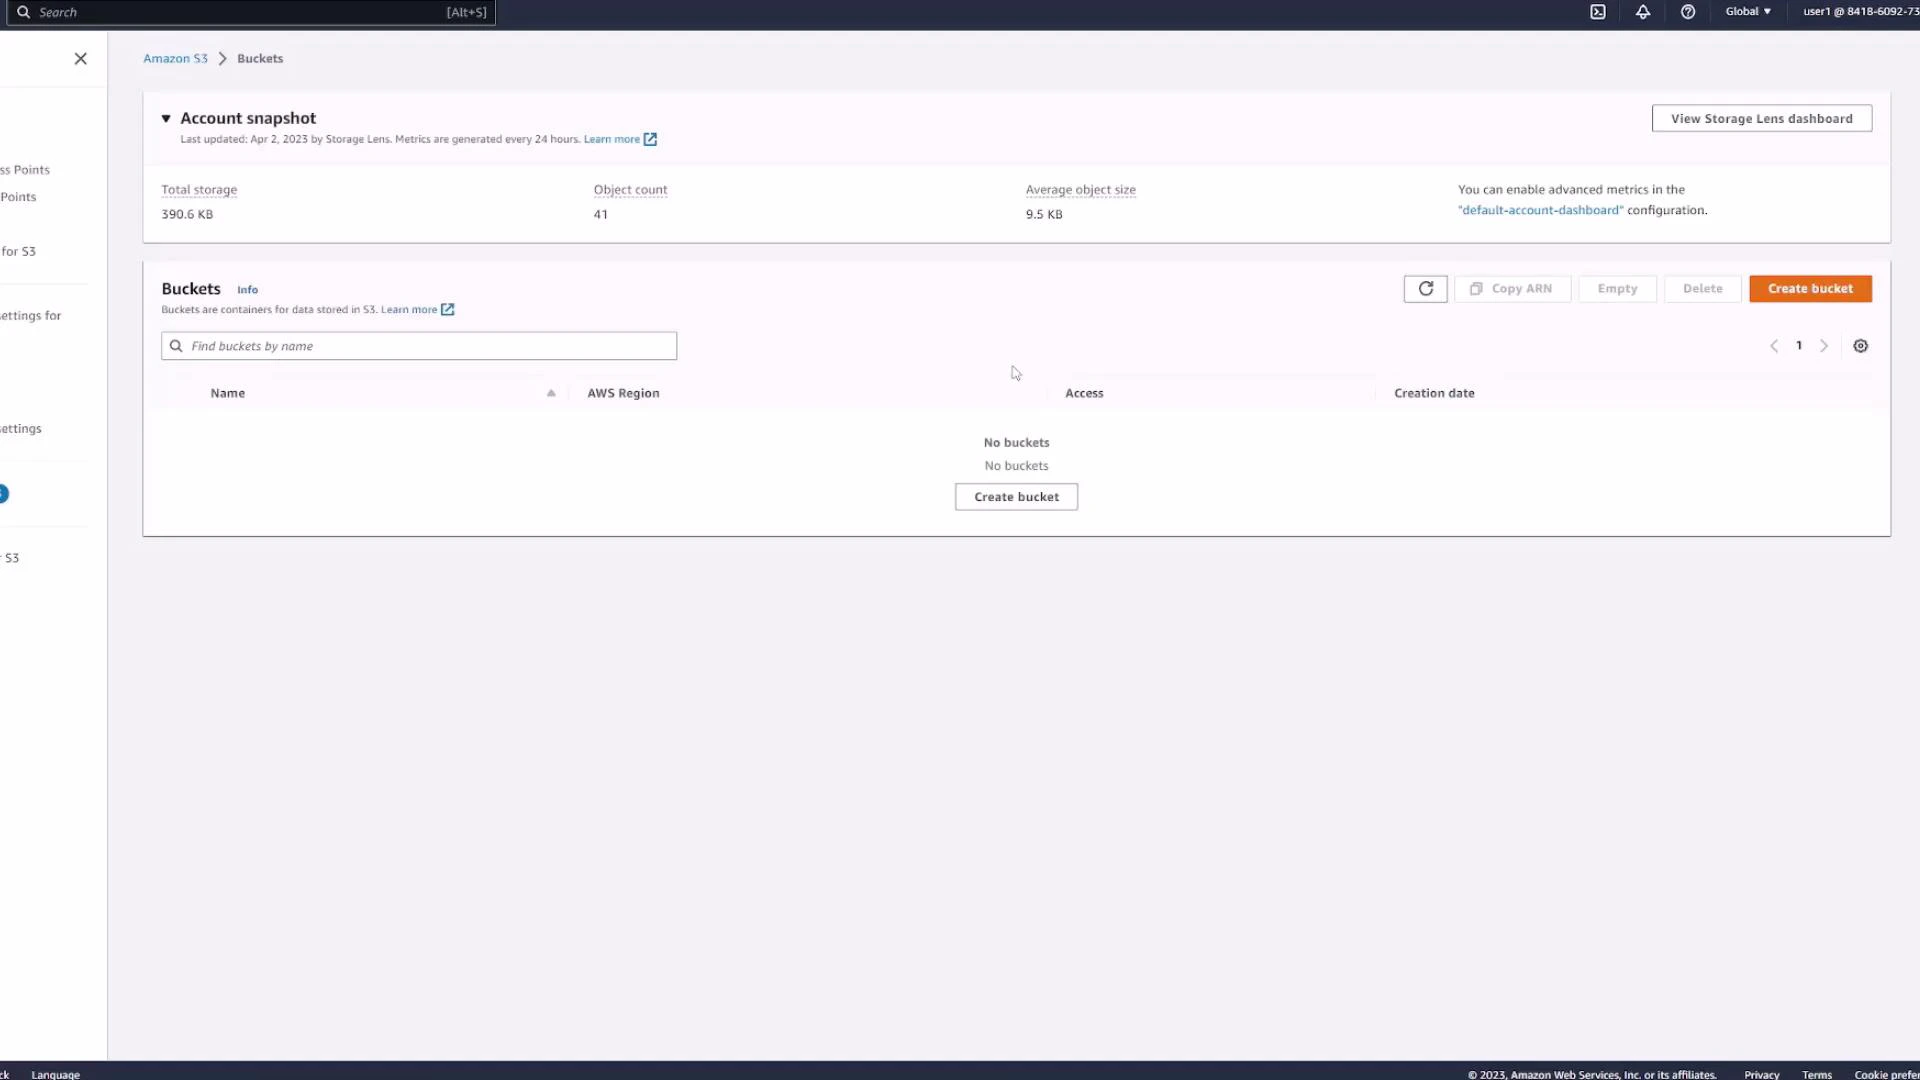
2. Create a bucket (name and region)
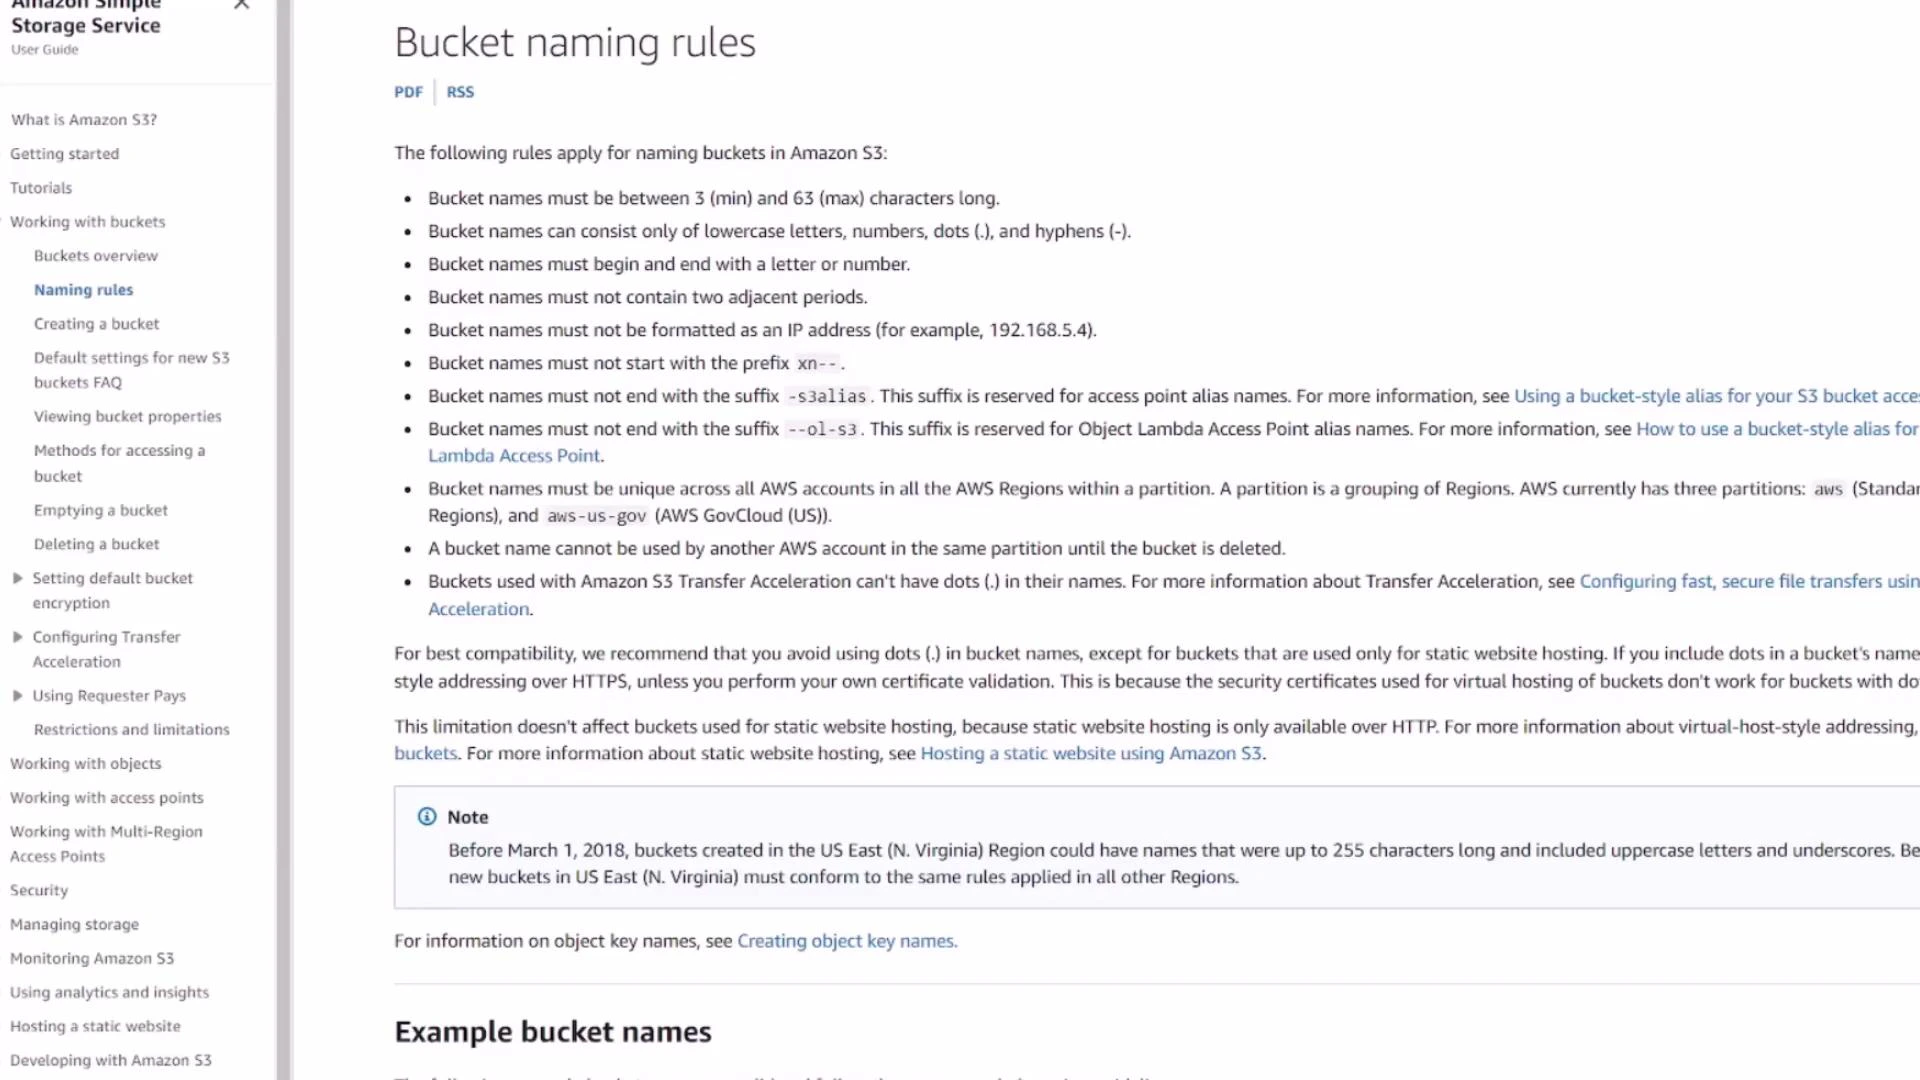
Click Create bucket and enter a globally unique name for your bucket. Bucket names must be unique across all AWS accounts and regions, so pick a name that is unlikely to be taken (for example, include your initials, project name, or a timestamp).S3 bucket names are globally unique across all AWS accounts and regions. Use a descriptive, unique name (for example
yourname-project-2026) to avoid naming conflicts.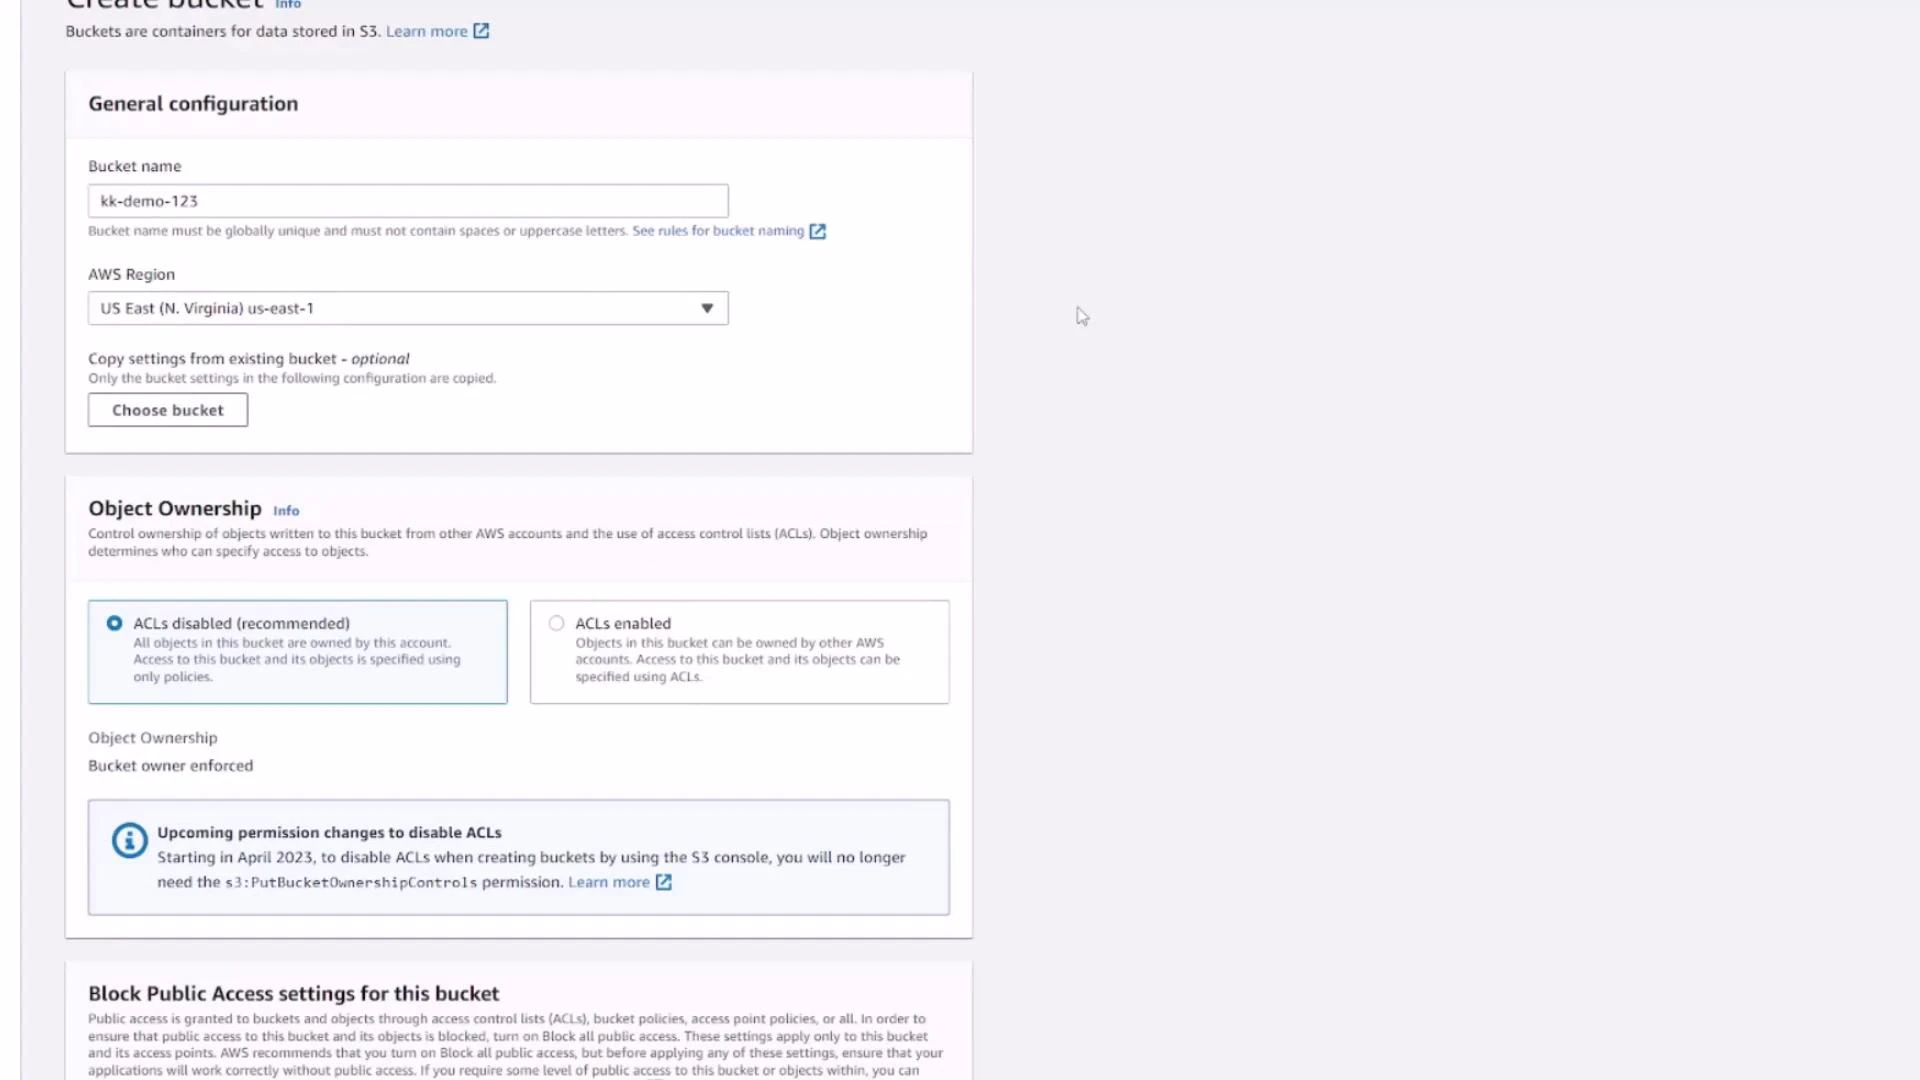
3. Key Create bucket settings (overview)
On the Create bucket page you’ll configure several important options. Below is a concise summary of the common settings and their purpose:| Setting | Purpose | Typical choice for beginners |
|---|---|---|
| Object ownership | Controls ownership for objects uploaded by different AWS accounts | Bucket owner preferred (or leave default) |
| Block Public Access | Prevents public access unless explicitly allowed | Enabled (recommended) |
| Versioning | Retain prior versions of objects | Disabled (enable if you need object version history) |
| Default encryption | Automatically encrypt objects at rest | Disabled (or enable SSE-S3 / SSE-KMS for production) |
| Advanced options (Object Lock, MFA Delete) | Regulatory retention and protection features | Leave disabled unless required |
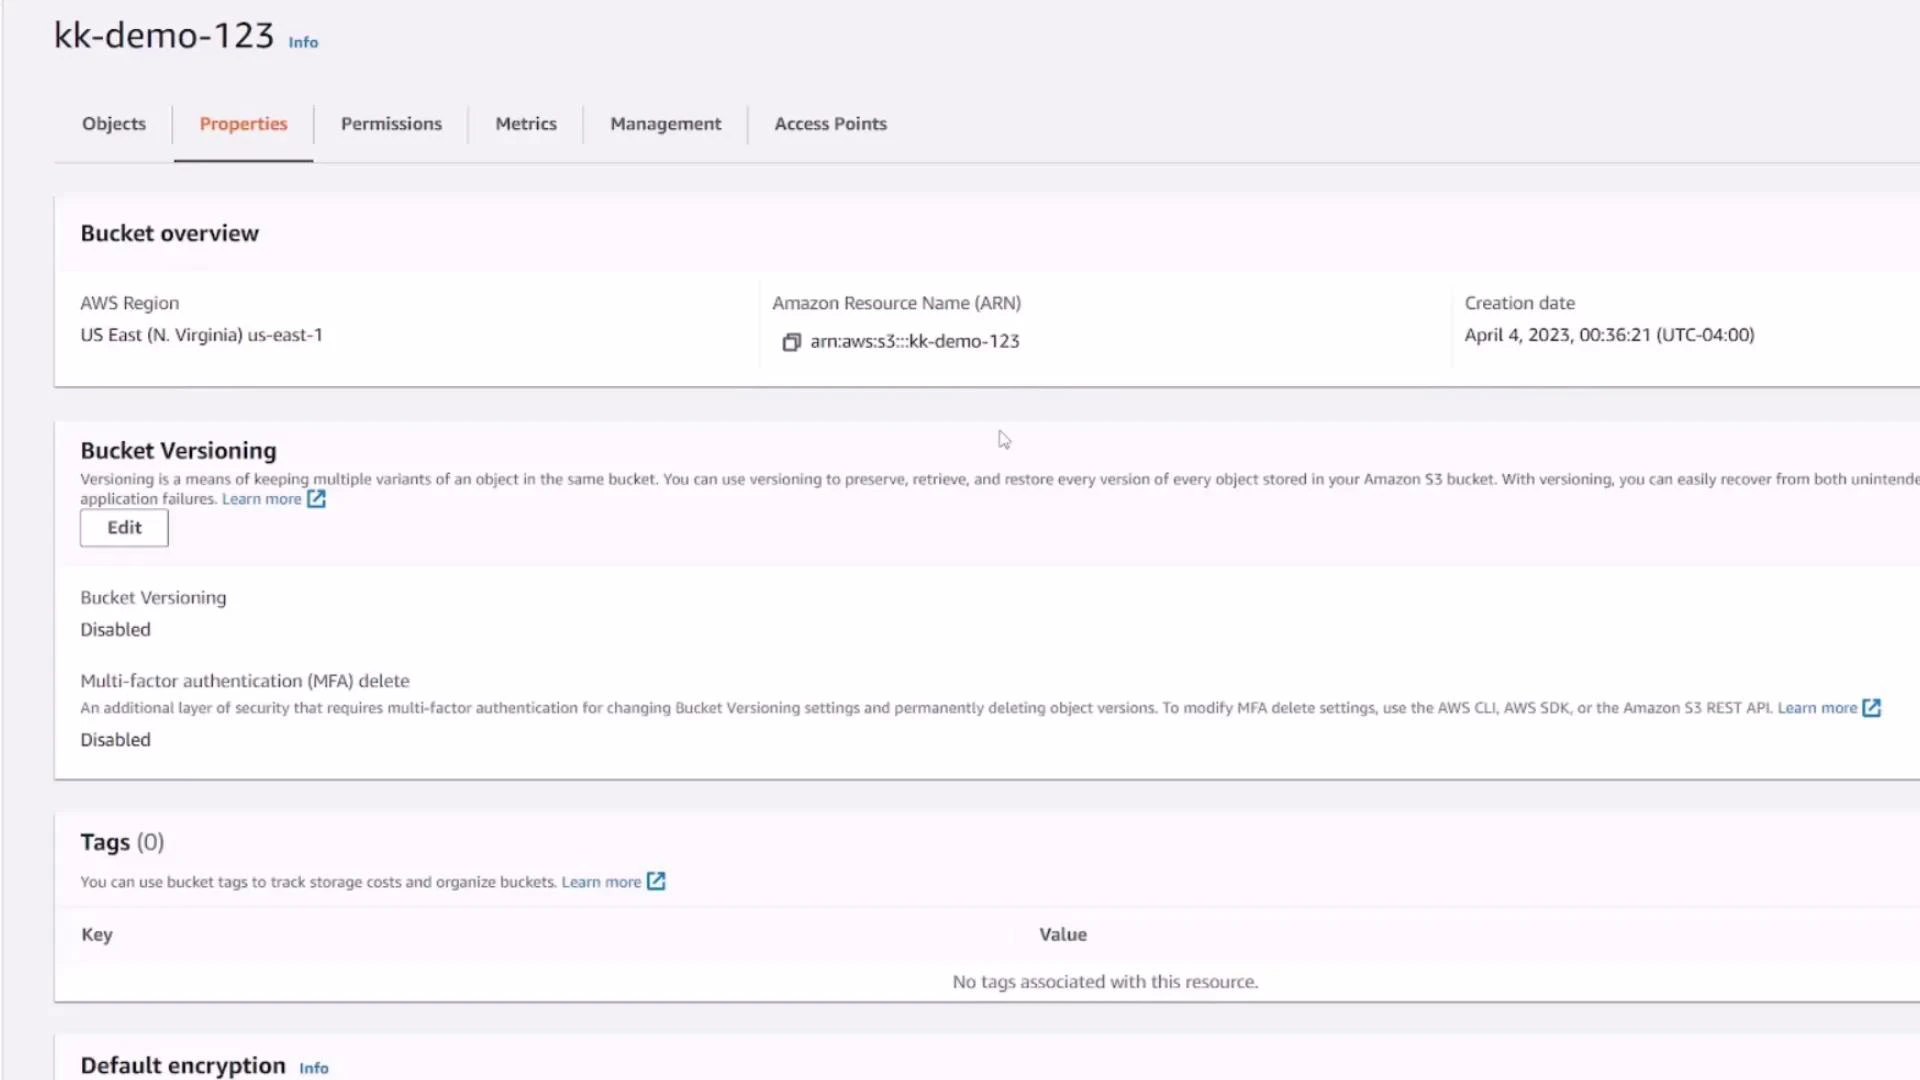
4. Bucket Properties
The Properties tab displays high-level metadata and status flags:- Bucket ARN (the canonical identifier)
- Region and creation date
- Status of features (versioning, default encryption, MFA delete)
- Links to configure server access logging, CloudTrail data events, event notifications, transfer acceleration, object lock, requester pays, and static website hosting

5. Permissions tab — access control
The Permissions tab centralizes who can access the bucket and its objects. By default:- Block Public Access is turned on and prevents public access
- Only the creating AWS account has full access
- You can add bucket policies, IAM policies, or ACLs to grant other principals access
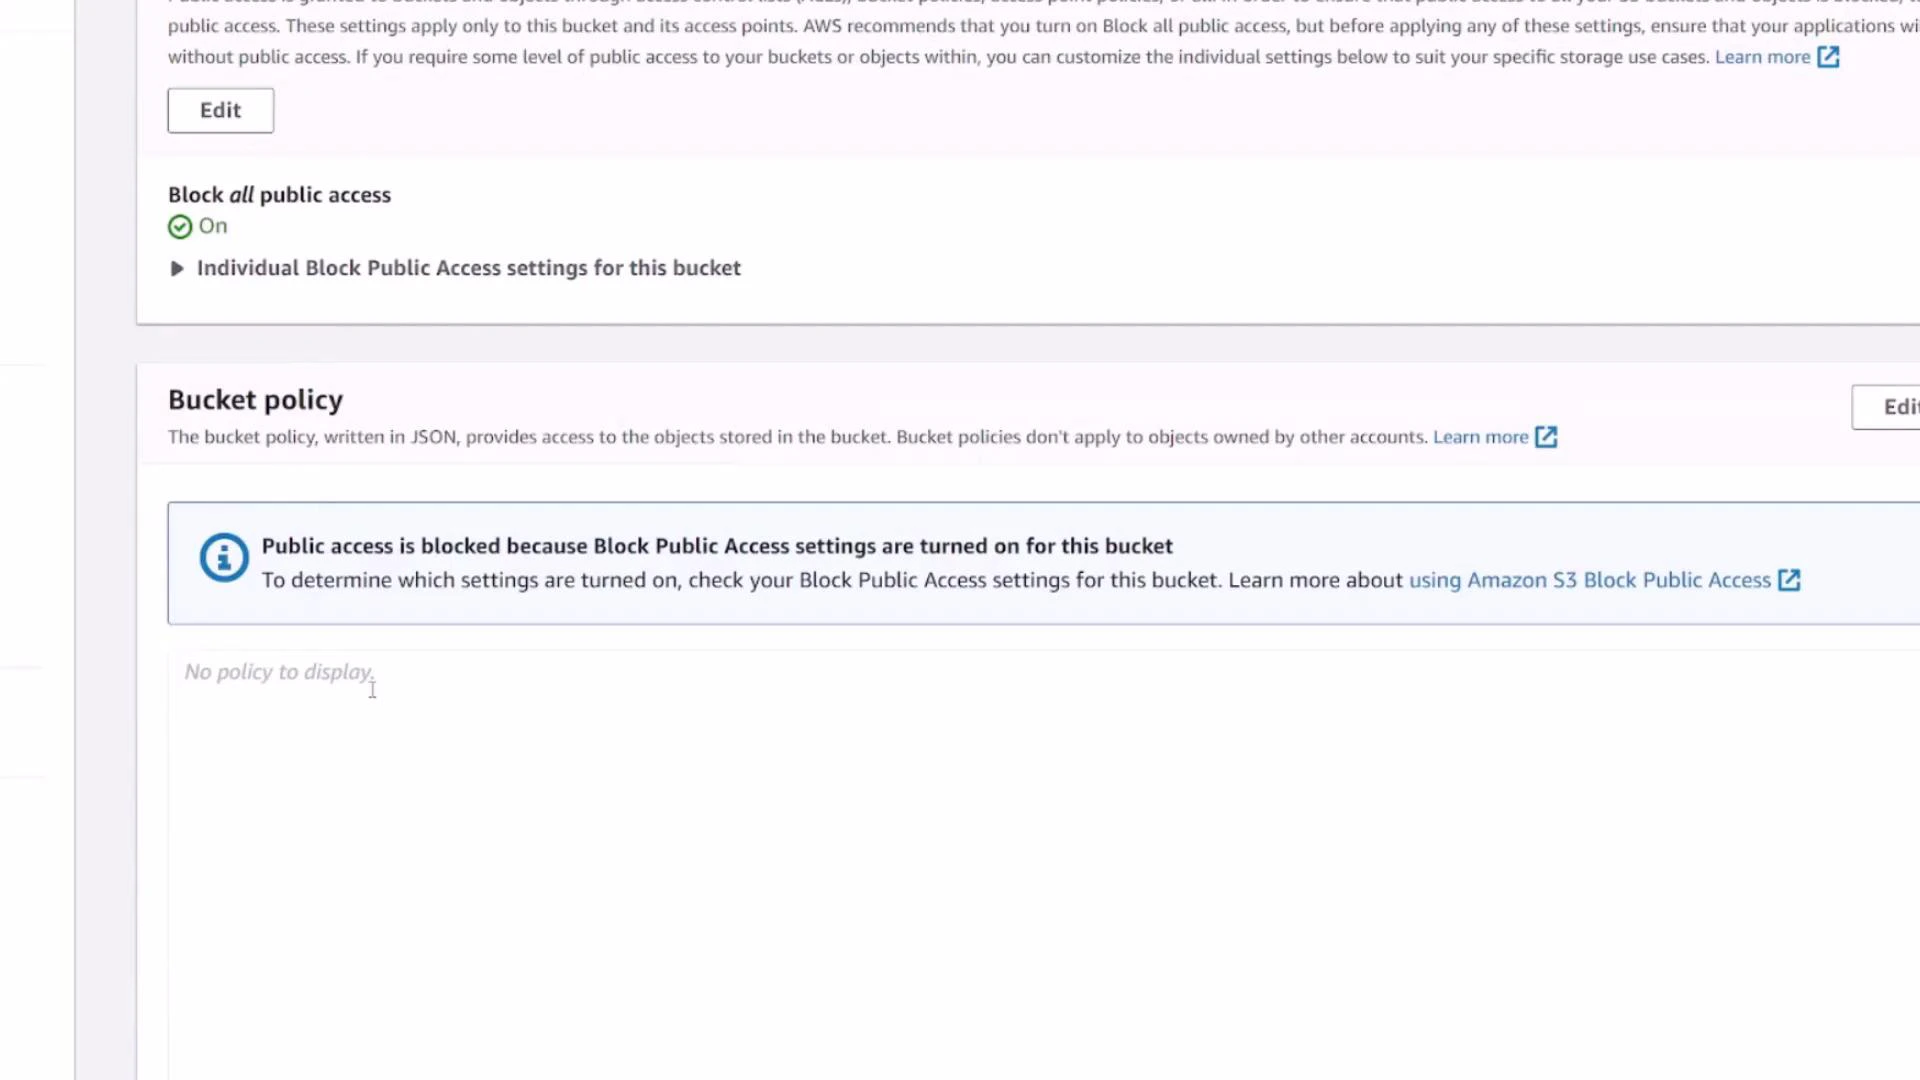
Be careful when disabling Block Public Access or making objects public. Misconfigured public buckets can expose sensitive data to the internet.
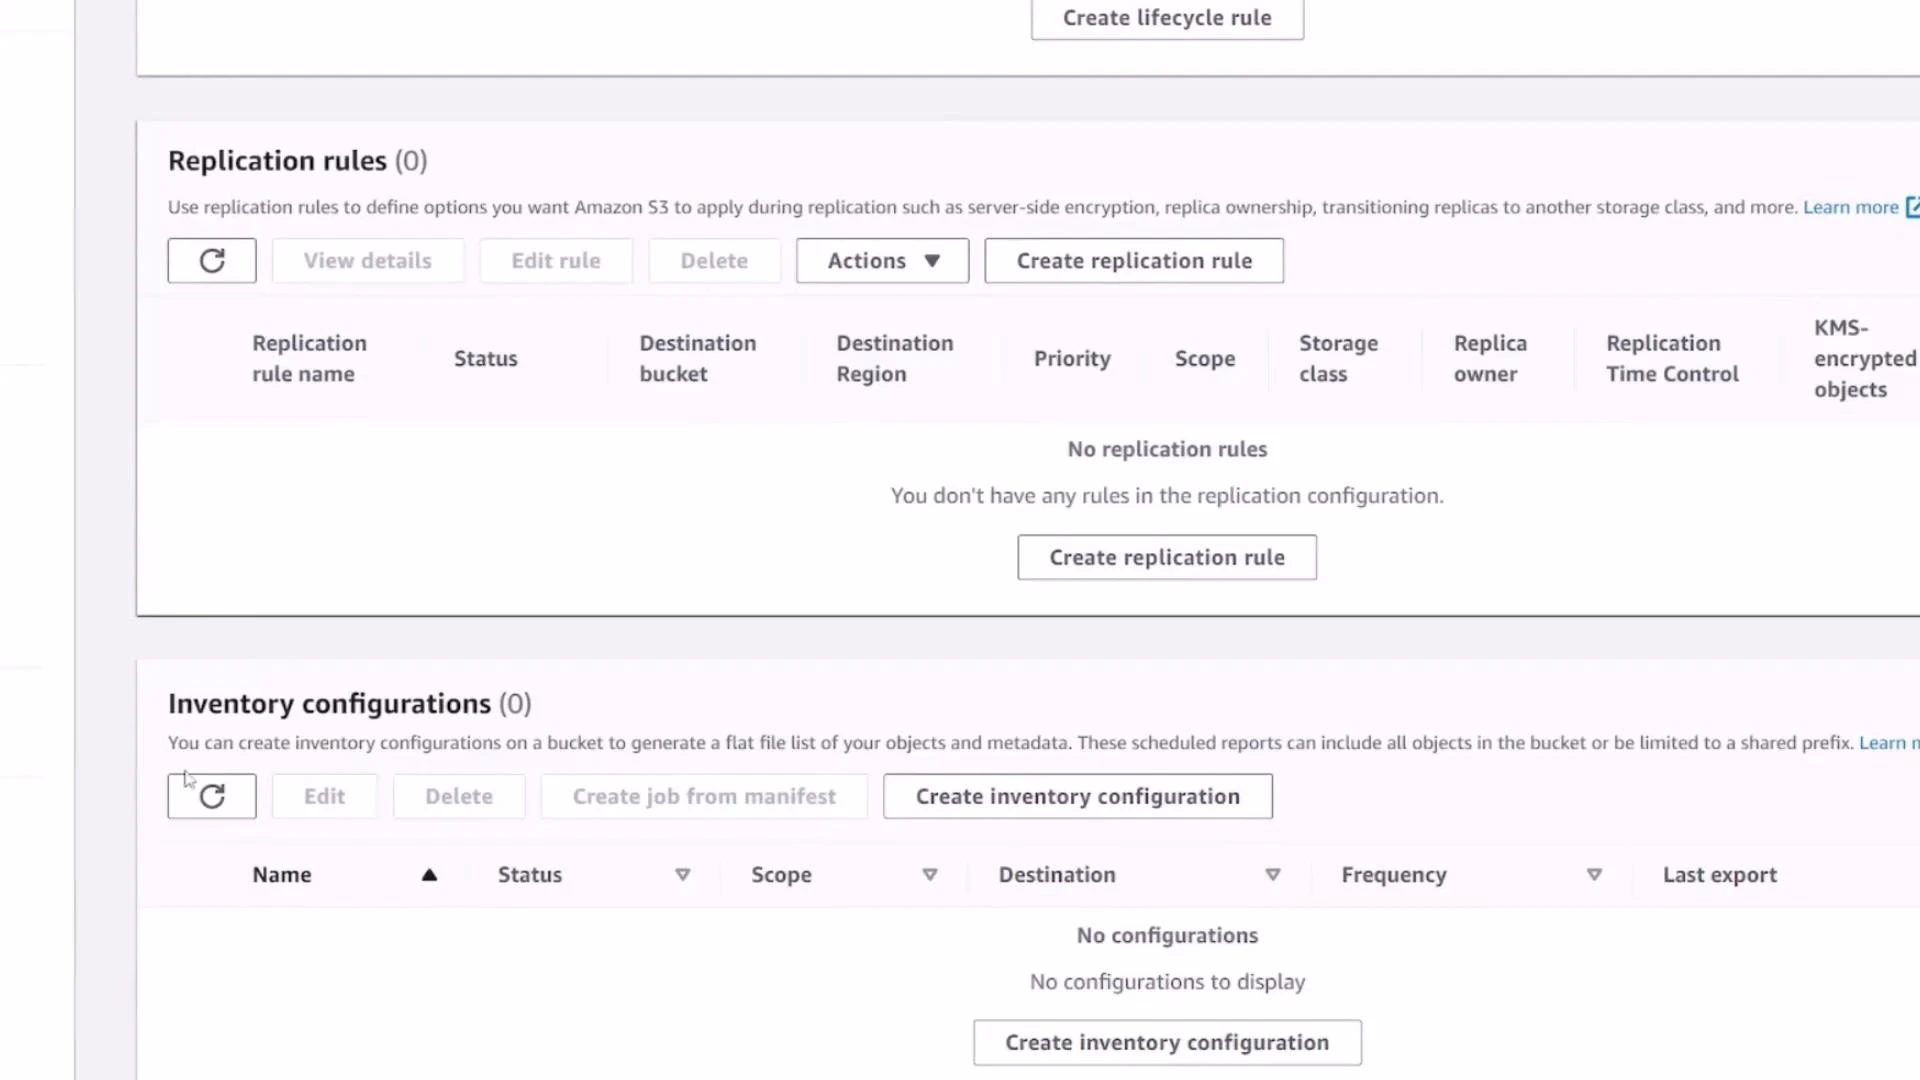
6. Metrics and Management
- Metrics (CloudWatch) show storage size, object count, and request rates.
- Management contains lifecycle policies, replication rules, inventory, analytics, and access points — use these to control costs, durability, and access over time.
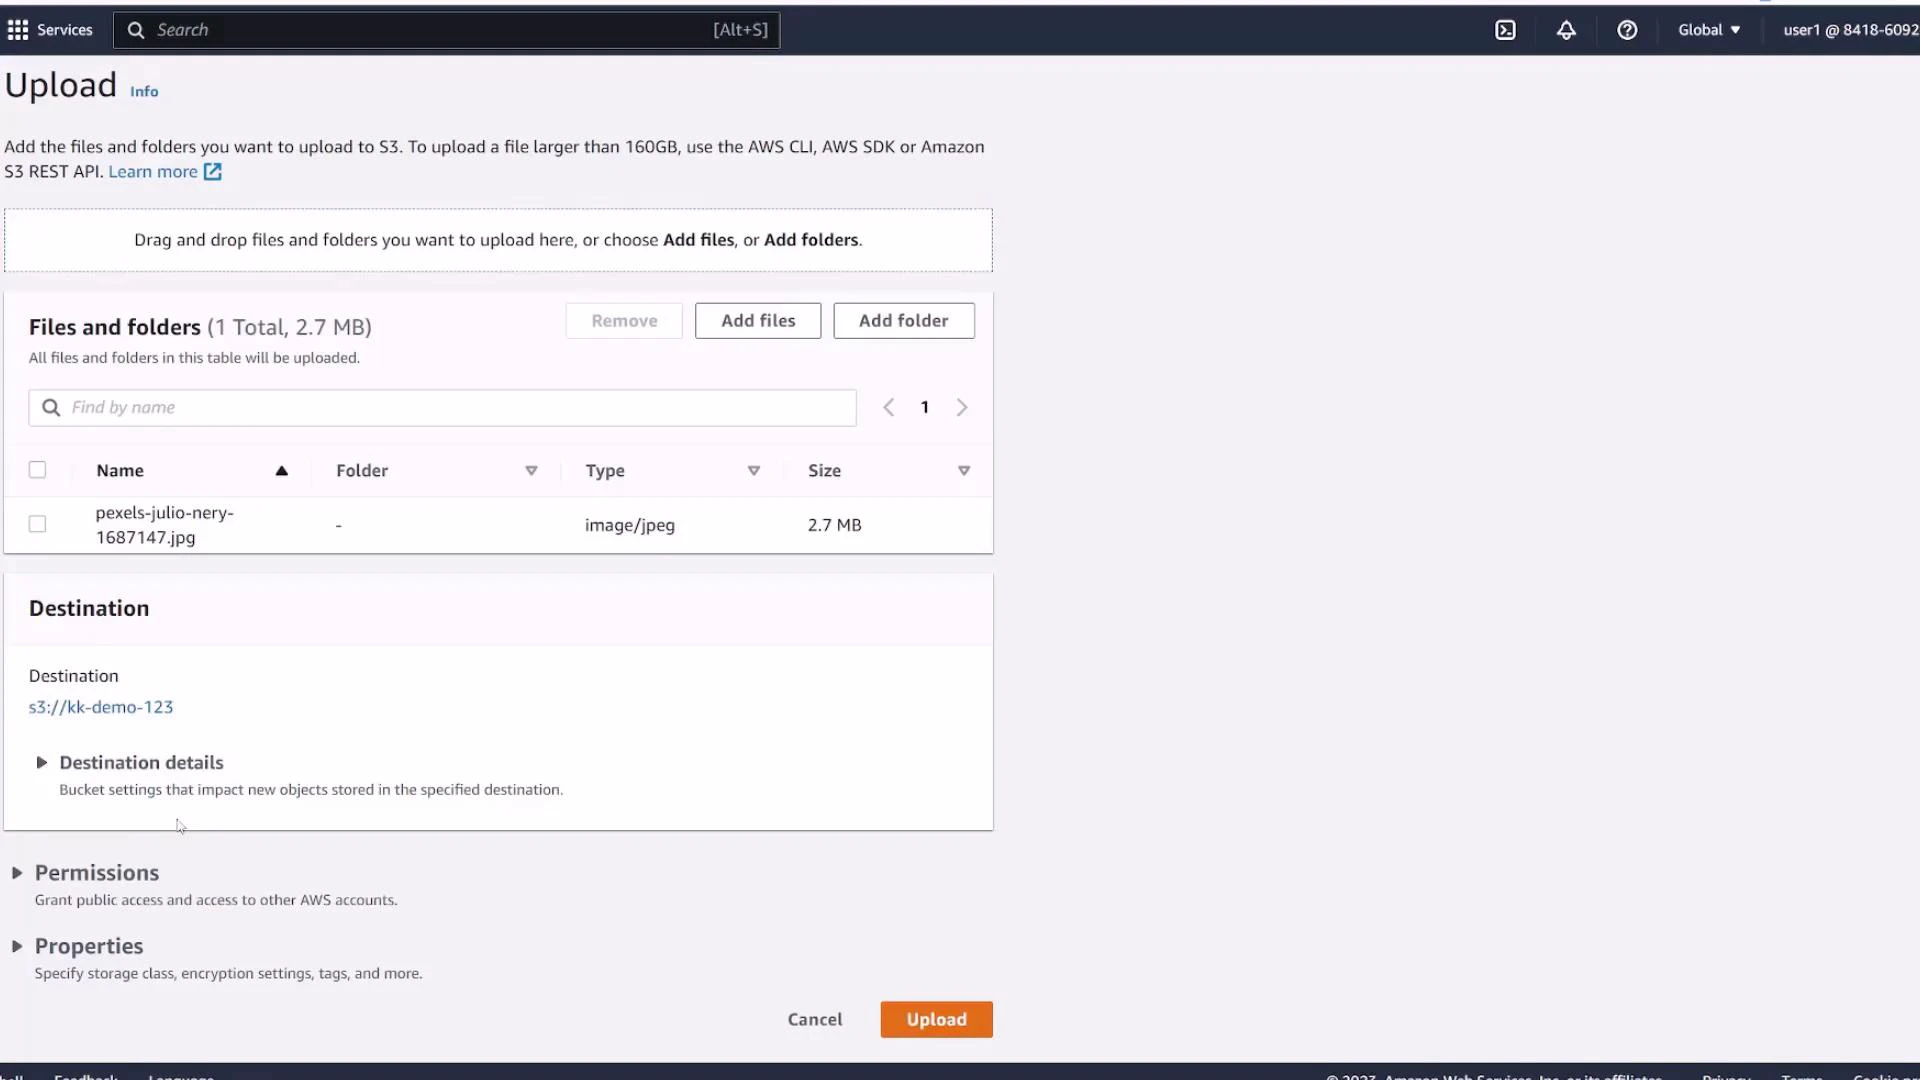
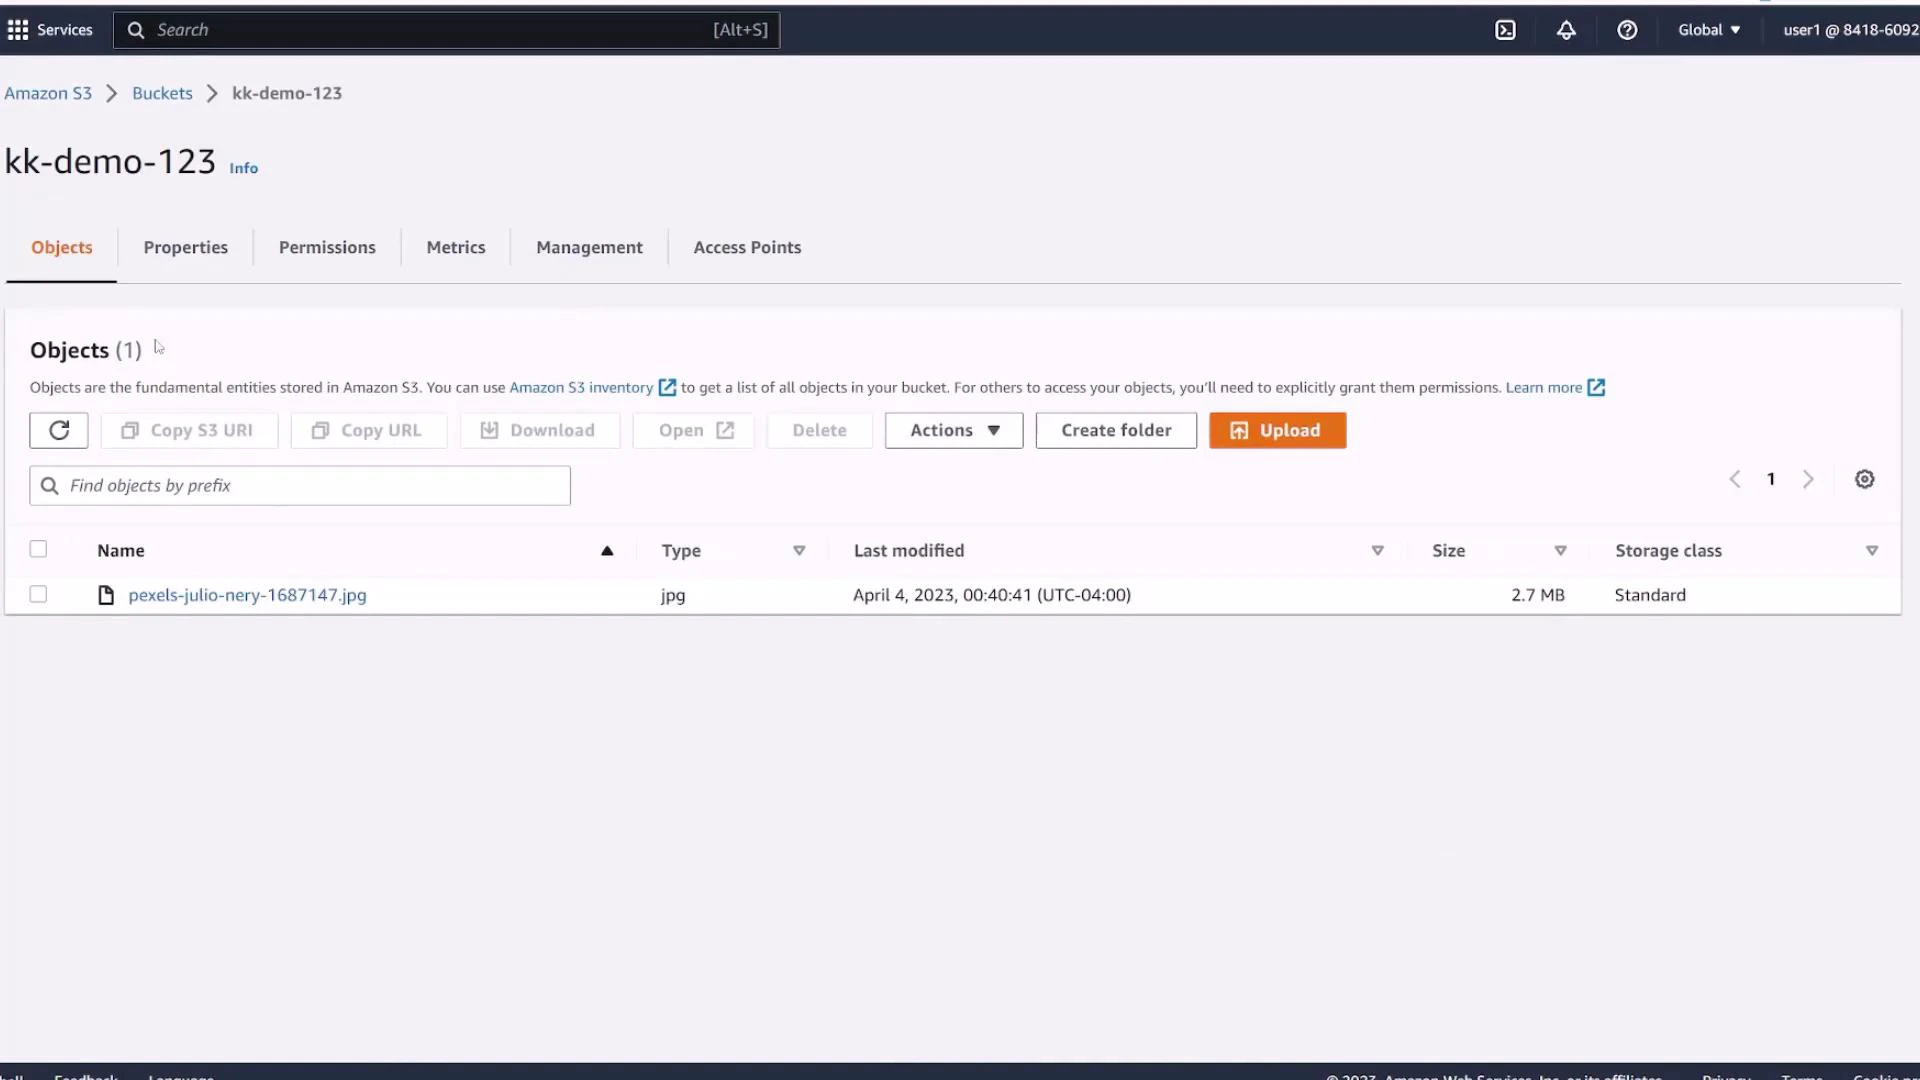
7. Upload an object
Open the Objects tab and click Upload (or drag-and-drop files/folders). During upload you can:- Add single files or a folder
- Set the destination path (key prefix)
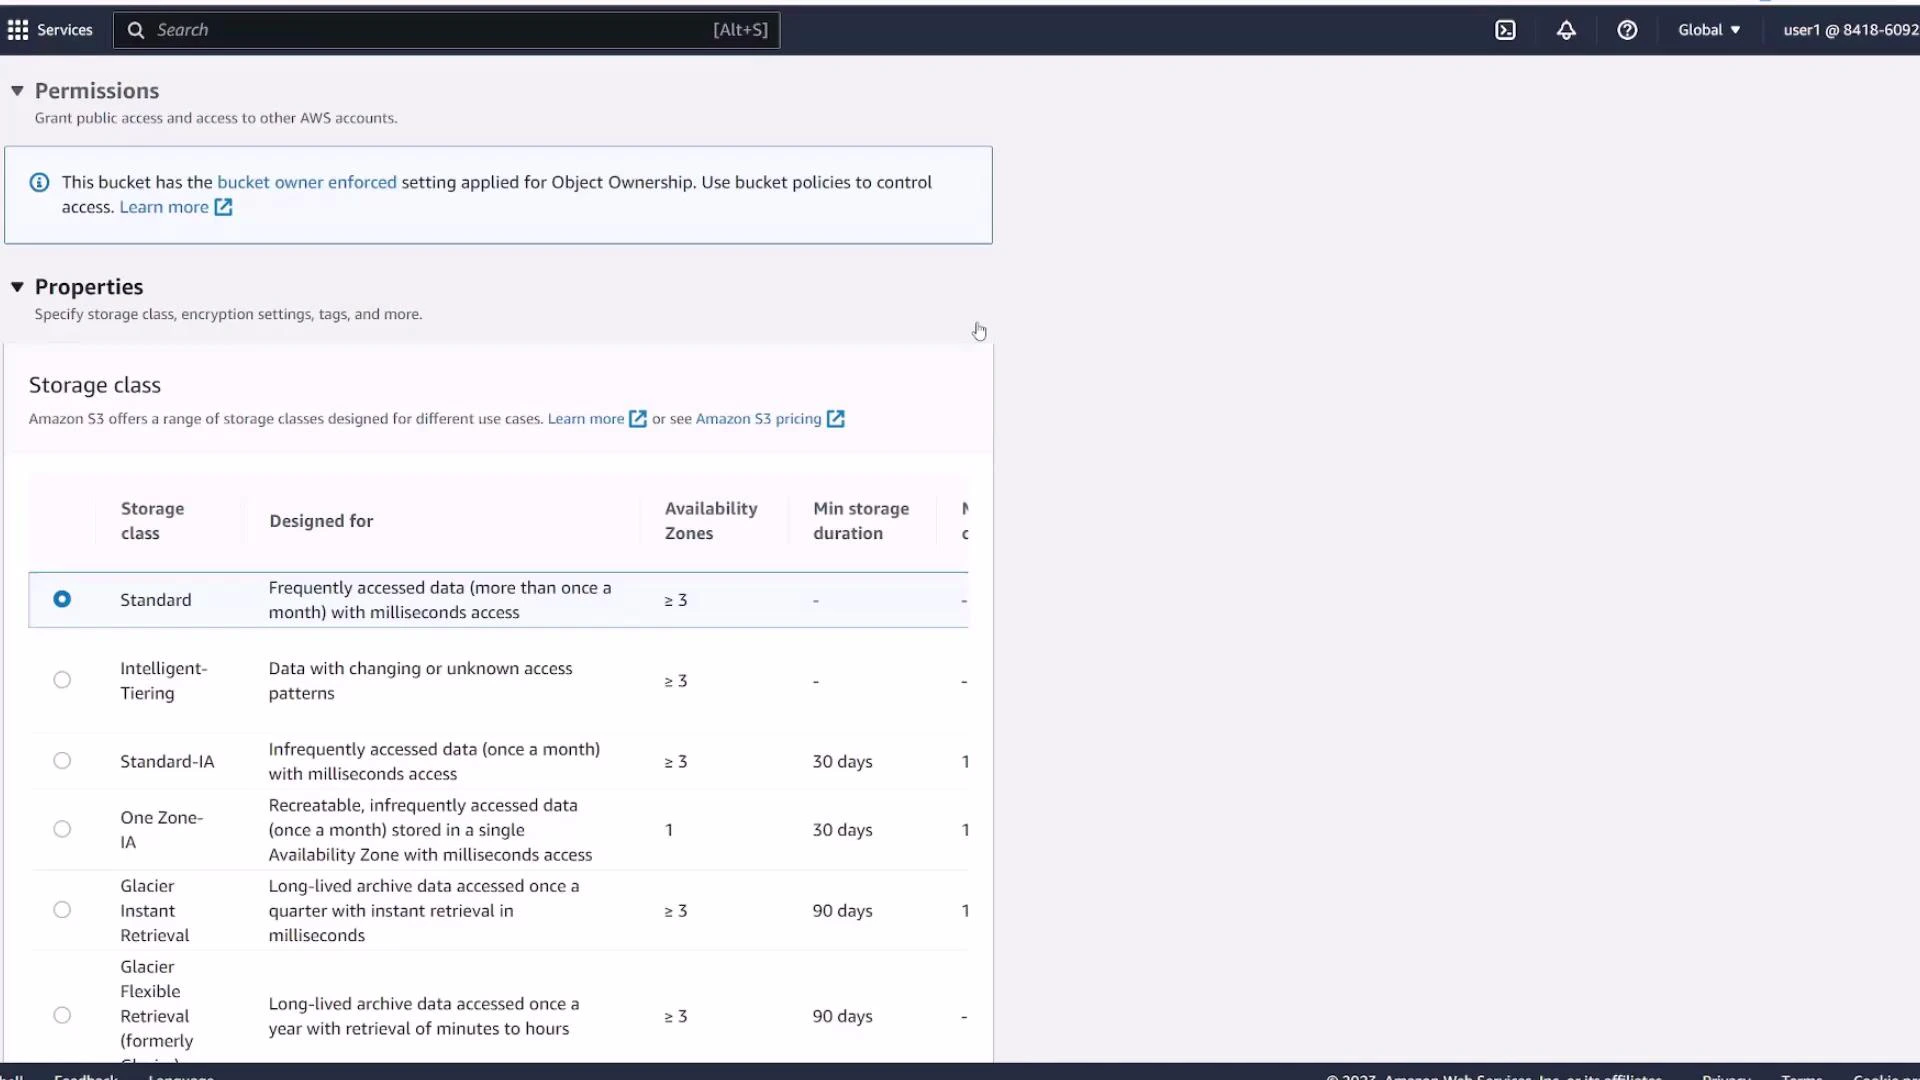
- Choose a storage class (Standard, Intelligent‑Tiering, Standard‑IA, One Zone‑IA, Glacier, etc.)
- Set metadata and permissions (defaults inherit bucket settings)
Standard. You can change the class per object or add lifecycle rules later to move objects to cheaper tiers.
Next steps and references
Now that you’ve created a bucket and uploaded an object, consider these follow-up topics:- Enable versioning and practice restoring older object versions
- Configure lifecycle policies to move or expire objects automatically
- Turn on default encryption (SSE-S3 or SSE-KMS) for data-at-rest protection
- Set up replication rules if you need cross-region redundancy
- Create fine-grained access using bucket policies and IAM policies
- Amazon S3 documentation: https://docs.aws.amazon.com/s3/
- S3 bucket naming rules: https://docs.aws.amazon.com/AmazonS3/latest/userguide/bucketnamingrules.html