This article covers integrating the OWASP Dependency-Check Maven plugin into a Spring Boot project for automated vulnerability scanning in Jenkins.
In this hands-on tutorial, we’ll integrate the OWASP Dependency-Check Maven plugin into a Spring Boot project and automate vulnerability scanning in Jenkins. You will:
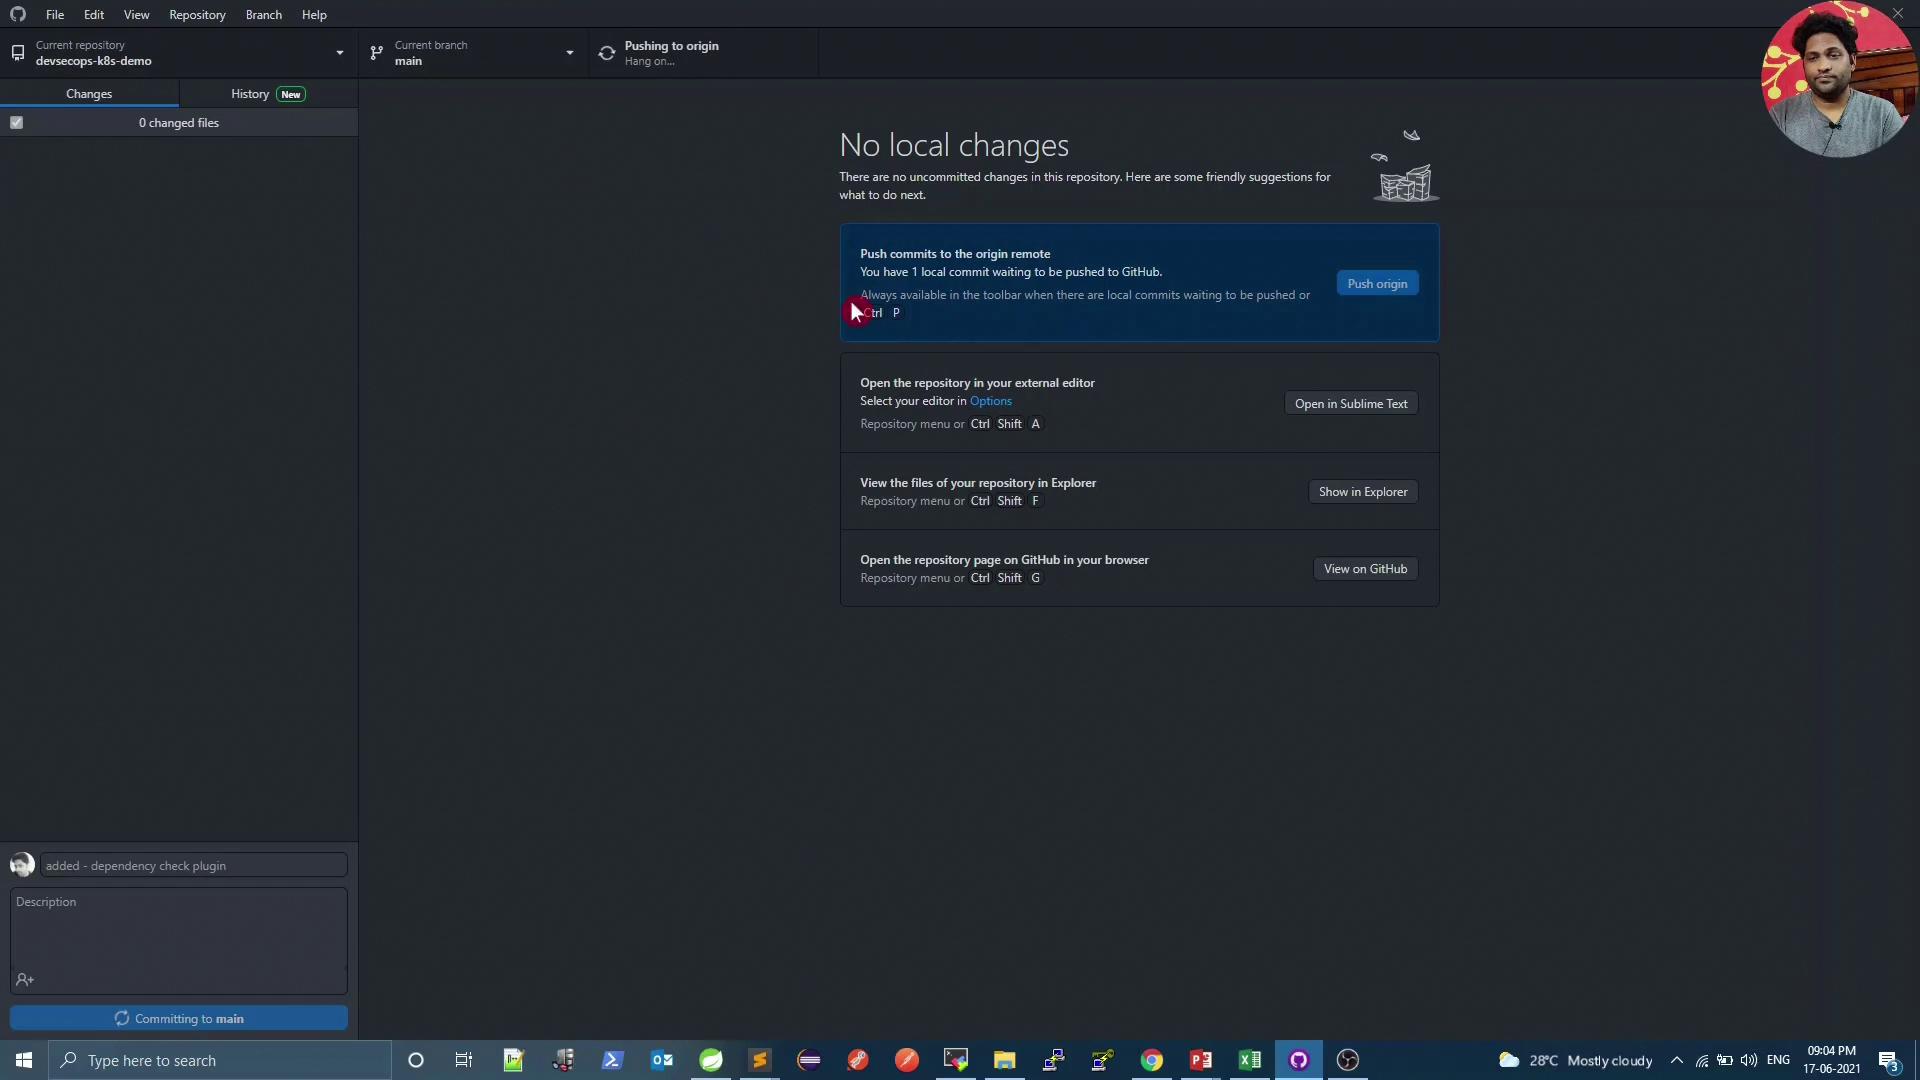
Configure the Dependency-Check plugin in pom.xml.
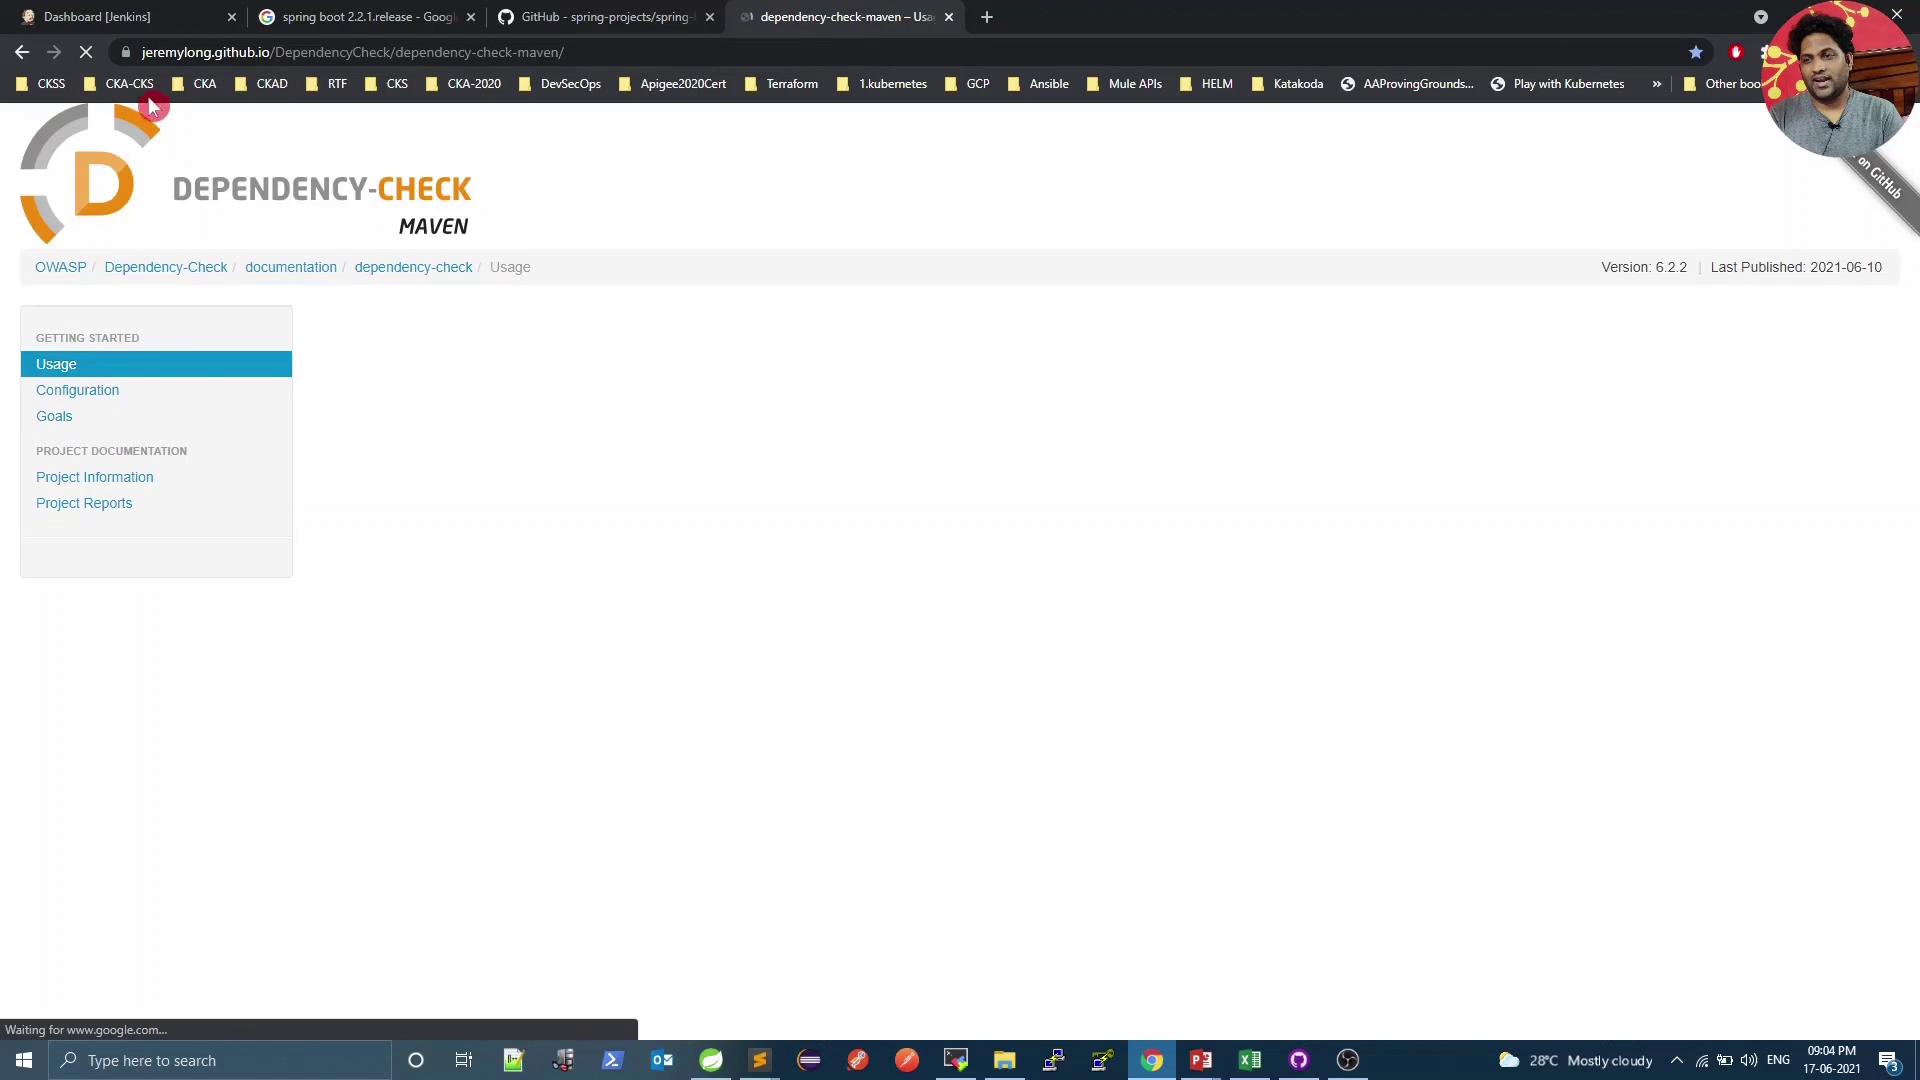
Verify documentation and install required Jenkins plugins.
Update the Jenkinsfile to run the scan and publish reports.
Analyze results, upgrade dependencies, or adjust CVSS thresholds.
Refer to the official Dependency-Check Maven plugin guide for advanced configurations:
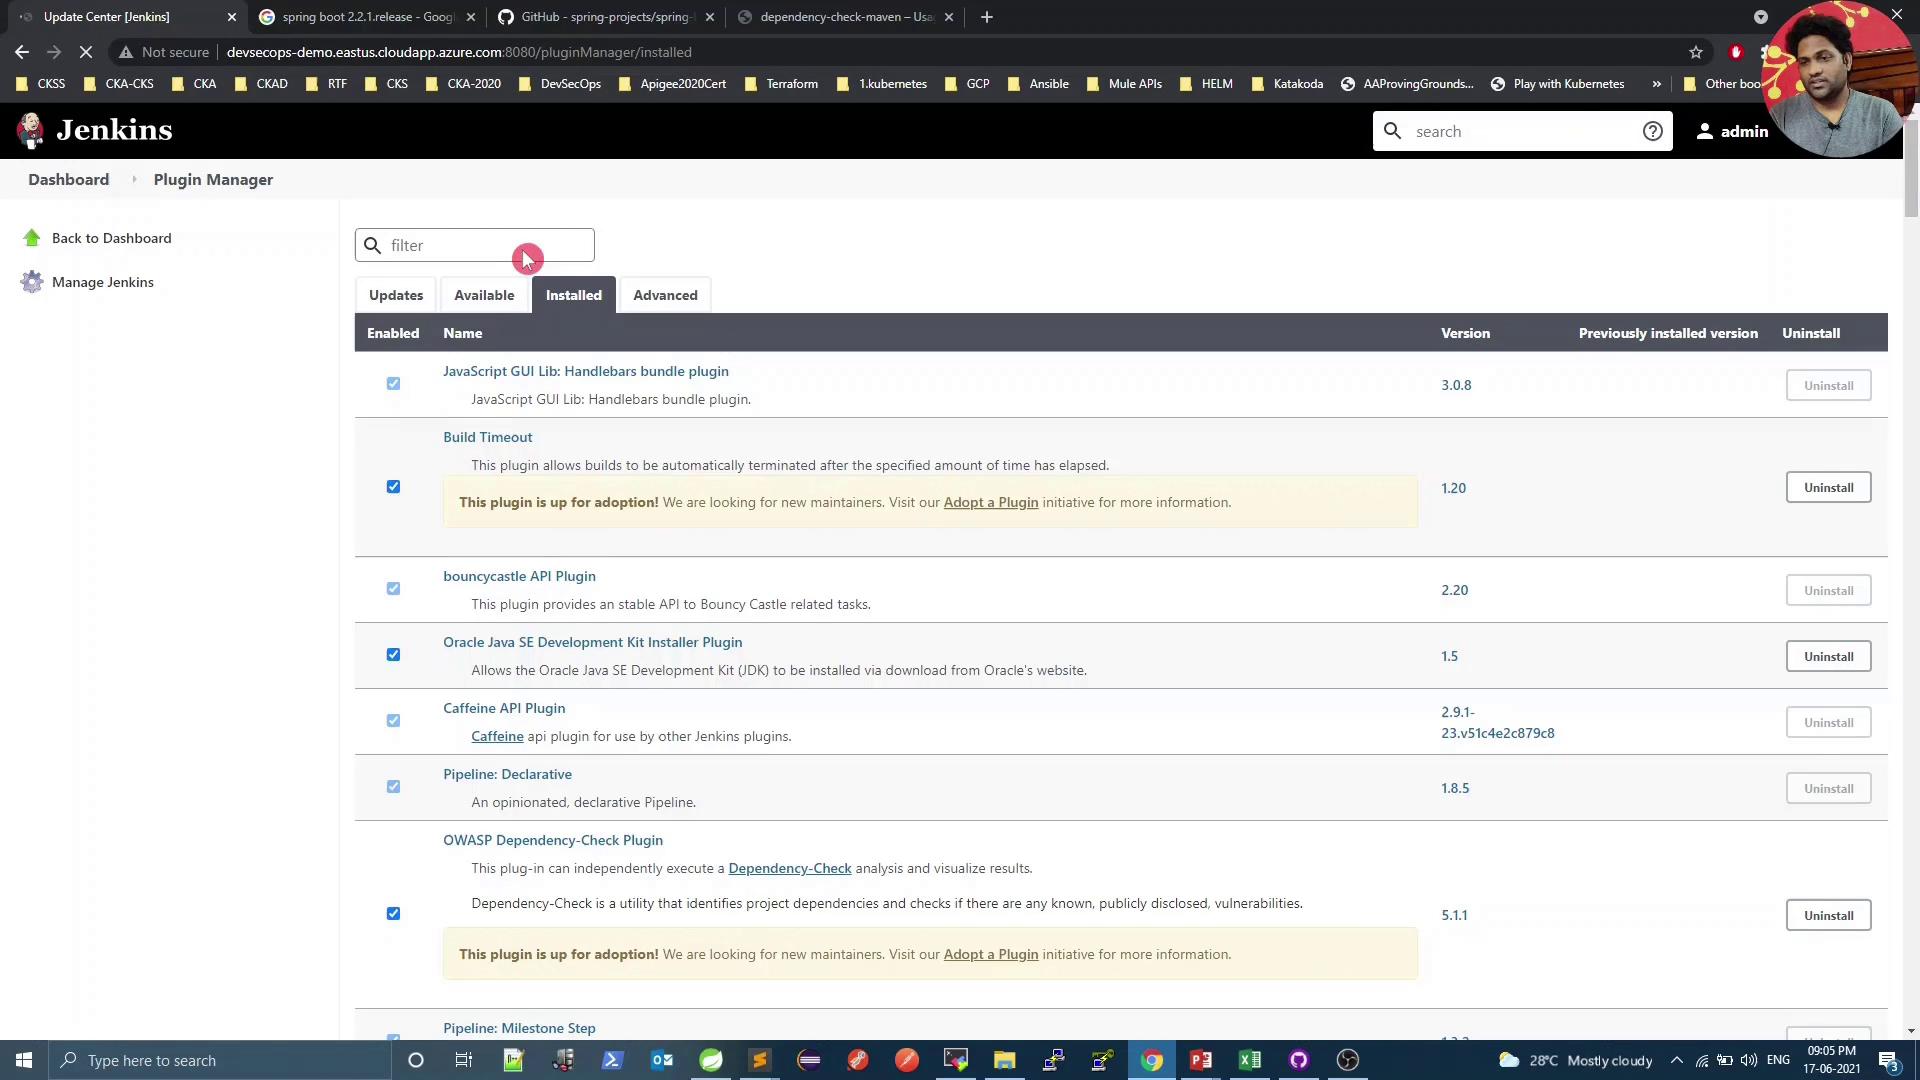
Ensure the Dependency-Check Publisher plugin is installed in Jenkins:
Without the Dependency-Check Publisher plugin, Jenkins cannot display the HTML or XML reports. Install or update it via Manage Jenkins → Plugin Manager.
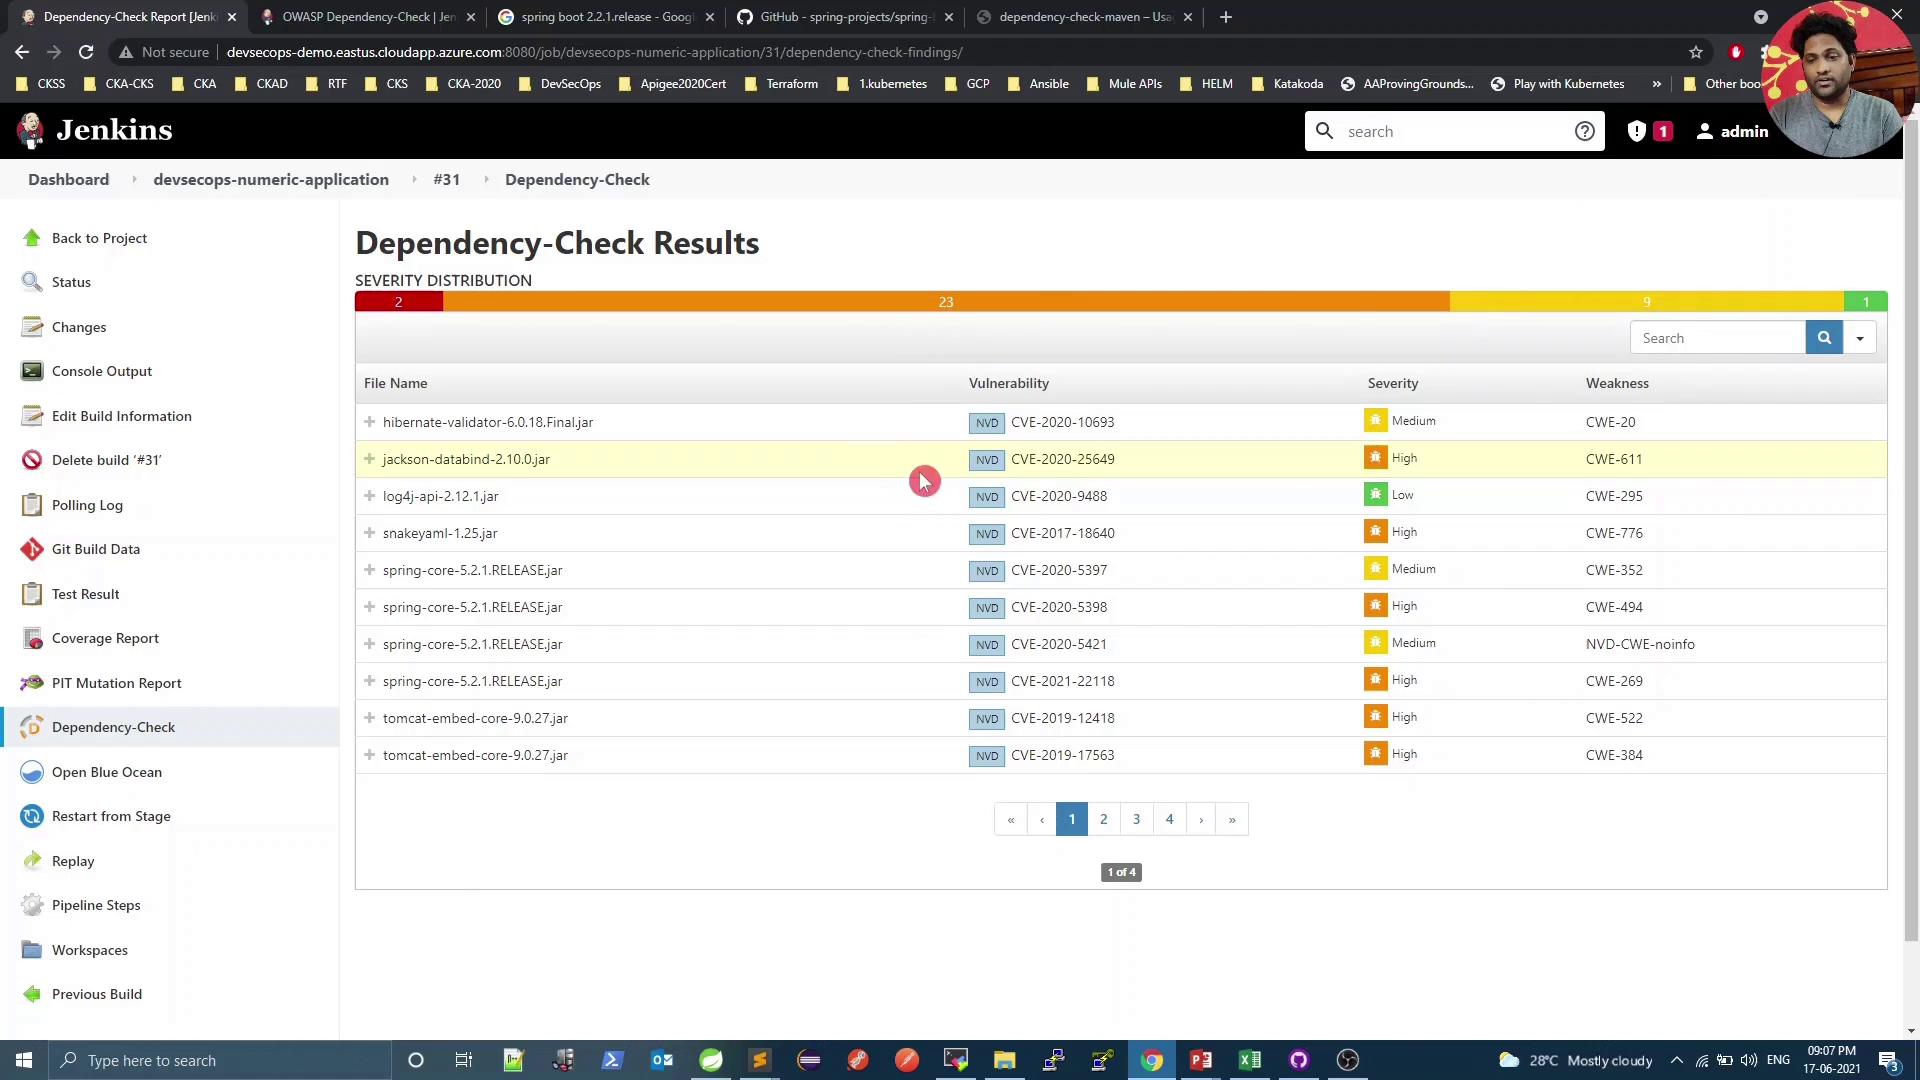
[INFO] Writing report to: .../target/dependency-check-report.sarif[INFO] Writing report to: .../target/dependency-check-junit.xmlOne or more dependencies were identified with known vulnerabilities:- numeric: hibernate-validator:6.0.18.Final ... : CVE-2020-10693 jackson-databind:2.12.1 ... : CVE-2020-25649 ...
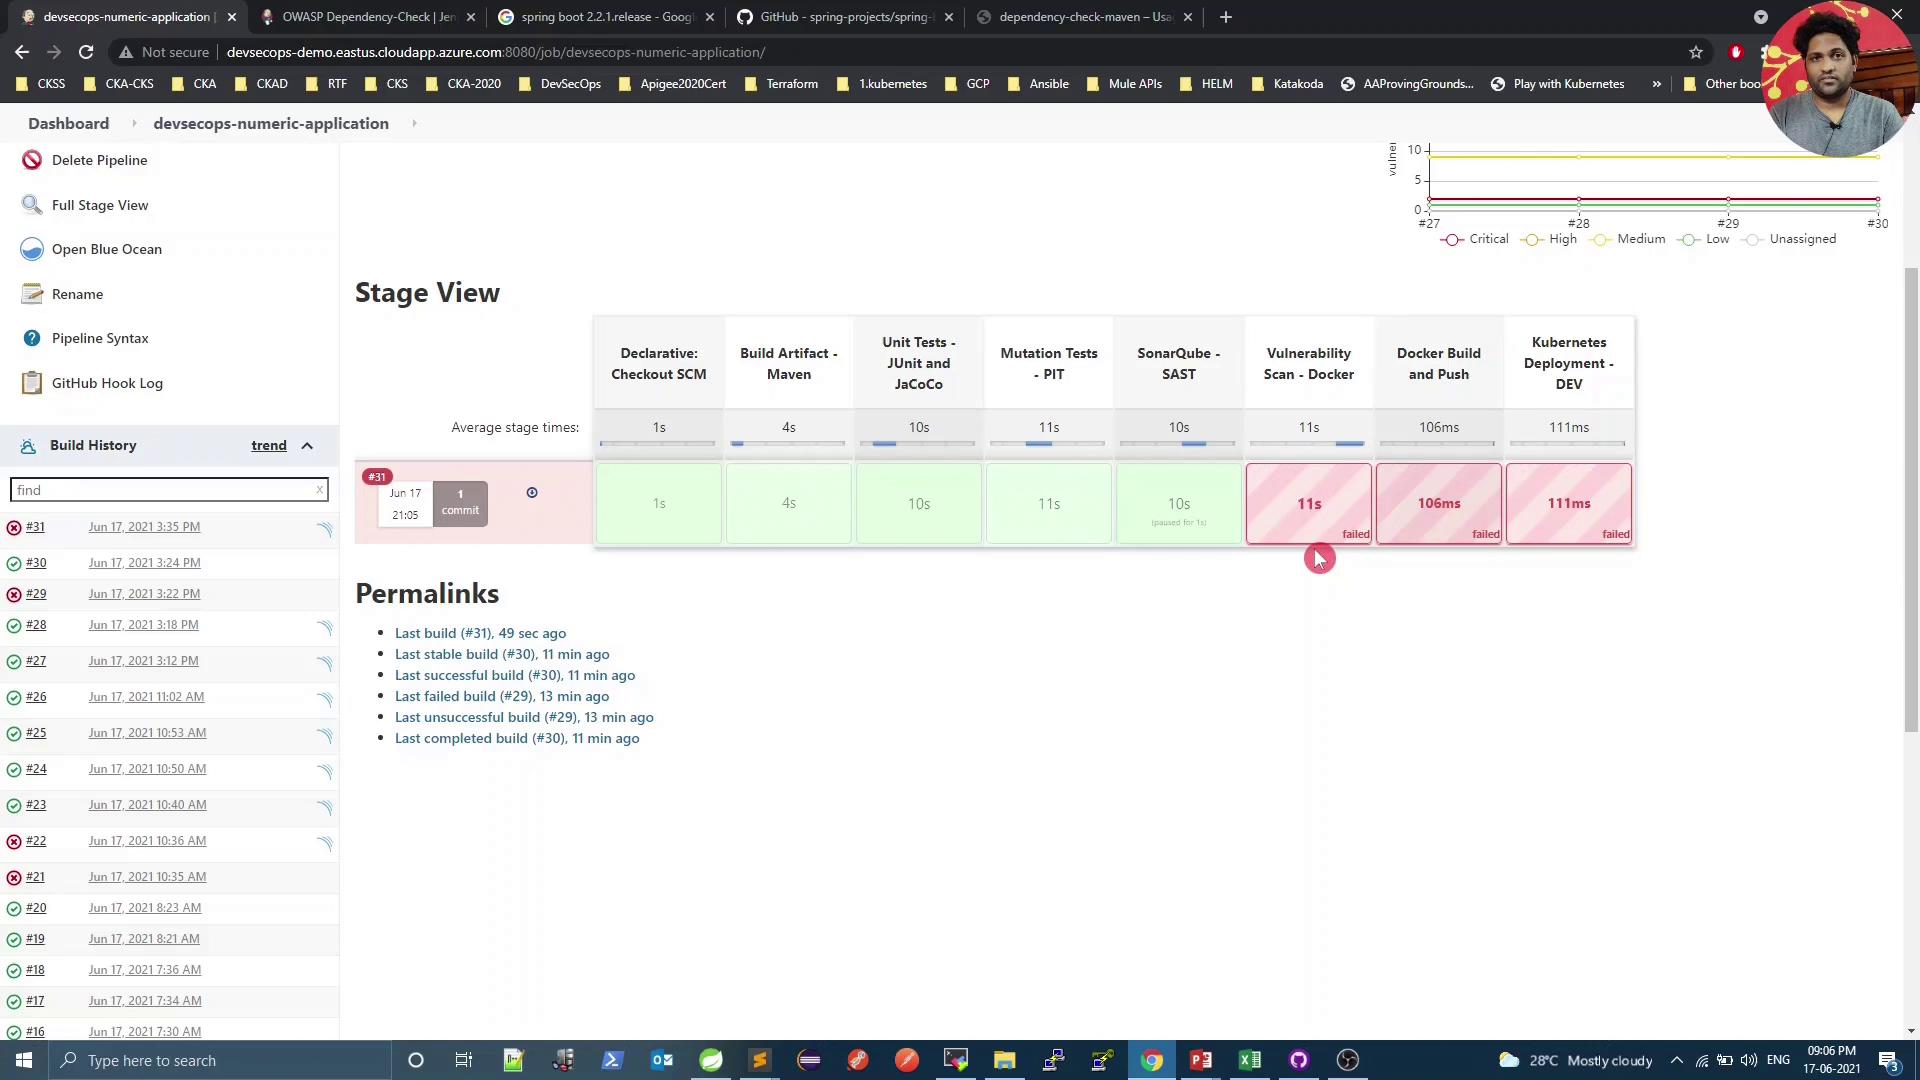
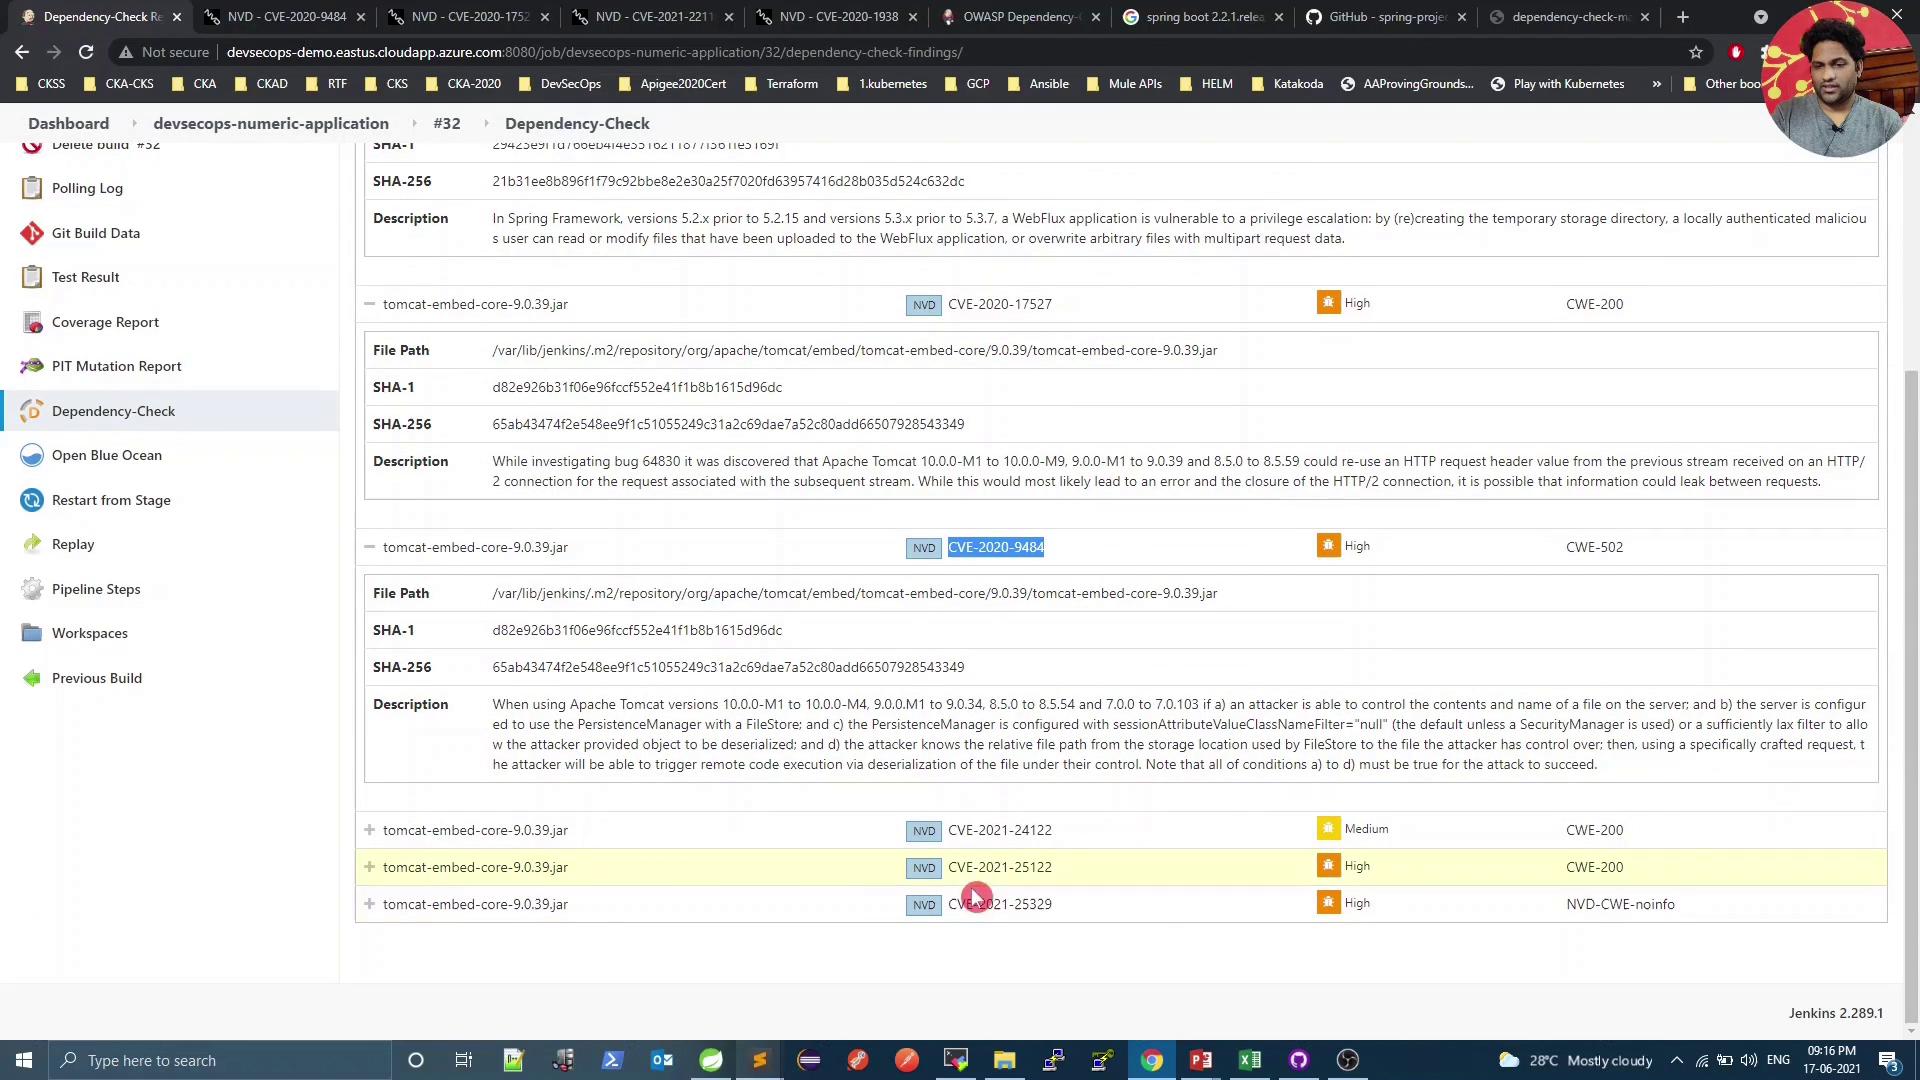
On the pipeline dashboard, click into the Dependency-Check results:
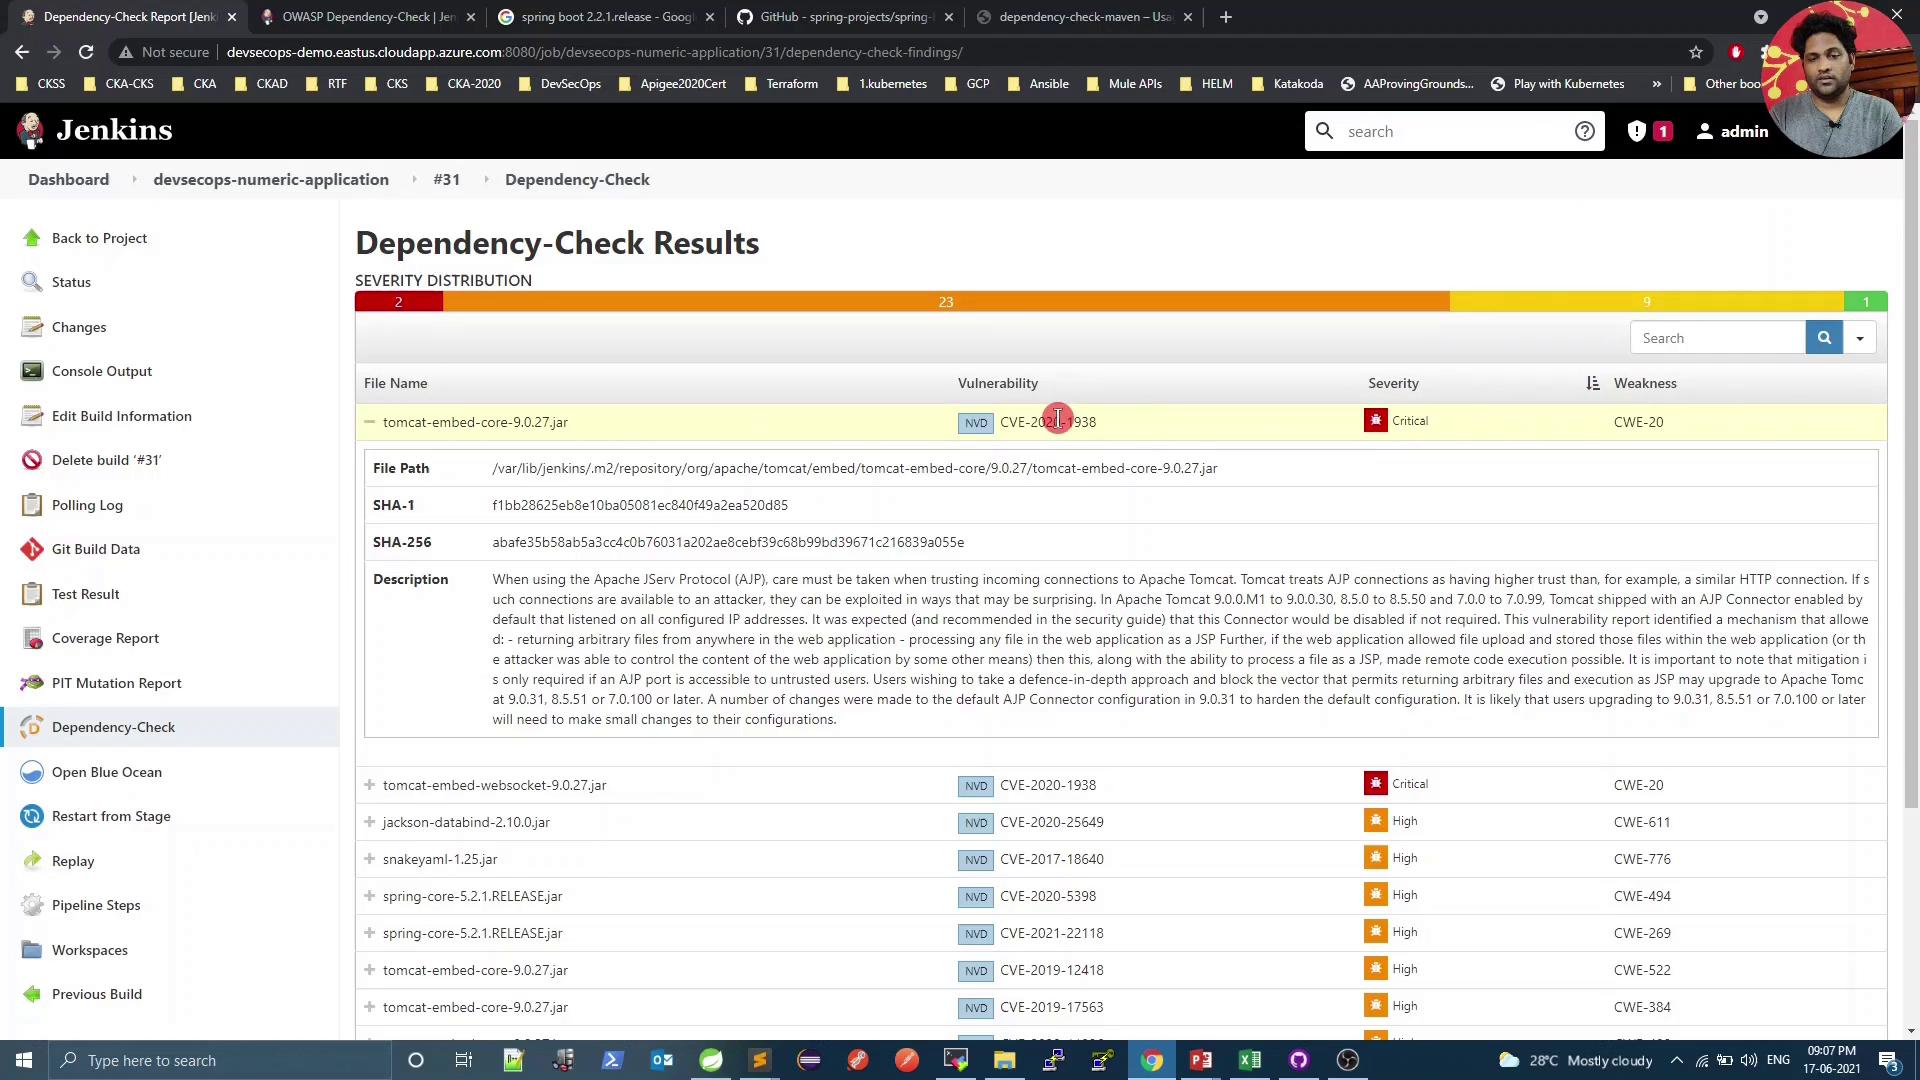
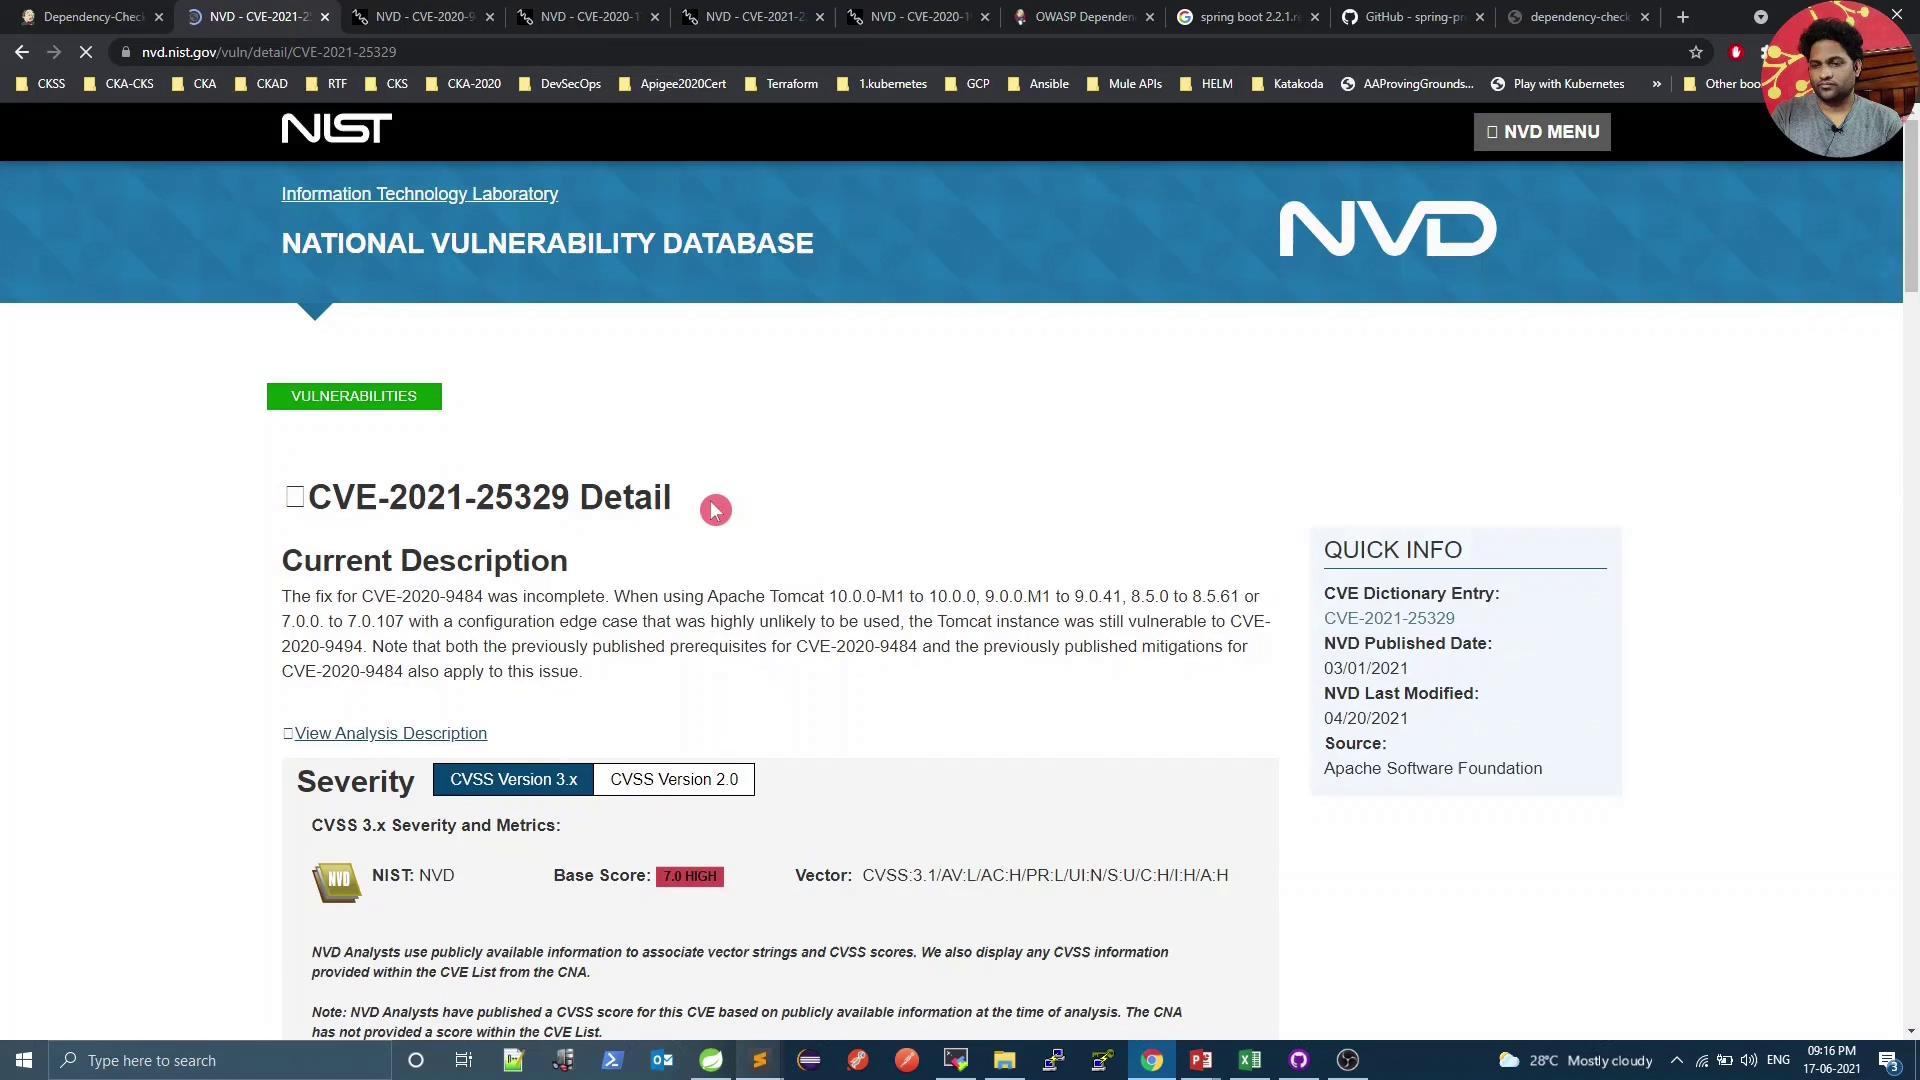
Select a specific dependency to inspect details:
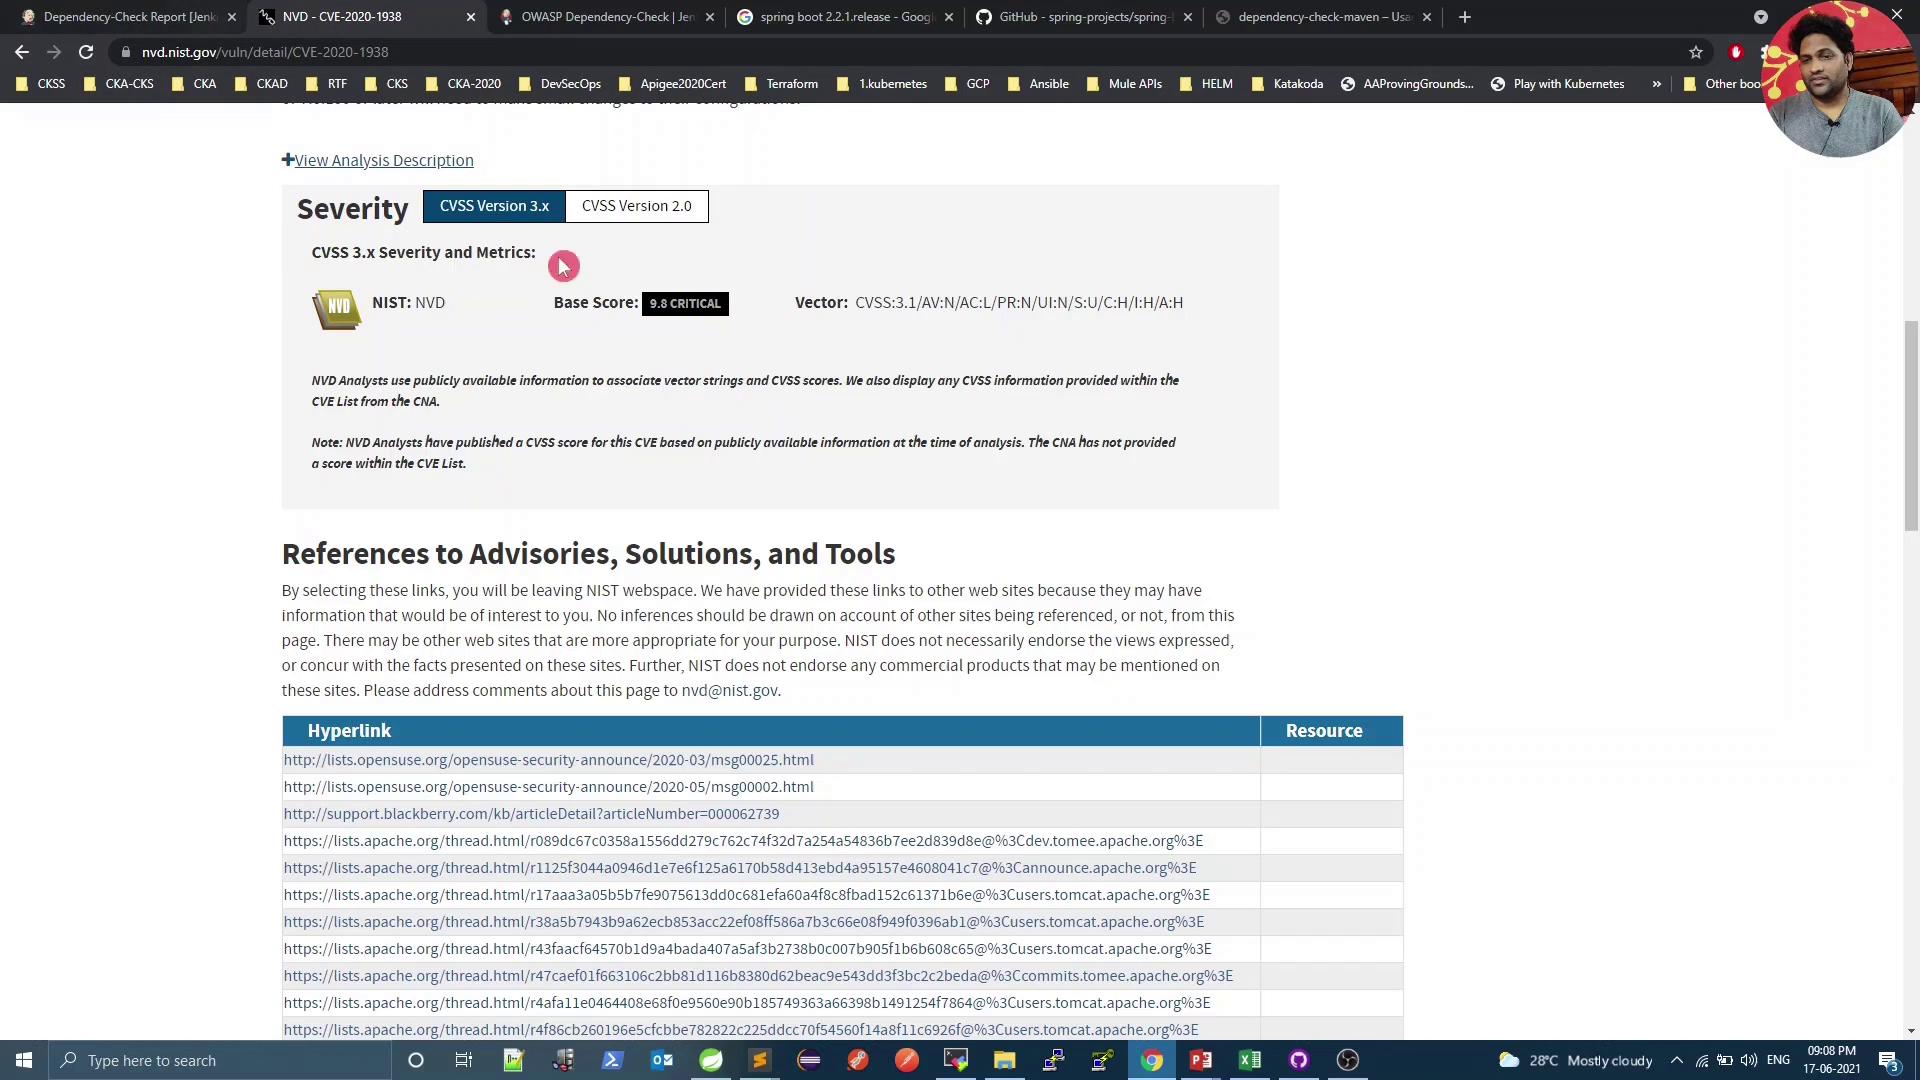
For instance, CVE-2020-1938 is rated 9.8 (critical):
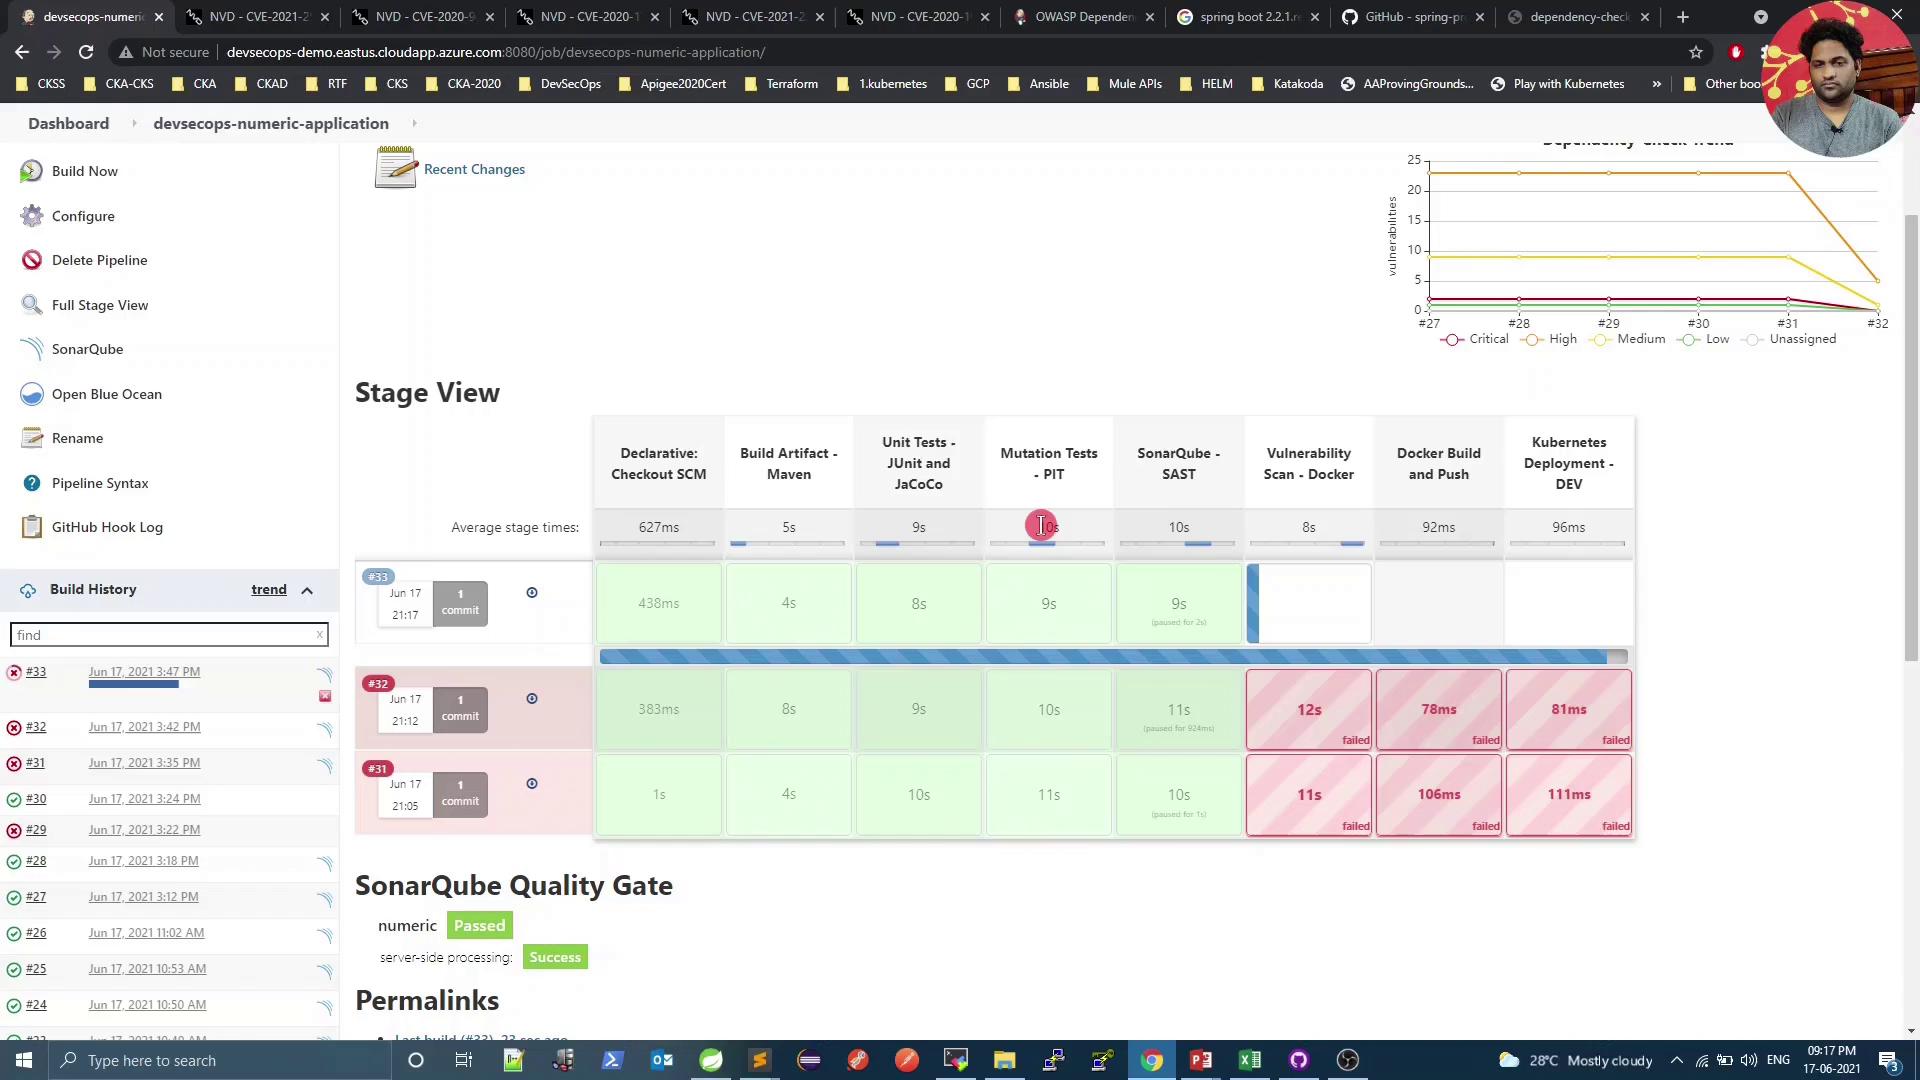
Because we set failBuildOnCVSS=9, the build fails on such high-severity findings. Next, we’ll explore mitigation.
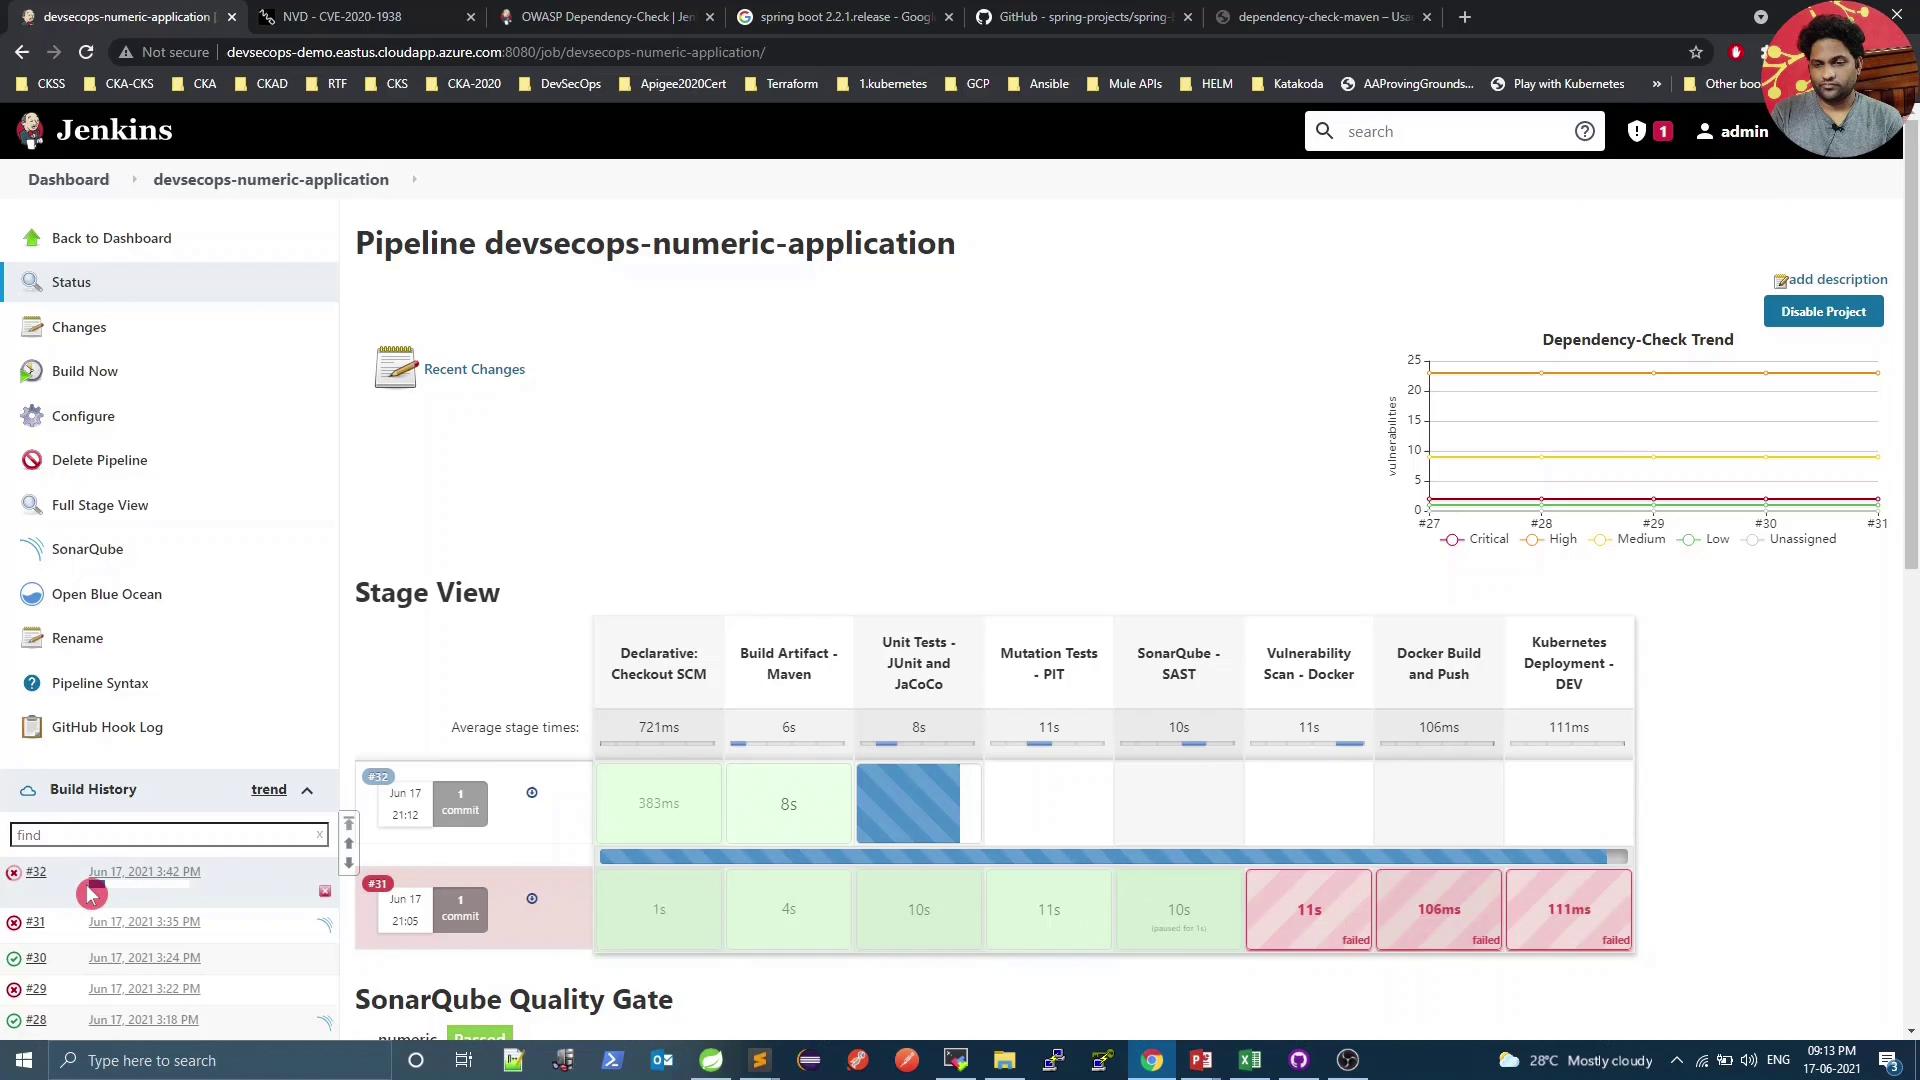
The build and tests should now pass, but the Vulnerability Scan may still detect lower-severity issues.
Console summary:
[INFO] --- dependency-check-maven:6.1.6:check ---[WARNING] One or more dependencies were identified with known vulnerabilities in numeric: spring-core:5.2.10.RELEASE ... : CVE-2020-17527, CVE-2020-9484, CVE-2021-25112, CVE-2021-25239