GitHub Actions Certification
Self Hosted Runner
Installing a Self Hosted Runner
In this guide, you’ll learn how to install and configure a self-hosted runner at the repository level. You can also set up runners at the organization or enterprise level—see the GitHub documentation for autoscaling, requirements, and limits.
Step 1: Register a New Runner on GitHub
- Open your repository on GitHub.
- Navigate to Settings → Actions → Runners.
- Click New self-hosted runner.
- Select Linux and x64, then copy the setup commands provided.
Step 2: Download and Extract the Runner
SSH into your Ubuntu VM (or another Linux host), then run:
# Create a directory and enter it
mkdir actions-runner && cd actions-runner
# Download the latest runner package
curl -L -o actions-runner-linux-x64-2.310.2.tar.gz \
https://github.com/actions/runner/releases/download/v2.310.2/actions-runner-linux-x64-2.310.2.tar.gz
# (Optional) Validate the SHA-256 checksum
echo "bf28a83175a60e551fa6e31b9e2ece6bf280278f949f3 actions-runner-linux-x64-2.310.2.tar.gz" \
| sha256sum -c -
# Extract the archive
tar xzf actions-runner-linux-x64-2.310.2.tar.gz
# Verify extracted files
ls -1
You should see:
bin
config.sh
env.sh
externals
run-helper.cmd.template
run.sh
safe_sleep.sh
Step 3: Configure the Runner
Run the interactive configuration script:
./config.sh --url https://github.com/<OWNER>/<REPO> --token YOUR_TOKEN_HERE
Warning
Do not run this script as root unless you intentionally bypass the check.
Running GitHub Actions jobs as root
can introduce security and reliability risks.
The script enforces:
#!/bin/bash
user_id=$(id -u)
if [[ $user_id -eq 0 && -z "$RUNNER_ALLOW_RUNASROOT" ]]; then
echo "Must not run with sudo"
exit 1
fi
Bypass the Root Check (Optional)
If you need to run as root:
export RUNNER_ALLOW_RUNASROOT=1
./config.sh --url https://github.com/<OWNER>/<REPO> --token YOUR_TOKEN_HERE
During setup, you will:
- Choose a runner group (default: default for repo-level).
- Name your runner (e.g.,
prod-ubuntu-runner
). - Assign labels (default:
self-hosted
,Linux
,X64
; you can addprod
,main
). - Confirm or change the working directory (default:
_work
).
Step 4: Verify Registration (Offline)
Once registration completes, your runner shows as Offline in the Runners list:
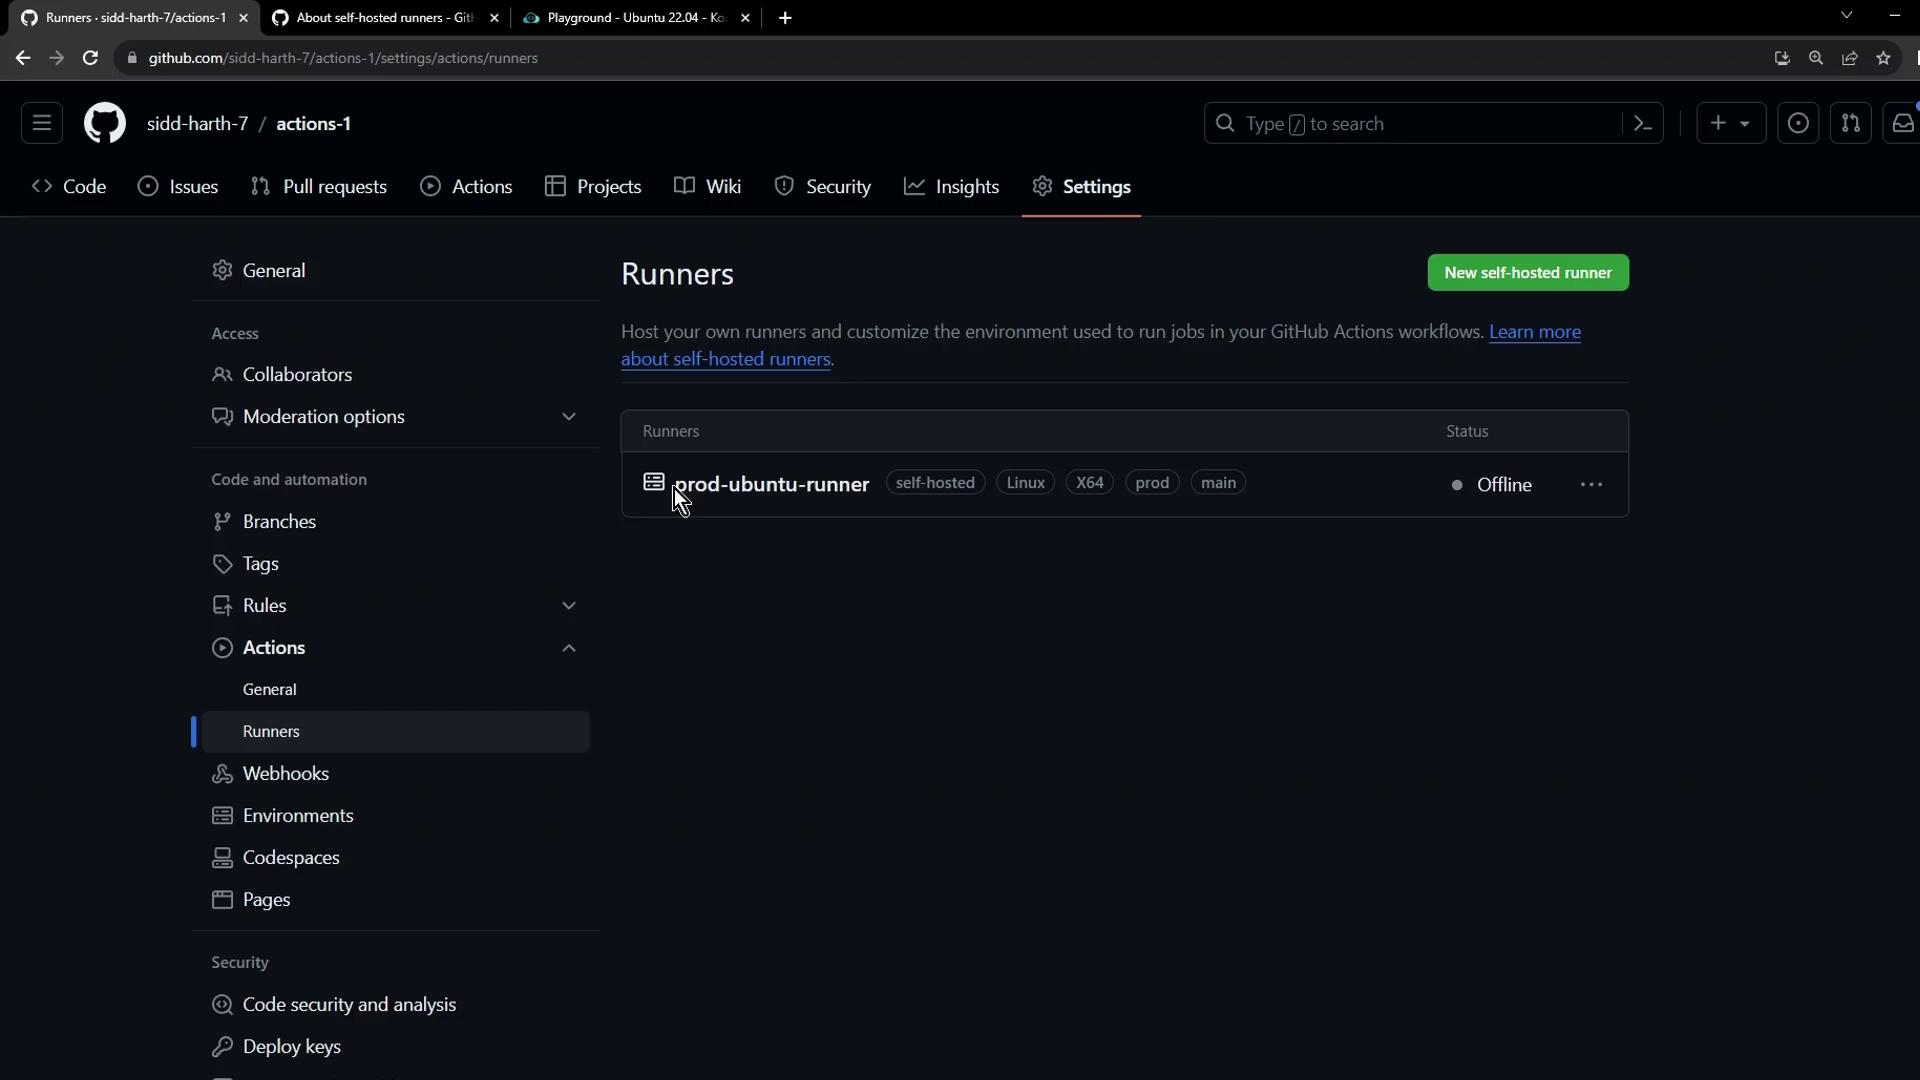
Step 5: Start the Runner
Back in your VM, launch the runner process so it connects to GitHub and listens for jobs:
./run.sh
Expected output:
√ Connected to GitHub
Current runner version: '2.310.2'
2023-10-24 14:51:44Z: Listening for Jobs
Step 6: Verify Runner Status (Online)
Refresh the Runners page. Your runner should now be Online and idle, ready to accept jobs:
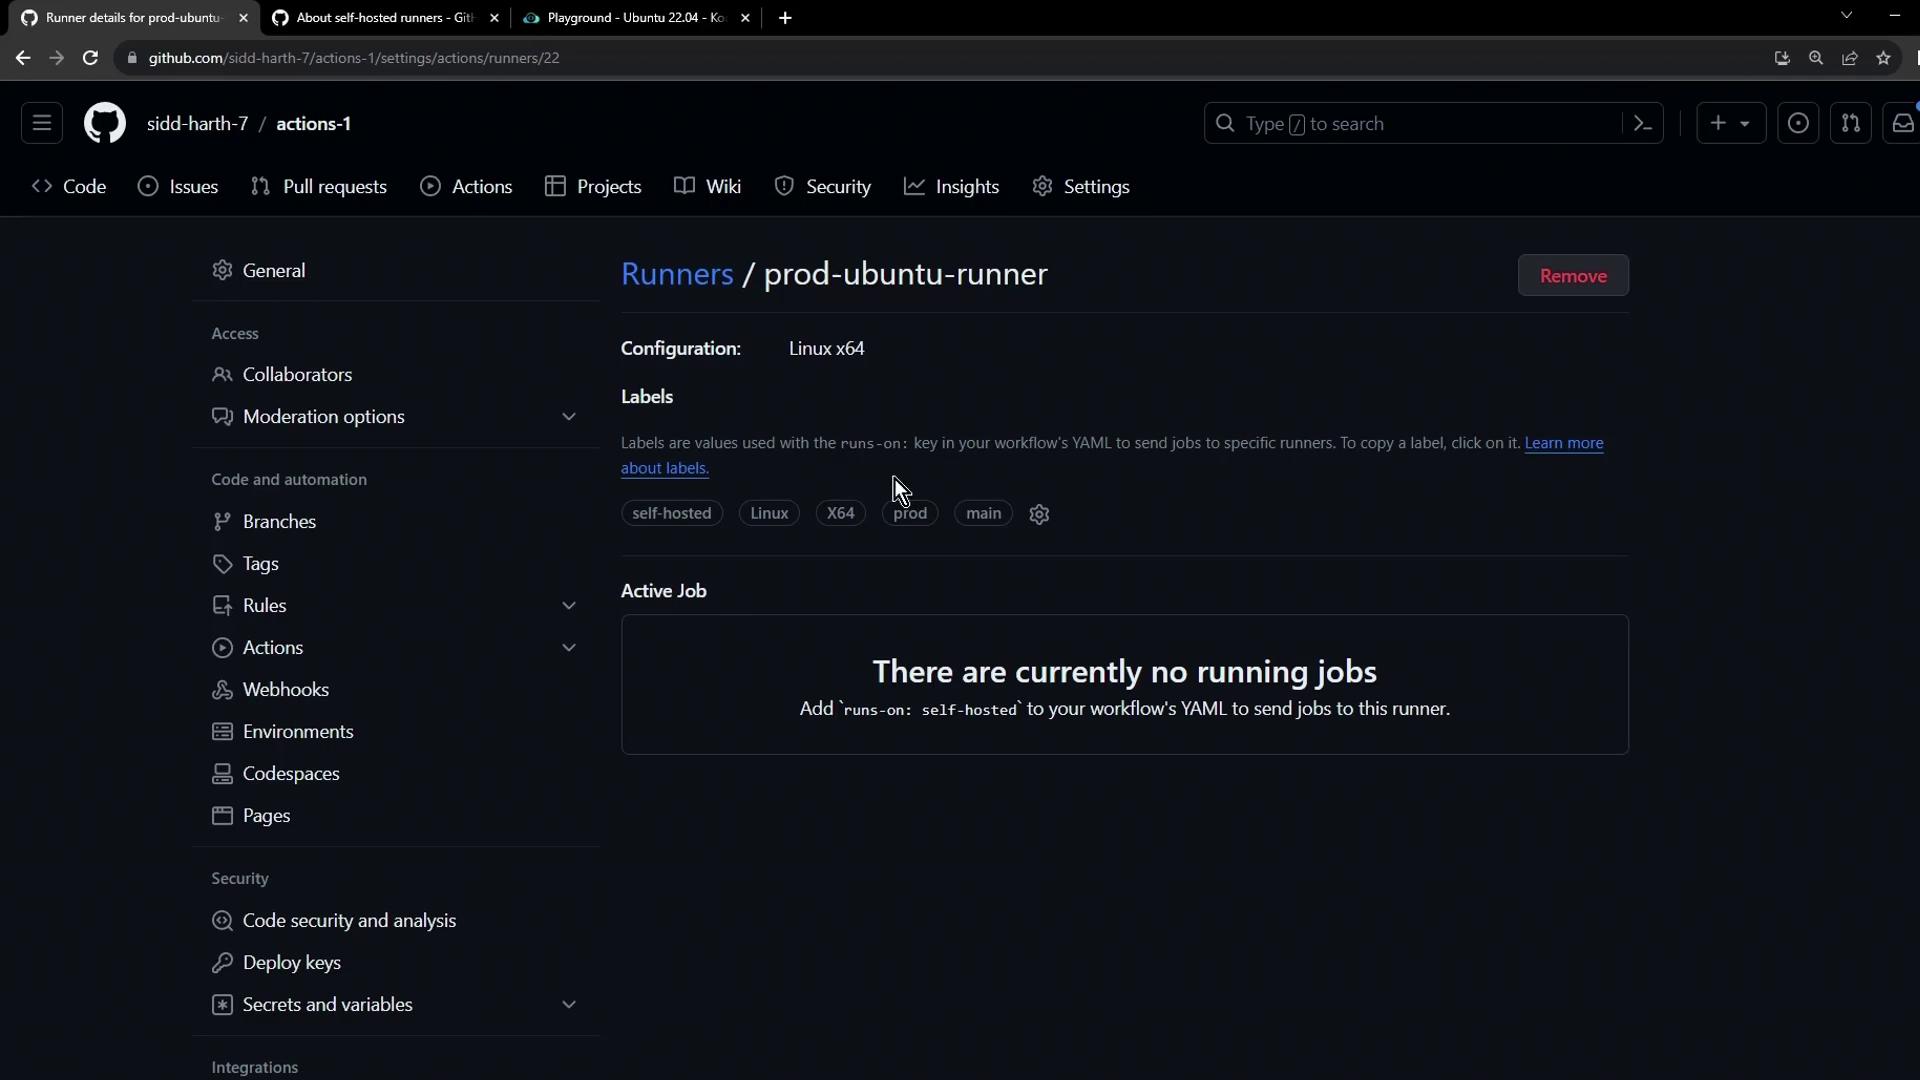
Step 7: Use Your Self-Hosted Runner in Workflows
Add this to any workflow file (.github/workflows/*.yml
) to target your runner:
jobs:
build:
runs-on: self-hosted
steps:
# …
Note
Ensure your self-hosted runner has all required tools and permissions for your workflows.
Links and References
Watch Video
Watch video content