GitHub Actions

Self Hosted Runner

Running Workflow on Self Hosted Runner

Leverage a self-hosted runner to execute your GitHub Actions workflows on your own infrastructure. This guide walks you through verifying the runner in the GitHub UI, starting it on the VM, creating a test workflow, targeting the self-hosted runner, dispatching the job, and reviewing the results.


1. Verify Your Self-Hosted Runner in GitHub

  1. In your repository, navigate to Settings > Actions > Runners.
  2. Confirm the runner (e.g., prod-ubuntu-runner) appears in an idle state with its labels listed.
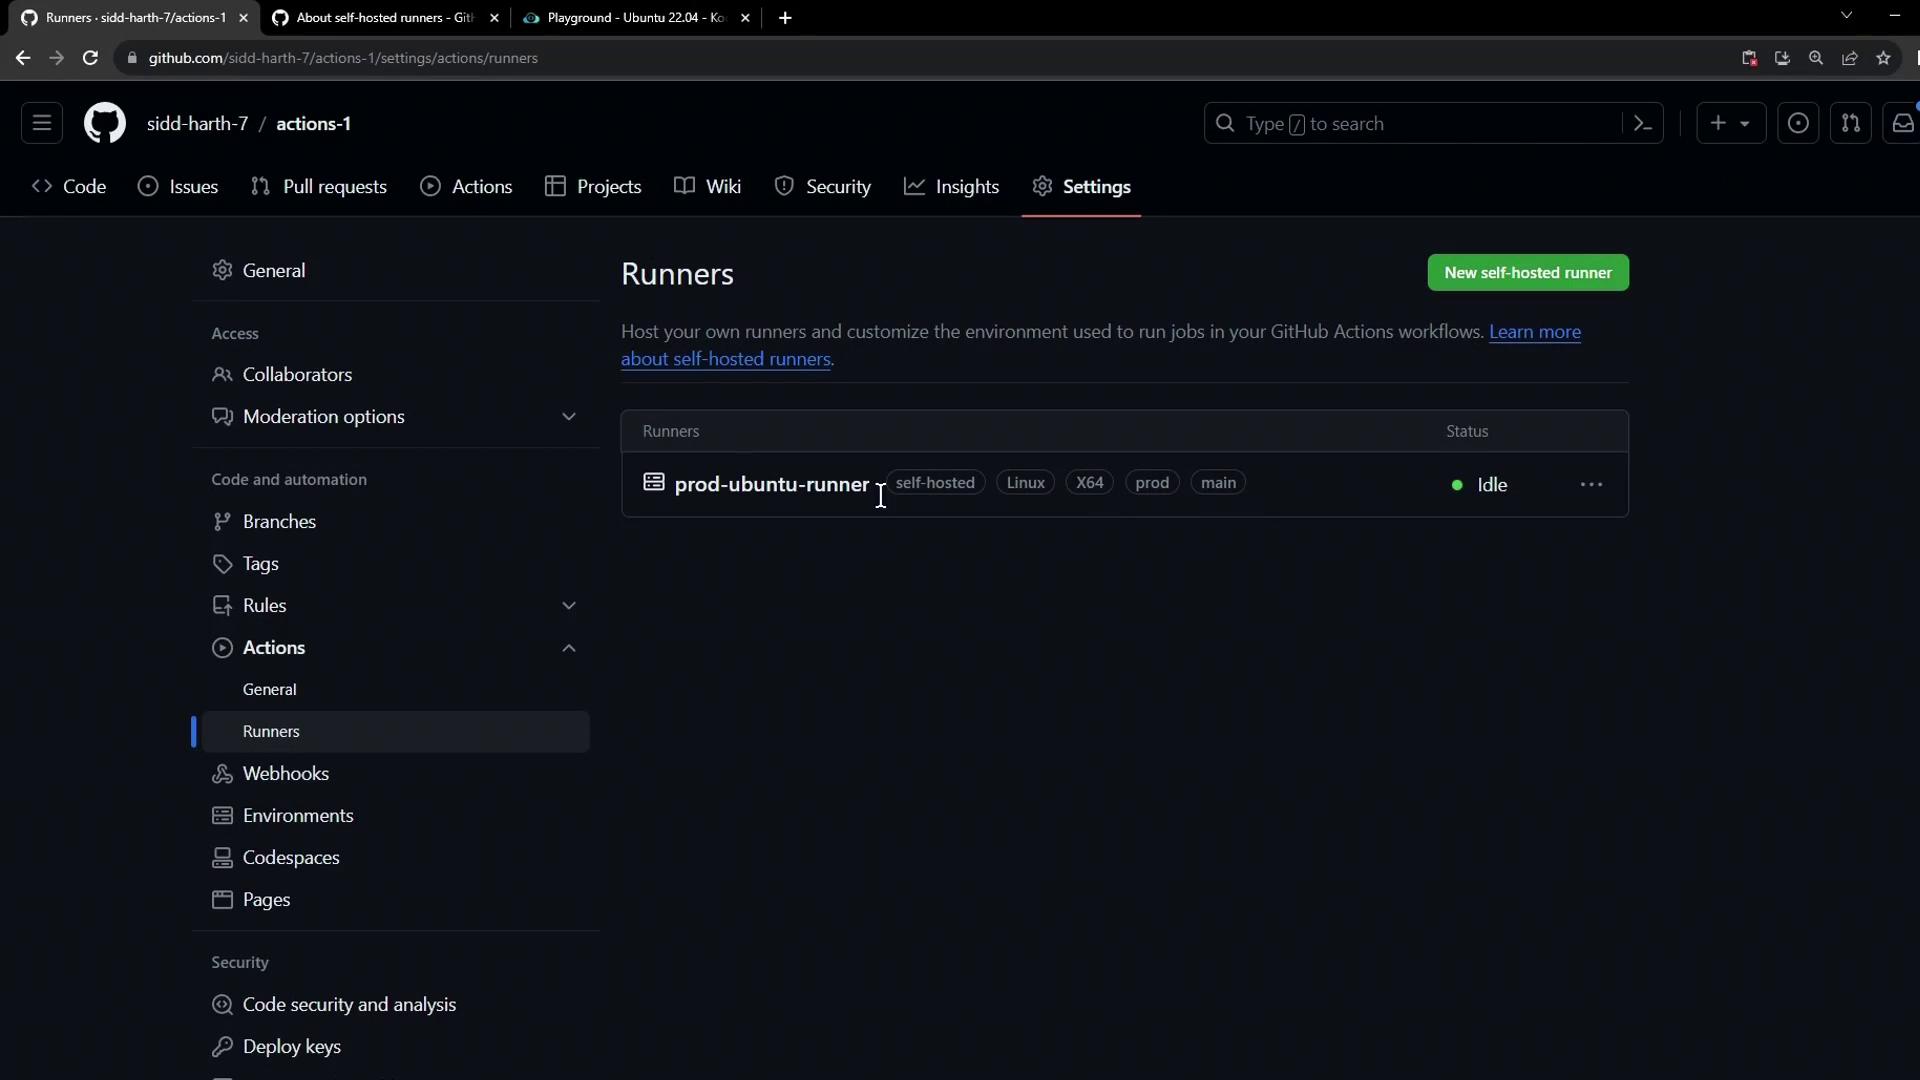
The image shows a GitHub settings page for actions, specifically the "Runners" section, displaying a self-hosted runner named "prod-ubuntu-runner" with an idle status.


2. Start the Runner Process

On the VM hosting your runner, launch the runner service:

cd ~/actions-runner
sudo ./run.sh

You should see:

Current runner version: '2.310.2'
2023-10-24 14:51:44Z: Listening for Jobs

Note

If you don’t see “Listening for Jobs,” verify your network connectivity and runner configuration.
Refer to the GitHub Actions Runners documentation for troubleshooting.


3. Inspect Available Workflows

Because this runner is scoped to the current repository, only workflows in .github/workflows are dispatched here. Check the YAML files:
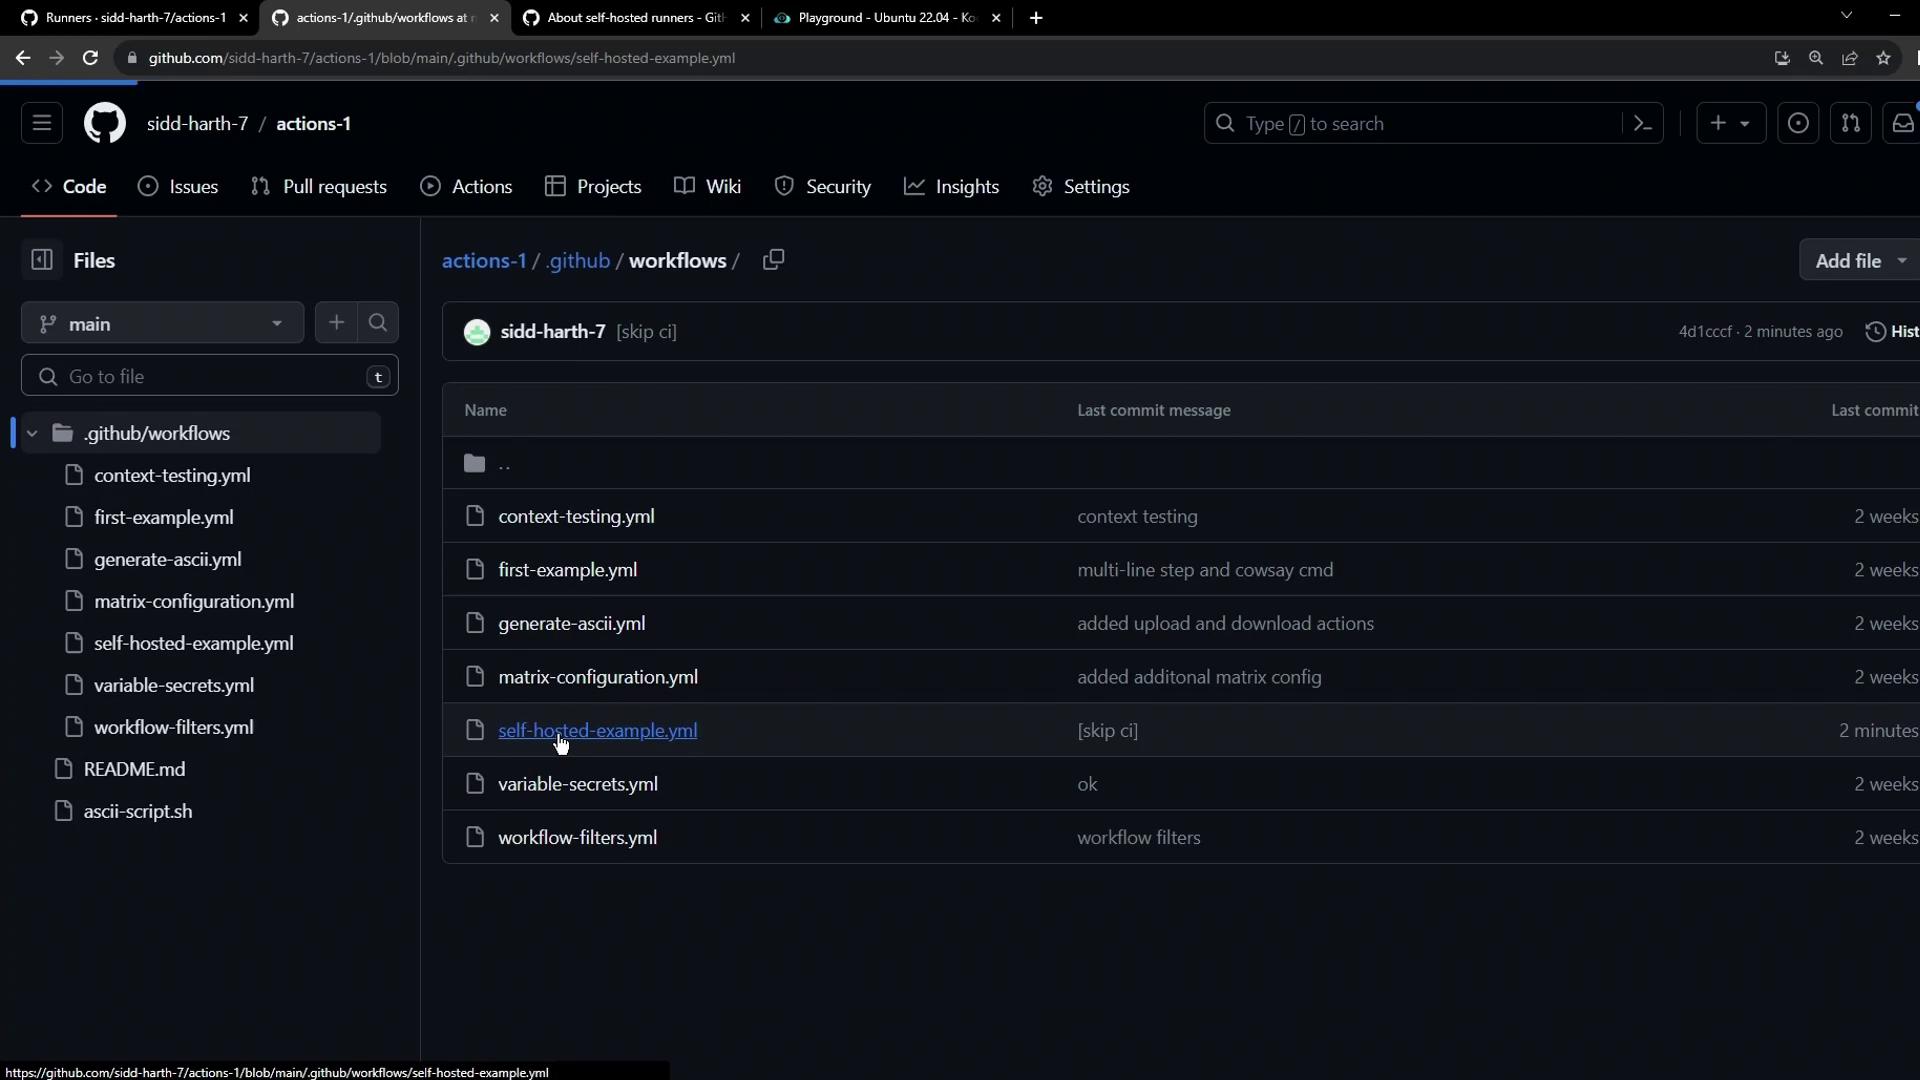
The image shows a GitHub repository interface displaying a list of YAML workflow files under the `.github/workflows` directory, with details about their last commit messages and times.


4. Define a Simple Test Workflow

Create .github/workflows/example.yaml:

name: Test Self-Hosted Runner
on:
  workflow_dispatch:

jobs:
  test-job:
    runs-on: ubuntu-latest
    steps:
      - name: Echo and Sleep
        run: |
          echo "Runner check: OK"
          sleep 15s

Commit this to the default branch to verify it runs on GitHub-hosted runners first.


5. Target Your Self-Hosted Runner

Update runs-on to use all labels from the Runners settings (e.g., self-hosted, linux, prod):

name: Test Self-Hosted Runner
on:
  workflow_dispatch:

jobs:
  test-job:
    runs-on: [self-hosted, linux, prod]
    steps:
      - name: Echo and Sleep
        run: |
          echo "Self-hosted runner: OK"
          sleep 15s

All labels must match exactly.

Warning

Any typo or missing label (for example, using production instead of prod) will cause the job to remain pending until it times out.

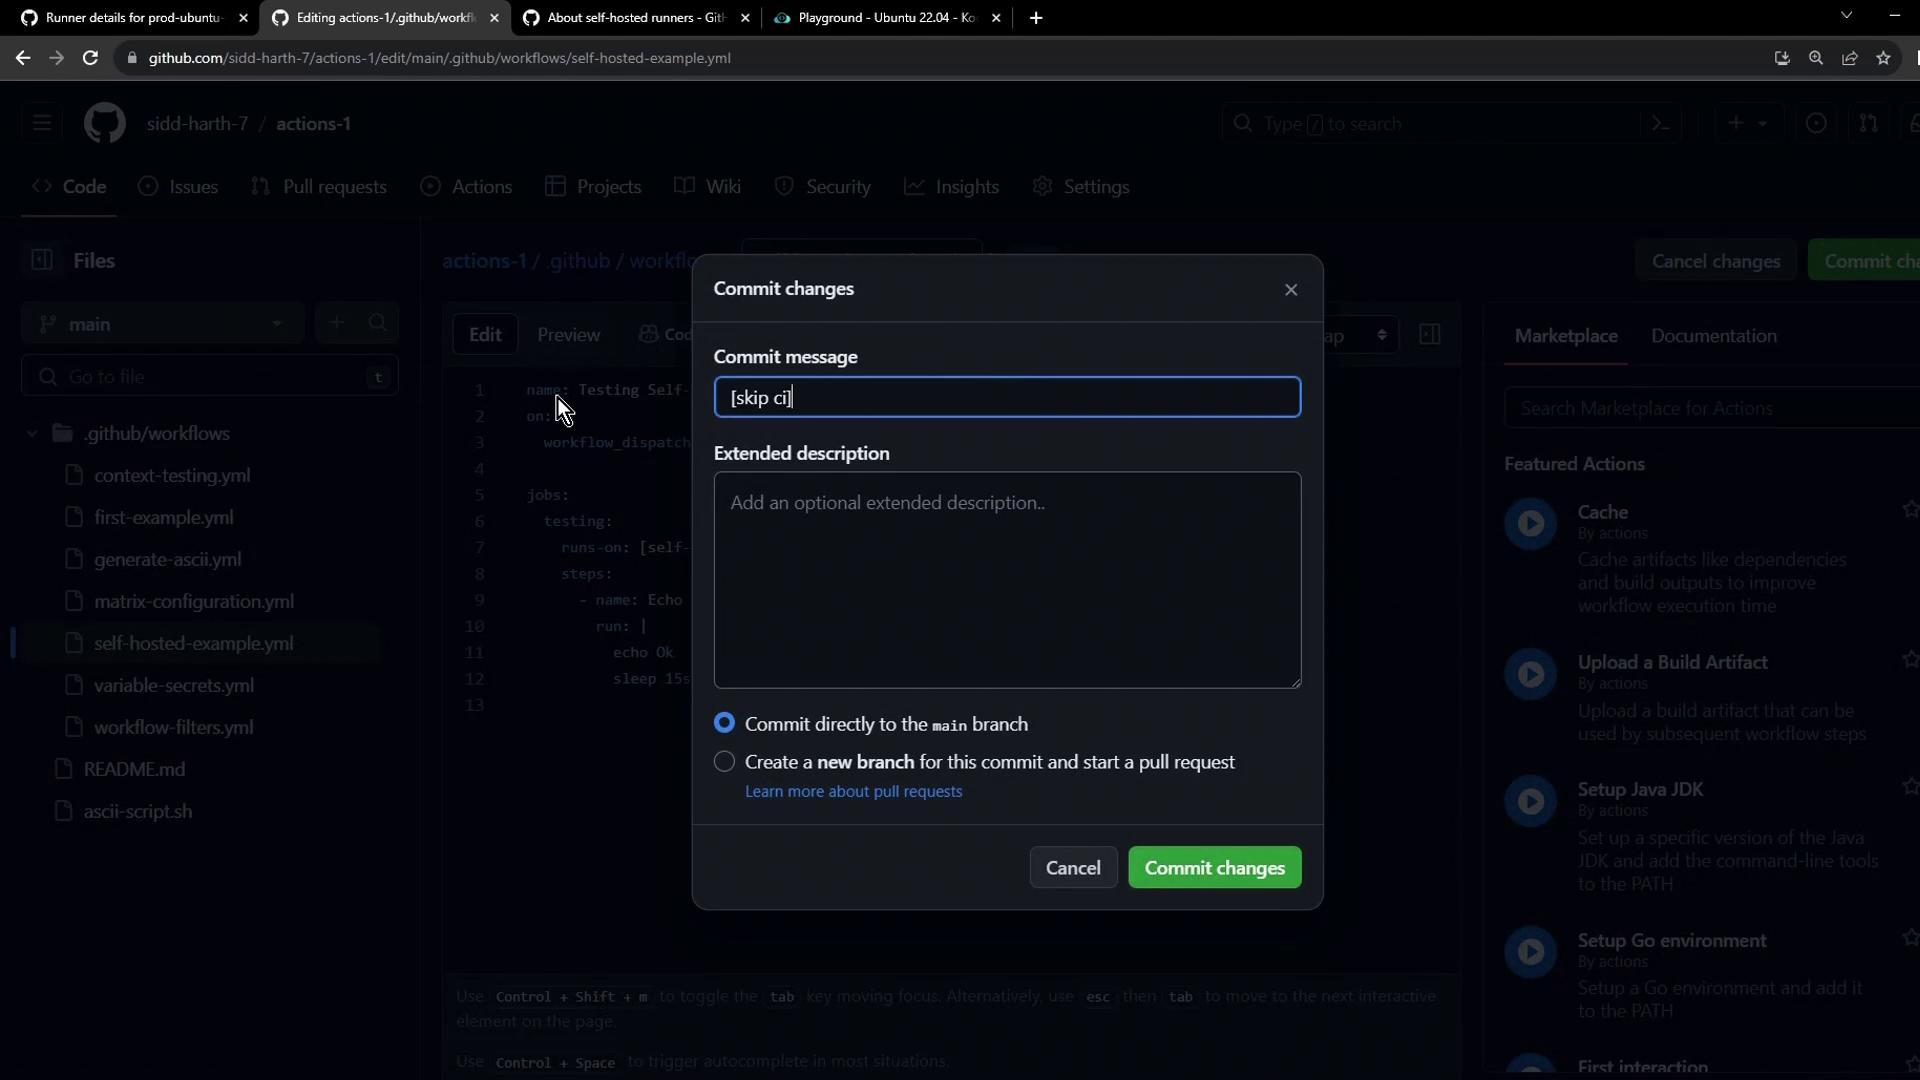
Commit your changes directly to the main branch:

The image shows a GitHub interface with a "Commit changes" dialog box open, where a commit message is being entered. The background displays a repository with YAML workflow files.


6. Dispatch the Workflow Manually

  1. Go to the Actions tab.
  2. Select Test Self-Hosted Runner.
  3. Click Run workflow and choose the branch.
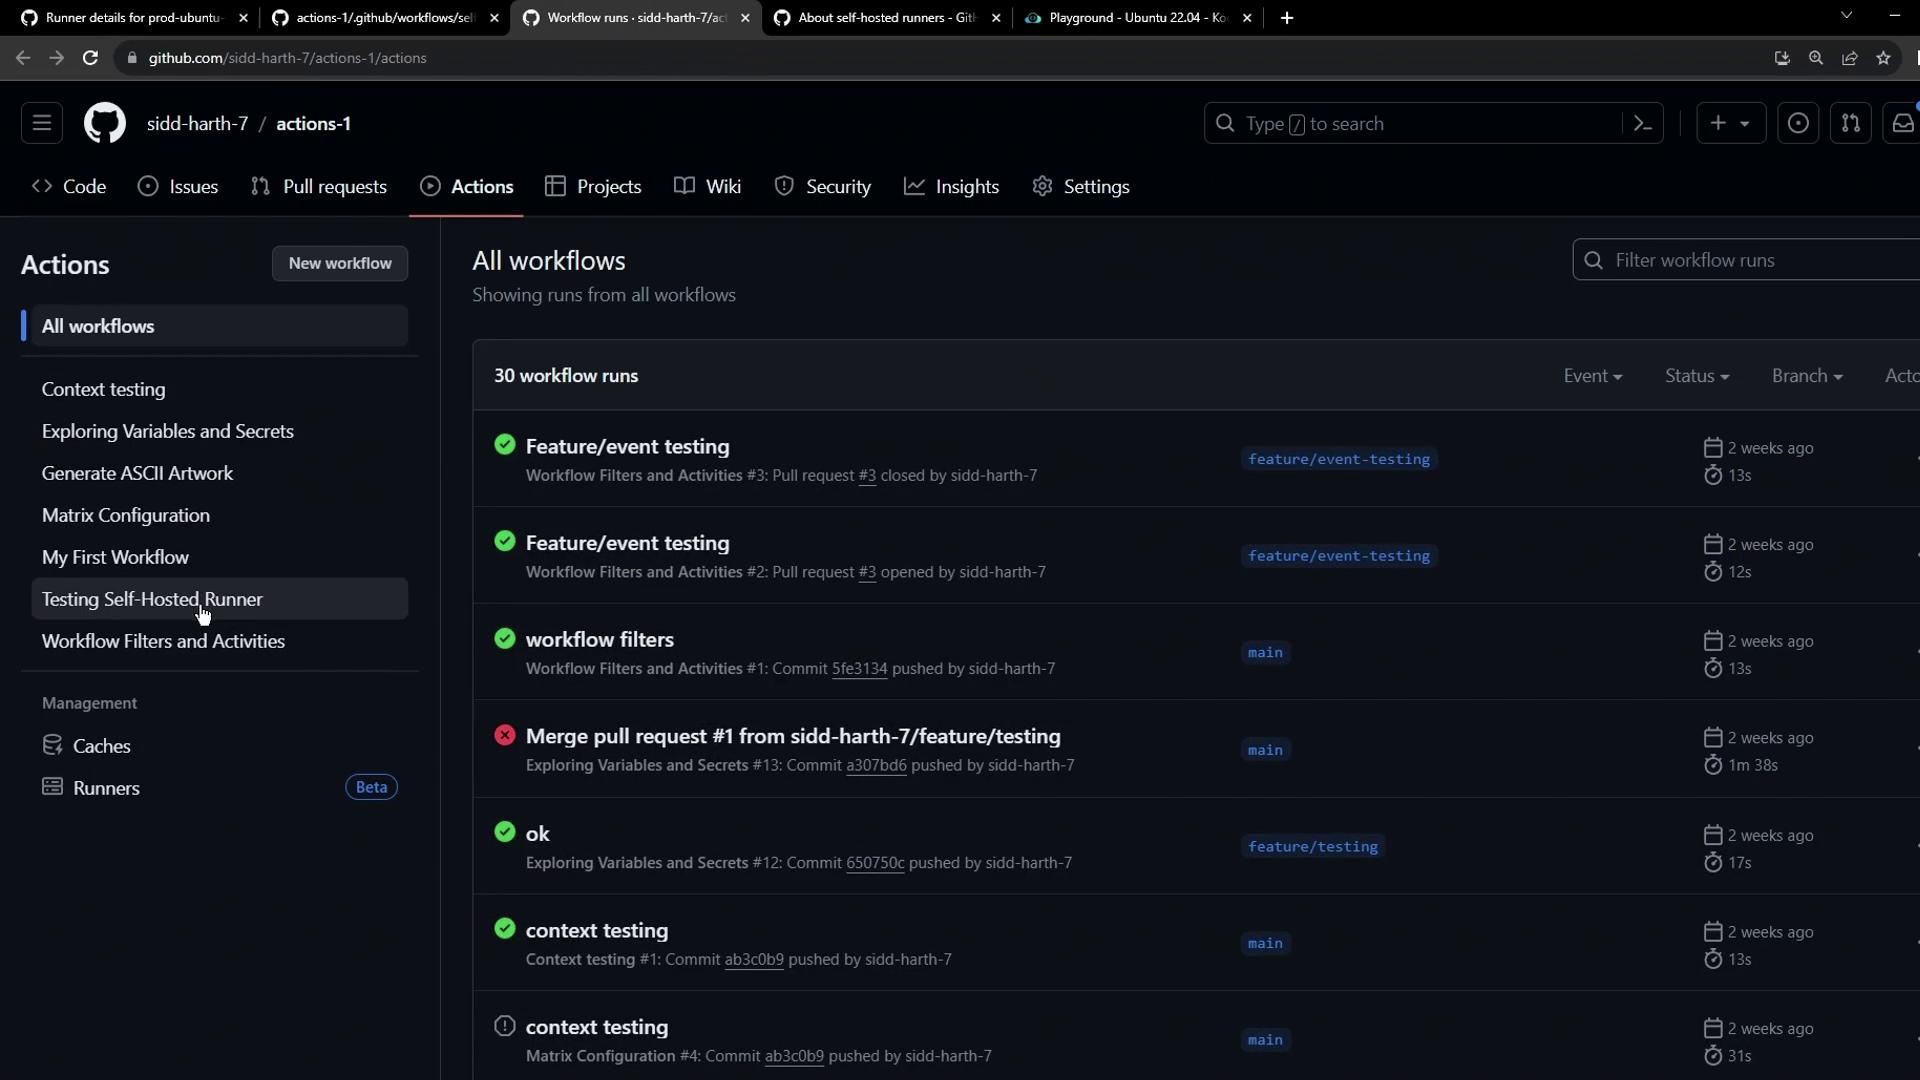
The job enters the self-hosted queue, then starts:

The image shows a GitHub Actions interface displaying a list of workflow runs with their statuses, branches, and timestamps. The sidebar includes options for different workflows and management tools like caches and runners.


7. Review Logs and Runner Output

Once the run completes:

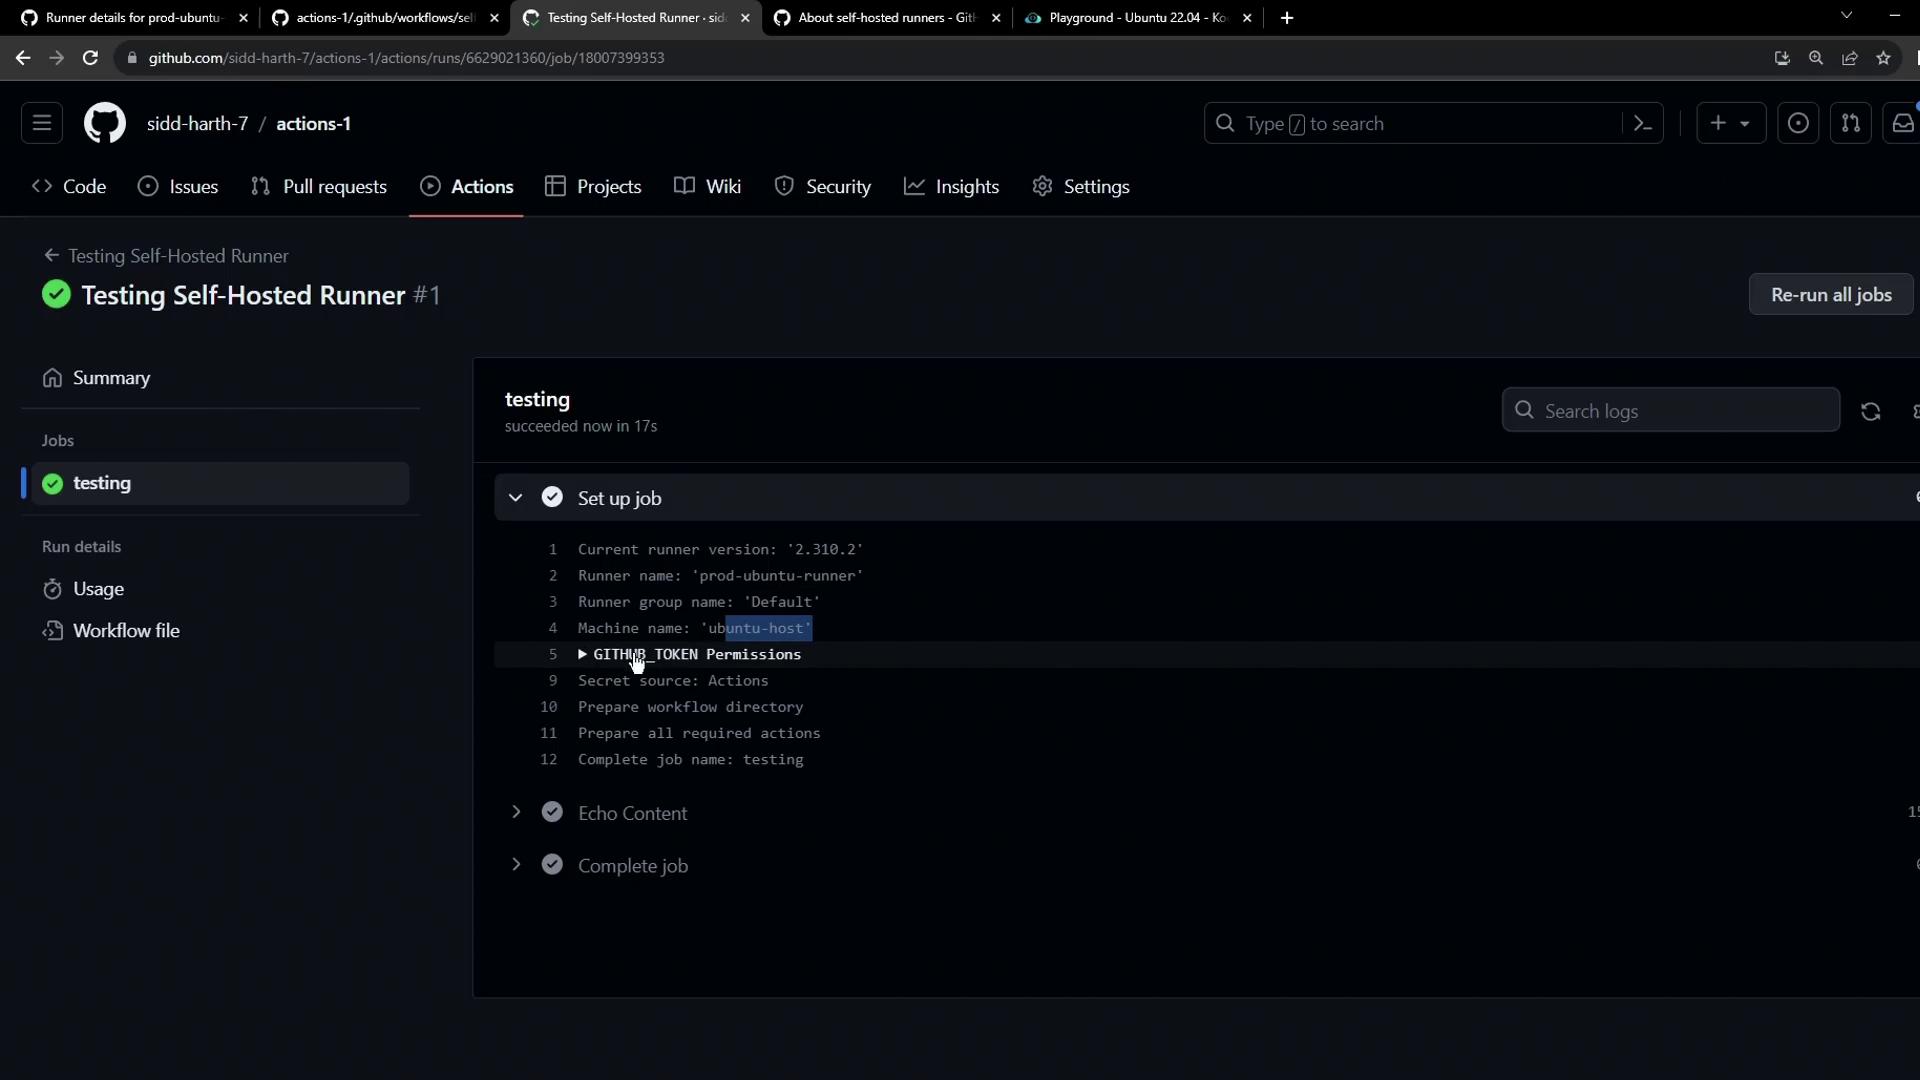
  • In GitHub, click the run to see Setup job details, including:
    • Runner name (prod-ubuntu-runner)
    • Runner group (default)
    • Host machine name (ubuntu-host)
  • On the VM, the runner console confirms success:
root@ubuntu-host ~/actions-runner ➜ ./run.sh
Job test-job completed with result: Succeeded

The image shows a GitHub Actions interface with a successful job run for "Testing Self-Hosted Runner," displaying job details and logs.


8. Key Takeaways

LabelPurpose
self-hostedRoutes the job to any self-hosted runner
linuxTargets Linux-based runners
prodCustom label for production environment
  • Always list all runner labels in runs-on.
  • Jobs with mismatched labels remain pending.
  • Multiple jobs can run in parallel if matching runners are available.

Watch Video

Watch video content

Previous
Installing a Self Hosted Runner