GitLab CI/CD: Architecting, Deploying, and Optimizing Pipelines
Auto DevOps
Configuring AutoDevOps
Automate the CI/CD pipeline for your Node.js Solar System application with GitLab Auto DevOps. Since this repository contains only source code—no Dockerfile, Kubernetes manifests, or .gitlab-ci.yml—Auto DevOps will detect, build, test, and deploy your app end to end.
1. Importing the Project
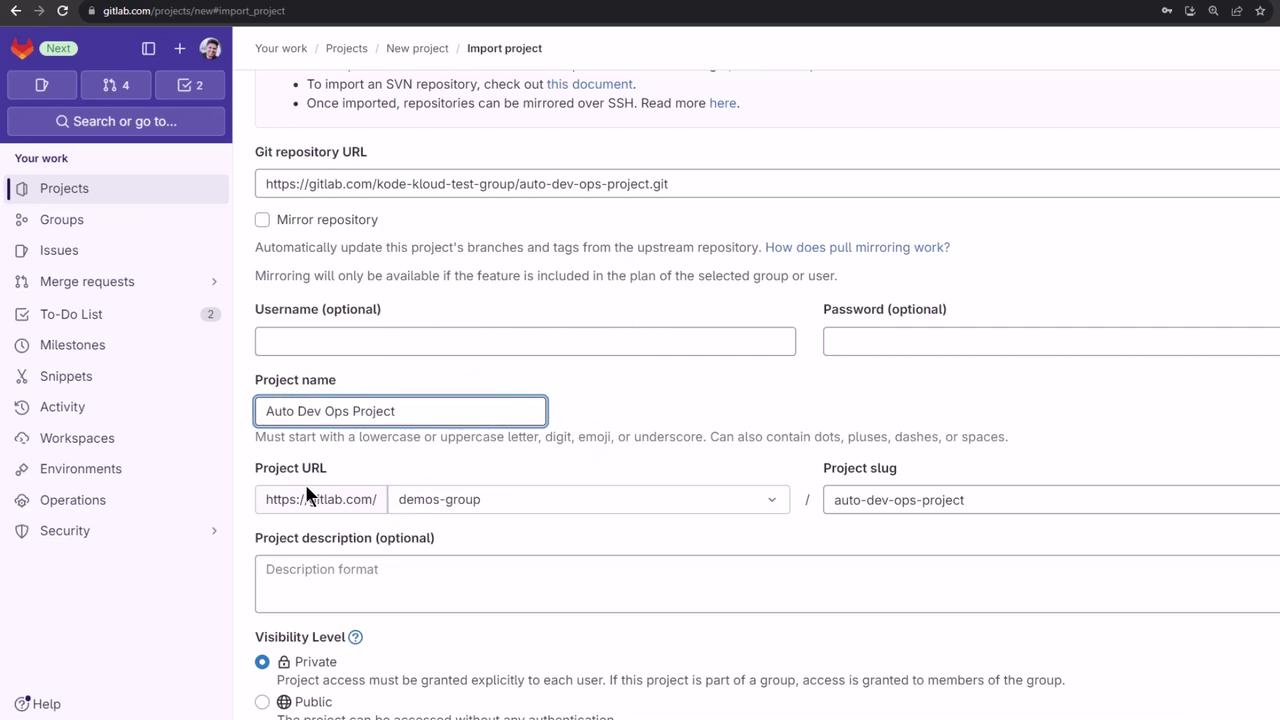
- In GitLab, click + New project → Import project → Repo by URL.
- Paste your repository URL.
- Under Select namespace, pick demos. Set Project name to
solar-system-auto-devops, choose Public, then click Create project.
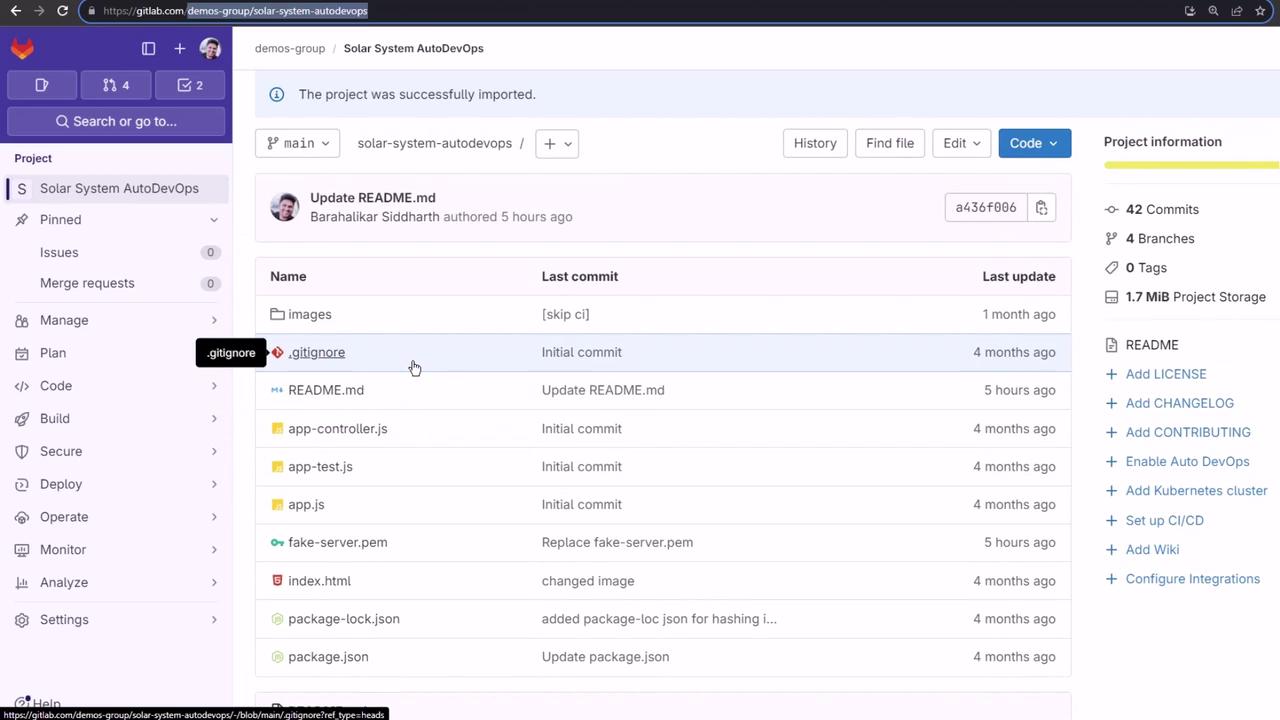
After import, you'll see your project without a Dockerfile, Kubernetes manifests, or .gitlab-ci.yml.

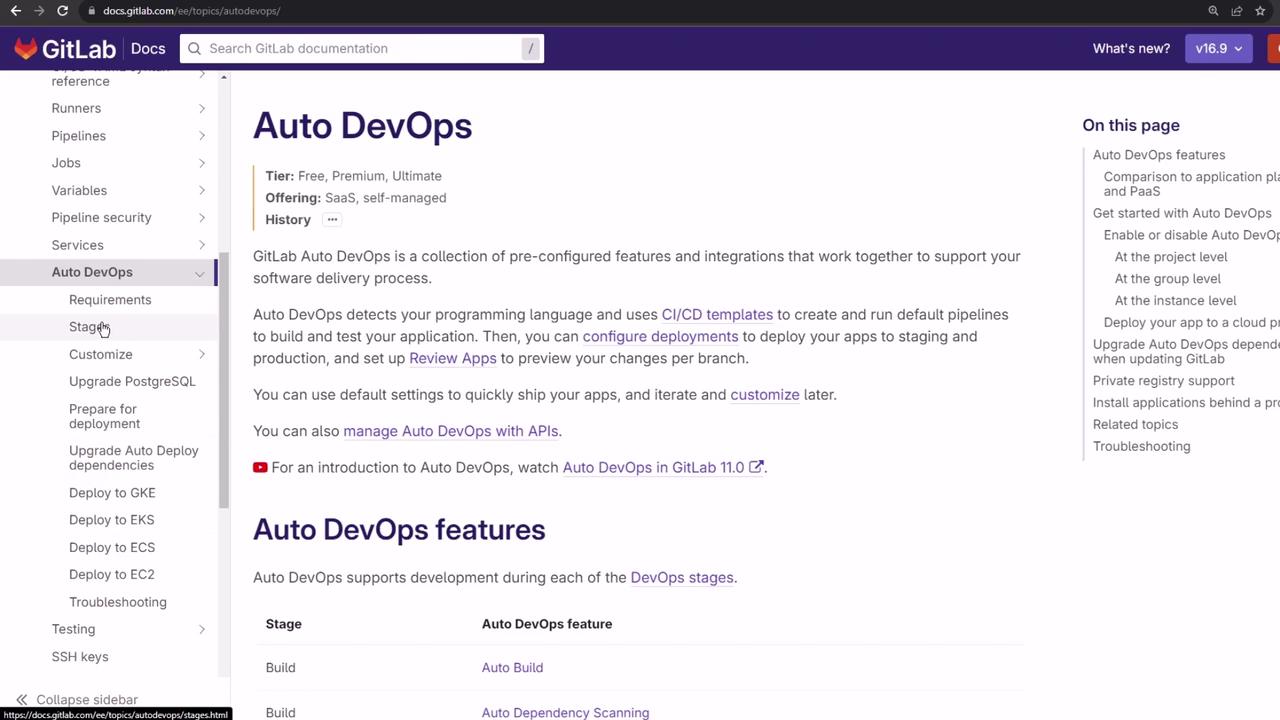
2. Reviewing Auto DevOps Documentation
GitLab’s Auto DevOps docs cover its features, stages, and integration points.
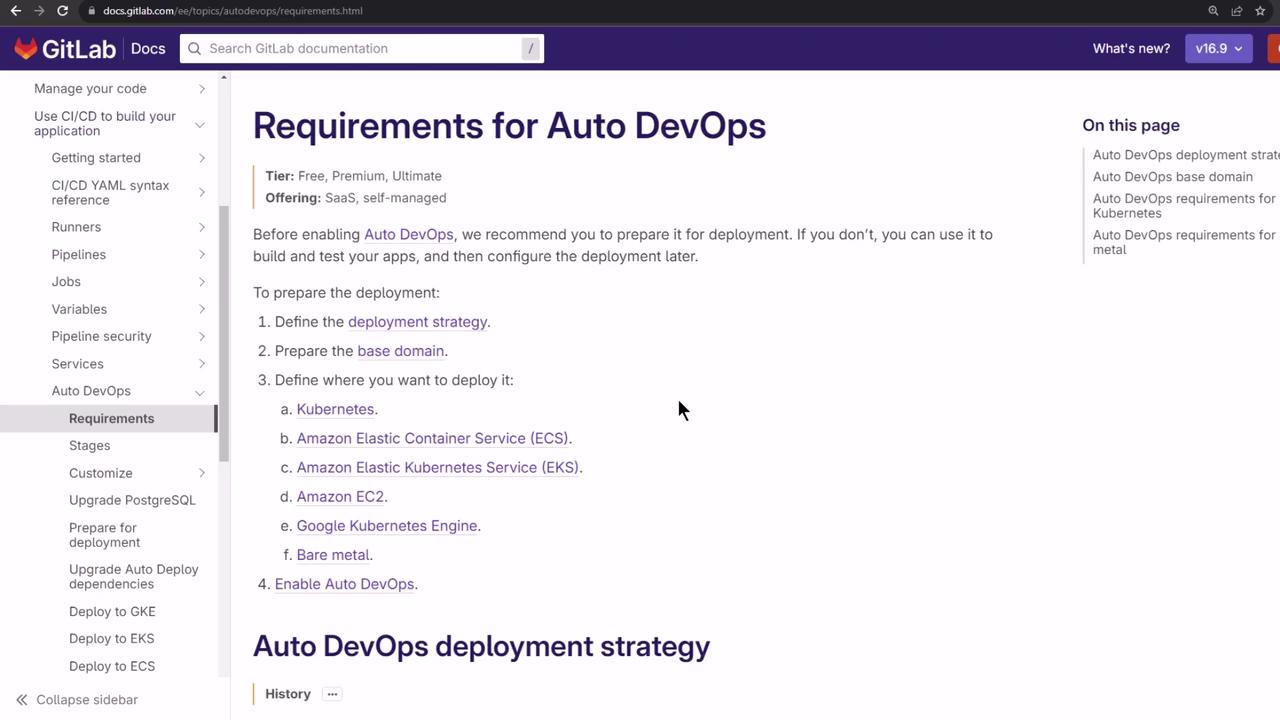
2.1 Requirements
To build and test, no Kubernetes is needed. For automated deployment you must have:
- Kubernetes cluster (v1.12+)
- Wildcard DNS (e.g.,
nip.io) - GitLab Agent or cluster integration
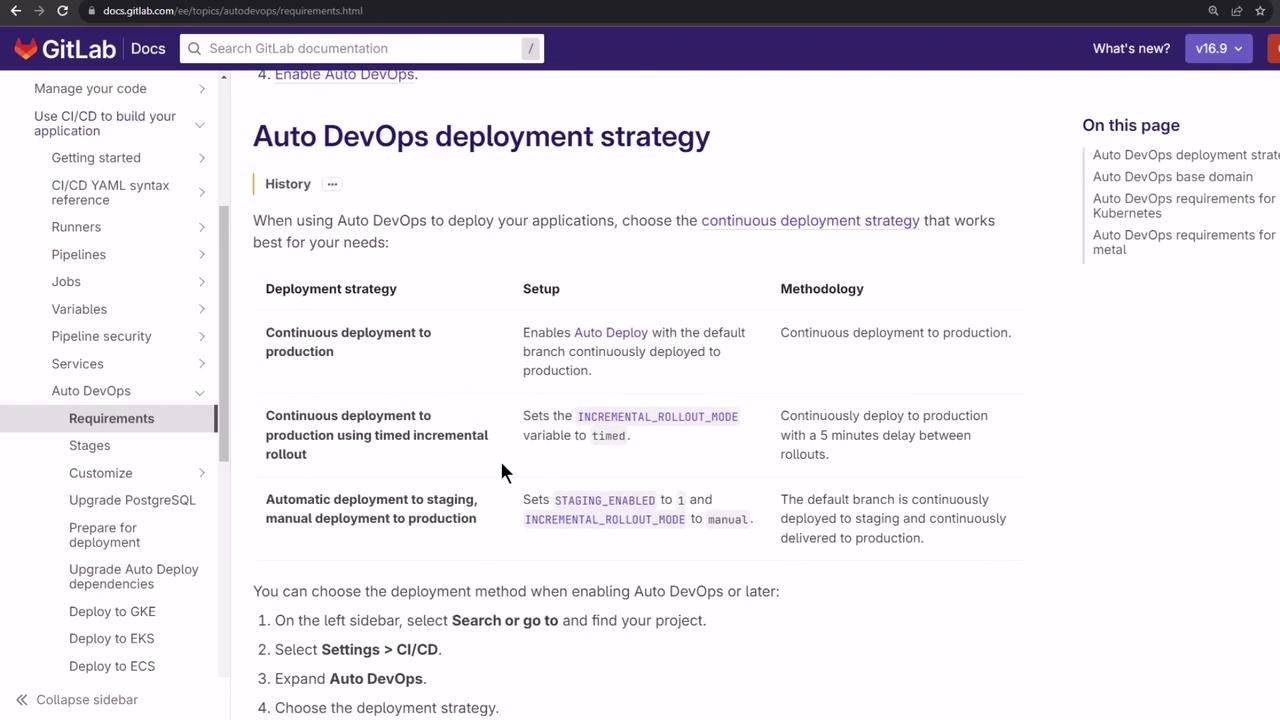
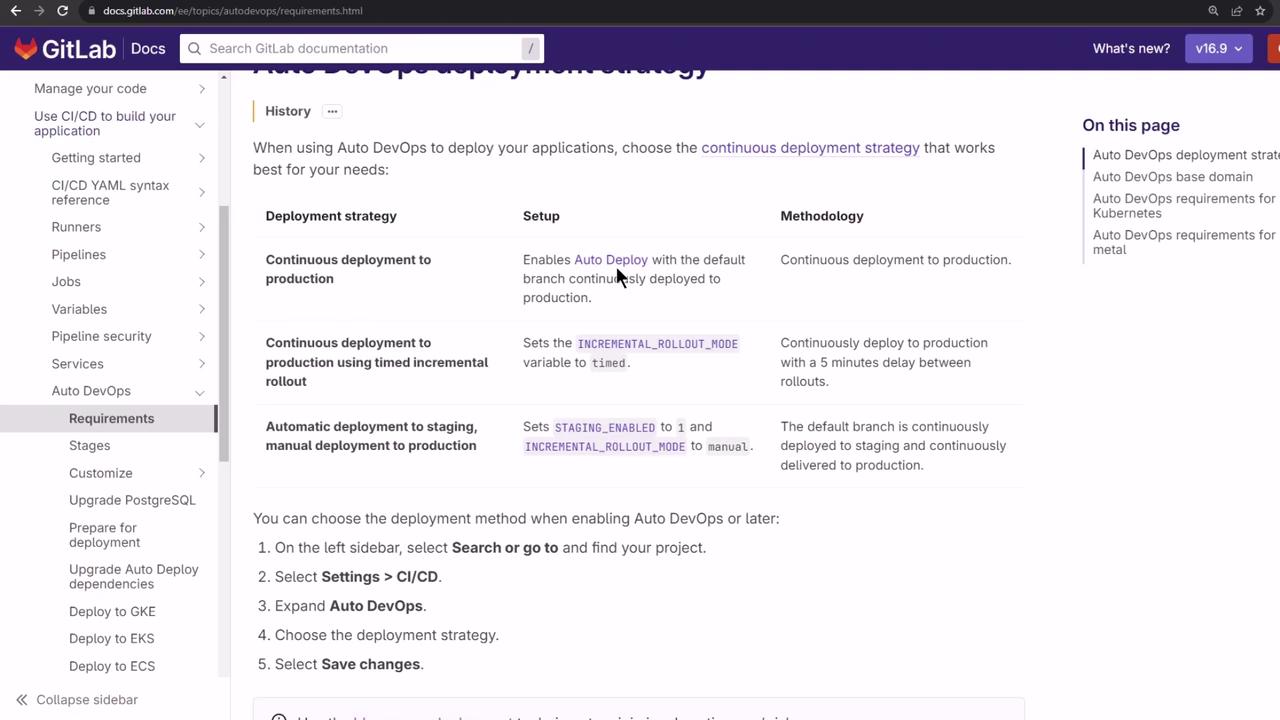
2.2 Deployment Strategies
Auto DevOps supports:
| Strategy | Description |
|---|---|
| Continuous Deployment to Production | Deploy every successful pipeline to production |
| Continuous Deployment with Canary | Gradual traffic shift for safer rollouts |
| Manual Promotion | Requires explicit approval before production release |
We’ll use Continuous Deployment to Production.
3. Enabling Auto DevOps
- Go to Settings > CI/CD > Auto DevOps.
- Toggle Enable Auto DevOps on.
You'll choose the deployment strategy after configuring your cluster.
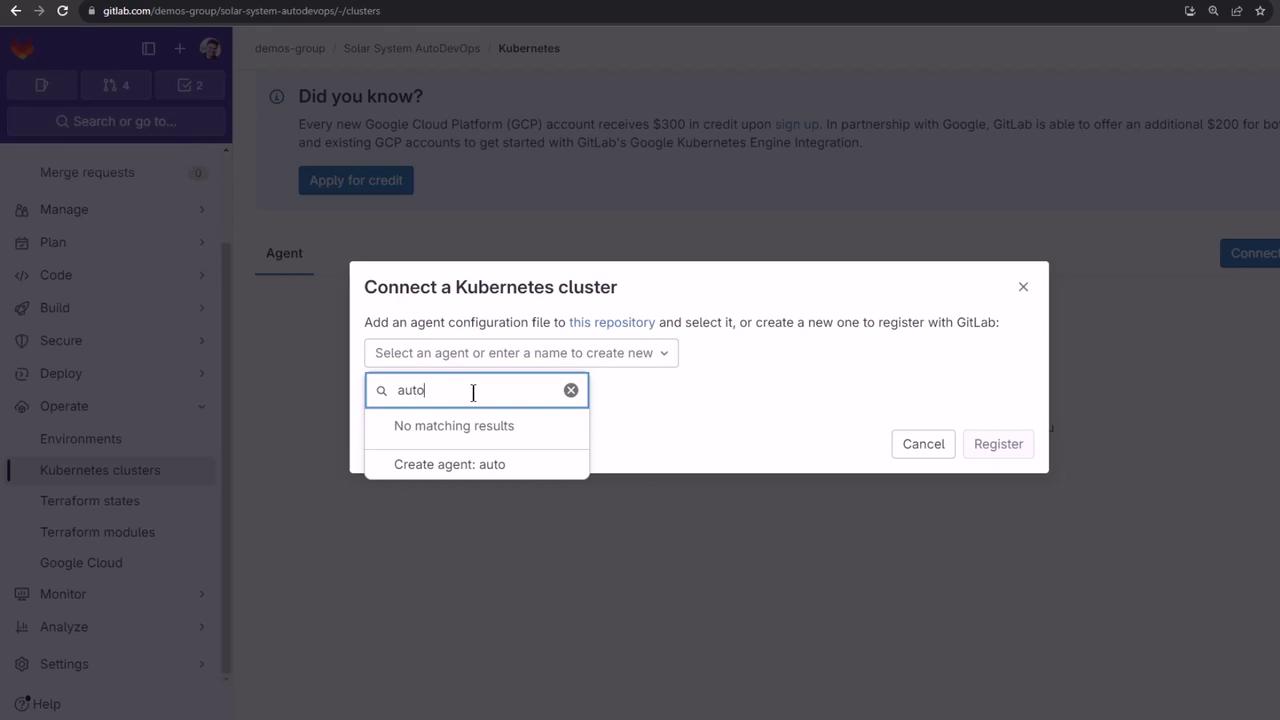
4. Connecting a Kubernetes Cluster
- Navigate to Operate > Kubernetes clusters.
- Click Connect cluster → Create GitLab Agent.
- Name it
auto-devops-agentand click Register.
- Install the agent via Helm:
helm repo add gitlab https://charts.gitlab.io
helm repo update

helm upgrade --install auto-devops-agent gitlab/gitlab-agent \
  --namespace gitlab-agent-auto-devops-agent \
  --create-namespace \
  --set image.tag=v16.9.0-rc2 \
  --set config.token=glagent-rthdvds1zyCnME14AM8tdE5HVzy7iZJ9Avr~Bg_epySyxtbw \
  --set config.kasAddress=wss://kas.gitlab.com
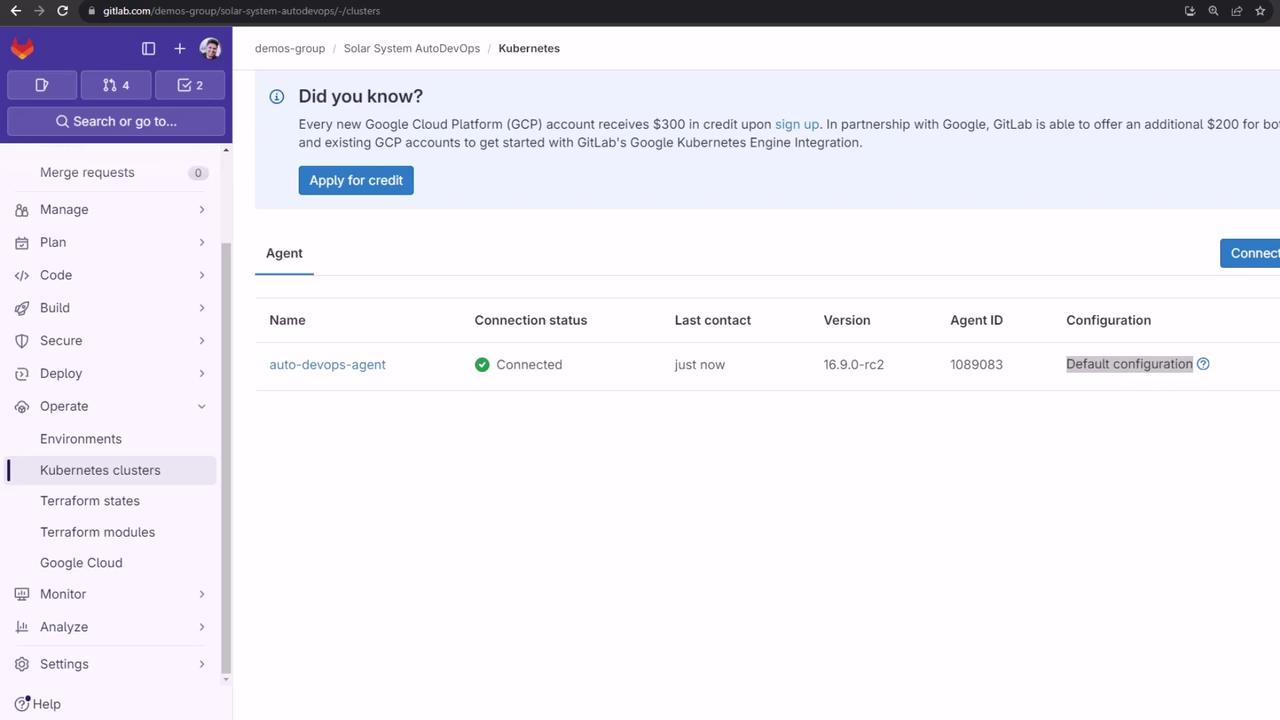
- Confirm the namespace and pods:
kubectl get namespaces | grep gitlab-agent-auto-devops-agent
kubectl get pods -n gitlab-agent-auto-devops-agent
Once connected, your cluster appears in GitLab.
5. Configuring the Agent
Add the configuration at .gitlab/agents/auto-devops-agent/config.yaml:
user_access:
  access_as:
    agent: {}
  projects:
    - id: demos-group/solar-system-auto-devops

ci_access:
  projects:
    - id: demos-group/solar-system-auto-devops
Commit to main. GitLab will apply these permissions automatically.
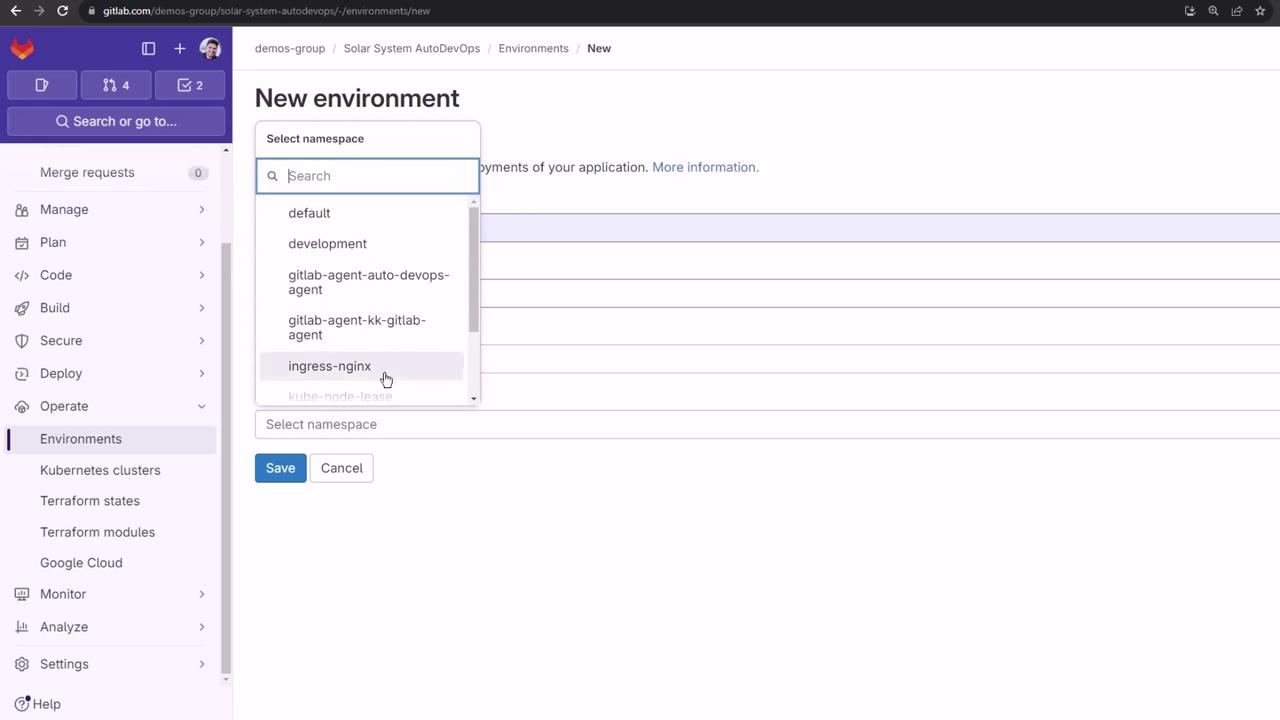
6. Defining Environments
We’ll target two namespaces: staging and production.
- Staging
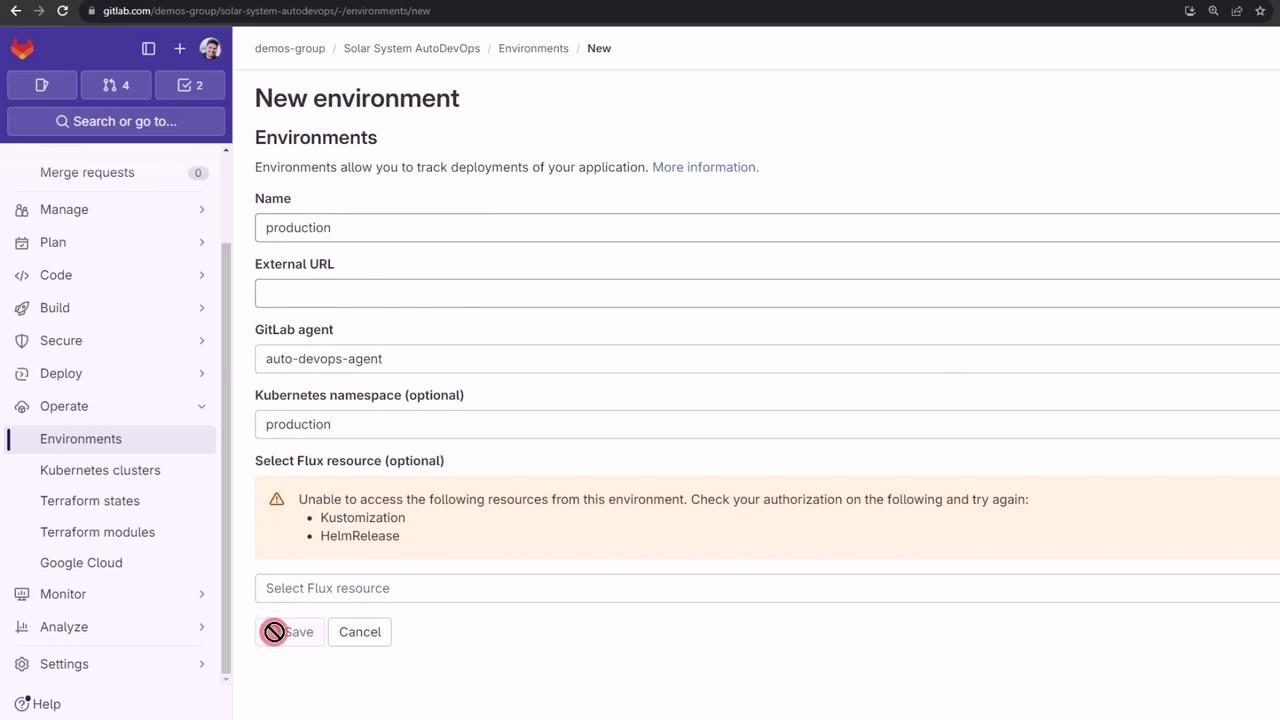
- Go to Environments > New environment.
- Name:
staging - Kubernetes agent:
auto-devops-agent - Namespace: All namespaces
- Click Save.
Production
- Create the namespace:
kubectl create namespace production- In Environments > New environment:
- Name:
production - Agent:
auto-devops-agent - Namespace:
production
- Name:
- Click Save.
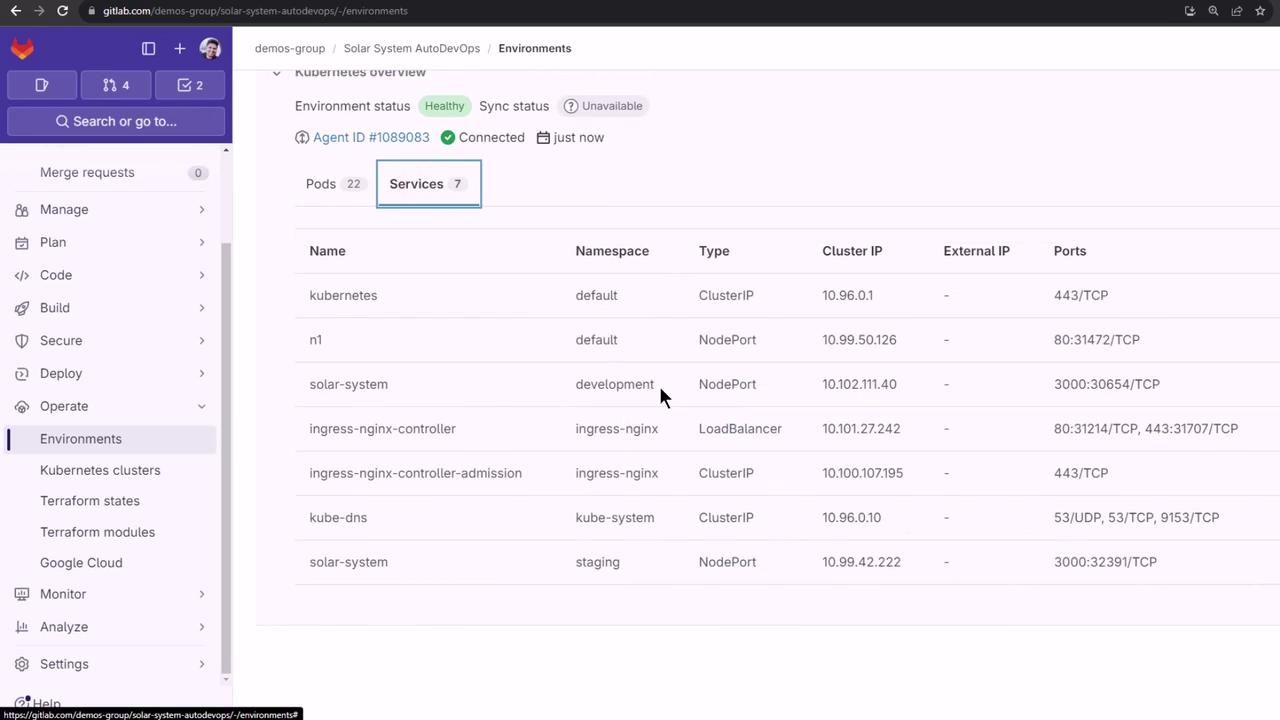
After setup, the Kubernetes overview lists your workloads:
7. Setting CI/CD Variables
Retrieve your Ingress load balancer IP:
kubectl -n ingress-nginx get svc ingress-nginx-controller \
  -o json | jq -r '.status.loadBalancer.ingress[0].ip'
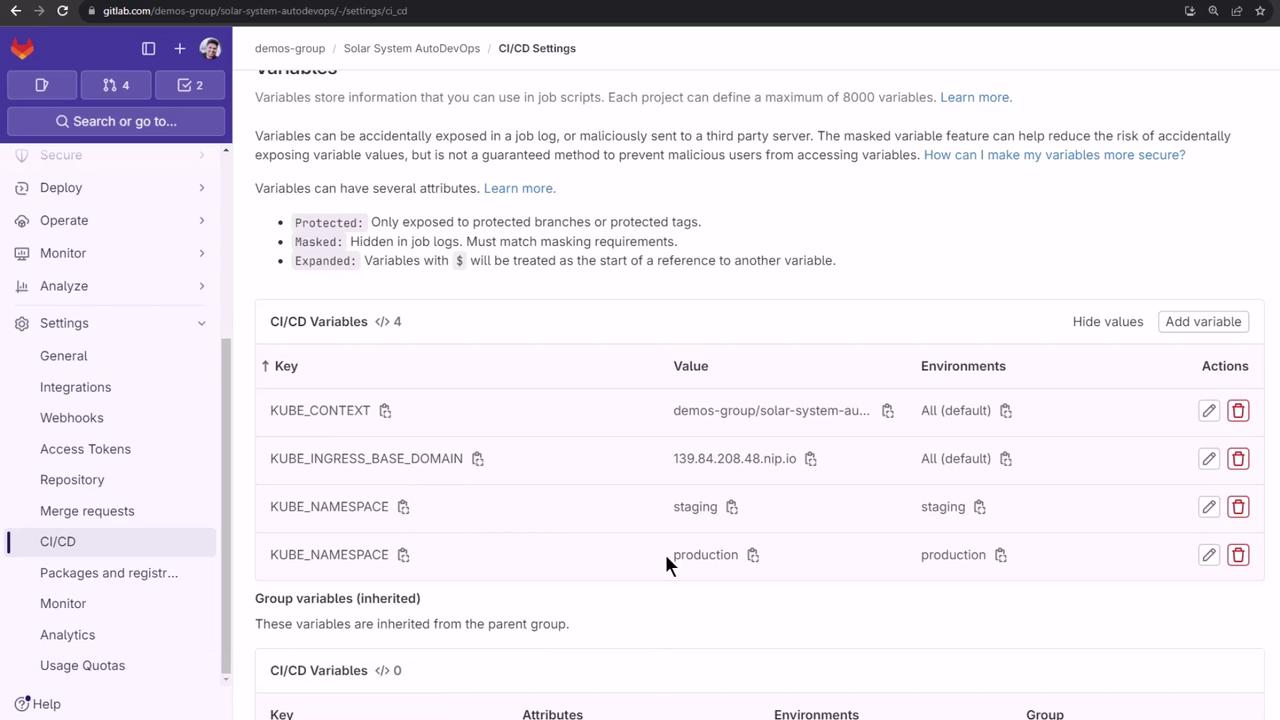
In Settings > CI/CD > Variables, add:
| Variable | Value | Environment |
|---|---|---|
| KUBE_INGRESS_BASE_DOMAIN | <LOAD_BALANCER_IP>.nip.io | all |
| KUBE_CONTEXT | demos-group/solar-system-auto-devops:auto-devops-agent | all |
| KUBE_NAMESPACE | staging | staging |
| KUBE_NAMESPACE | production | production |
| PRODUCTION_REPLICAS | 10 | production |
Tip
Variable names are case-sensitive. Double-check the values before running your pipeline.
Refer to the Auto DevOps CI/CD variables documentation for more options.
8. Selecting Deployment Strategy
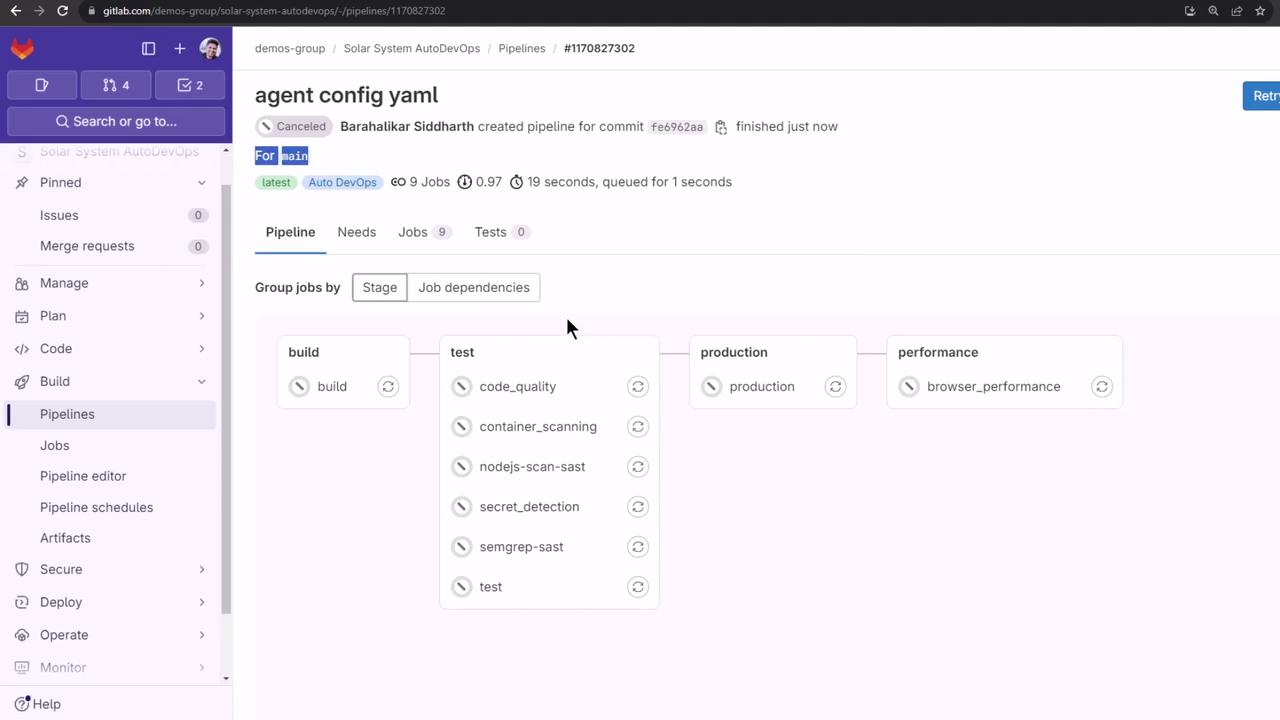
Back in Settings > CI/CD > Auto DevOps, choose Continuous Deployment to Production and click Save. A new pipeline will start automatically.
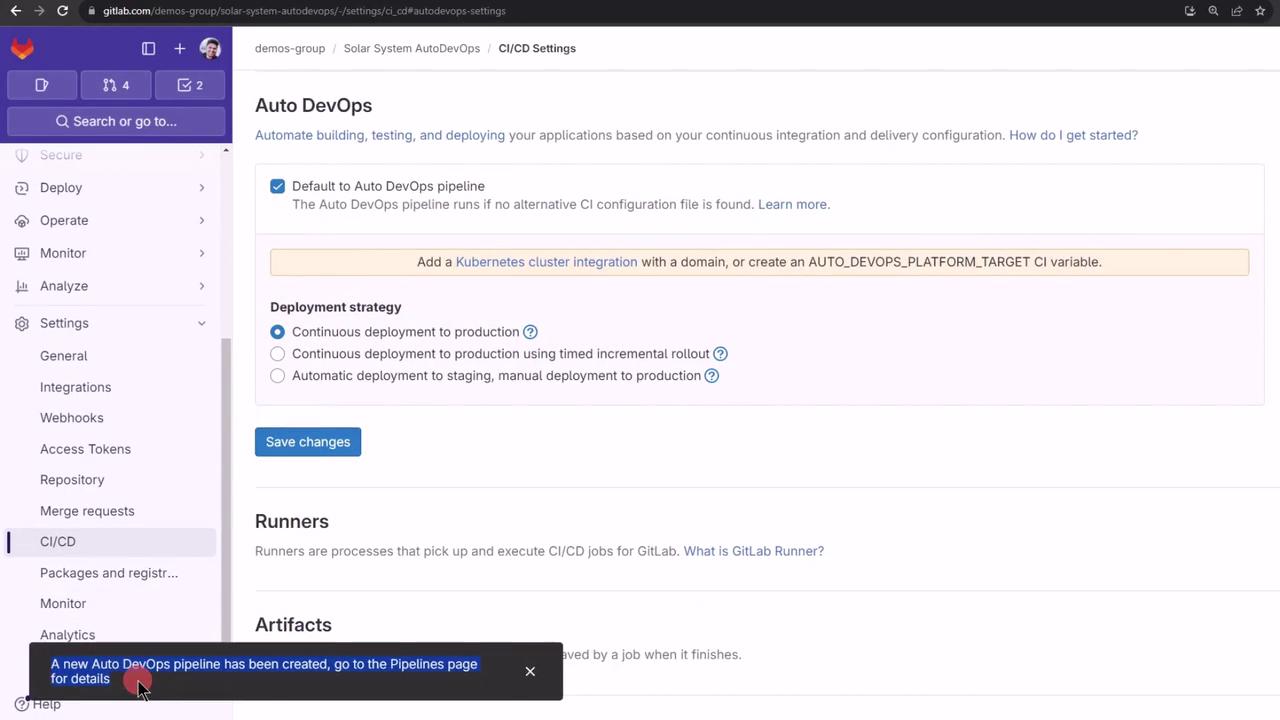
Go to CI/CD > Pipelines to track progress:
Best Practice
Test feature branches before merging into main to avoid production issues.
Watch Video
Watch video content