GitLab CI/CD: Architecting, Deploying, and Optimizing Pipelines
Auto DevOps
Fixing Issues and Deploying to Review Environment
In this guide, we’ll resolve a failed GitLab Auto DevOps review pipeline by correctly injecting MongoDB secrets, aligning Kubernetes probe ports, and redeploying to the review environment. We’ll also cover performance testing and cleanup procedures.
1. Identifying the Pipeline Failure
The review stage failed because the application pod couldn’t access the MongoDB environment variables:
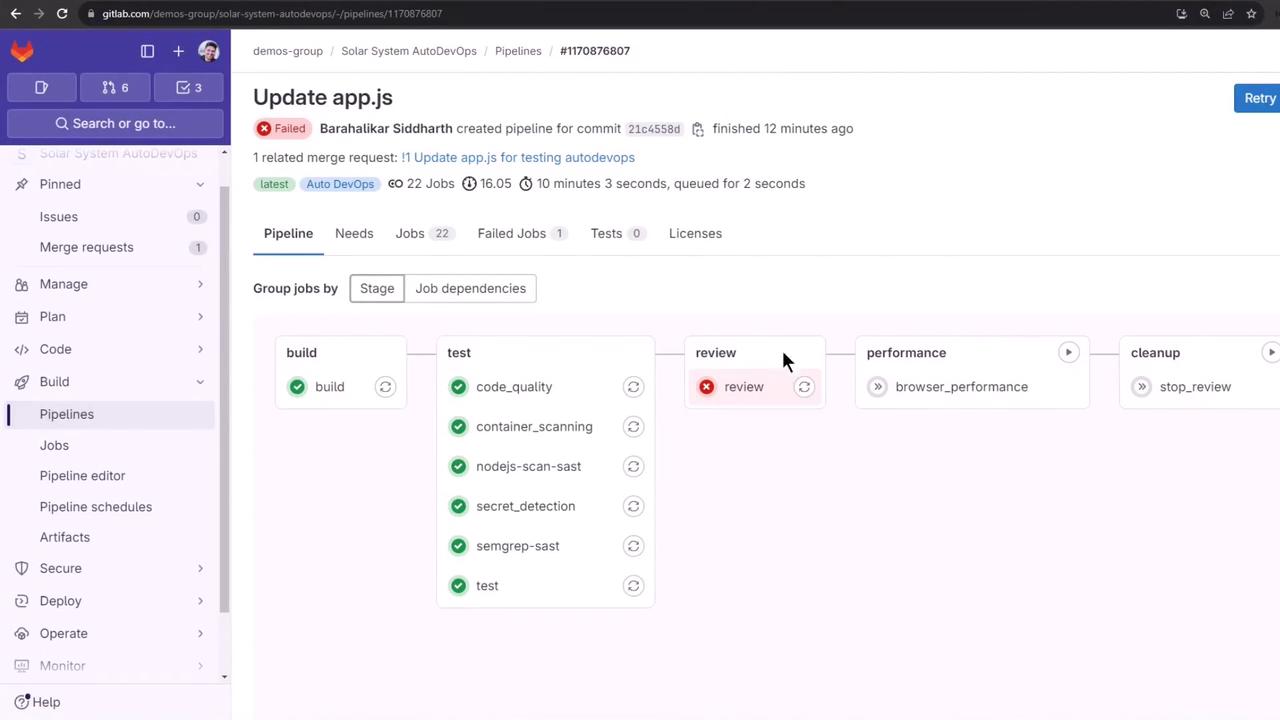
Pipeline Stages Overview:
| Stage | Status | Description |
|---|---|---|
| build | ✅ Passed | Build and push container image |
| test | ✅ Passed | Run unit and integration tests |
| review | ❌ Failed | Deploy to review environment |
| performance | ⏳ Pending | Browser performance testing |
| cleanup | ⏳ Pending | Teardown review environment |
2. Configuring Kubernetes Secrets via CI/CD Variables
Store your MongoDB credentials as CI/CD variables in GitLab:
- Go to Settings > CI/CD > Variables under the Auto DevOps customizer.
- Prefix each key with
K8S_SECRET_so Auto DevOps creates a Kubernetes Secret and injects it into pods.
Note
Auto DevOps will map K8S_SECRET_<NAME> to a Kubernetes secret named <NAME>, making it available as an environment variable inside your pod.
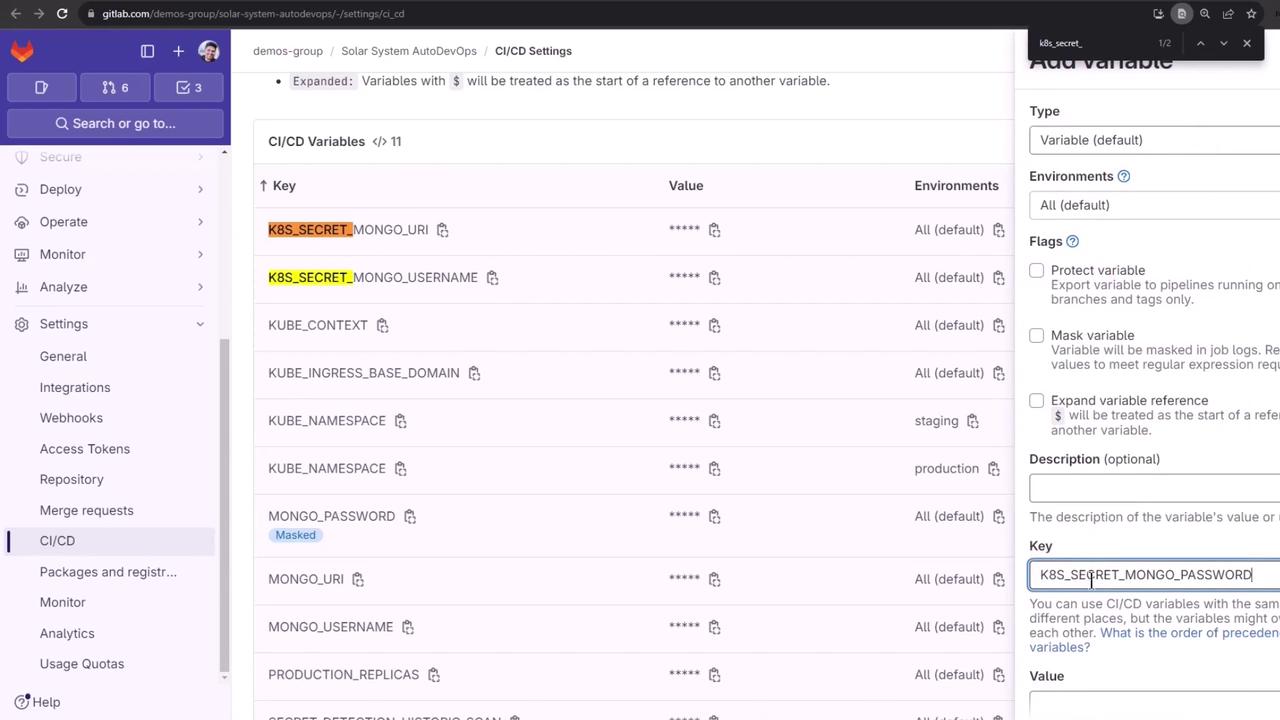
Example (in CI/CD UI or via curl API):
# Key: K8S_SECRET_MONGO_URI
# Value: mongodb://mongo.example.com:27017
# Key: K8S_SECRET_MONGO_USERNAME
# Value: appuser
# Key: K8S_SECRET_MONGO_PASSWORD
# Value: superpassword
3. Cleaning Up the Default Namespace
Before re-running the review job, remove any leftover review resources:
kubectl get all -n default
kubectl get secret -n default

# Delete old review secret if present
kubectl delete secret review-feature-<ID>-secret -n default

kubectl get secret -n default
# No resources found
Warning
Ensure you’re only deleting review-specific secrets. Running deletions in default can impact other workloads.
4. Rerunning and Monitoring the Review Job
Trigger the review job again in GitLab or via API. Then inspect:
kubectl get all -n default
kubectl logs review-feature-<ID>-xxxxx -n default
The app will start and connect to MongoDB successfully:
Server successfully running on port - 3000
MongoDB Connection Successful
However, the liveness and readiness probes still fail.
5. Diagnosing Probe Failures
Describe the pod to view probe errors:
kubectl describe pod review-feature-<ID>-xxxxx -n default
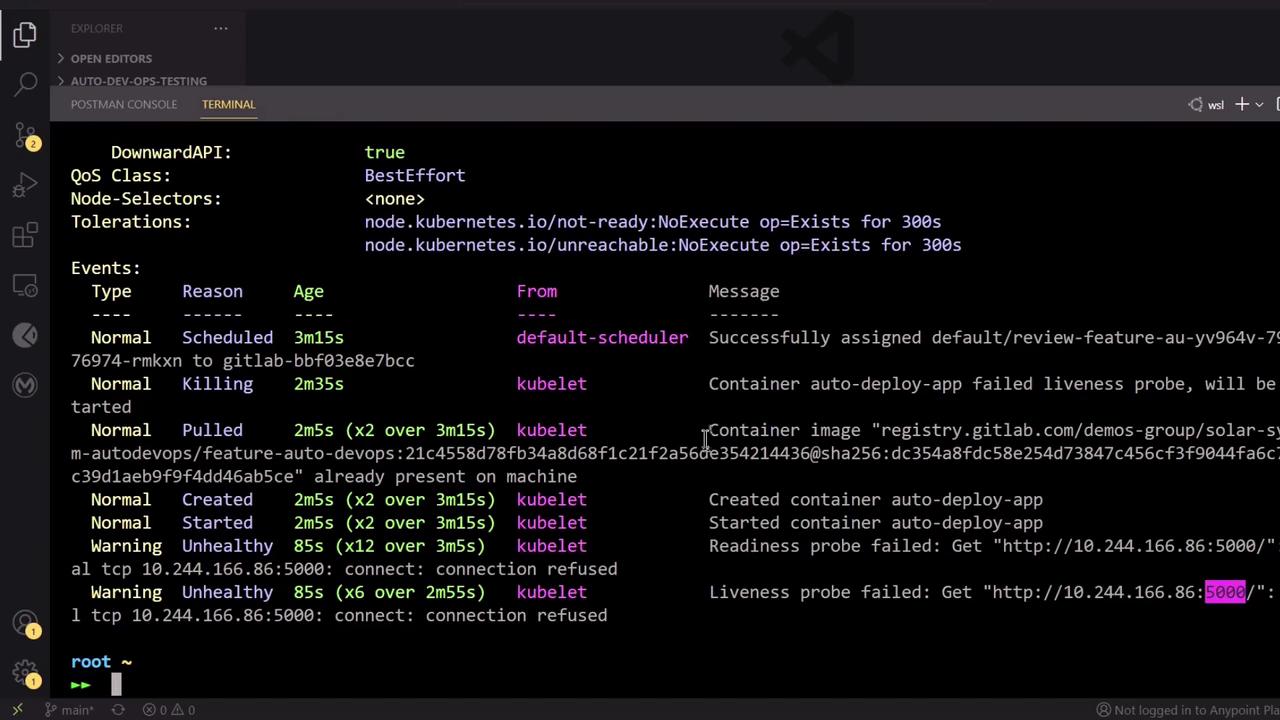
By default, Auto DevOps probes port 5000, but your app listens on 3000:
// app.js
app.listen(3000, () => {
  console.log("Server successfully running on port - " + 3000);
});
6. Troubleshooting Auto DevOps Timeouts
Auto DevOps may report a “timed out waiting for the condition” error due to mismatched probe ports:
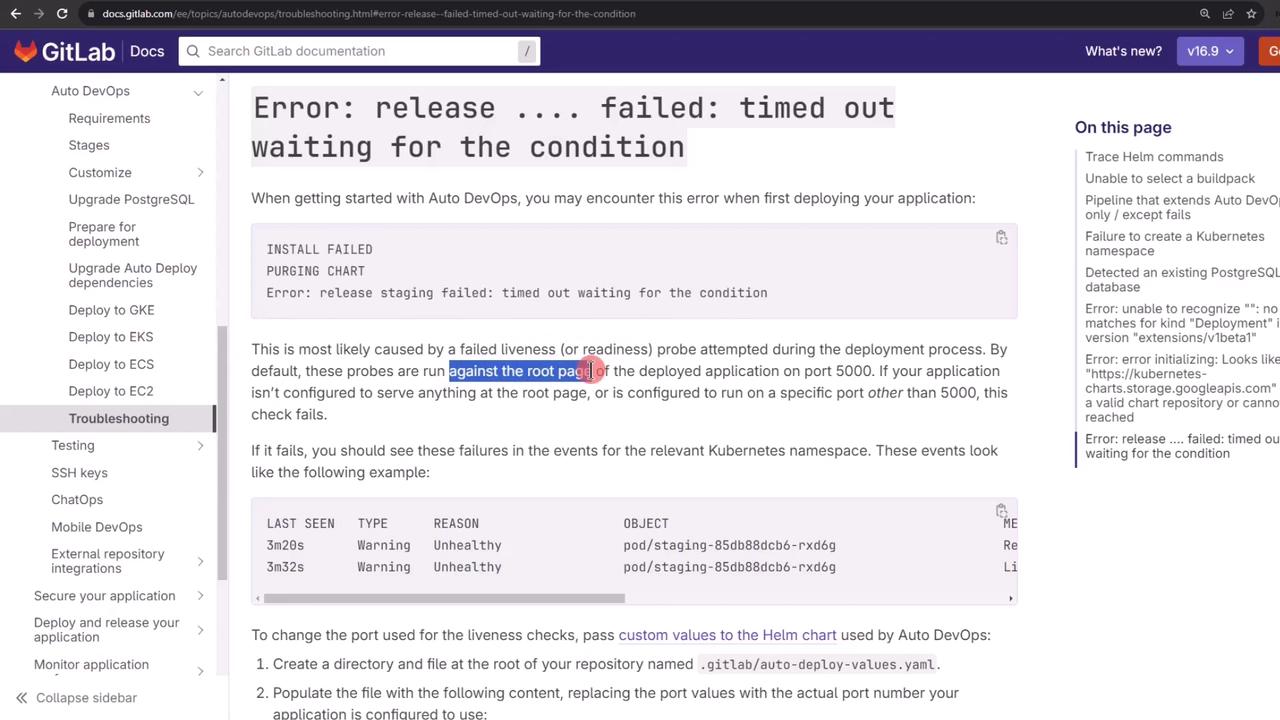
The Helm chart defaults to port 5000 for readiness and liveness:
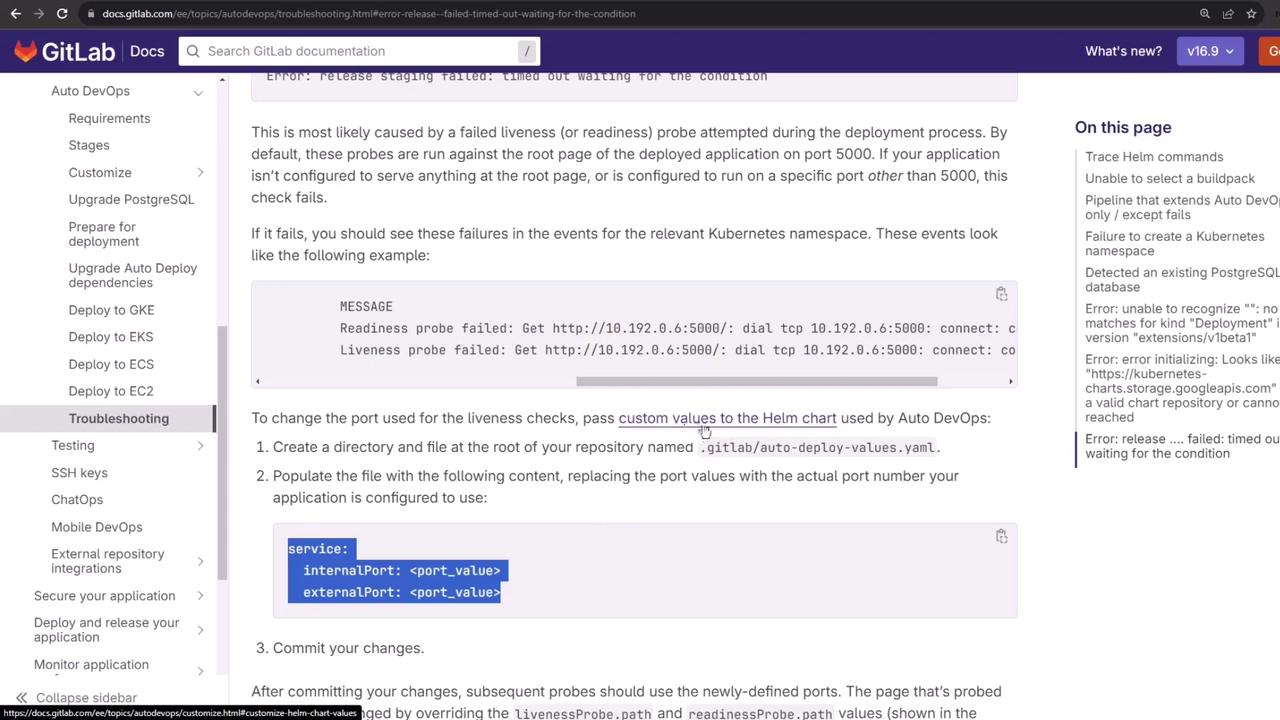
7. Customizing the Helm Chart Values
Create a .gitlab/auto-deploy-values.yaml at the root of your branch to override the probe ports:
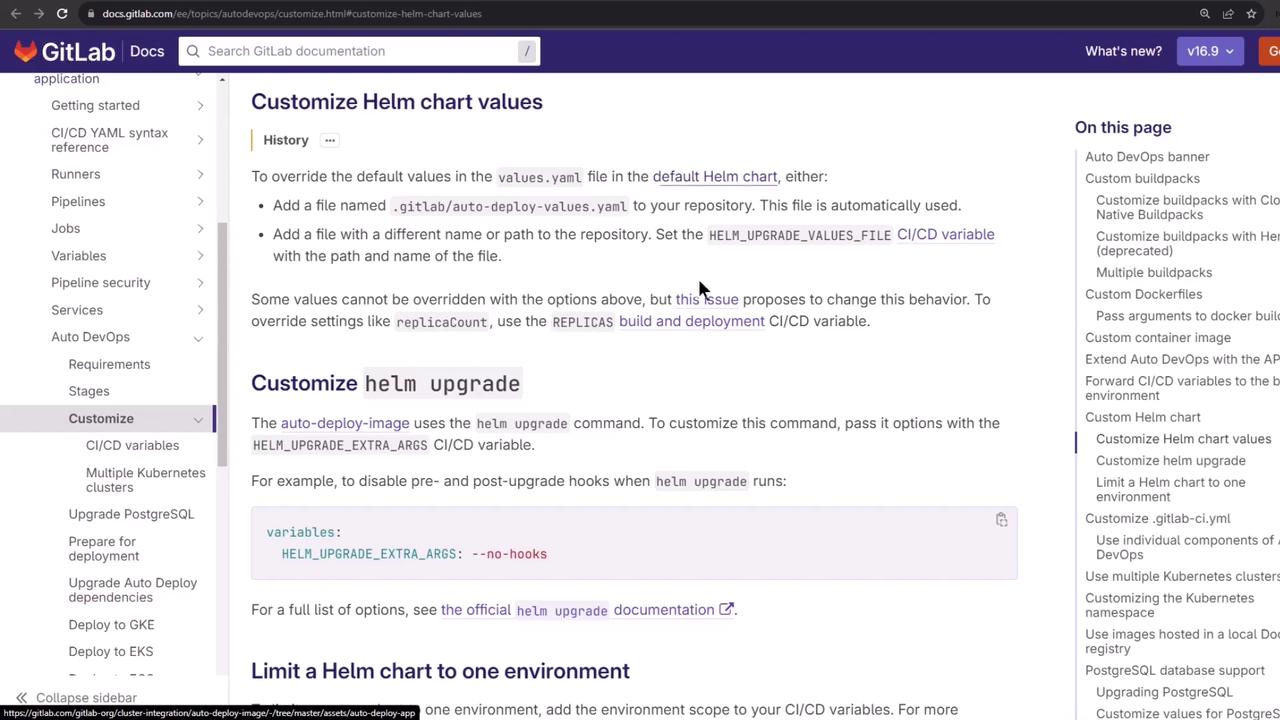
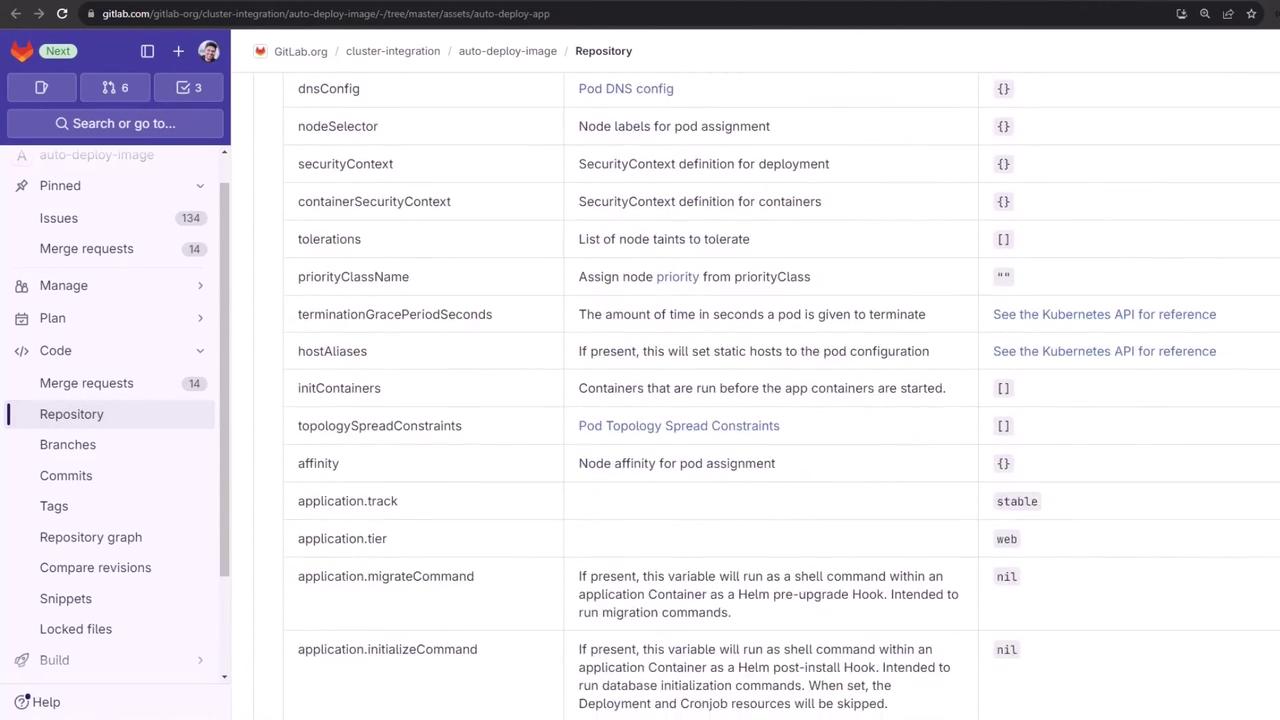
You can refer to all available Kubernetes options here:
Example auto-deploy-values.yaml:
service:
  internalPort: 3000
  externalPort: 3000
Commit and push to trigger a new pipeline.
8. Verifying the Updated Pipeline
After pushing, your pipeline will rerun with the correct ports:
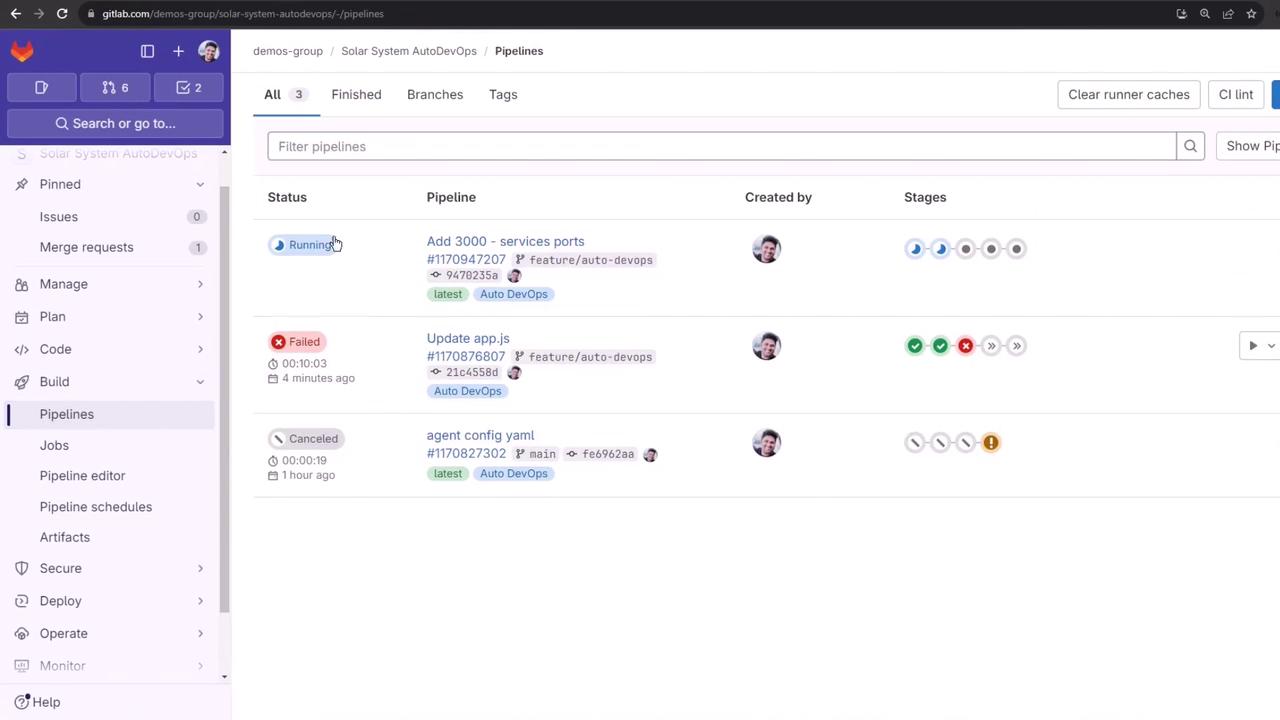
You can cancel unneeded jobs (e.g., Code Quality, SAST) to speed up build, test, and review.
9. Successful Deployment to Review Environment
Once the review job succeeds, you’ll see the application URL:
Using helm values file '.gitlab/auto-deploy-values.yaml'
Release "review-feature-<ID>" does not exist. Installing it now.
…
NOTES:
Application should be accessible at
http://<random>-review-feature-<ID>.<cluster-domain>.nip.io/
Verify with Kubernetes:
kubectl get pods -n default
kubectl get ingress -n default
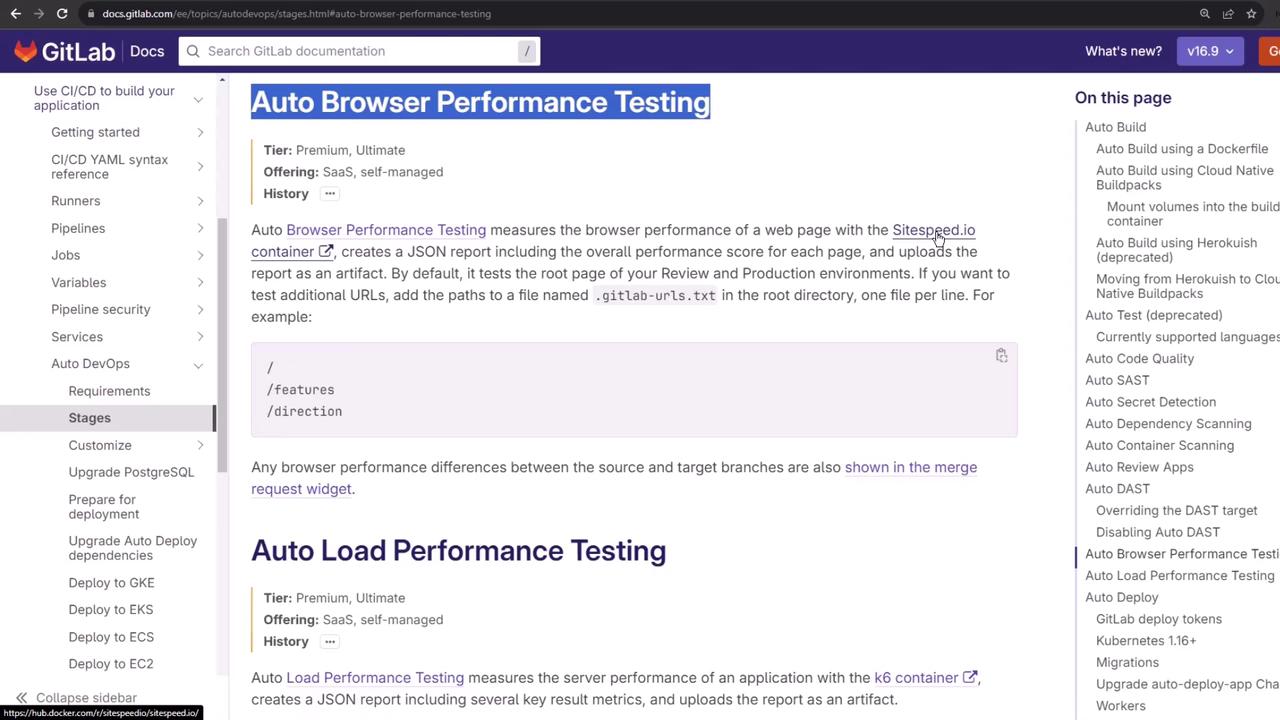
10. Auto Browser Performance Testing
After deployment, Auto DevOps launches Auto Browser Performance Testing using sitespeed.io:
The job runs:
sitespeed.io $CI_ENVIRONMENT_URL --outputFolder sitespeed-results
Inspect the artifact files:
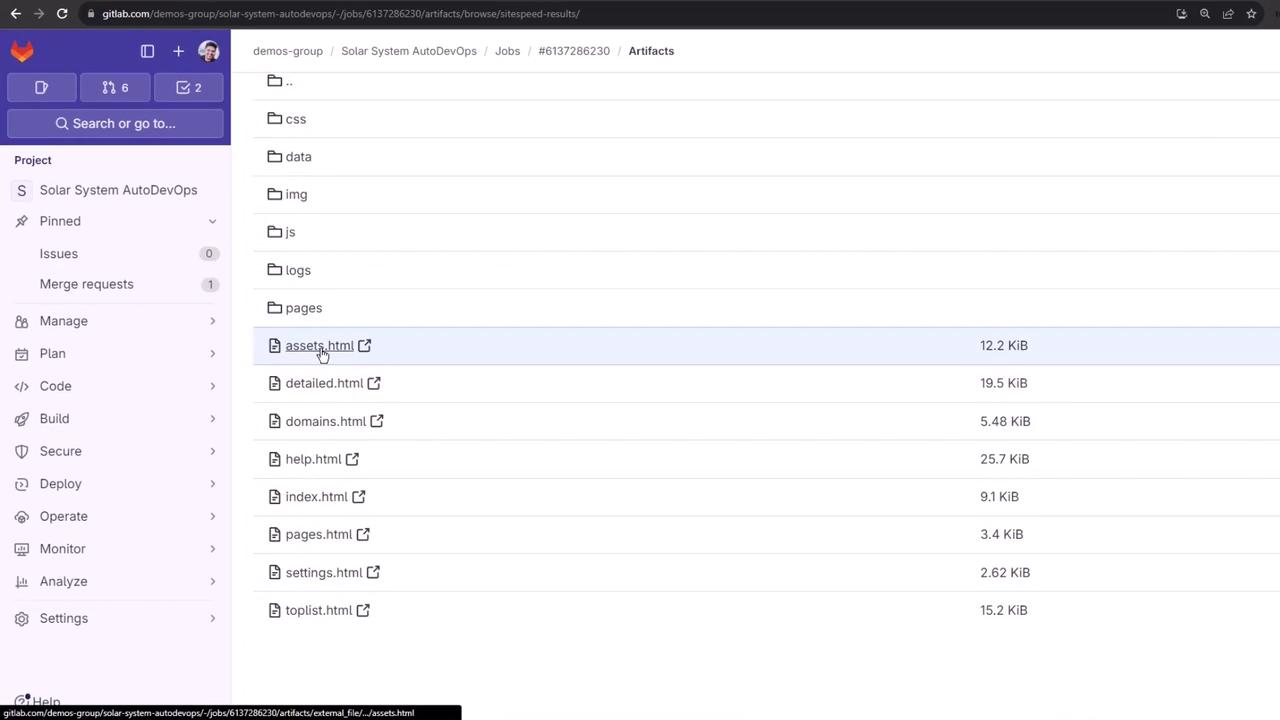
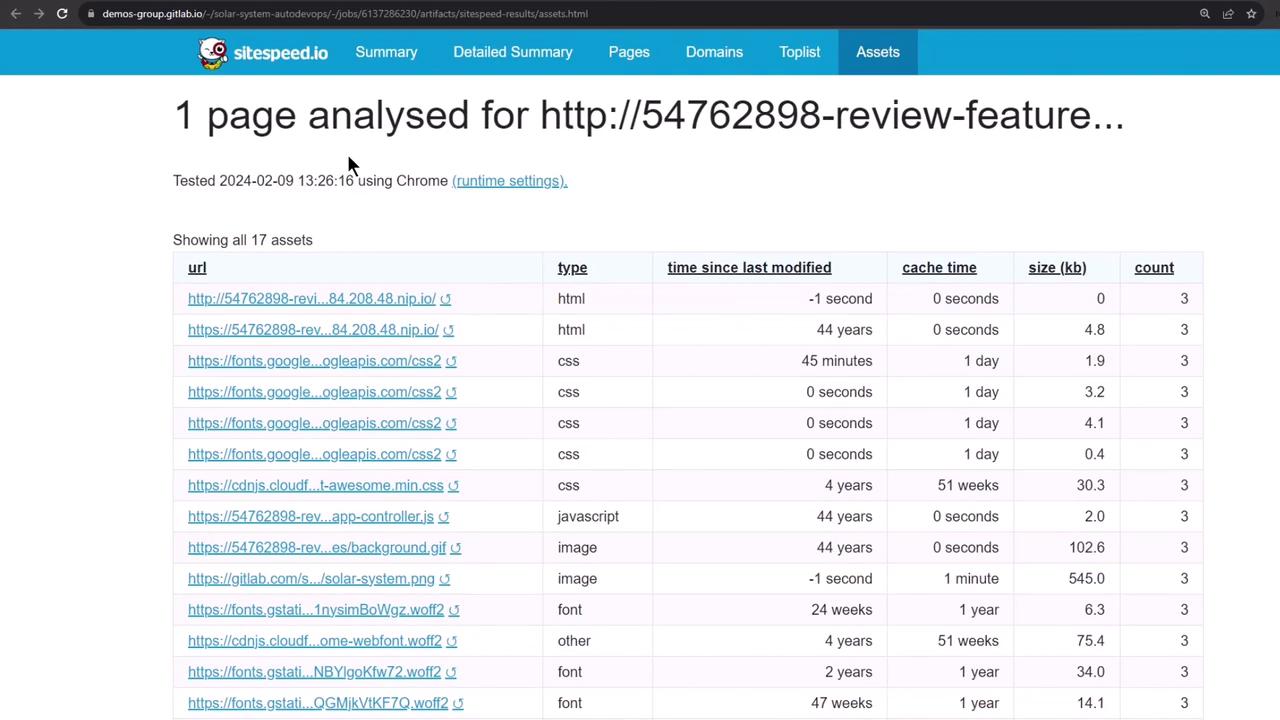
Open the main HTML report to view asset analysis:
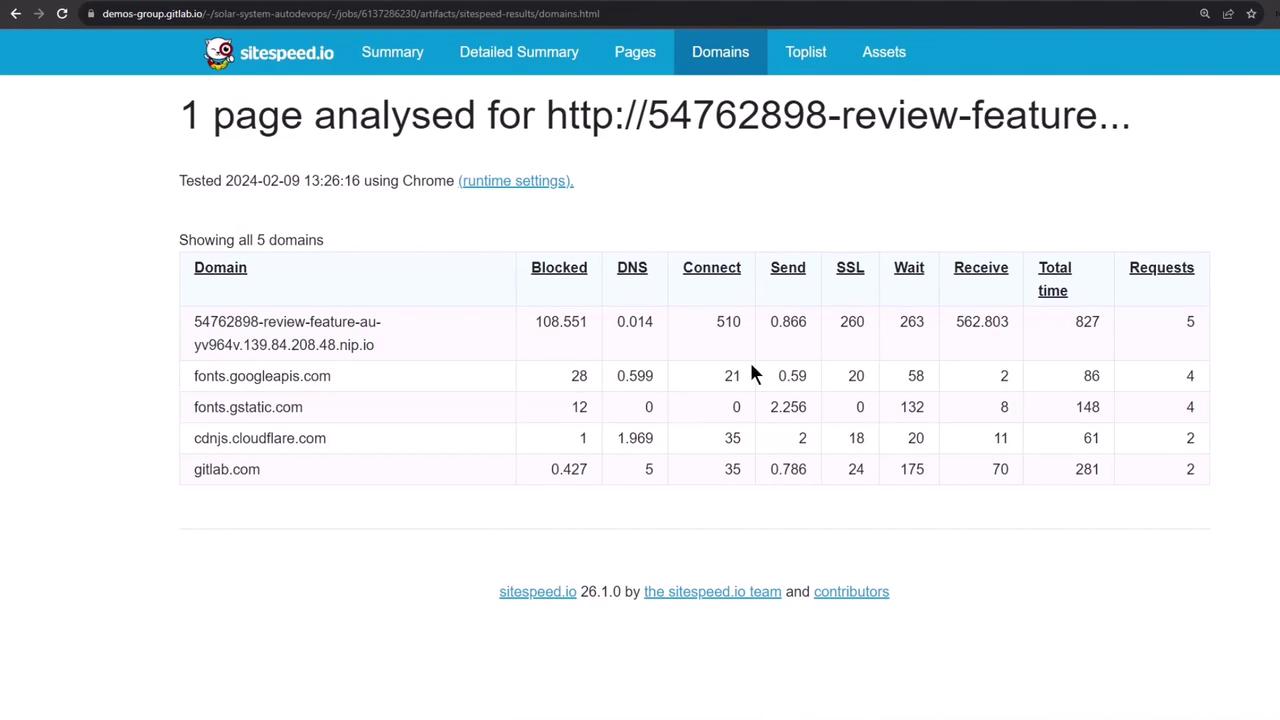
See detailed performance metrics by domain:
11. Manual Stop Review and Cleanup
When you’re done, manually trigger the Stop Review job to delete all review resources:

In Pipelines, click Stop Review:
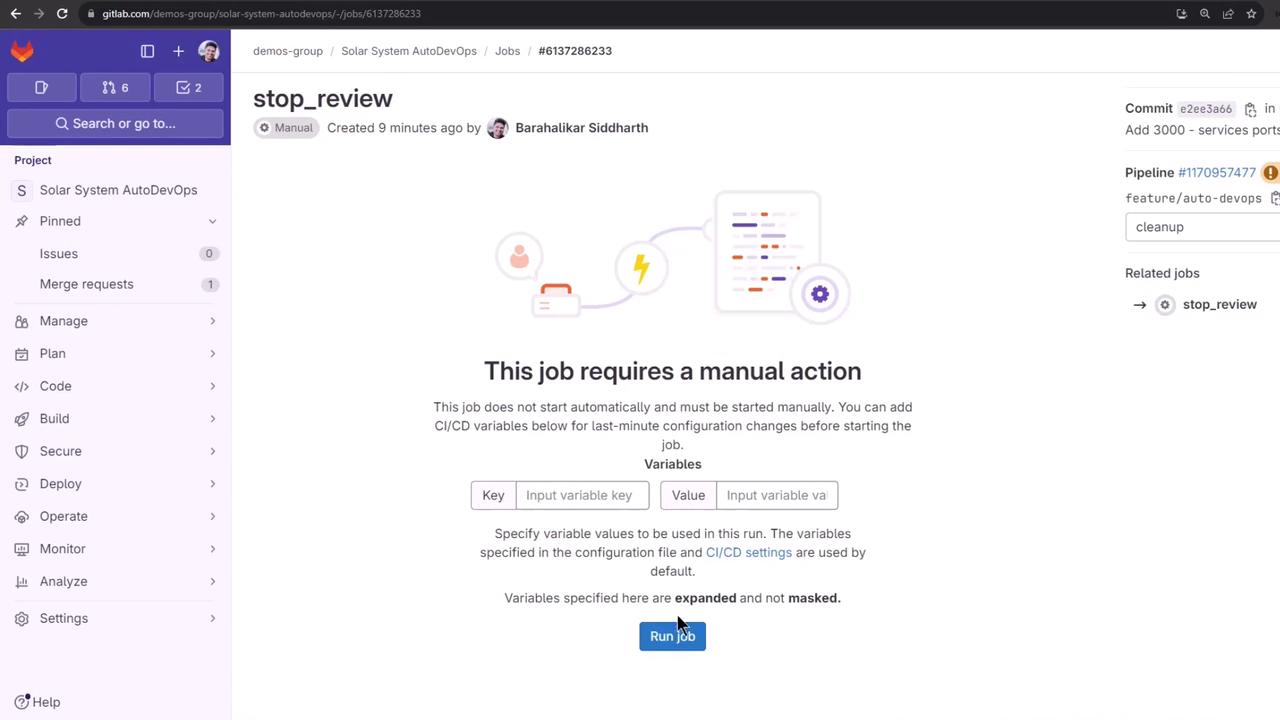
This job removes the Helm release, pods, secrets, and ingress:
kubectl get all -n default
# Should show only core resources
kubectl get secret -n default  # No secrets
kubectl get ingress -n default # No ingress
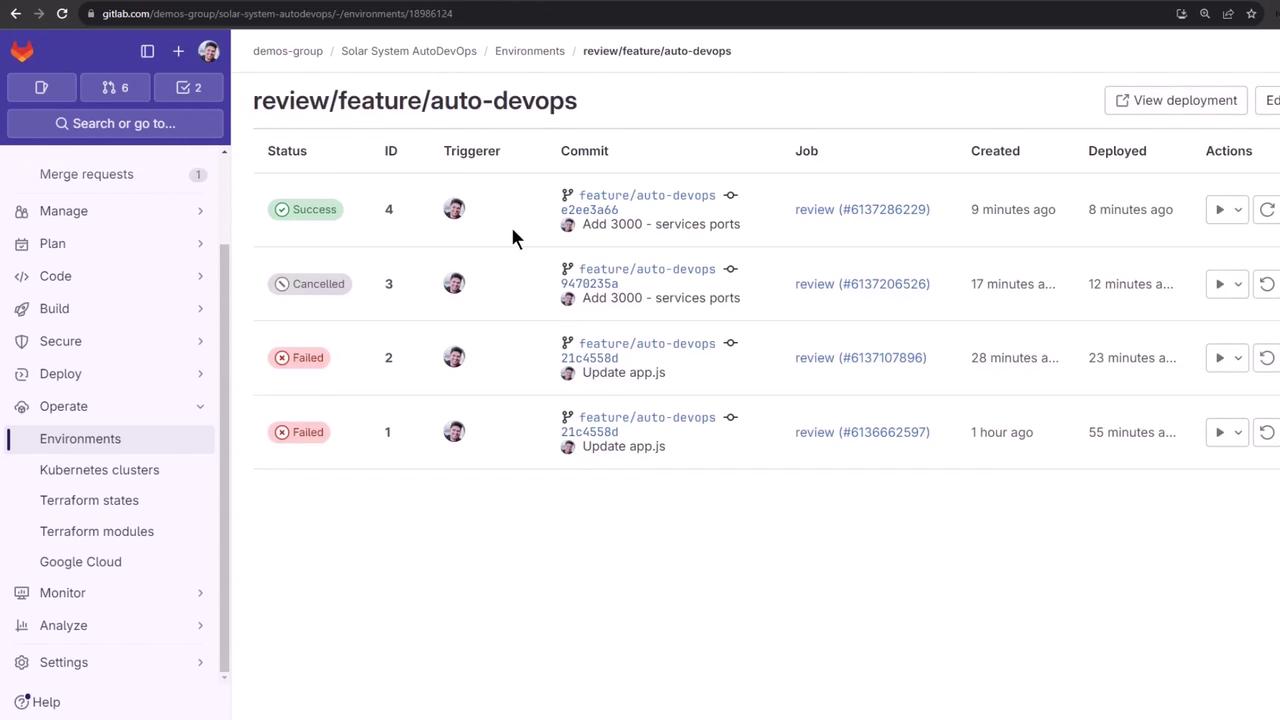
12. Reviewing Deployment History
Finally, view the stopped environment and its deployment jobs for auditing:
Links and References
Watch Video
Watch video content