GitLab CI/CD: Architecting, Deploying, and Optimizing Pipelines
Continuous Deployment with GitLab
Customize Agent Config and Staging Environment
In this guide, you'll learn how to tailor your GitLab Kubernetes agent configuration, set up a staging environment, and scope CI/CD variables to streamline deployments. By the end, your CI jobs will use kubectl against your cluster, and your team can view the Kubernetes dashboard directly in GitLab.
1. Configure the GitLab Agent
First, create a config.yaml for your Kubernetes agent to enable GitOps workflows, CI/CD deployments, and dashboard access. Place this file in your repository’s default branch under:
.gitlab/agents/<agent-name>/config.yaml
Note
Replace <agent-name> with your actual agent identifier, and ensure you commit to the branch marked as default in your project's Branches page.

Check which branch is set as default (commonly main):

Add the following content to config.yaml:
ci_access:
  projects:
    # Allow CI jobs to deploy manifests in this project
    - id: demos-group/solar-system

user_access:
  access_as:
    agent: {}
  projects:
    # Permit users to view the Kubernetes dashboard in this project
    - id: demos-group/solar-system
Commit and push to your default branch. After the push, confirm the agent status:
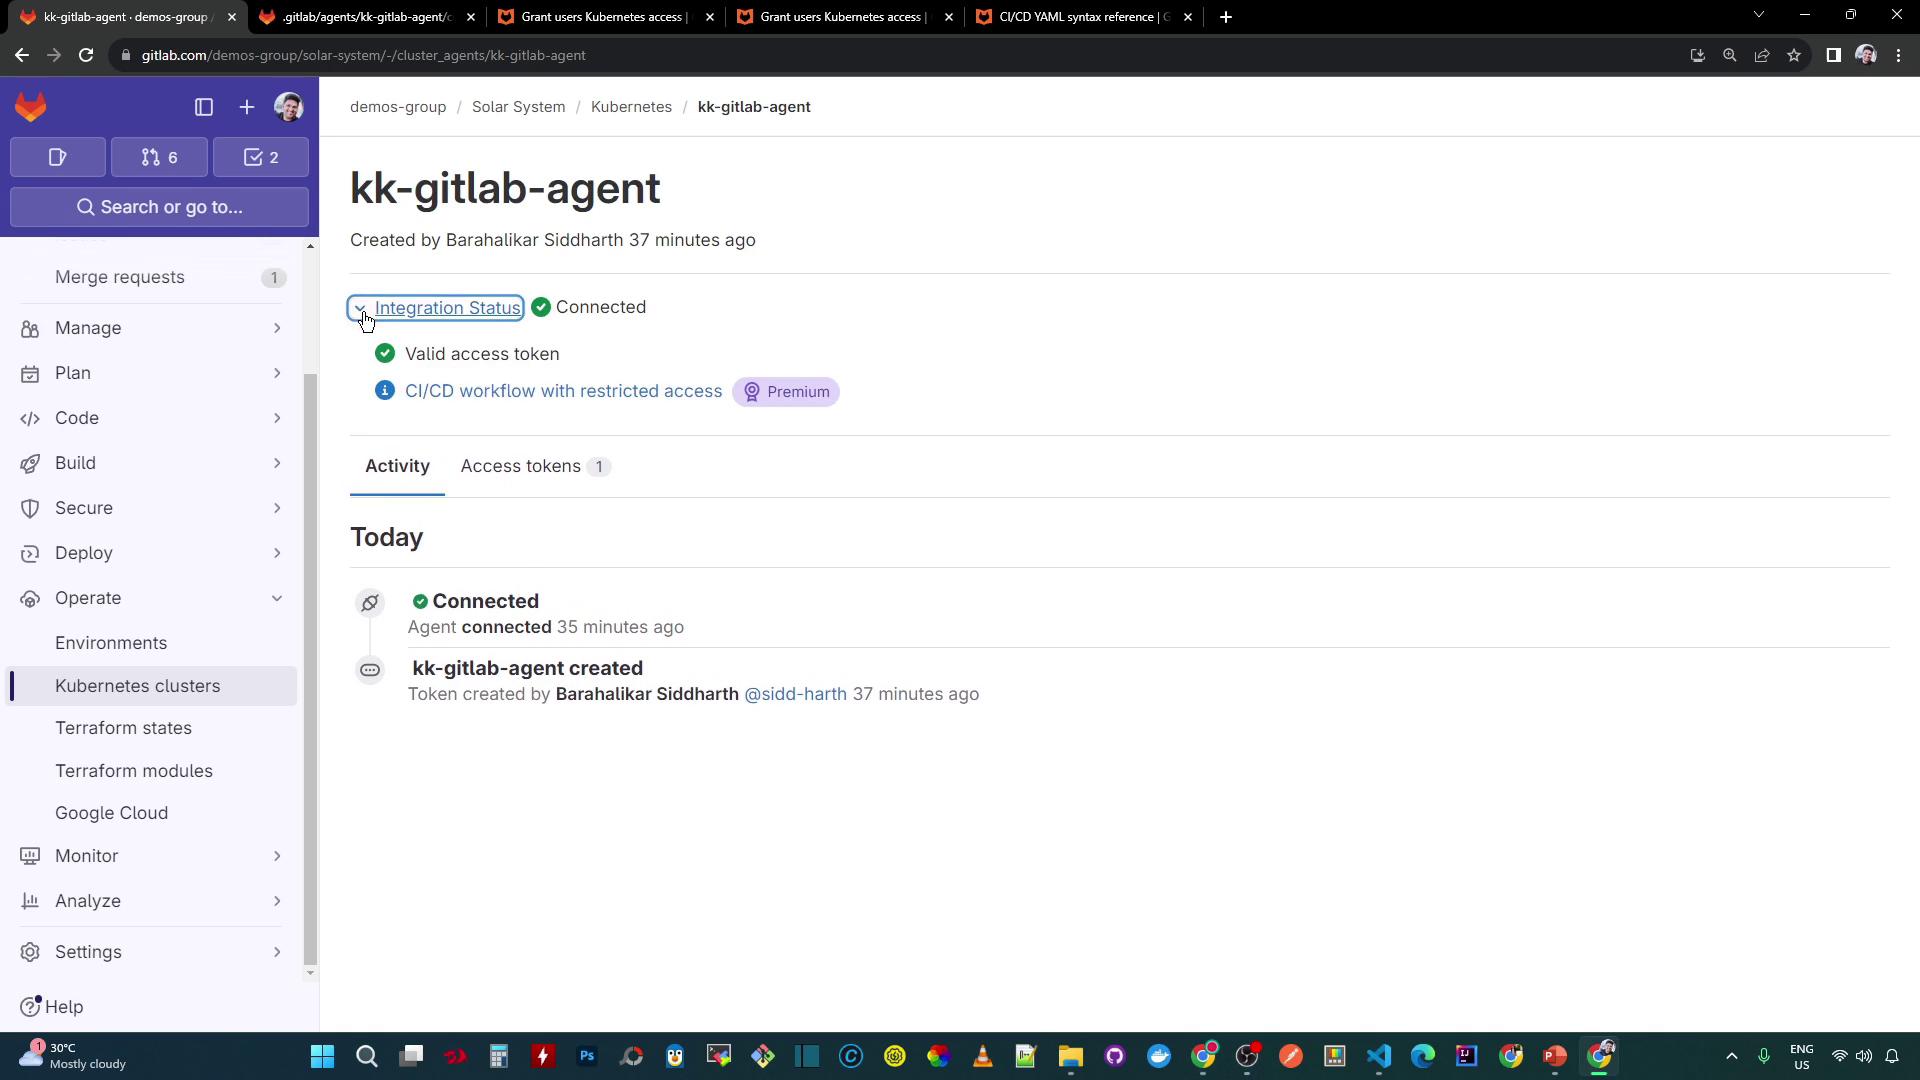
Now, CI jobs receive a kubeconfig context for kubectl commands, and users can access the Kubernetes dashboard within GitLab environments.
You can verify the available contexts in any job script:
kubectl config get-contexts
CURRENT   NAME
*         vke-479a34c5-9e64-4042-aee3-8af8df9686dc
2. Enable the Kubernetes Dashboard
To visualize cluster resources, enable the Kubernetes dashboard in GitLab:
In your project, go to Operations > Environments and click New environment.

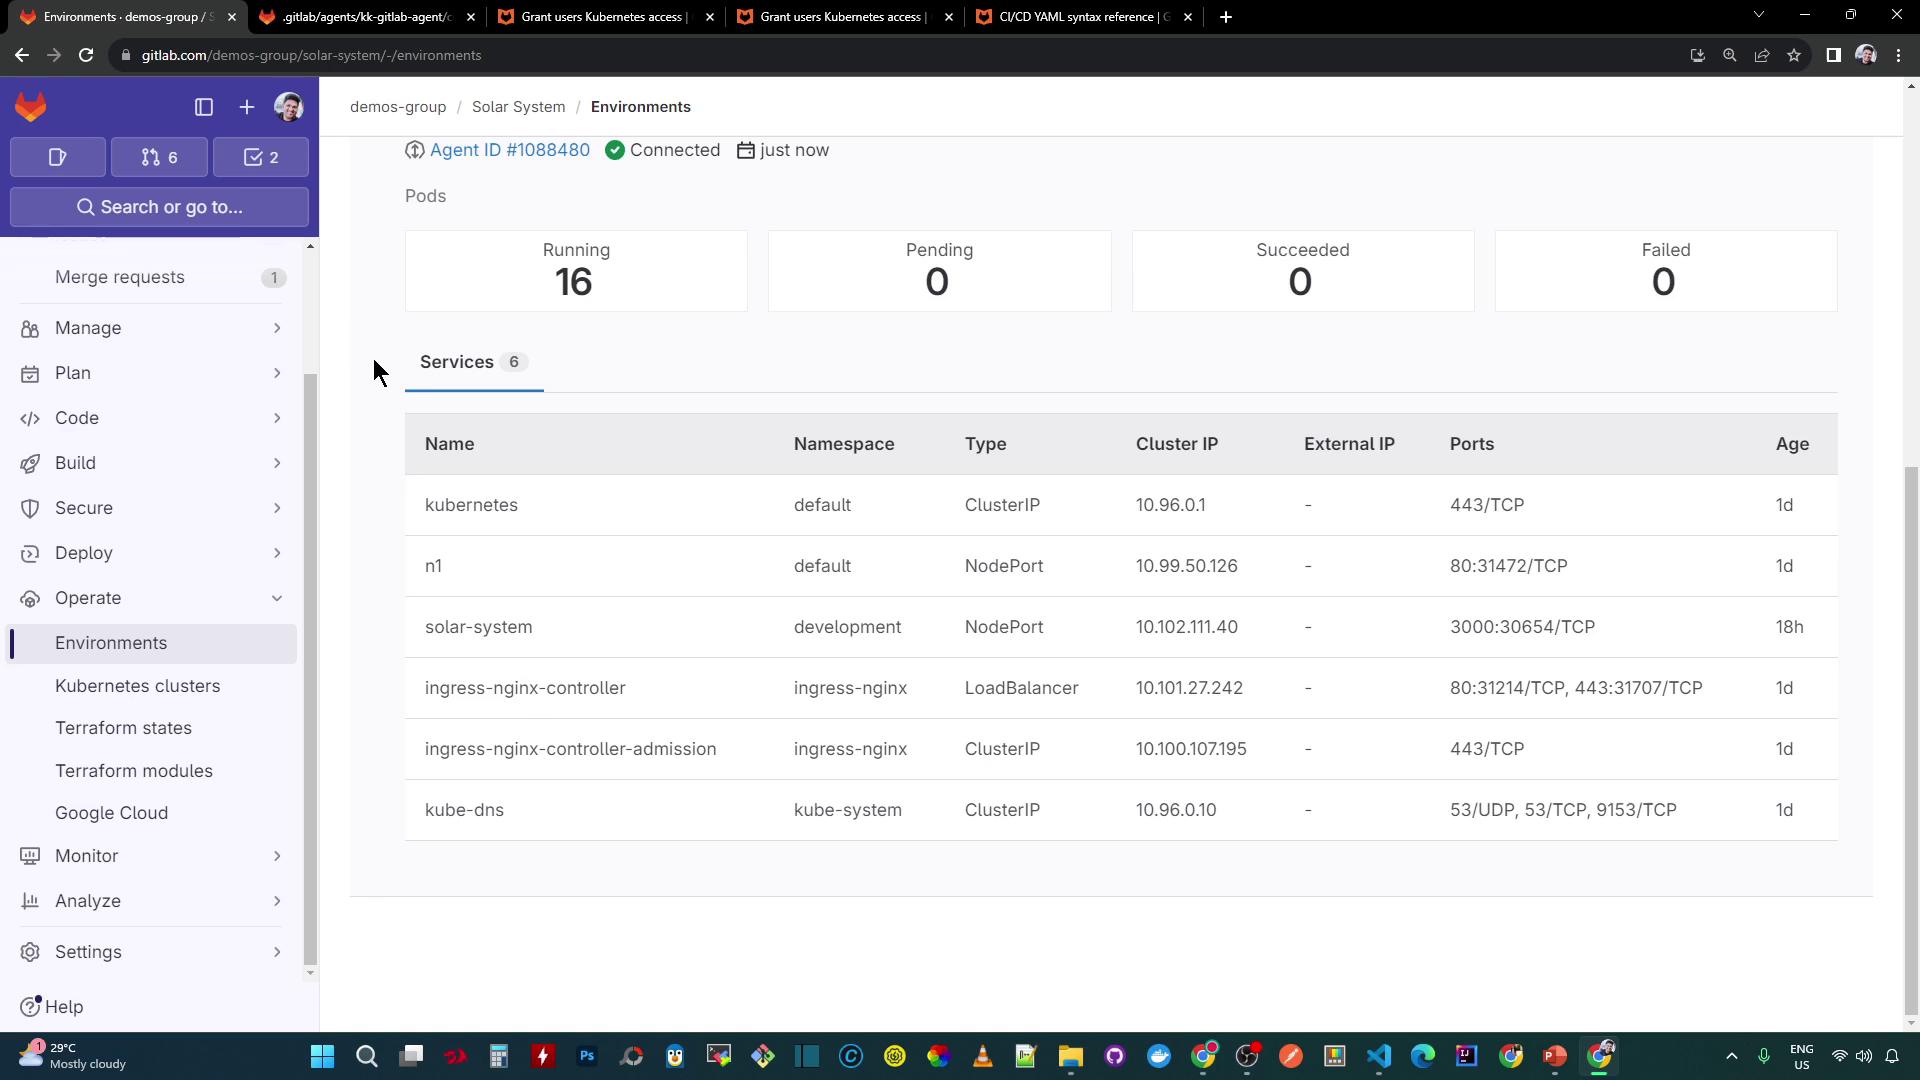
Set the Environment name to
staging, select your GitLab agent, and optionally specify a Kubernetes namespace (leave blank to display all).Click Save. The Overview dashboard now lists your Kubernetes services:
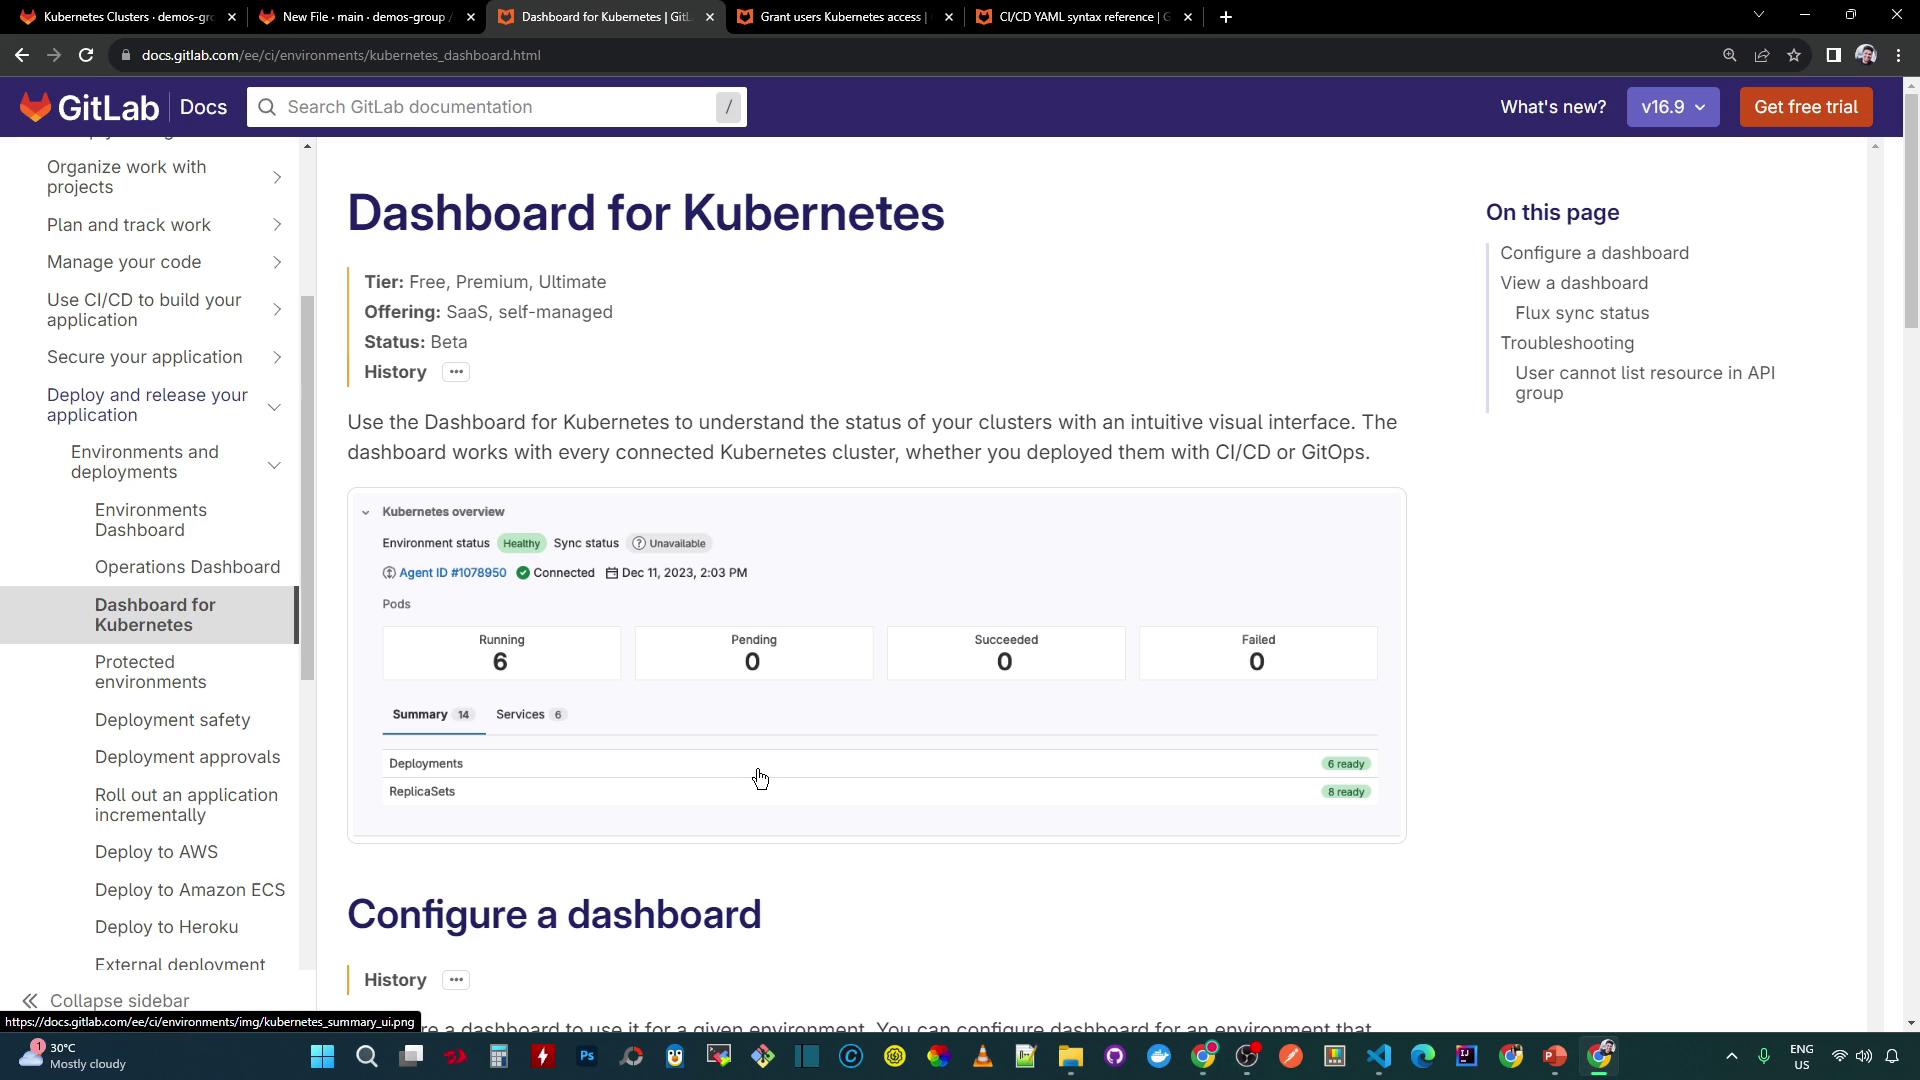
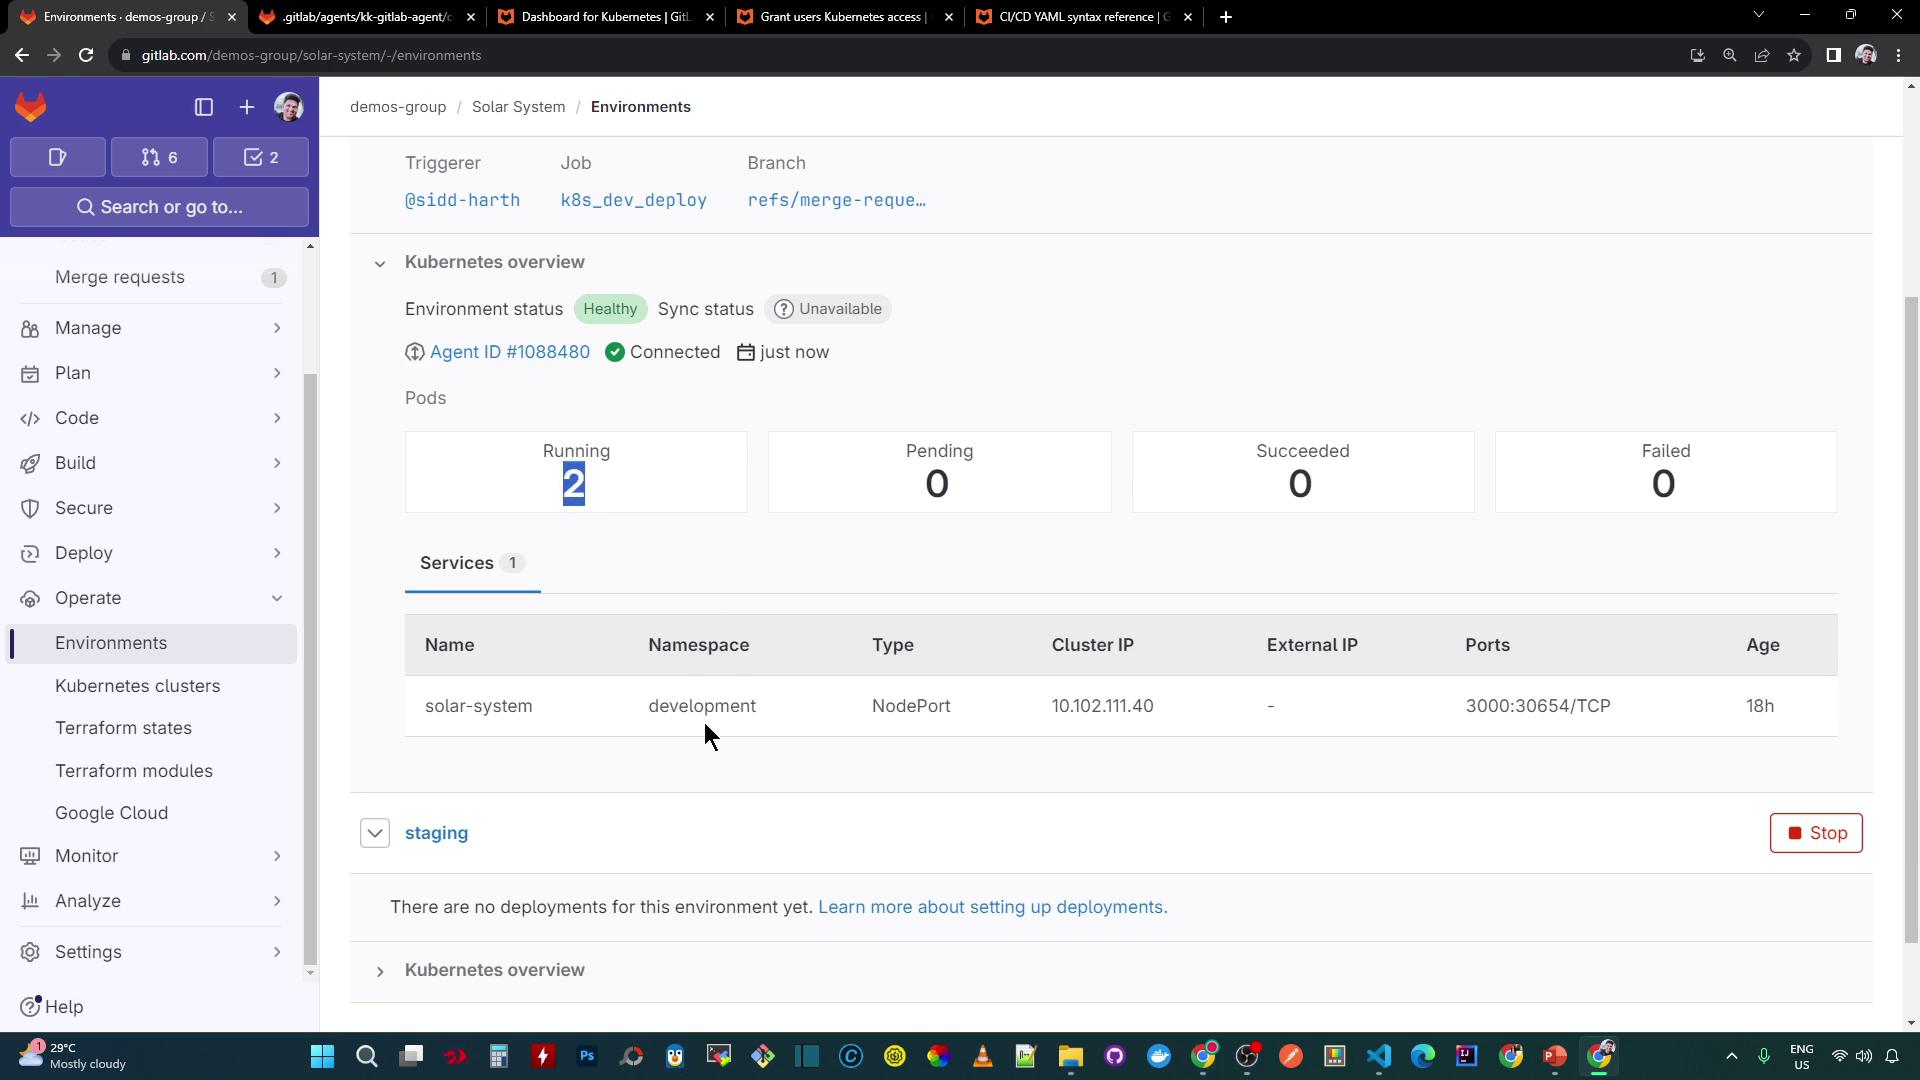
After deploying workloads, the dashboard reflects the live status and health:
On paid GitLab tiers, you’ll also see the extended Monitoring view:

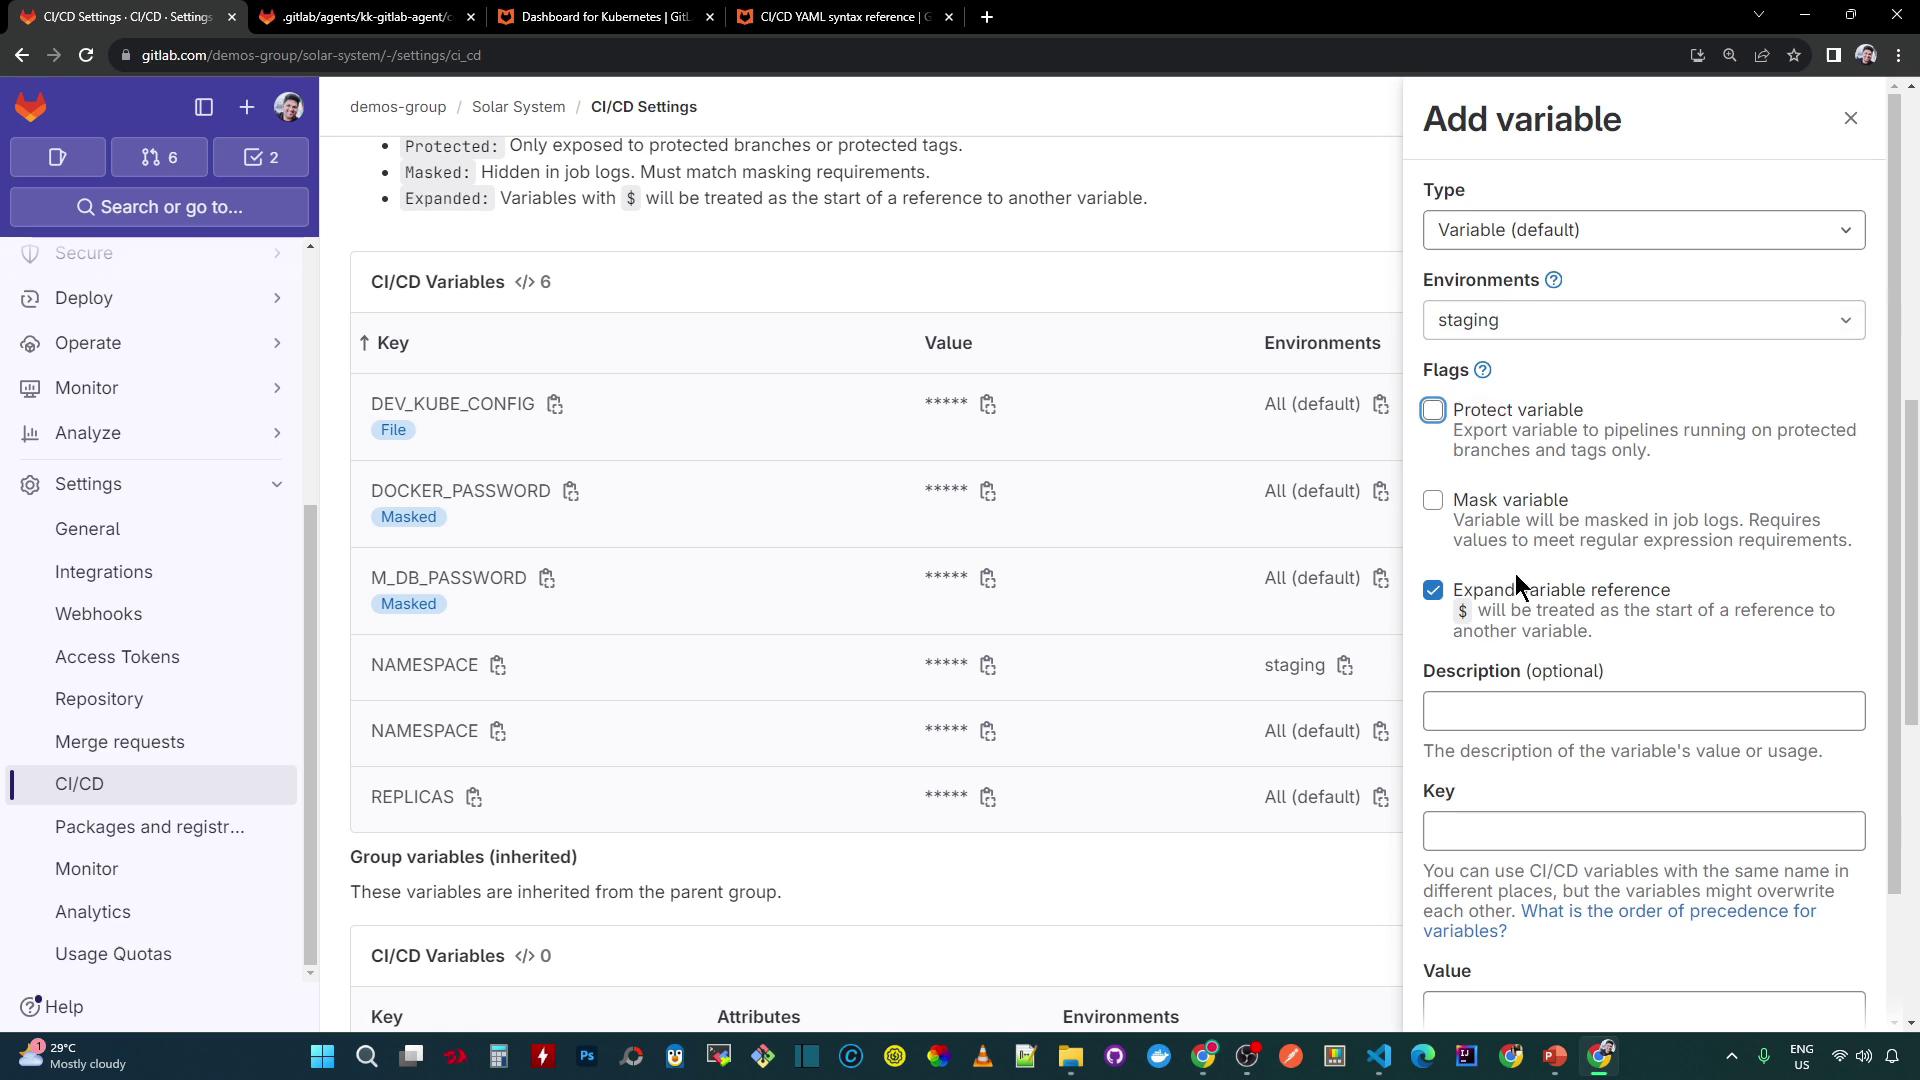
3. Scope CI/CD Variables to Staging
Isolate settings for your staging environment by defining environment-scoped variables:
- Navigate to Settings > CI/CD > Variables.
- Click Add variable.
- Enter your keys and values, then set Environment scope to
staging:
Key: NAMESPACE
Value: staging

Key: REPLICAS
Value: "4"
Warning
Scoped variables only apply to jobs that target the staging environment. Ensure your .gitlab-ci.yml uses the correct environment name.
With these steps complete, your agent is configured, your staging environment is ready, and your CI/CD variables are scoped for targeted deployments.
References
Watch Video
Watch video content