Jenkins For Beginners

Automation and Security

Jenkins Authentication

In this lesson, we explore how authentication works in Jenkins and how to manage user access effectively. We cover the built-in user database authentication, enabling user registration, configuring authorization settings, and integrating external security realms.

Jenkins' Built-In Authentication

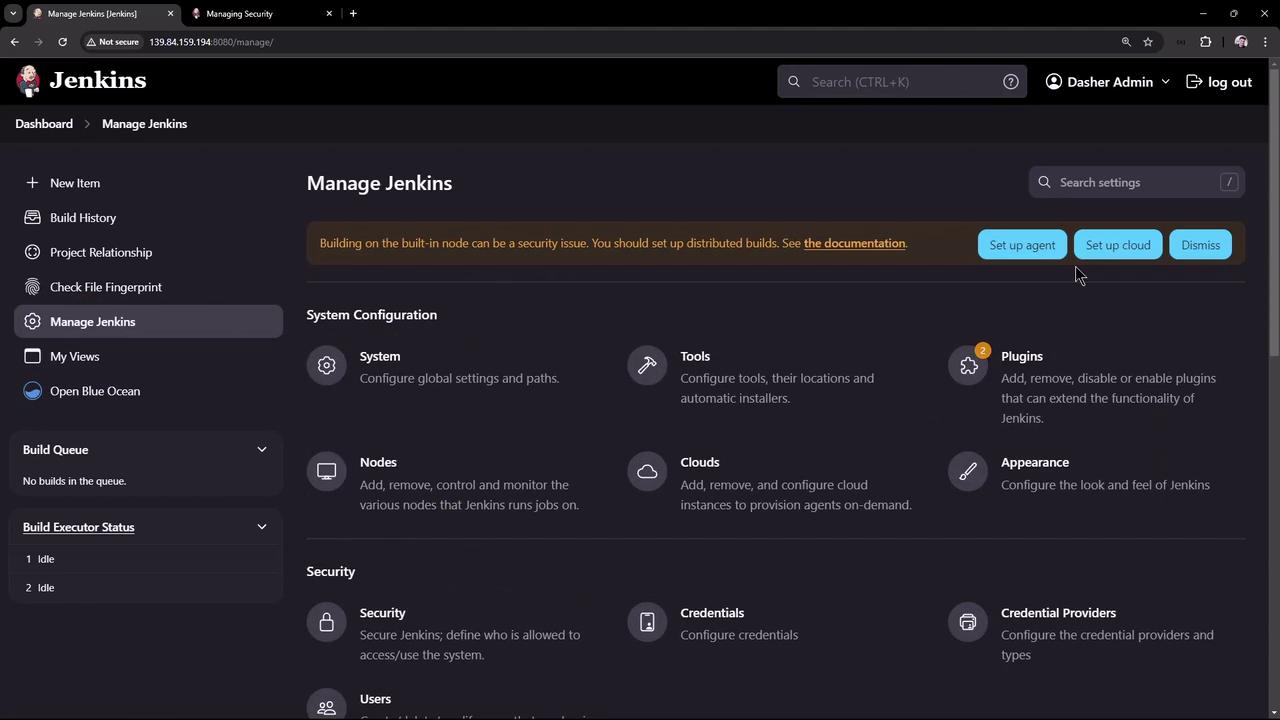
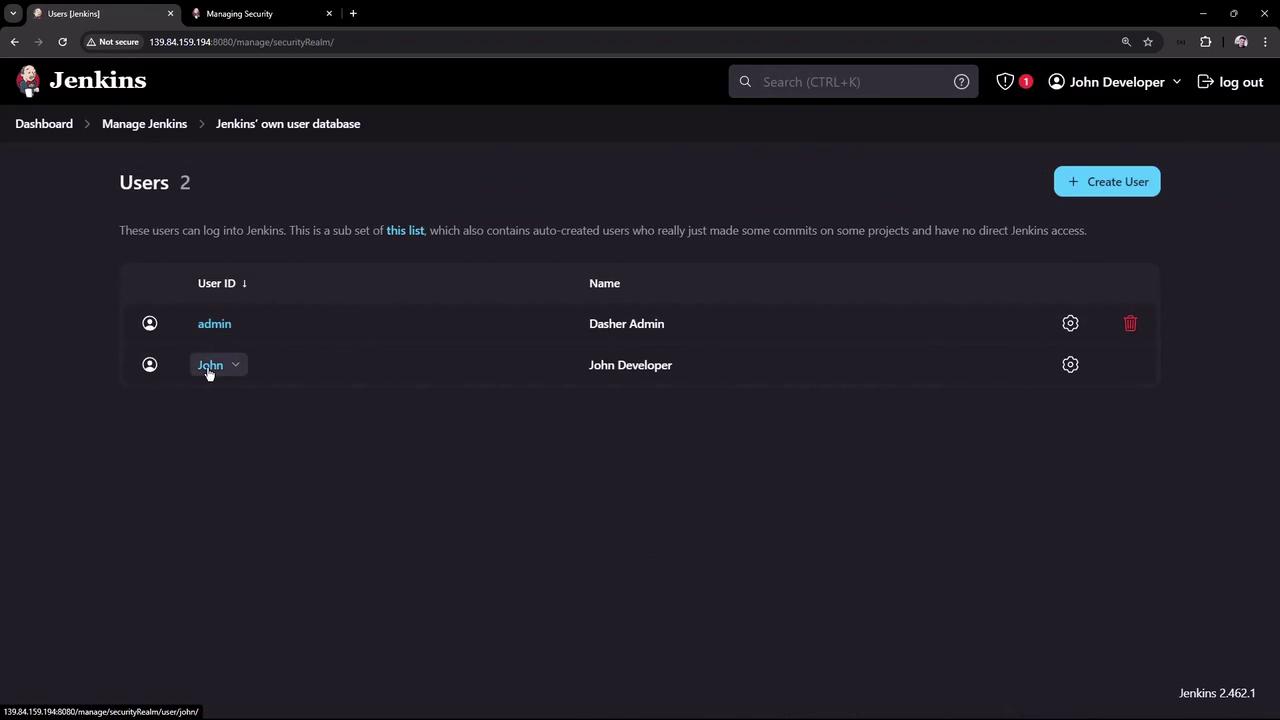
After the initial Jenkins setup, only a single admin account is created. Notice that when a team member tries to create an account via the Jenkins UI, there is no registration option by default. In many environments, you might want to integrate with your company’s LDAP server or Active Directory. However, we will first review Jenkins' built-in user database authentication.

To begin, navigate to Manage Jenkins and then click on Security. Here you will see that Jenkins uses its own user database for authentication rather than delegating to an external system. As described in the documentation:

The image shows a webpage from the Jenkins documentation, specifically focusing on managing security and security realms, with highlighted text about using Jenkins' own user database for authentication.

For basic configuration, Jenkins manages its users internally. If you return to the Manage Jenkins page and click on Users, you will find the admin account. Although additional users can be created, we will demonstrate how in the next section.

Managing Users and Registration

Return to the Security page. You will notice settings such as “Keep me signed in” on the login page. For this demonstration, disable the “Keep me signed in” option and enable user sign-up. Once these changes are applied and you log out, the login page will no longer display the "remember me" option, and a registration option will be available:

The image shows the Jenkins security configuration page, where options for authentication, authorization, and markup formatter settings are displayed. It includes checkboxes for disabling "Keep me signed in" and allowing user sign-up, with a warning about network authentication.

Register a new account by entering a username (for example, "John"), full name, email address, and password. The registration page appears as shown:

The image shows a registration page for Jenkins, with fields for username, full name, email, and password. On the left, there's a logo of a character holding a cup.

After creating the account, Jenkins automatically logs you in, and you should now see two users—the original admin and the new user John—in the Jenkins user database:

The image shows a Jenkins user management interface displaying two users, "admin" and "John," with options to manage or delete them.

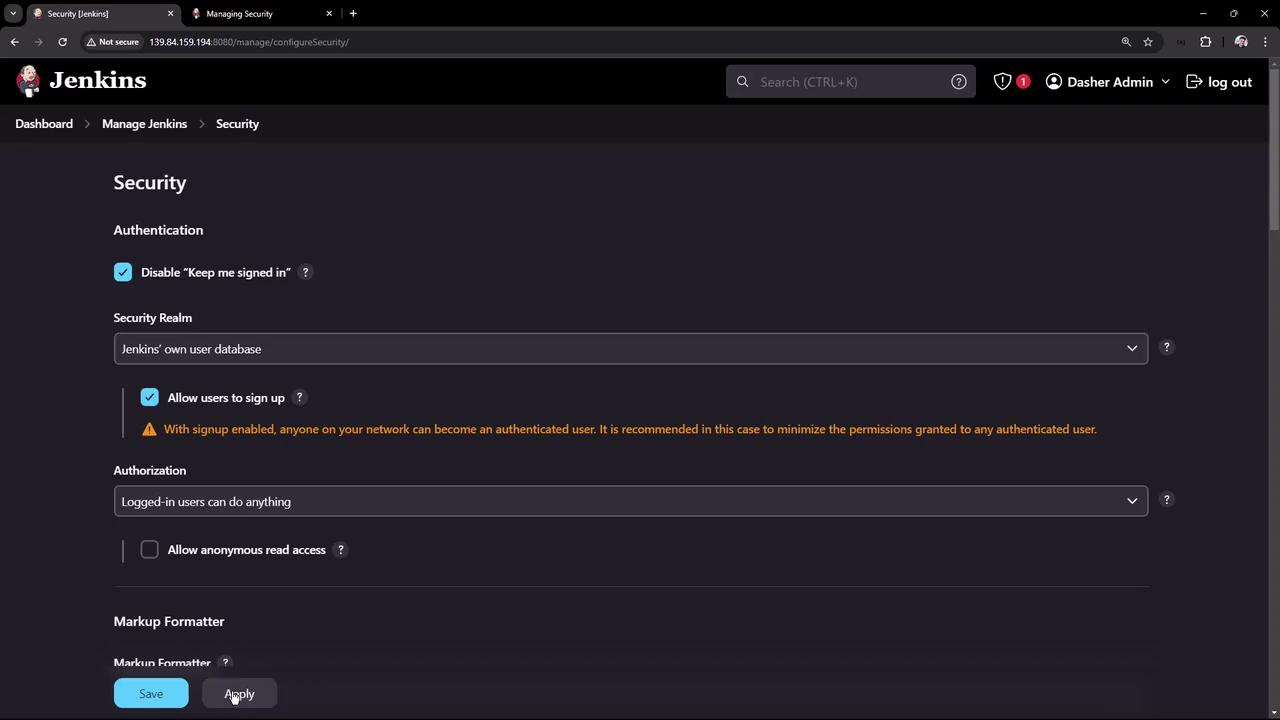
Exploring Authorization Options

Next, let’s shift our focus to authorization. By default, Jenkins is set so that logged-in users can perform any action. It is also possible to configure Jenkins to grant anonymous users full access. For demonstration purposes, change the authorization option to “Anyone can do anything” and save the configuration. Then, log out. Now, even when not logged in, you can view jobs on the Jenkins dashboard—although options for creating new items or managing Jenkins remain disabled.

For example, when an anonymous user triggers a build, the dashboard displays that the build was initiated by an unknown user:

The image shows a Jenkins dashboard for a job named "ascii-deploy-job," displaying build history and options like "Build Now" and "Configure." It includes details about the last build and links to related projects.

The build log output is similar to the following:

Started by user unknown or anonymous
Running as SYSTEM
Building in workspace /var/lib/jenkins/workspace/ascii-deploy-job
Copied 1 artifact from "ascii-test-job" build number 5
[ascii-deploy-job] $ /bin/sh -xe /tmp/jenkins3742226208397197254.sh
+ exit 1
Build step 'Execute shell' marked build as failure
Finished: FAILURE

This log demonstrates that while the build is triggered, it is executed under anonymous credentials.

Warning

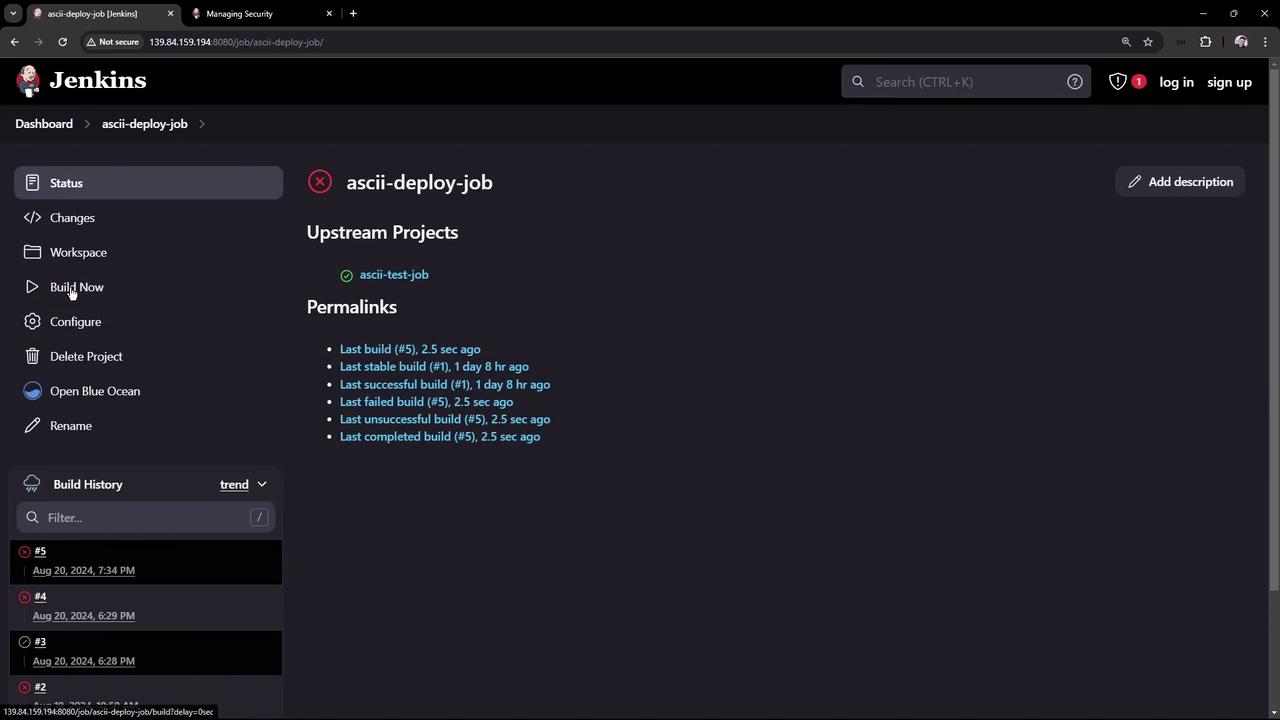
Allowing anonymous users full access poses a significant security risk. Log back in as admin and change the authorization settings to “Logged-in users can do anything” or consider enabling “Anonymous users read-only” to restrict actions.

With read-only access, users can inspect job details and builds without the ability to create, modify, or delete jobs.

Integrating External Security Realms

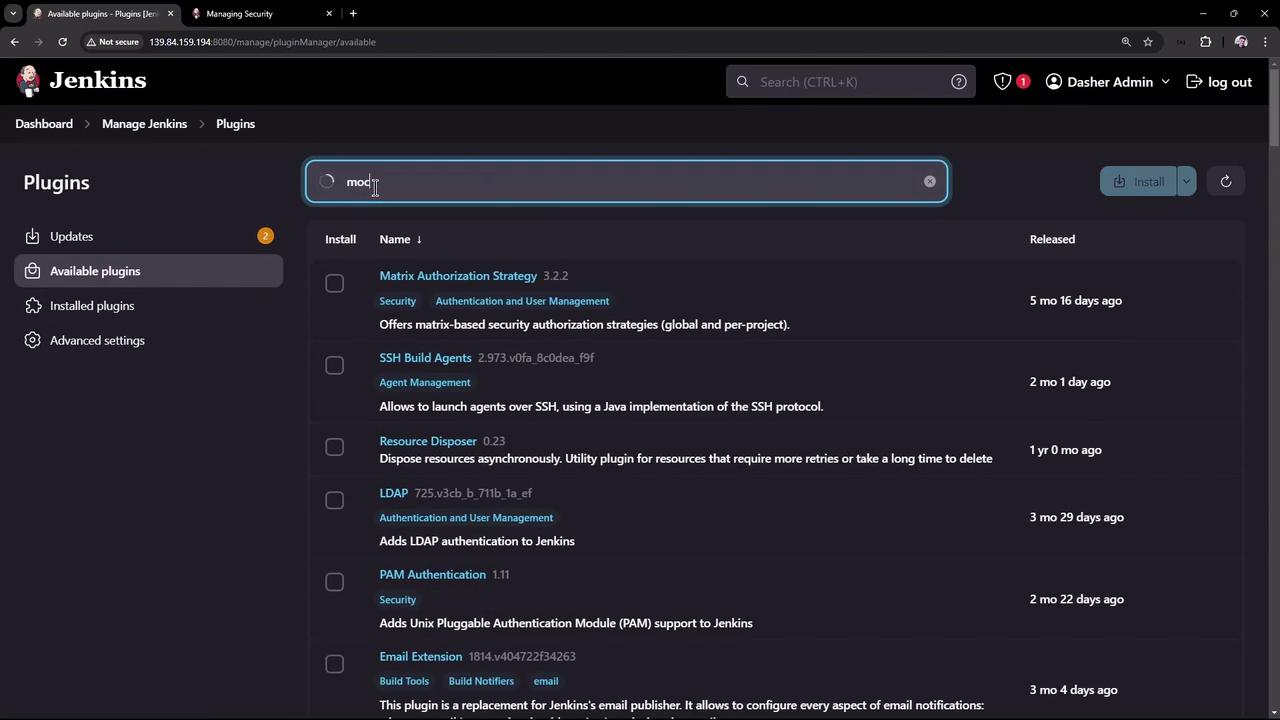
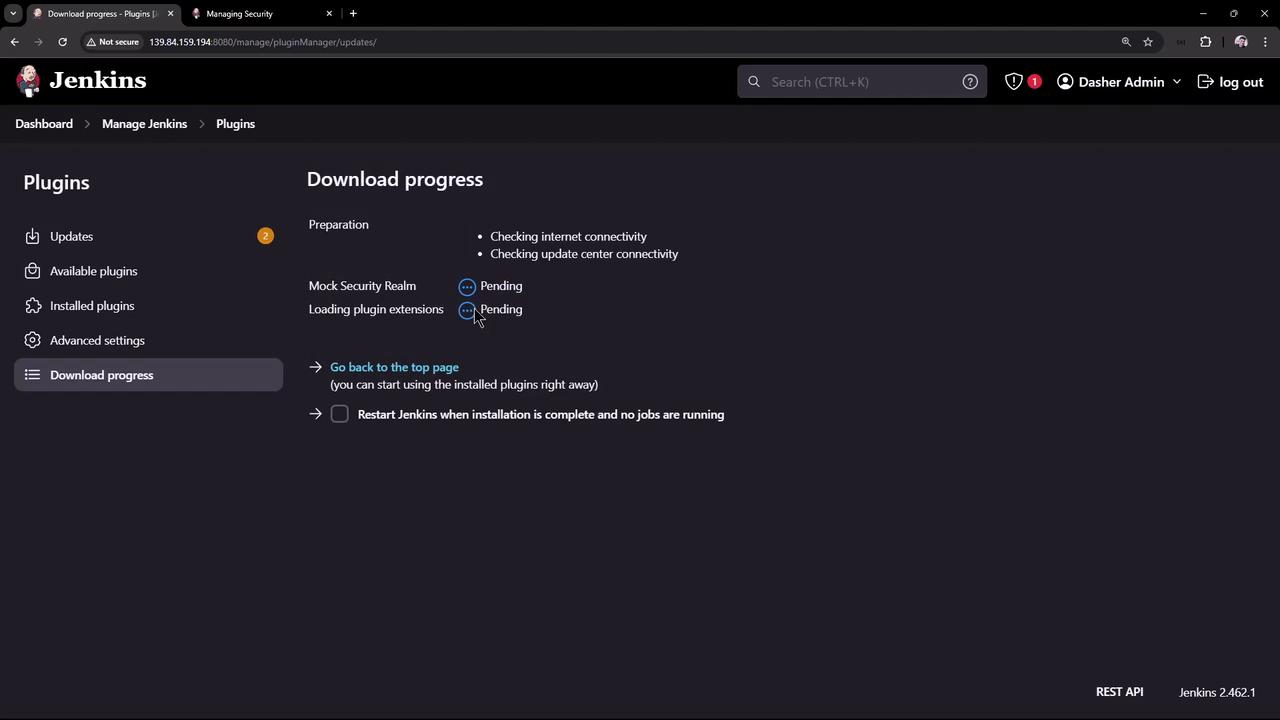
To simulate integration with an external LDAP server or Active Directory, Jenkins offers a feature to install and configure a mock security realm. This dummy security realm mimics external authentication systems but is intended only for evaluation purposes and should not be used in production.

Follow these steps:

  1. Navigate to Manage JenkinsManage Plugins.
  2. Update the required plugins.
  3. Search for and install the "Mock Security Realm" plugin.
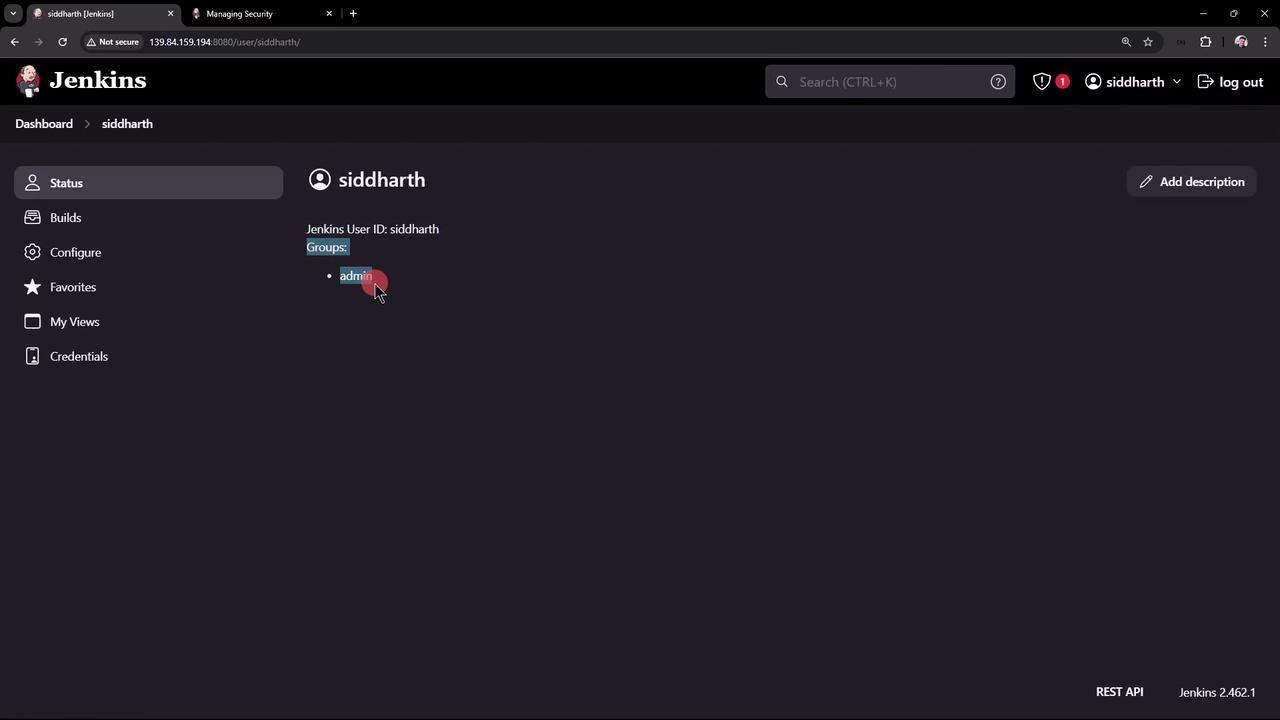
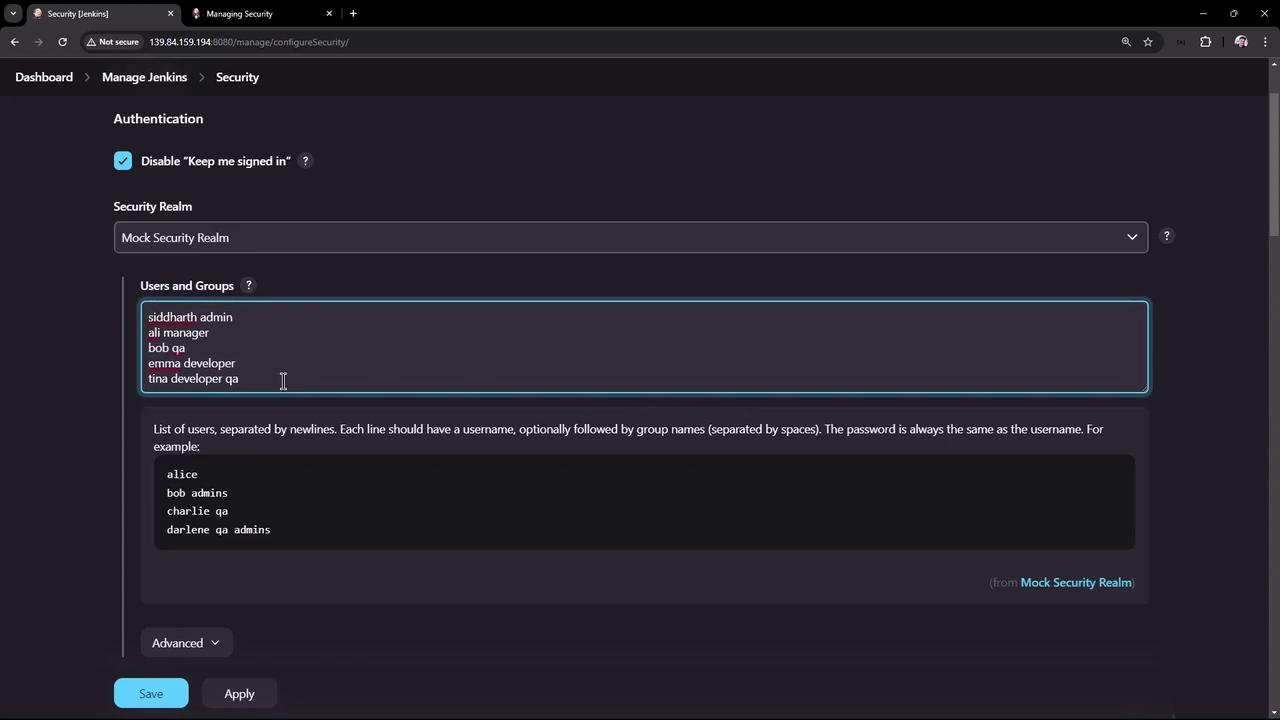
  4. Return to the Security page. You will notice that the security realm now expects a list of users and groups instead of using the Jenkins user database.

In a typical LDAP server environment, you might have groups such as admin, developer, and QA. The mock security realm requires a list where each line contains a username and, optionally, one or more group names separated by spaces. For example:

alice
bob admins
charlie qa
darlene qa admins

For demonstration, add a few users with their respective groups:

  • Siddharth belongs to the admin group.
  • Ali is assigned to the manager group.
  • Bob is part of the QA team.
  • Ema belongs to the developer group.
  • Tina is in both the developer and QA groups.

Additionally, disable anonymous read access while using the mock security realm. Once applied, you’ll notice that the user management tab is removed because Jenkins is no longer sourcing users from its internal database. Only the users defined in the mock realm will be valid for authentication.

Attempting to log in as the previously created admin or John will not work. Instead, use the credentials defined in the mock security realm (each user’s password is identical to their username). For example, logging in as Siddharth should be successful.

Review the users and their groups using the Jenkins UI:

The image shows a Jenkins security configuration page with a list of users and groups, including roles like admin, manager, and developer. There are options to save or apply changes.

After logging in as Tina, who belongs to the developer and QA groups, her group memberships will be clearly displayed:

The image shows a Jenkins dashboard for a user named "tina," displaying her user ID and group memberships, which include "developer" and "qa." The interface includes navigation options like Status, Builds, Configure, and more.

It is important to note that the mock security realm only handles authentication and group association, not authorization. Consequently, even though Tina is a member of the developer and QA groups, she currently can build jobs and delete projects because the authorization setting remains “Logged-in users can do anything.”

For enhanced security, adjust your authorization rules so that only users in the admin group can delete projects. We will address how to implement these changes in a subsequent lesson.

Summary

In this lesson, we covered:

  • How Jenkins' built-in user database works and managing users.
  • How to enable user sign-up and configure basic authentication.
  • The risks associated with full anonymous access and how authorization rules affect user capabilities.
  • How to simulate an external security realm using the mock security realm plugin and define users with their associated groups.

Note

In practice, always tailor your authentication and authorization settings to meet your organization’s security requirements. For more detailed guidance, refer to the Jenkins Documentation.

Thank you for following along, and stay tuned for the next lesson where we will refine authorization rules to secure your Jenkins environment further.

The image shows the "Manage Jenkins" dashboard interface, displaying various configuration options such as system settings, tools, nodes, plugins, and security. It includes a security warning about building on the built-in node and options to set up an agent or cloud.

The image shows the Jenkins plugin management interface, displaying a list of available plugins with details such as name, version, and release date. The user is searching for plugins with the term "mod."

The image shows a Jenkins dashboard displaying the download progress of plugins, with some tasks marked as "Pending."

The image shows a Jenkins dashboard for a user named "siddharth," displaying user details and group membership, with a focus on the "admin" group.

Watch Video

Watch video content

Previous
Jenkins Security Overview