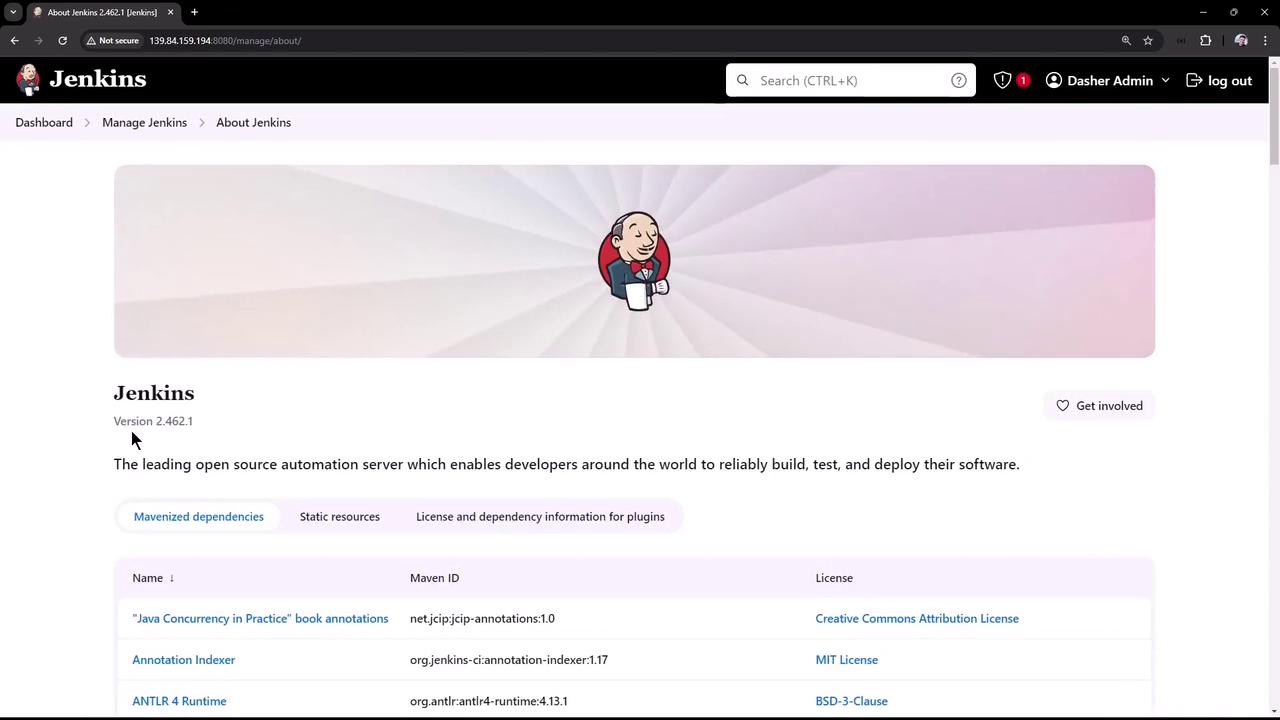
- Current version: 2.46.2
- A list of mavenized dependencies packaged with Jenkins, including static resources like themes, icons, author details, and license information.
- Hyperlinks for additional details about licenses and plugin dependencies.

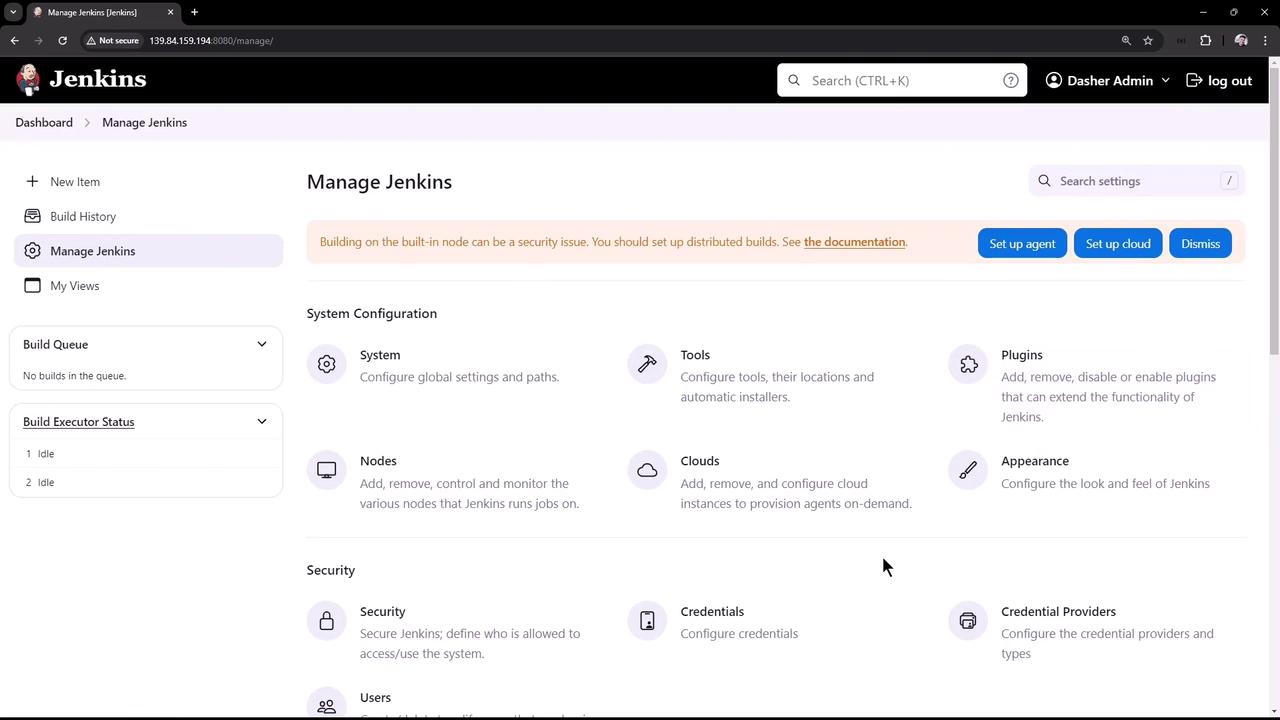
The “Manage Jenkins” section offers a wide range of configuration and management options, including system settings, security configurations, status information, and troubleshooting tools. Additional options may be available depending on the installed plugins.
System Configuration and Settings
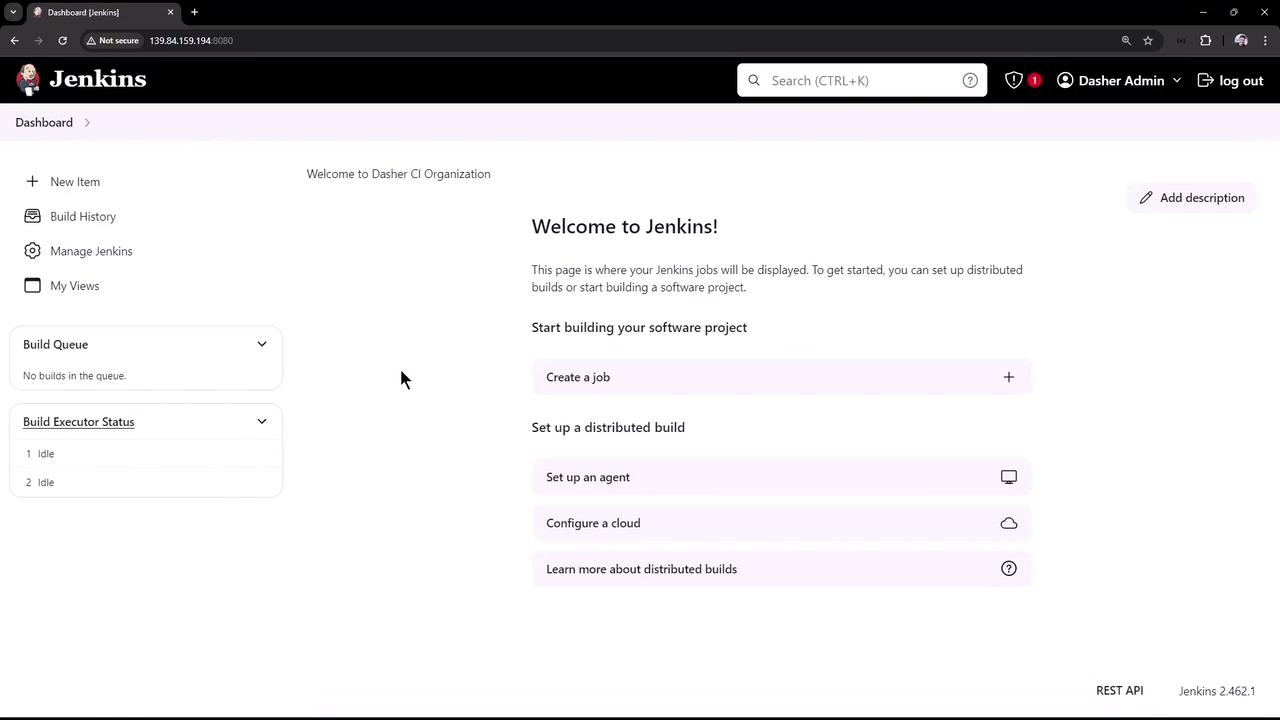
Within the system configuration, you can view and modify key settings of your Jenkins instance. For instance:- System Message: Modify it to display announcements or notifications. In our example, the message was updated to “Welcome to Dasher Team CI organization.”
- Executors and Node Labels: Check the number of executors and labels used for job execution.
- Jenkins URL: Set during installation, this URL is crucial for correctly referencing Jenkins within images and email links.
- Help Icon: Click the question mark icon next to any configuration option to get detailed explanations.
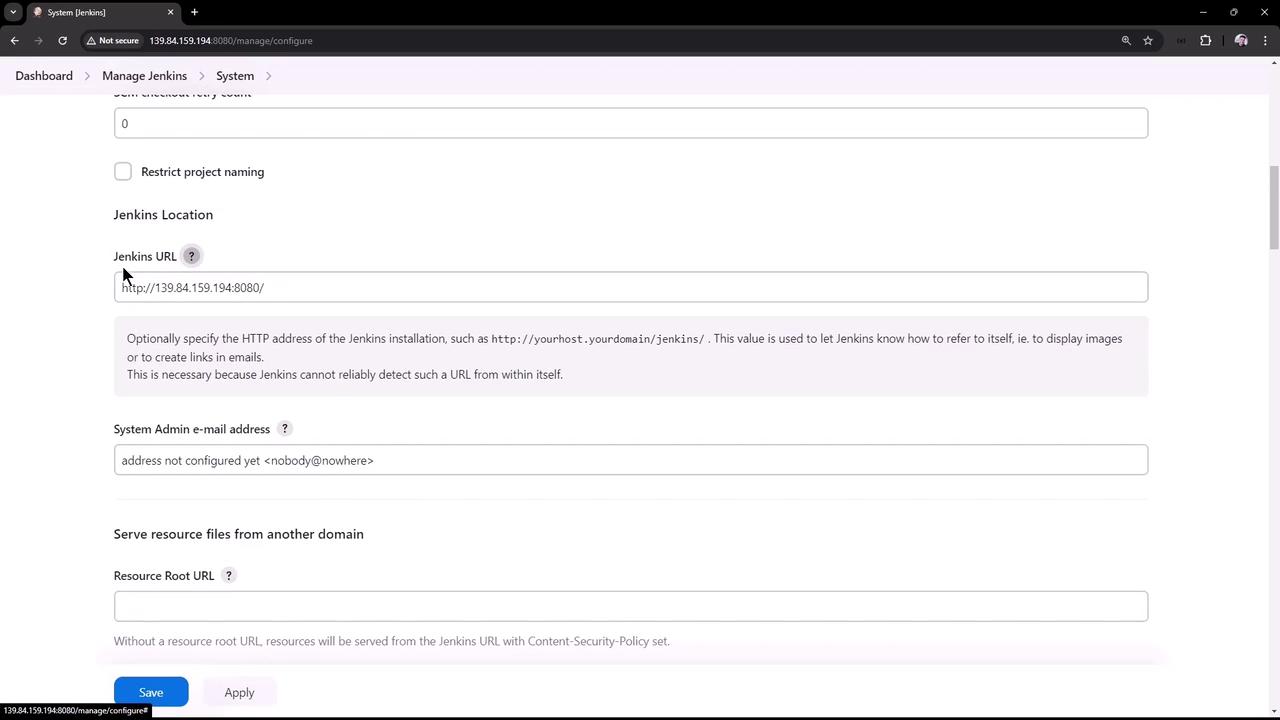
- Apply: Save changes without leaving the page.
- Save: Commit changes and be redirected to the home page, where the updated system message is displayed.
Detailed System Information
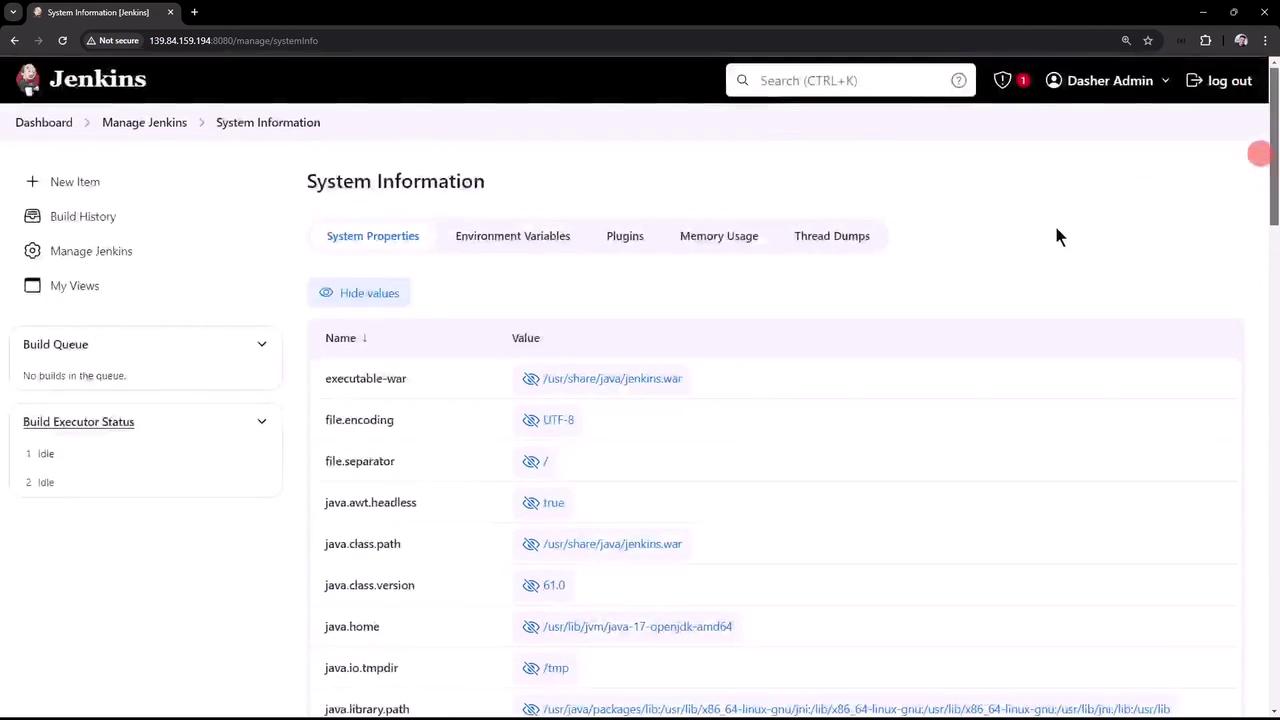
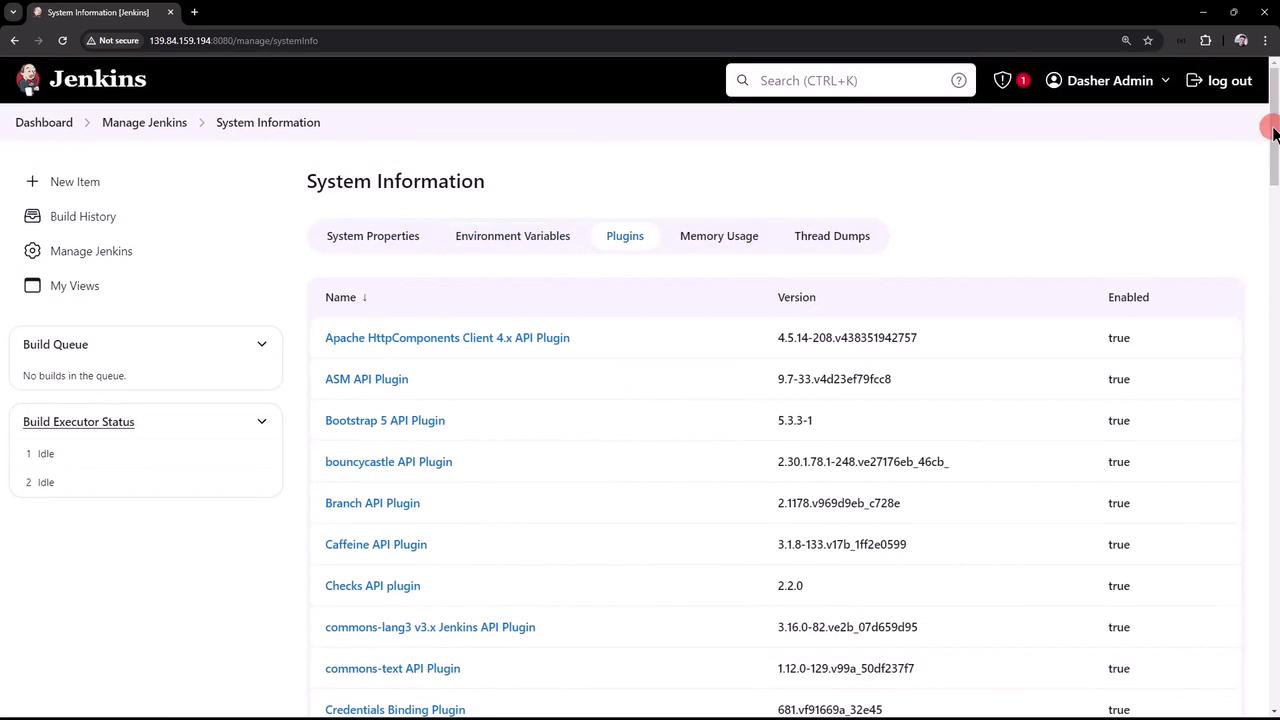
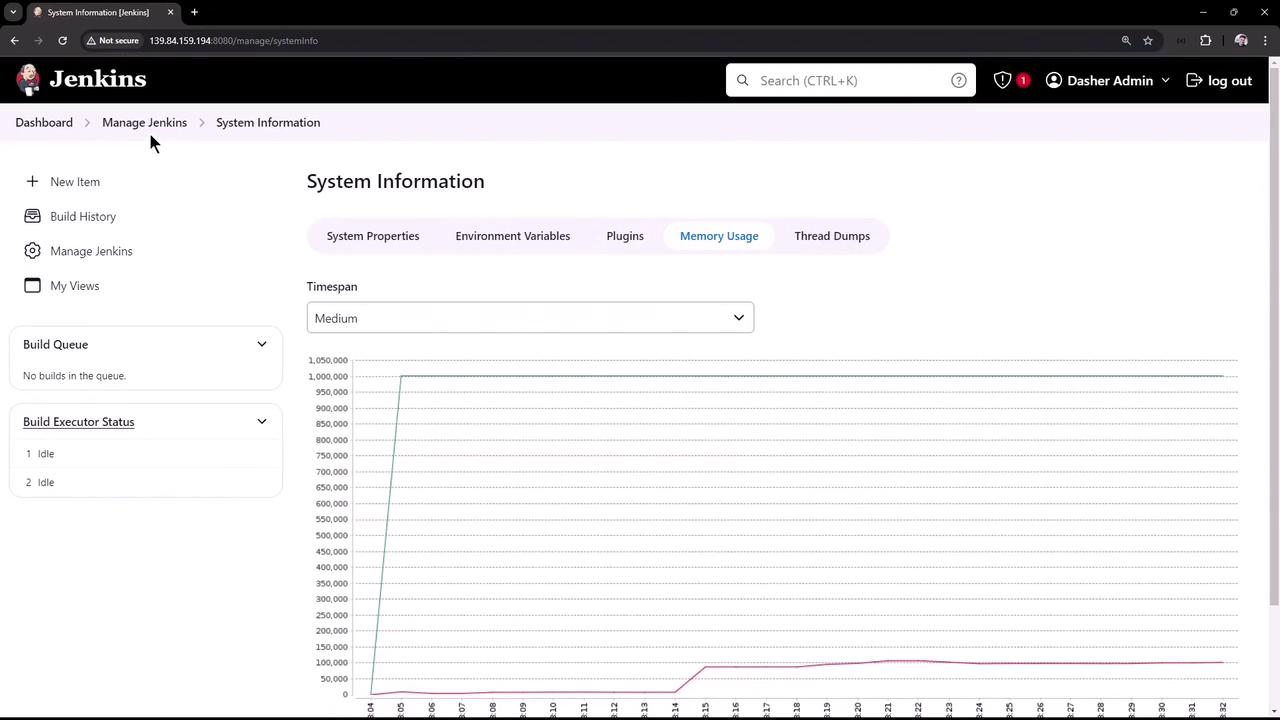
Beyond basic configuration, the “Manage Jenkins” section provides access to in-depth system information. Selecting “System Information” displays a comprehensive list of system properties, environment variables, and installed plugins. Note that while you might have manually installed only a few plugins, Jenkins comes pre-installed with many, resulting in more than 50 entries in some cases.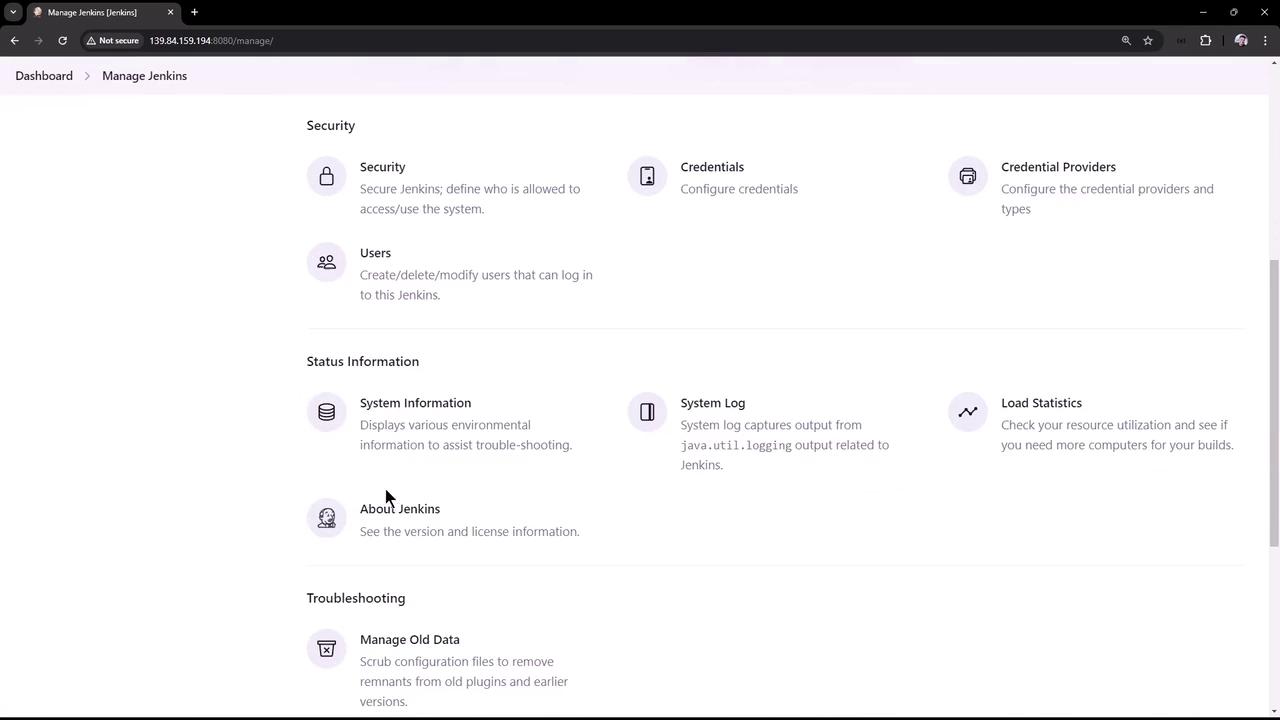
- Environment Variables: All variables accessible to the Jenkins server.
- Plugin Details: A dedicated tab showing plugin names, versions, and statuses.
- System Memory Usage: Visual graphs and thread dumps for troubleshooting performance issues.
Viewing Logs and Advanced Options
You can also access Jenkins logs directly from the user interface. While tools like journalctl or direct log file inspection on your virtual machine are available, reviewing logs within Jenkins is both convenient and efficient for diagnosing issues. In upcoming lessons, we’ll cover managing plugins—adding, removing, and disabling them—as these options are critical for extending Jenkins’ functionality.Customizing the Jenkins Appearance
This lesson also demonstrates how to customize the Jenkins appearance. In our example, a dark theme plugin is used to switch to a darker interface. This plugin not only changes the theme but also provides options such as displaying pipeline graphs on job and build pages. After enabling and saving these settings, the interface adopts the new dark theme, offering a visually distinct alternative to the default light theme.