Jenkins For Beginners
Jenkins Setup and Interface
Demo Jenkins Installation
In this guide, we walk you through installing Jenkins on an Ubuntu virtual machine. This article details every step—from downloading Jenkins and installing its prerequisites to configuring Java and completing the initial setup. Follow along to get Jenkins up and running quickly.
1. Downloading Jenkins
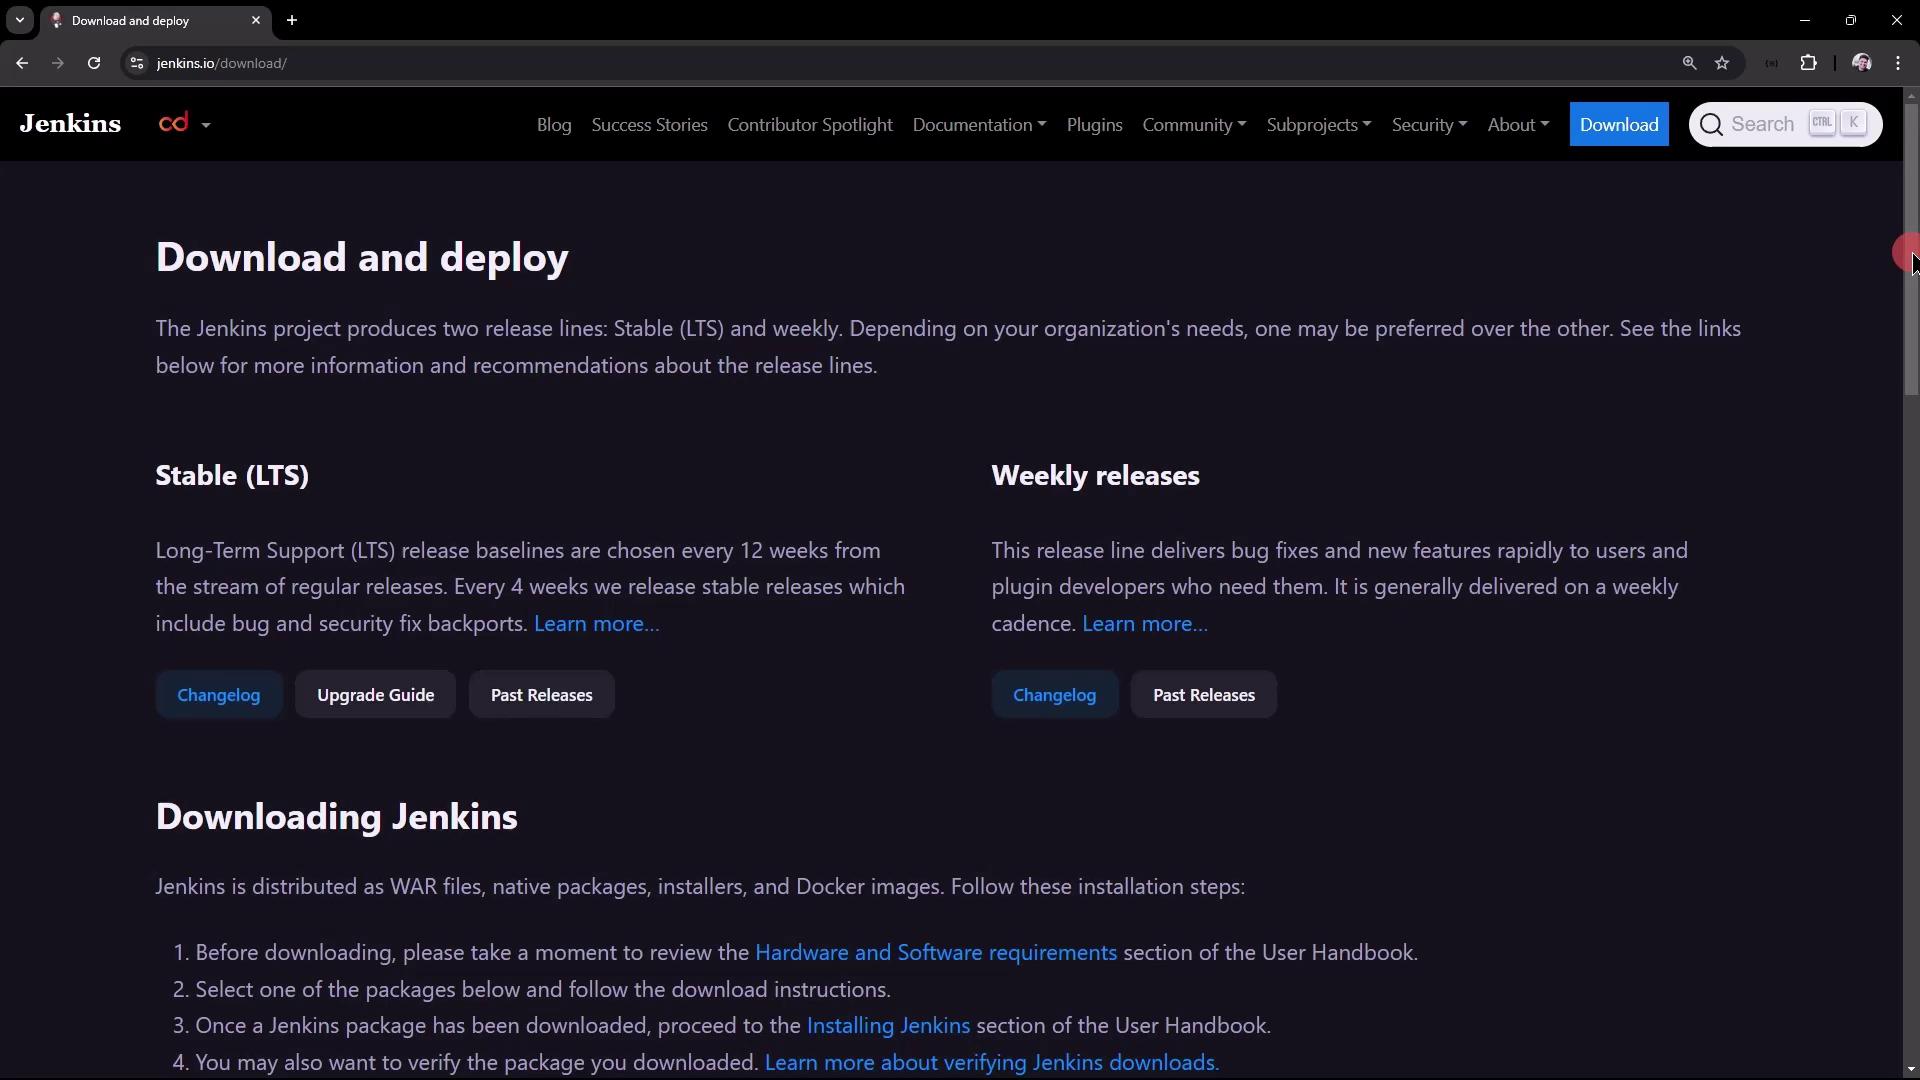
Begin by searching for "Jenkins download" in your browser. On the Jenkins website, you will encounter two main release types:
- Stable LTS (Long-Term Support): Prioritizes stability and security by offering extended support with bug fixes and security updates.
- Weekly Releases: Provides the latest features and fixes, although they might be less stable.
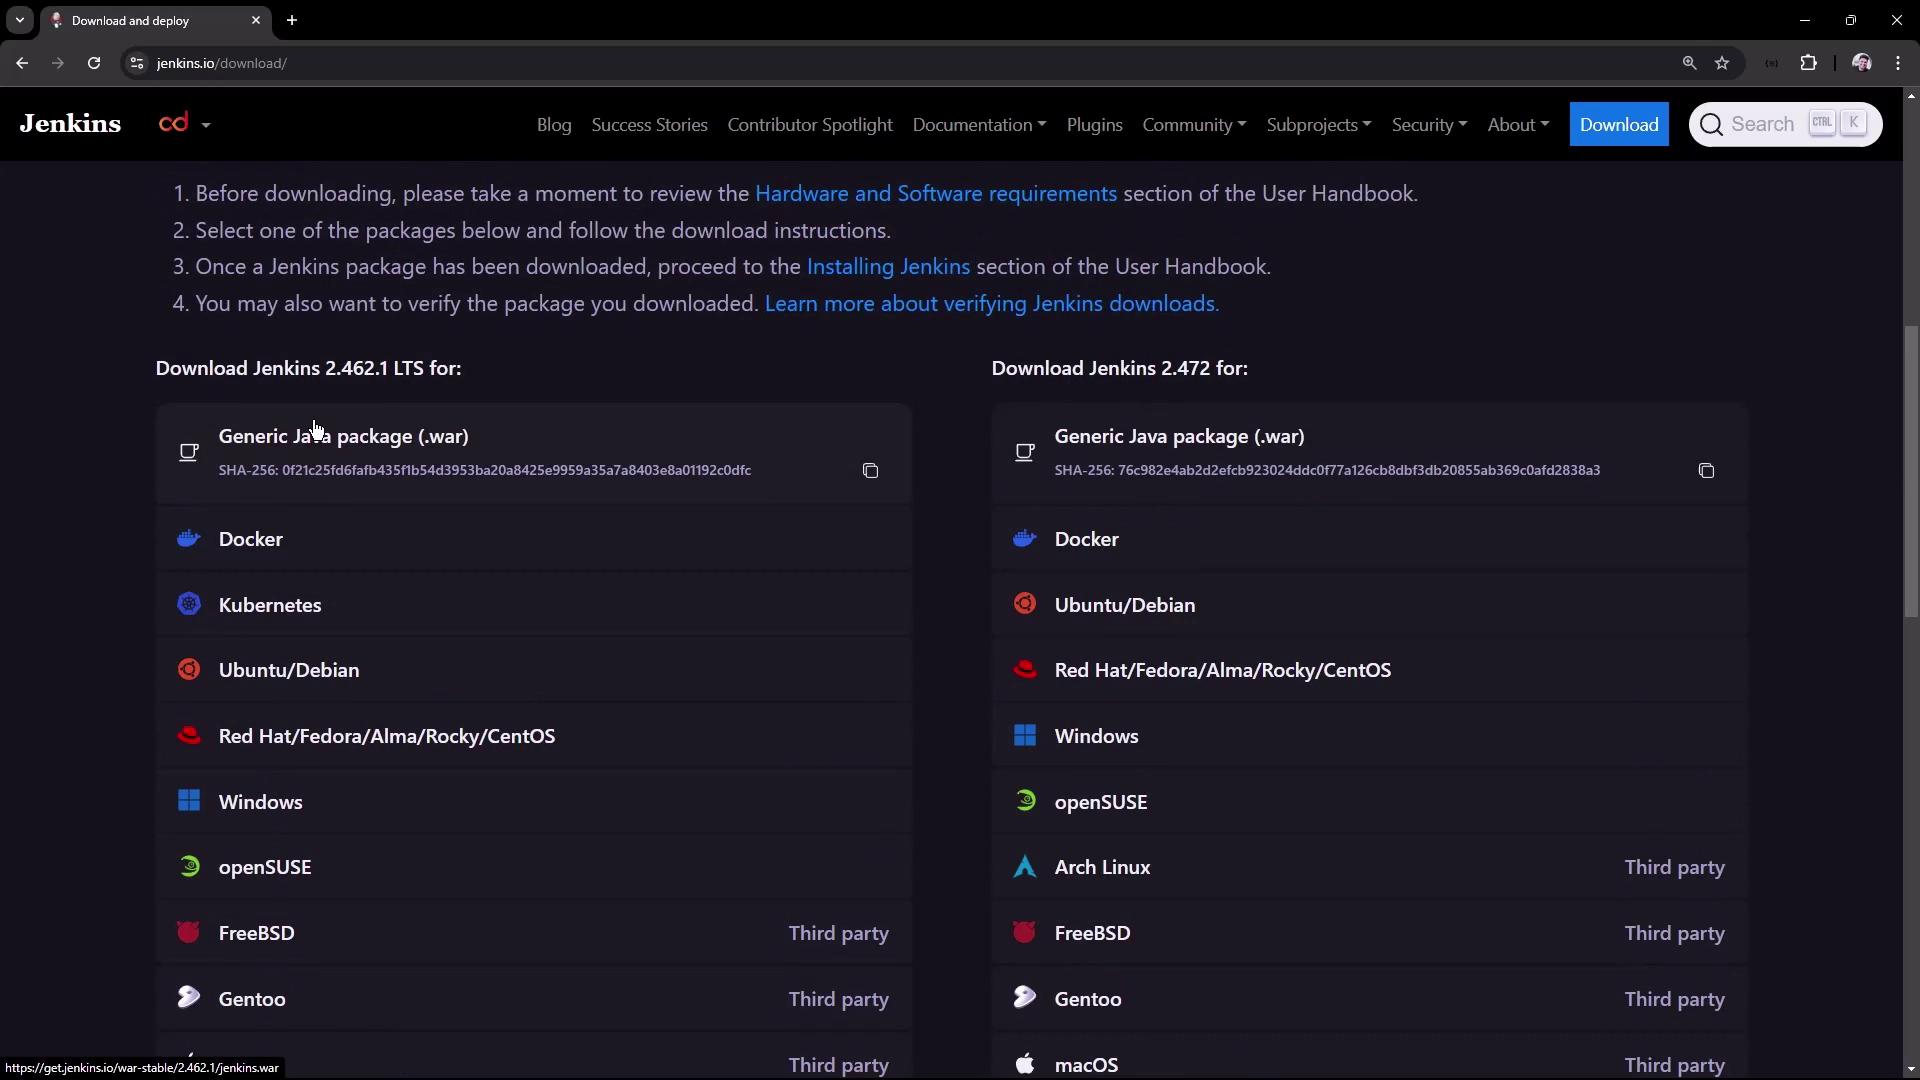
Scroll down to review the available download options. At the time of writing, the LTS version is 2.462.1, while the weekly version is 2.472.
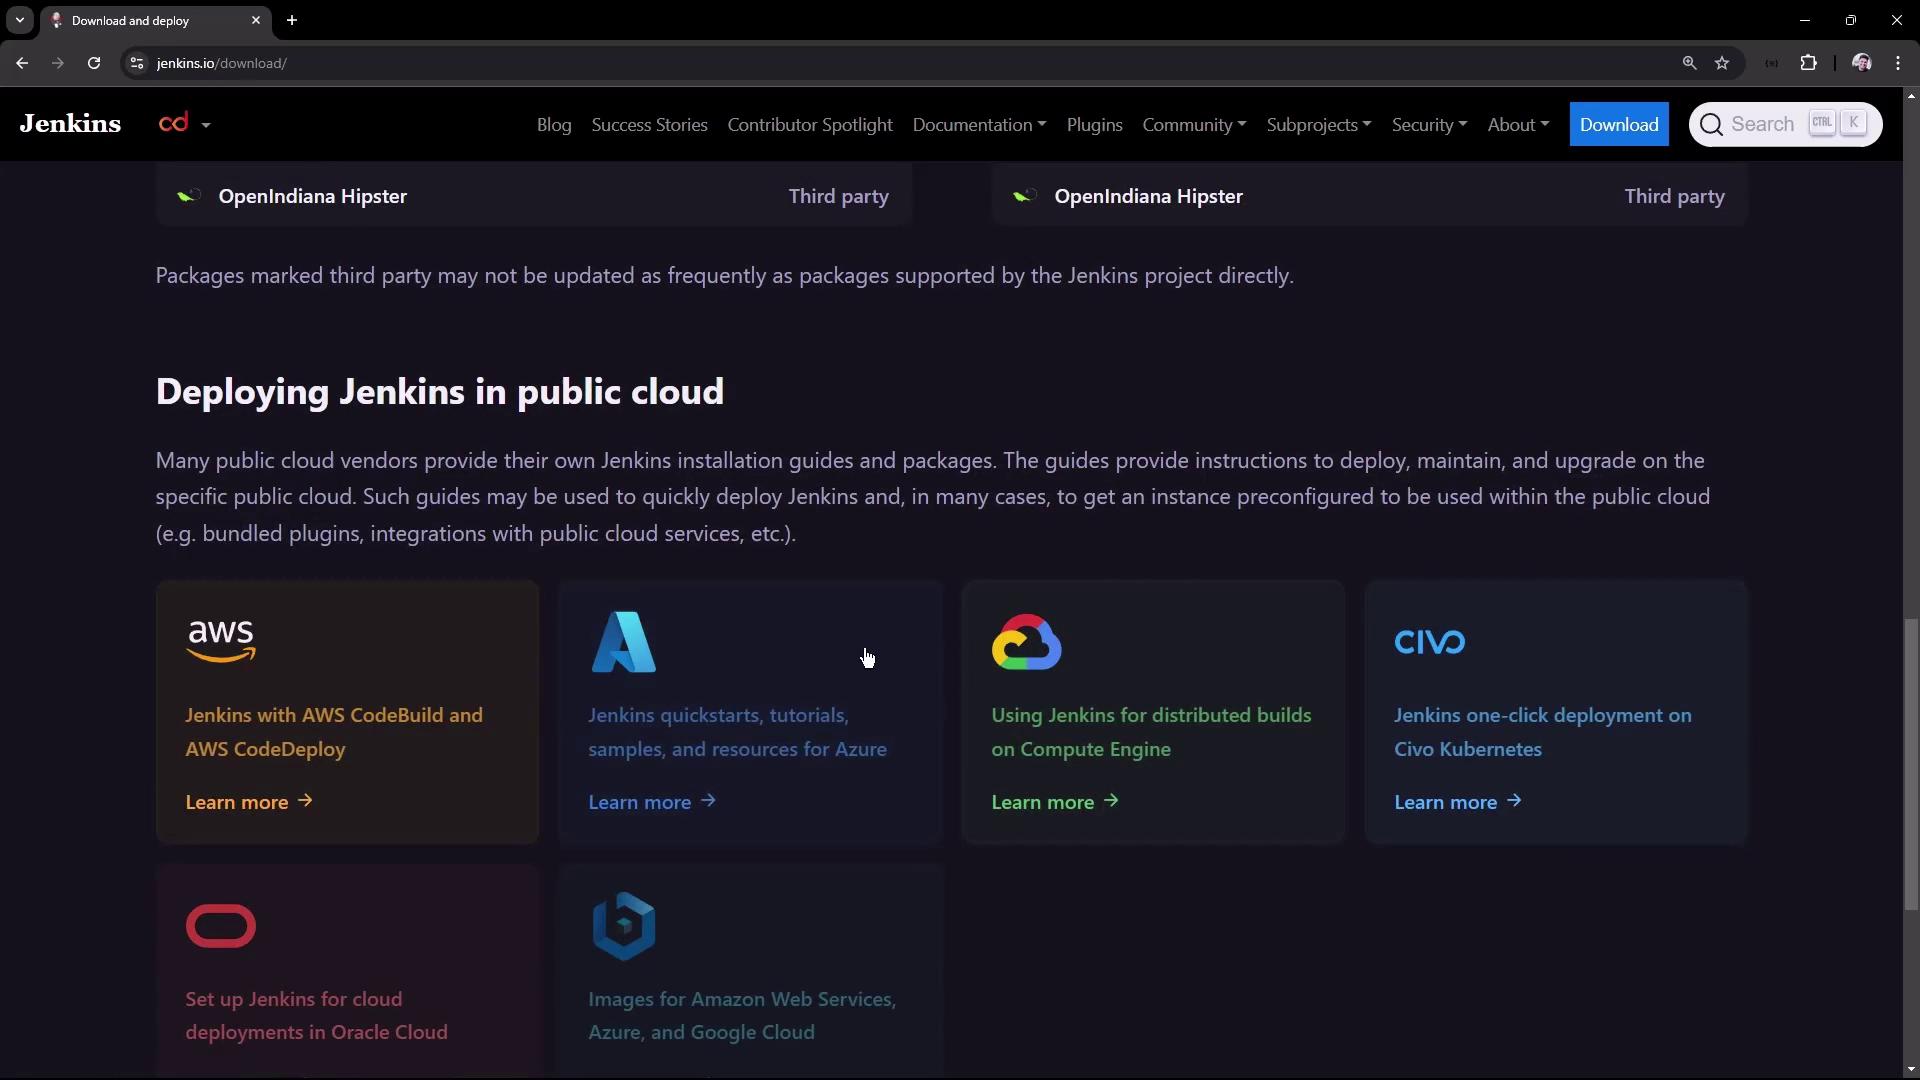
Jenkins also provides detailed deployment instructions for public cloud platforms such as Azure, AWS, Oracle, and Google.
2. Installing Jenkins on Ubuntu
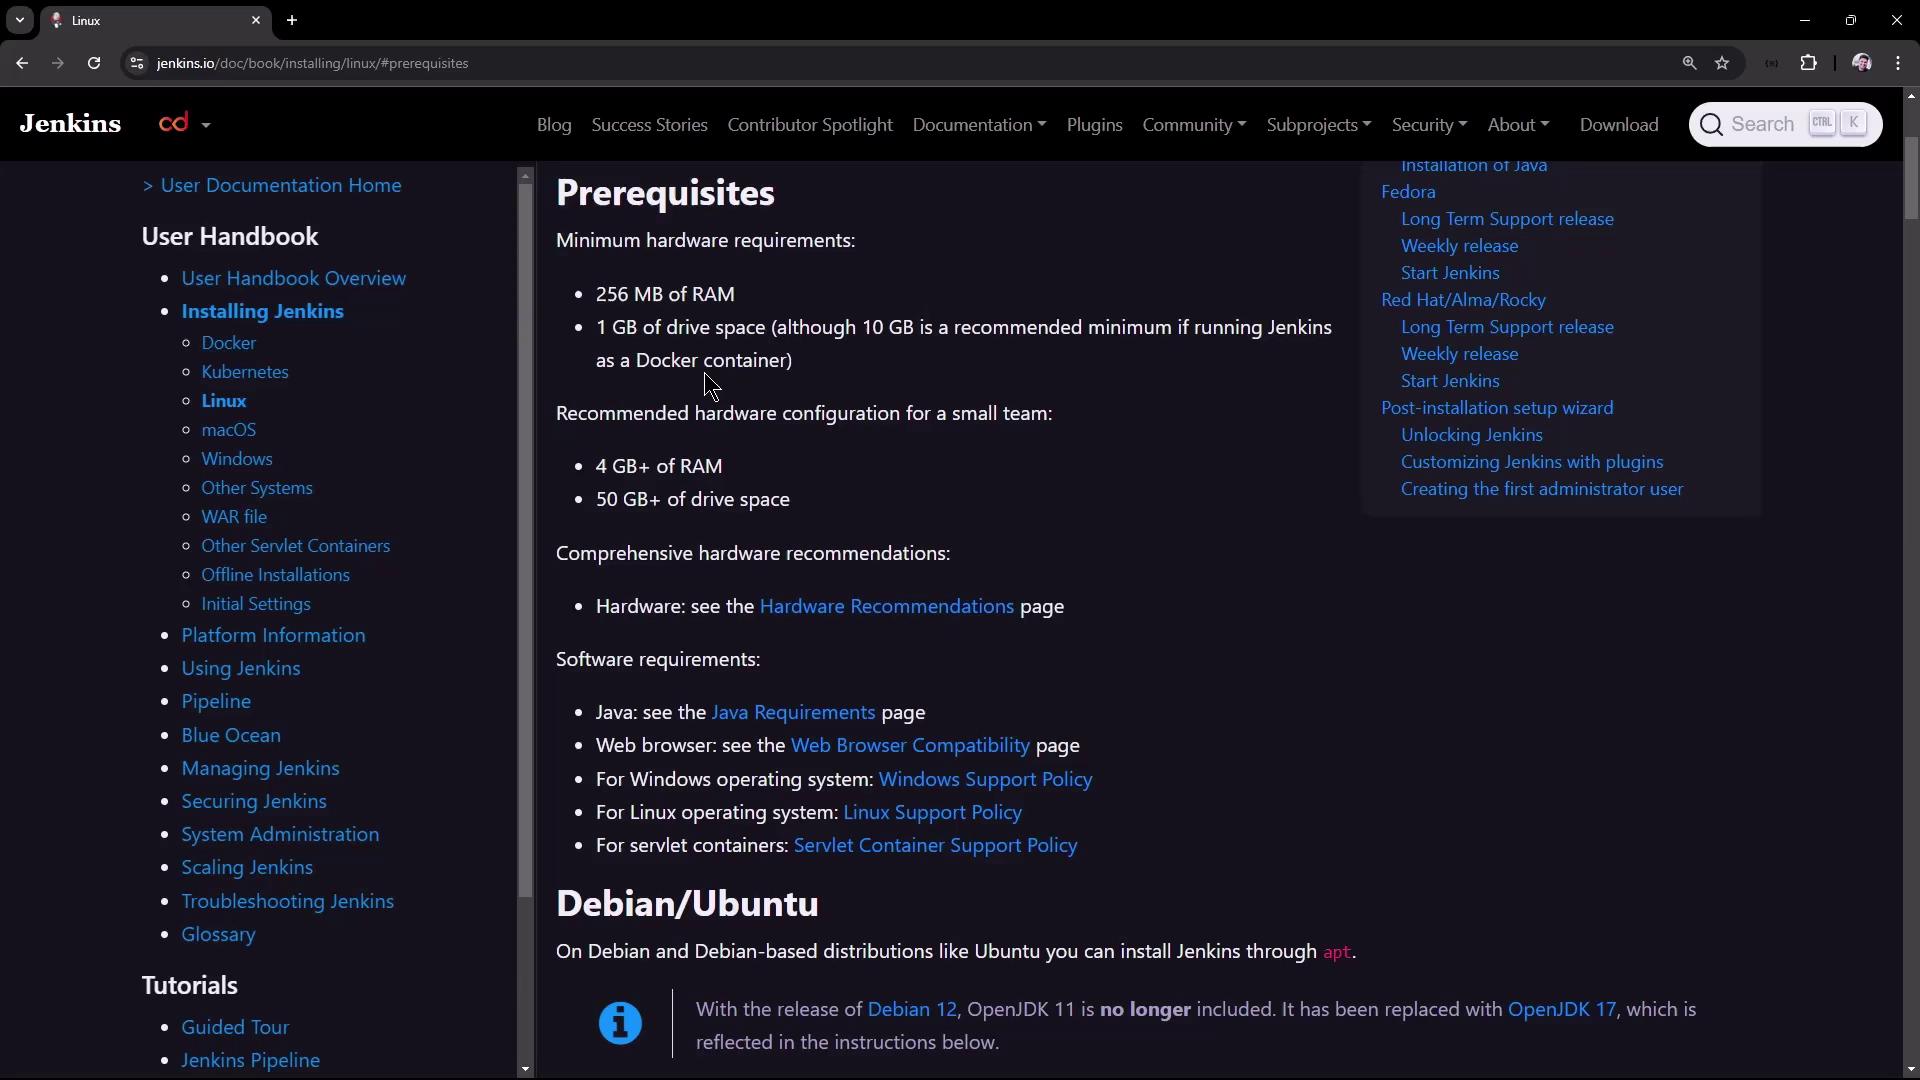
In this section, we install the LTS version of Jenkins on an Ubuntu virtual machine. Before you begin, ensure that your machine meets the basic hardware requirements. For training and testing purposes, 4 GB of RAM with two CPU cores is sufficient.
2.1 Adding the Jenkins Repository and Installing Jenkins
Execute the following commands to add the Jenkins repository key, configure your repository, update your package list, and install Jenkins:
sudo wget -O /usr/share/keyrings/jenkins-keyring.asc \
  https://pkg.jenkins.io/debian-stable/jenkins.io-2023.key
echo "deb [signed-by=/usr/share/keyrings/jenkins-keyring.asc] \
  https://pkg.jenkins.io/debian-stable binary/" | sudo tee \
  /etc/apt/sources.list.d/jenkins.list > /dev/null
sudo apt-get update
sudo apt-get install jenkins -y
These commands perform the following actions:
- Download the Jenkins public key.
- Verify and add the repository key.
- Update your system’s package lists.
- Install Jenkins.
Installation Duration
The installation process typically takes around 20 seconds.
3. Verifying the Jenkins Service Status
After the installation completes, check that the Jenkins service is running by executing:
systemctl status jenkins
If the service reports as failed, review the system logs to diagnose the problem:
journalctl -u jenkins
You might see log entries similar to:
Aug 19 07:58:24 jenkins-controller-1 systemd[1]: Starting jenkins.service - Jenkins Continuous Integration Server...
Aug 19 07:58:24 jenkins-controller-1 jenkins[31418]: jenkins: failed to find a valid Java installation
...
Aug 19 07:58:25 jenkins-controller-1 systemd[1]: Failed to start jenkins.service - Jenkins Continuous Integration Server.
These logs indicate that Jenkins cannot locate a valid Java installation.
4. Installing Java
Jenkins requires Java to operate correctly. Begin by checking your current Java version:
java -version
If Java isn’t installed, you may encounter a message like:
Command 'java' not found, but can be installed with:
apt install default-jre    # version 2:1.17-75, or
apt install openjdk-17-jre-headless   # version 17.0.12+7-1ubuntu2~24.04
...
Since OpenJDK 17 is supported by Jenkins, install it using the following commands:
sudo apt update
sudo apt install fontconfig openjdk-17-jre -y
java -version
The output should now display details for OpenJDK 17, similar to:
openjdk version "17.0.12" 2024-07-16
OpenJDK Runtime Environment (build 17.0.12+7-Ubuntu-1ubuntu224.04)
OpenJDK 64-Bit Server VM (build 17.0.12+7-Ubuntu-1ubuntu224.04, mixed mode, sharing)
5. Restarting the Jenkins Service
With Java installed, restart the Jenkins service using:
sudo systemctl restart jenkins
Verify its status again with:
systemctl status jenkins
If the Jenkins service continues to fail or repeatedly restart, review the logs with:
journalctl -u jenkins
Once Jenkins starts successfully, you should see a log entry prompting the initial setup:
Jenkins initial setup is required. An admin user has been created and a password has been generated.
Please use the following password to proceed to installation:
<initialAdminPassword>
This may also be found at: /var/lib/jenkins/secrets/initialAdminPassword
6. Completing the Jenkins Initial Setup
6.1 Accessing the Jenkins UI
Jenkins runs on port 8080 by default. Open your browser and navigate to:
http://<your-vm-public-ip>:8080
You will be presented with the Jenkins unlock screen where you must enter the initial admin password.
6.2 Retrieving the Initial Admin Password
To retrieve the admin password, run the following command on your virtual machine:
cat /var/lib/jenkins/secrets/initialAdminPassword
The command should output a string like:
201869b1bc8f4b48a721a65d589318a1
You can also inspect the Jenkins home directory to verify its structure:
ls -l /var/lib/jenkins
This directory includes important files and folders such as config.xml, jobs, plugins, secrets, and updates.
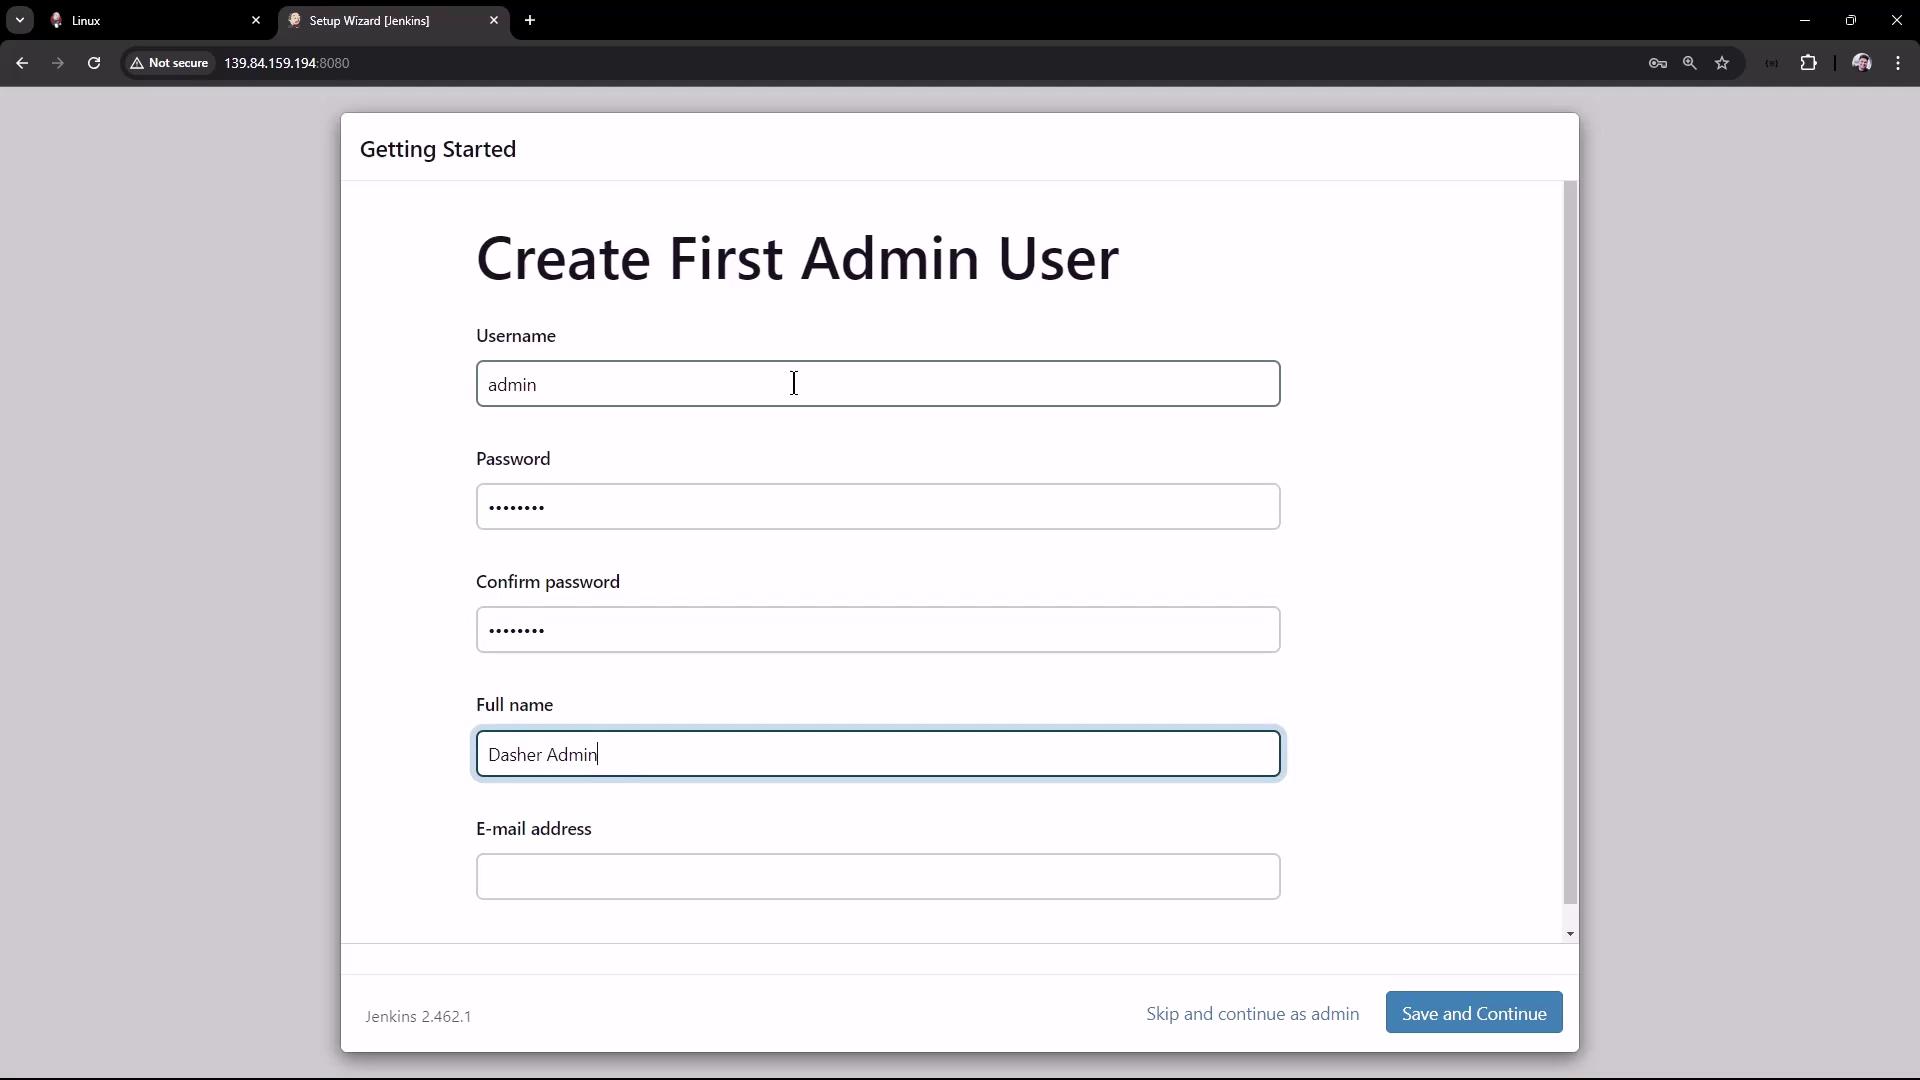
6.3 Installing Plugins and Creating an Admin User
After unlocking Jenkins with the initial admin password, the setup wizard appears. You can choose to install the suggested plugins or select the ones you need. For this demonstration, consider installing these key plugins:
- Credential Binding
- Timestamper
- Various Pipeline plugins (e.g., pipeline graph view, GitHub branch source, pipeline Groovy libraries)
- Git (for Source Control Management)
- Docker Theme (for enhanced UI appearance)
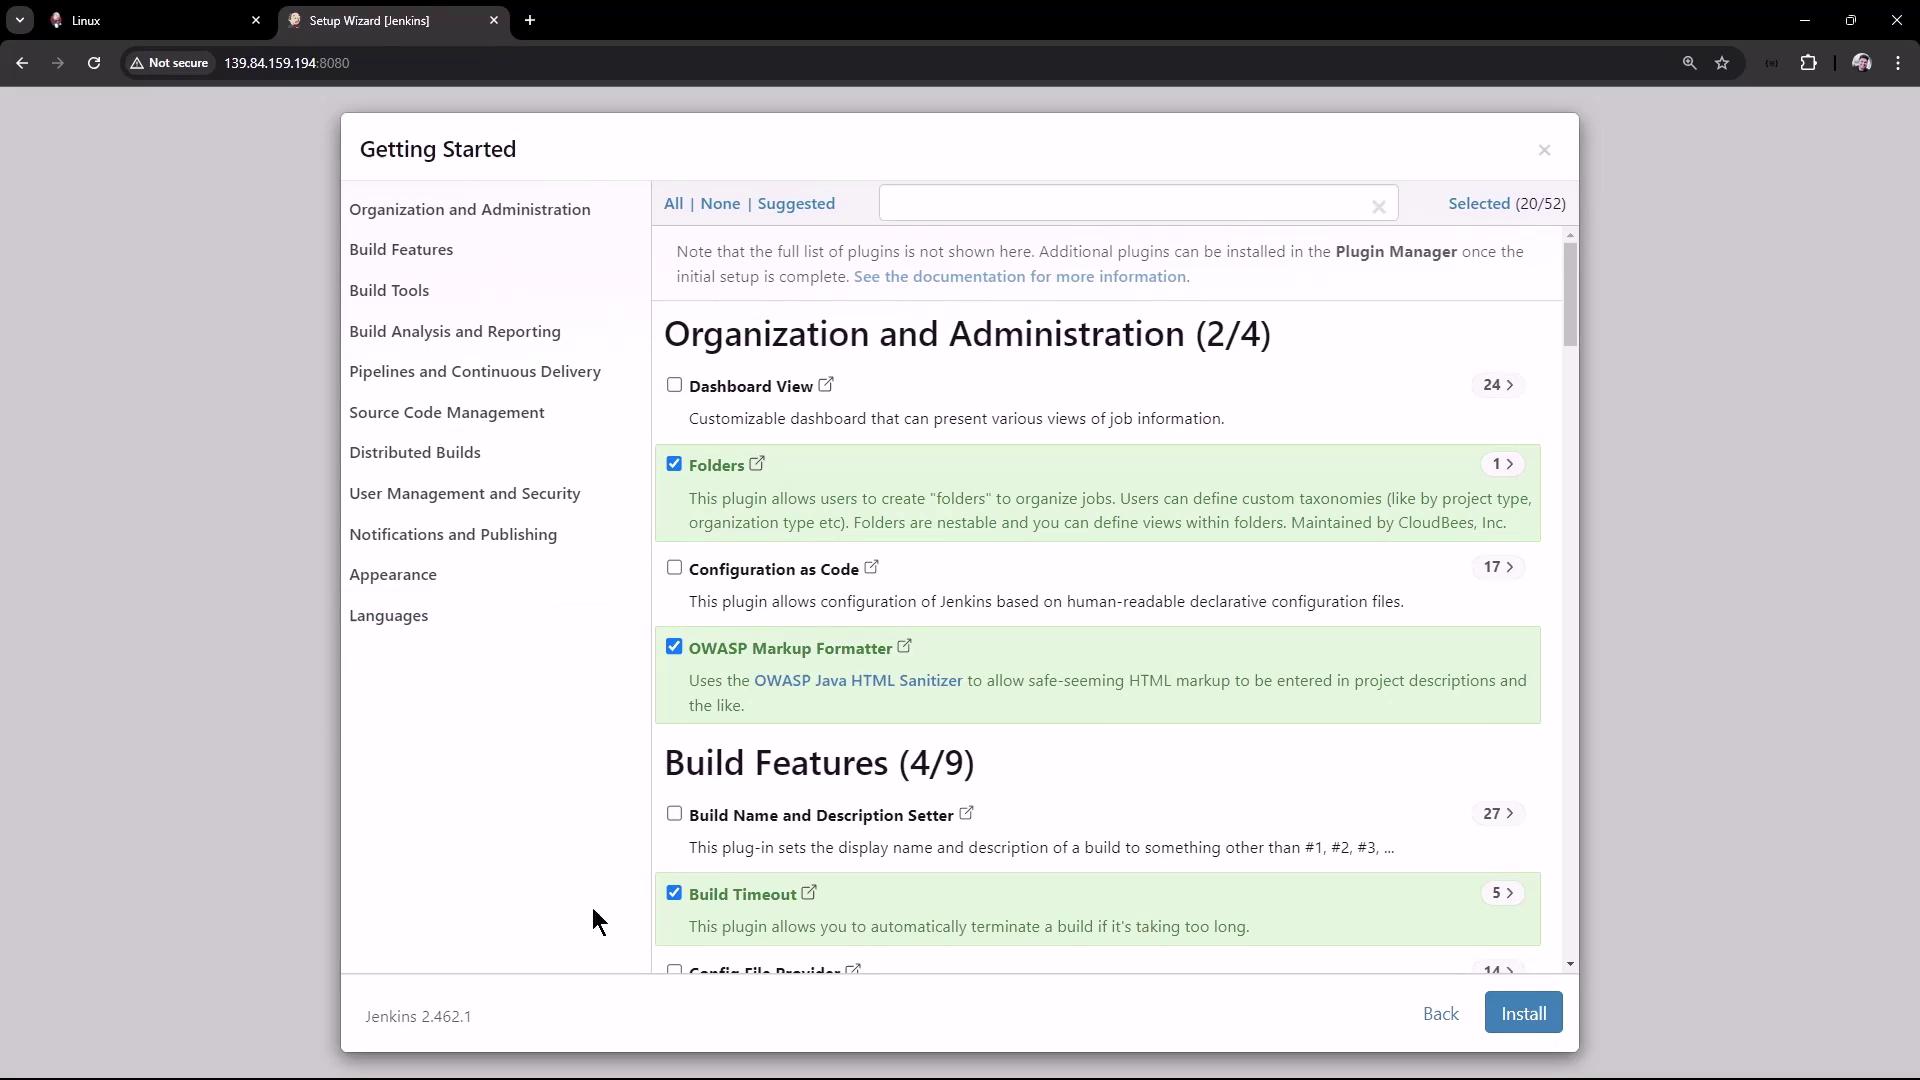
Follow the on-screen prompts to install the selected plugins. Once installation concludes, the wizard will prompt you to create the first admin user. For example, you might use:
- Username: admin
- Password: (choose a secure password)
- Full Name: Dasher Admin
- Email: [email protected]
Next, configure the Jenkins URL. Set it to your virtual machine’s public IP and port (e.g., http://139.84.159.194:8080) to ensure all generated links work properly.
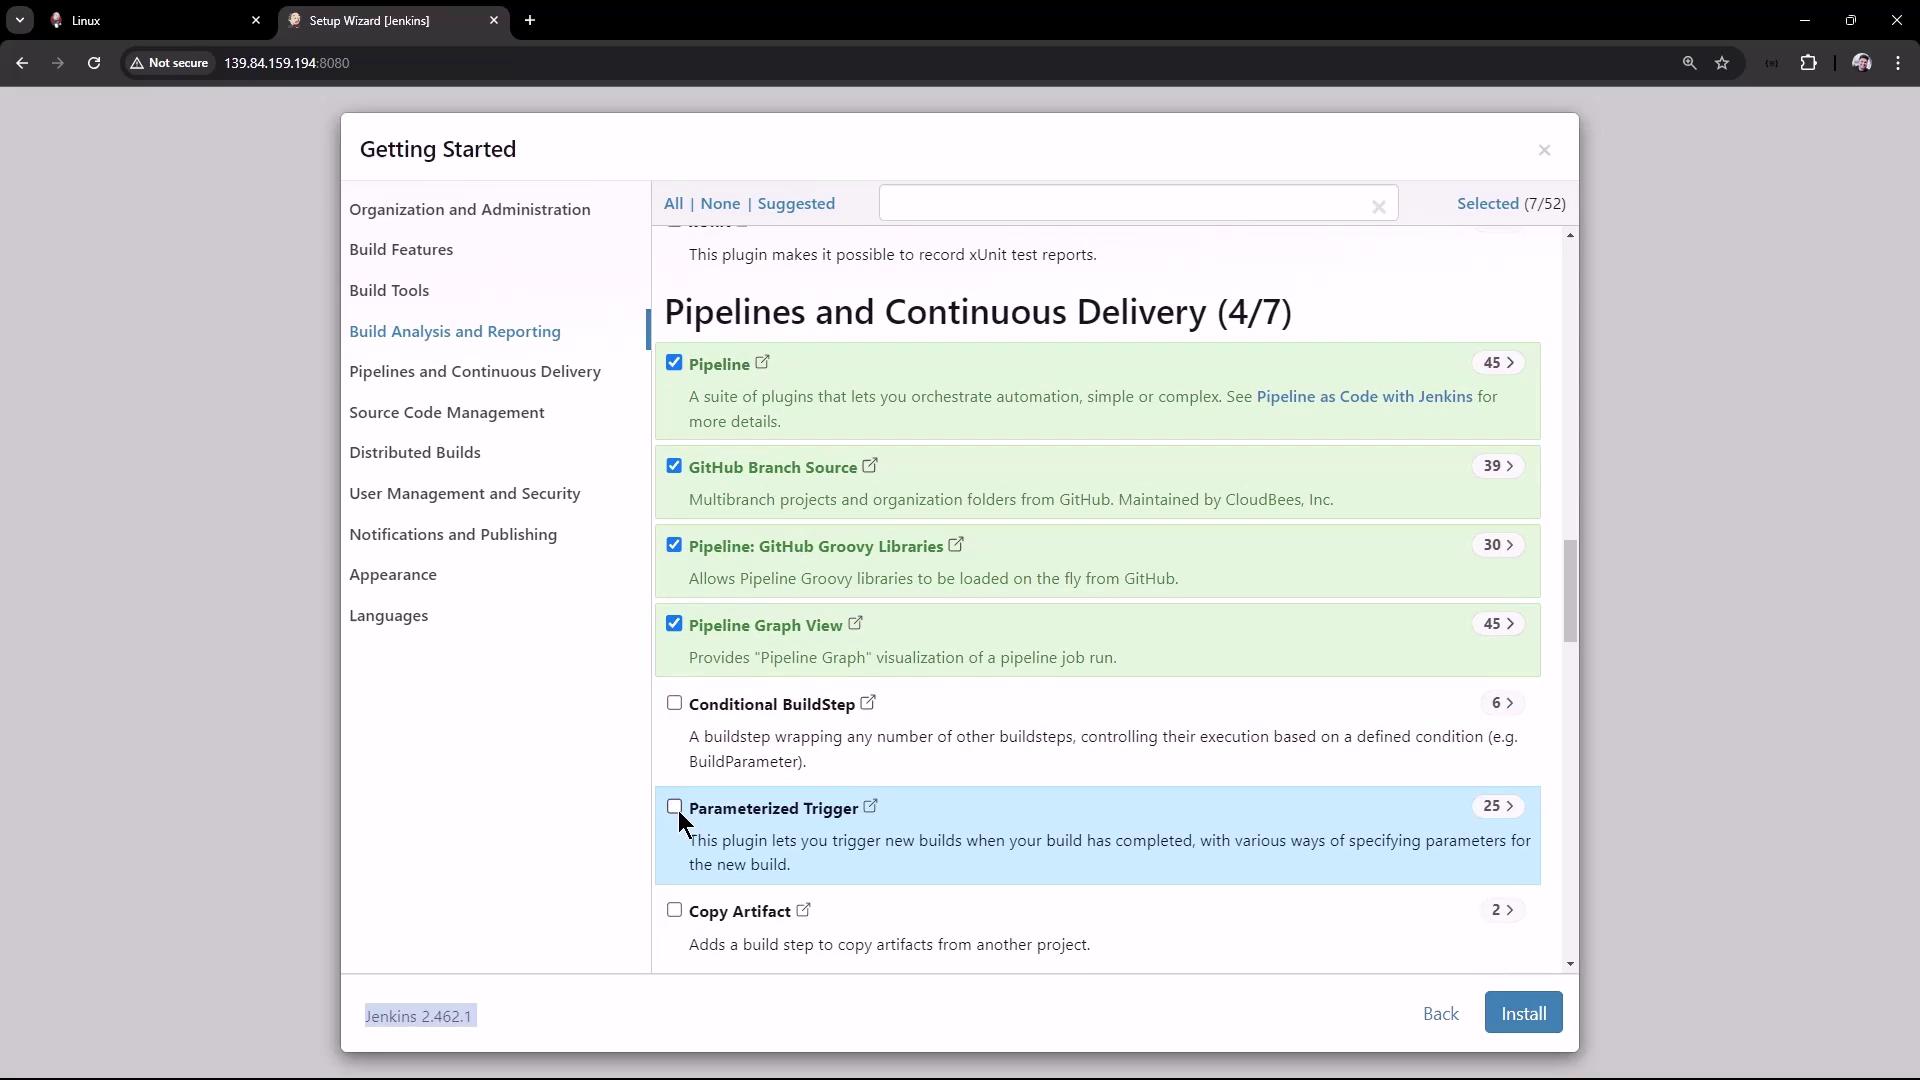
After these steps, Jenkins is ready to use.
7. Next Steps
In future guides, we will explore the Jenkins user interface in more detail, configure jobs and pipelines, and learn how to manage builds and continuous integration processes.
Thank you for following this guide. Enjoy building your CI/CD pipeline with Jenkins!
Additional Resources
For more information on Jenkins, visit the Jenkins Documentation and explore related topics such as CI/CD best practices.
Watch Video
Watch video content