Welcome back. Previously we covered what model serving is and how KServe fits together. In this lesson we’ll install KServe on a Kubernetes cluster, explain what each component does, and show how to verify the installation. The commands below are the exact steps used in the demo along with concise verification commands and expected outputs.
The image presents a slide titled "Before the Demo: The Mental Model," highlighting three questions: what to install, why each piece is needed, and how to verify, as part of preparation for a demonstration.
The mental model: install what KServe needs, understand why each piece is required, and verify the cluster is ready to accept InferenceService or LLMInferenceService manifests. KServe is distributed as Helm charts. If you haven’t used Helm before, think of it as a package manager for Kubernetes—similar to apt or brew, but for deploying complex applications into a cluster.
The image illustrates the installation of KServe using Helm, a package manager for Kubernetes, with icons representing Helm and Kubernetes.
KServe depends on cert-manager for TLS certificate provisioning and renewal. cert-manager automates creating and managing the certificates many KServe components require.
If your environment is provided as a lab, cert-manager may already be installed. On a fresh cluster you must install cert-manager before KServe; it is a hard dependency.
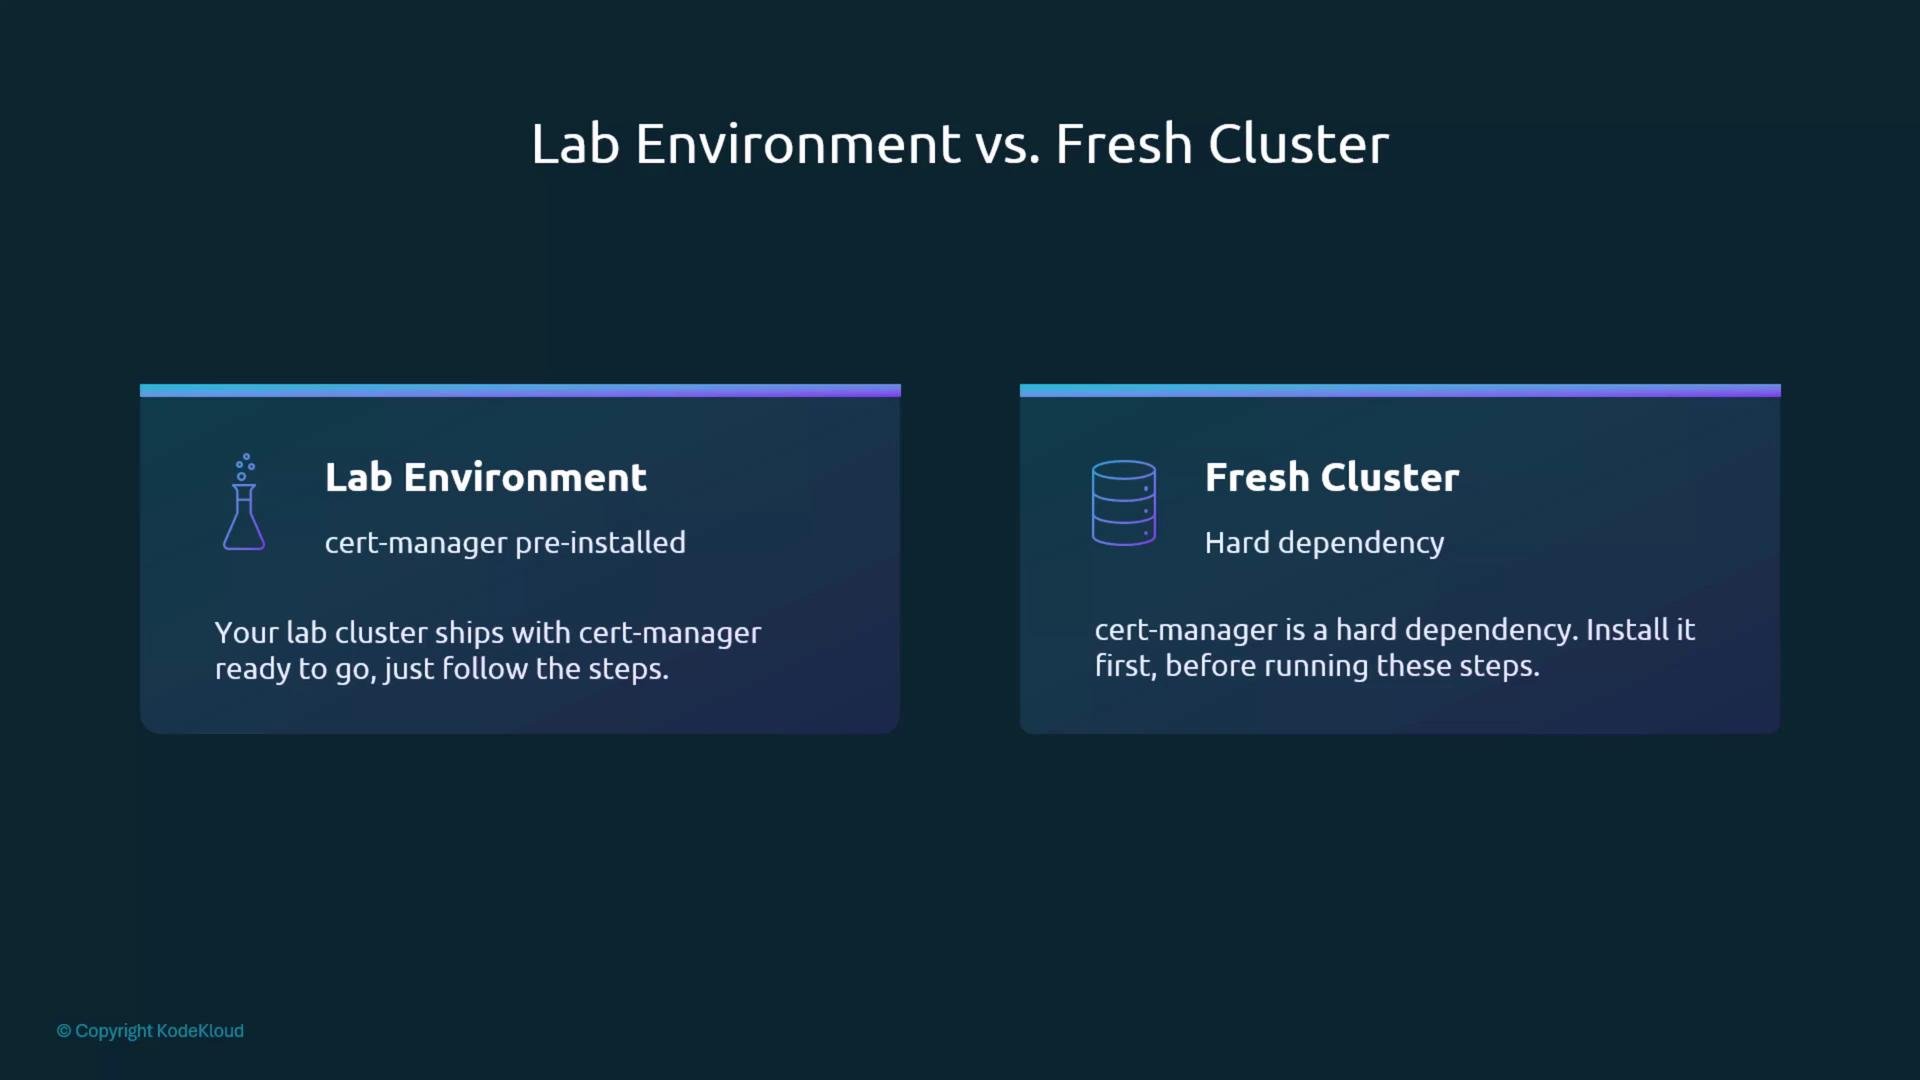
The image compares a "Lab Environment" with a "Fresh Cluster" regarding the installation of a cert-manager, noting the lab environment has it pre-installed while the fresh cluster requires it as a hard dependency.
Overview: KServe installation proceeds in three logical steps
  1. Install KServe CRDs (cluster-scoped API types).
  2. Install the KServe controller (operator that reconciles InferenceService resources).
  3. Install serving runtime and LLM configurations (pre-built templates for model servers and LLM runtimes).
Quick reference: Helm installs and their purpose Step 1 — Install CRDs CRDs define the Kubernetes API types KServe uses (for example inferenceservices.serving.kserve.io and llminferenceservices.serving.kserve.io). These are cluster-scoped and must be installed before the controller. Run:
Example (condensed) output:
Why this matters: without CRDs, Kubernetes rejects any InferenceService or LLMInferenceService manifest before KServe has a chance to process it. Step 2 — Install KServe (controller) Install the controller into the kserve namespace. For demos and local clusters we use RawDeployment mode so the controller creates standard Kubernetes Deployments instead of requiring Knative and Istio. This makes it easy to use kubectl port-forward and curl directly. Install command:
If you get a Helm error about a release name already in use, uninstall and retry:
After a successful install you should see output like:
Wait for the KServe controller and its webhook to be fully ready before creating any InferenceService resources:
Expected success message:
Step 3 — Install serving runtimes and LLM configs Serving runtimes register templates used to deploy model servers (scikit-learn, XGBoost, Hugging Face, TorchServe, Triton, etc.). LLMInferenceService configs provide LLM-specific runtime settings. Install the runtime configs:
Inspect the release and installed resources:
You may see output indicating whether ClusterServingRuntimes or LLM configs are enabled:
Quick verification checks
  1. Confirm KServe controller pods are running:
Example:
  1. Confirm CRDs are installed (look for KServe CRDs):
Example output:
If inferenceservices.serving.kserve.io appears, Kubernetes recognizes the InferenceService API.
  1. Confirm serving runtimes are registered:
You should see entries for supported runtimes (scikit-learn, XGBoost, Hugging Face, Triton, etc.). These are the templates KServe uses when creating model deployments. Summary
  • Installation consists of three Helm installs: CRDs, controller, and runtime configs.
  • Typical verification: controller pods (kubectl get pods -n kserve), CRDs (kubectl get crds | grep kserve), and registered serving runtimes (kubectl get clusterservingruntimes).
  • Use RawDeployment mode in demos/local clusters to avoid installing Knative/Istio and enable direct access via port-forwarding.
Once all components are healthy, you’re ready to create InferenceService and LLMInferenceService resources. These steps will be applied live in the subsequent demonstration. Links and references

Watch Video

Practice Lab