Lens - Kubernetes IDE

Lens Introduction

Lens Spaces

Lens Spaces is a centralized, cloud-based extension for Lens IDE, providing secure, real-time collaboration on Kubernetes clusters. Built on TeamLens’s cloud platform and Lens 5+, it removes the need for VPNs, kubeconfig juggling, or firewall adjustments. Follow this guide to set up, share, and manage clusters using Lens Spaces.

The image shows the welcome screen for Lens 5, a Kubernetes management tool, with a sidebar containing various icons and a message indicating a successful login.


1. Prerequisites & Versions

Before you begin, ensure you have the following:

RequirementDetails
Lens IDEVersion 5.0 or later (we recommend 5.13+)
Lens AccountSign up with email, GitHub, or Google
Network AccessOutbound HTTPS for Lens Spaces and ClusterConnect proxy

Note

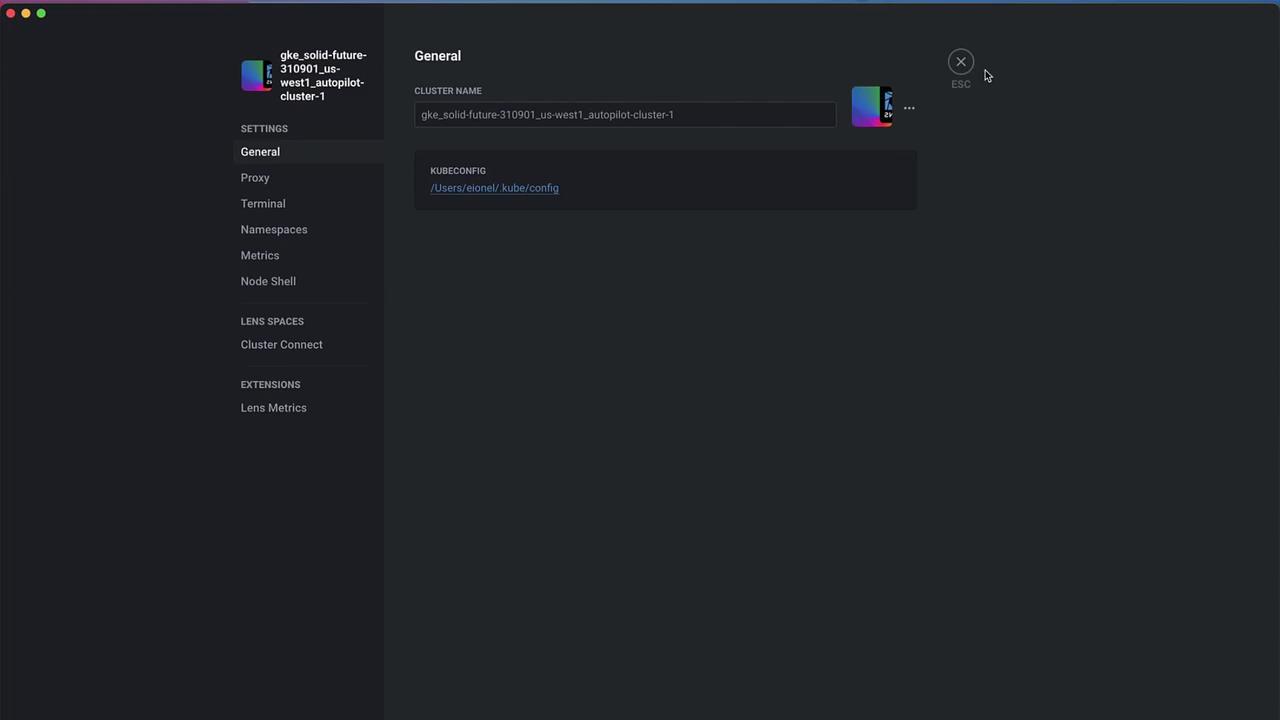
Verify your Lens version via Help › About Lens in the desktop app.


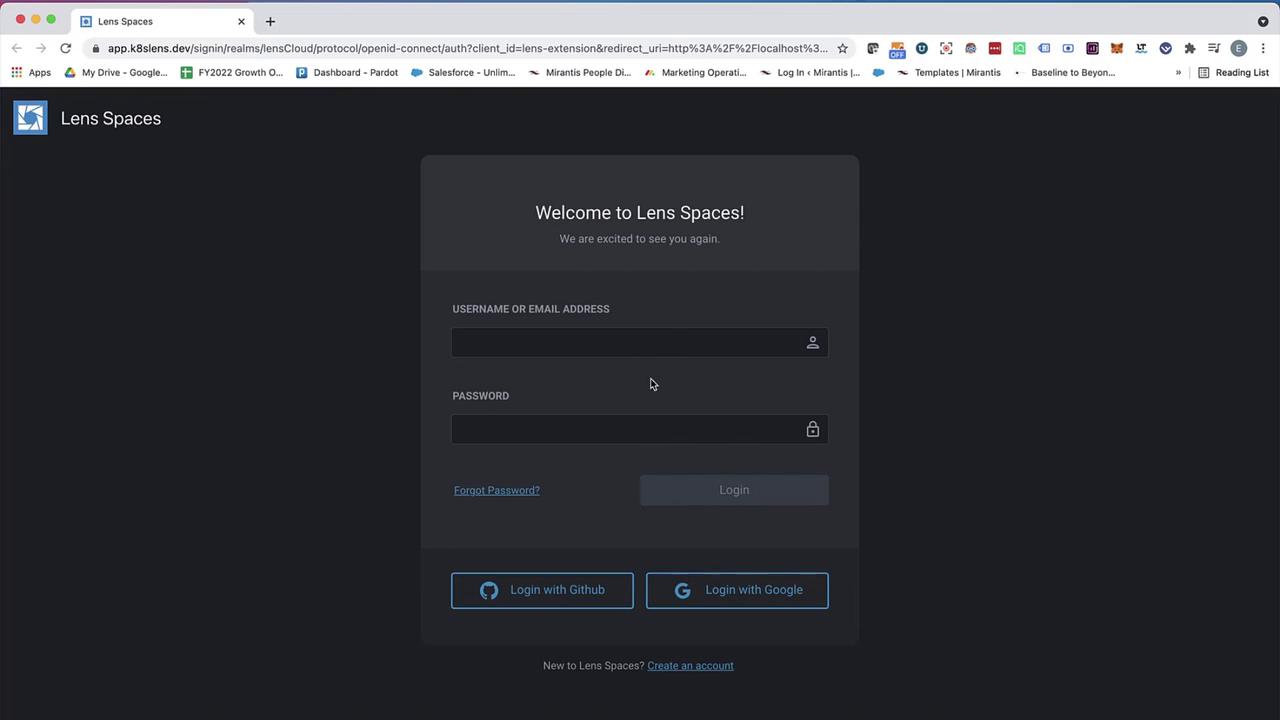
2. Login to Lens Spaces

  1. In Lens, click Lens Login in the bottom-right corner.
  2. Your browser opens the Lens Spaces sign-up page—authenticate via GitHub, Google, or email.
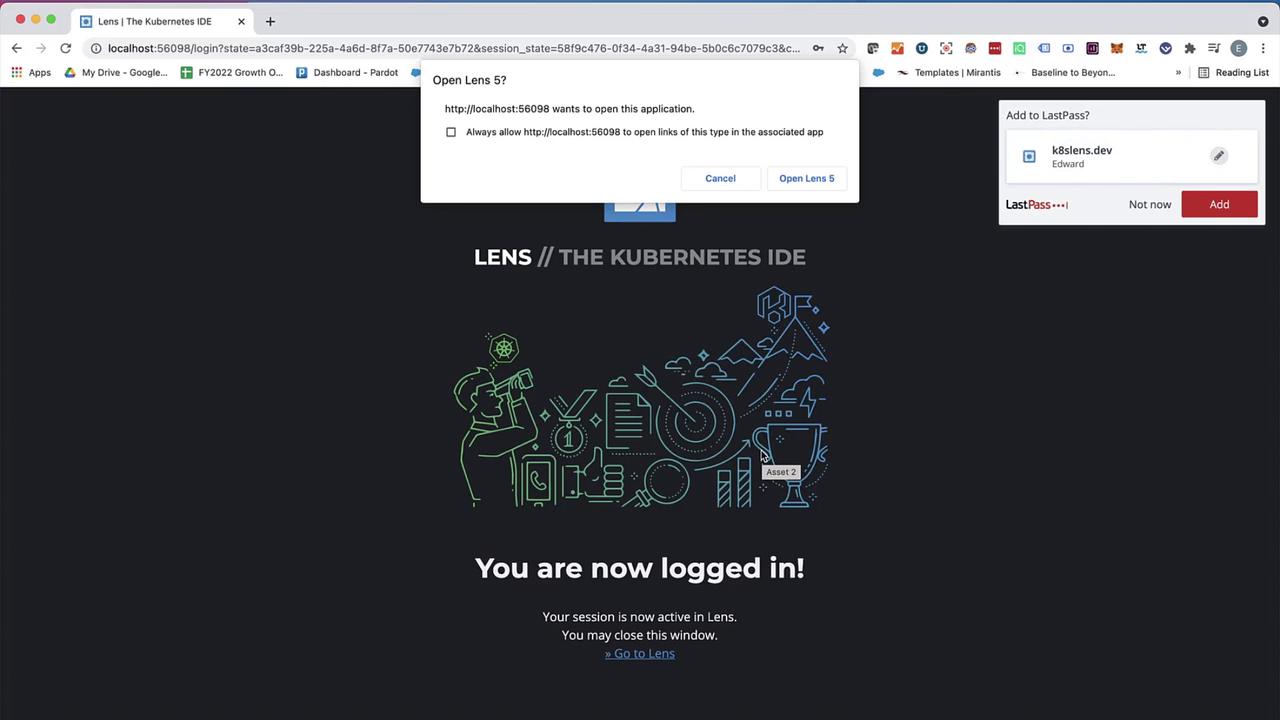
  3. Confirm the “Open Lens” prompt in your browser to return to the desktop app.

The image shows a login page for "Lens Spaces" with fields for a username or email address and password, along with options to log in using GitHub or Google.

The image shows a browser window with a login confirmation for "Lens // The Kubernetes IDE," indicating the user is now logged in. There is also a pop-up asking to open "Lens 5" and a LastPass prompt to add a site.

Once logged in, your account name appears in the bottom-right corner of Lens.


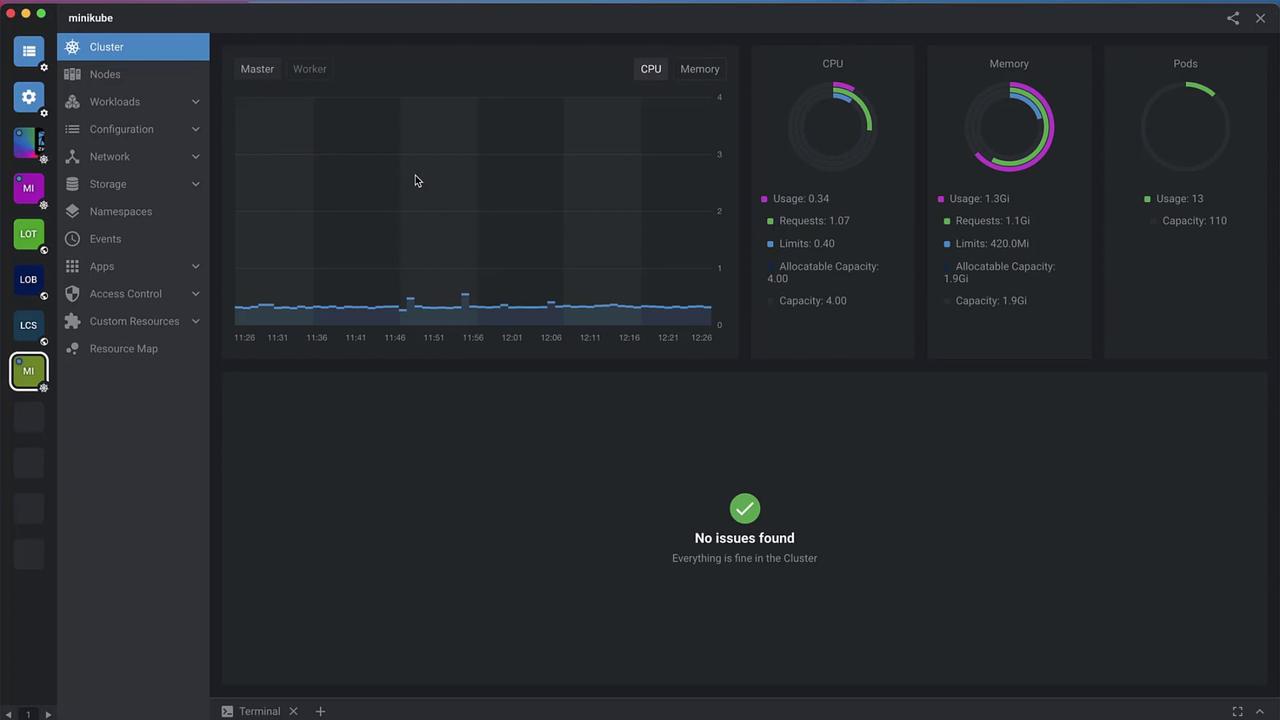
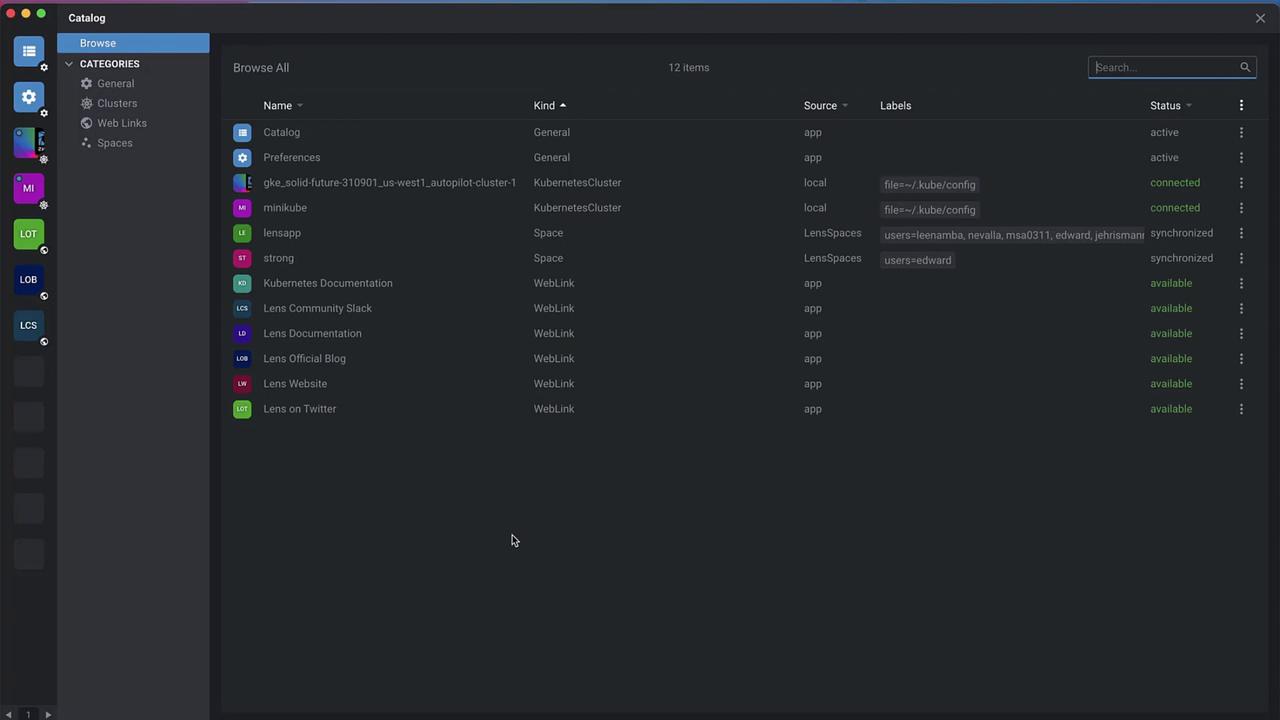
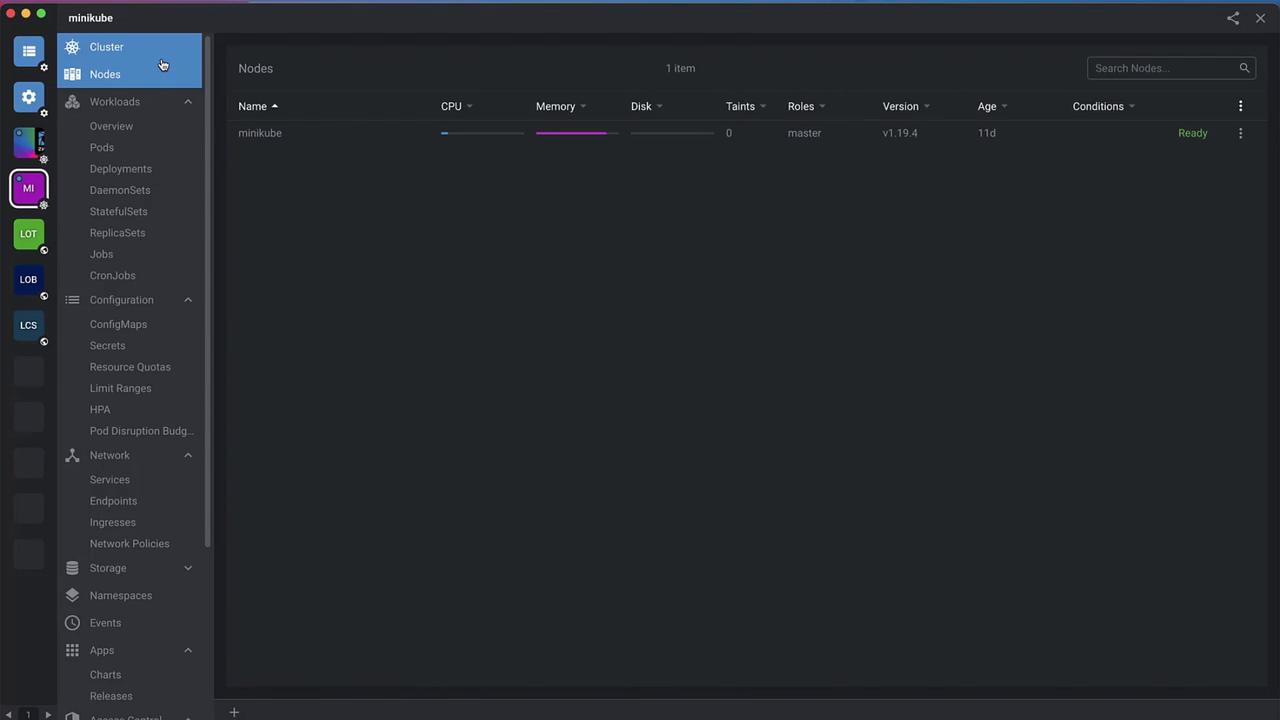
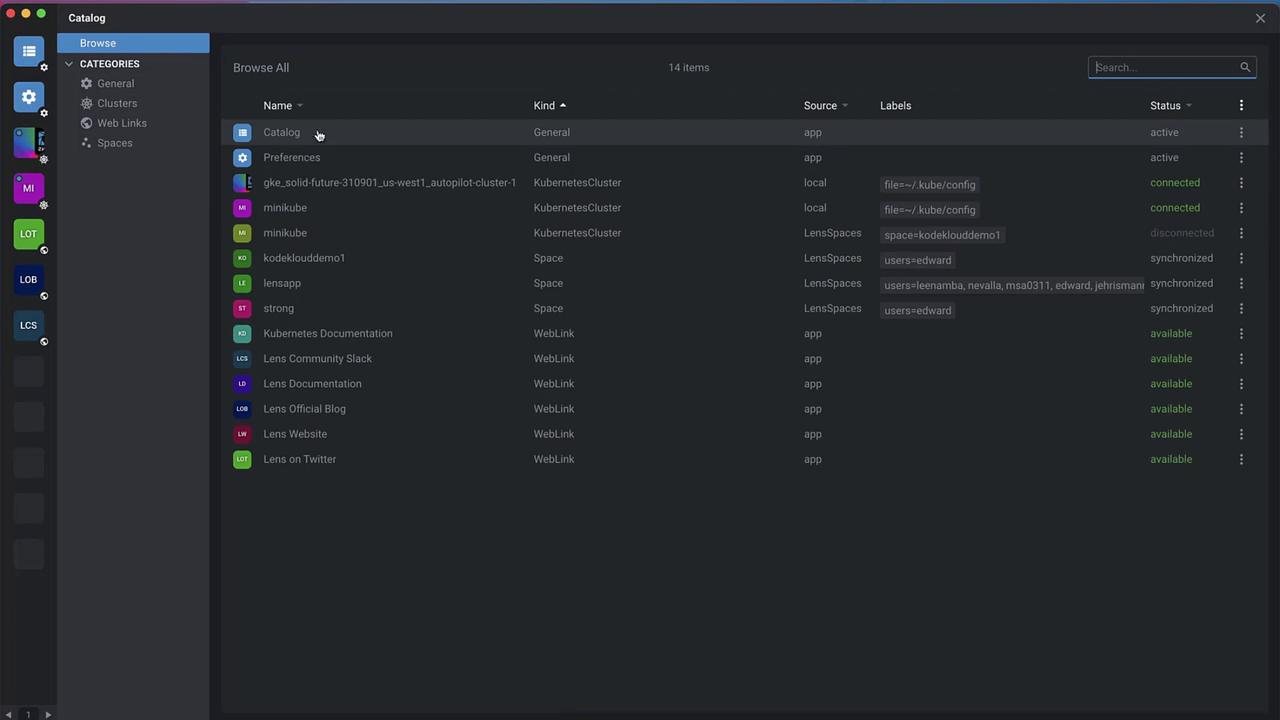
3. Explore the Cluster Catalog

Navigate to Catalog in the sidebar to see all registered clusters. Disconnected clusters (e.g., GKE, Minikube) display until they’re launched.
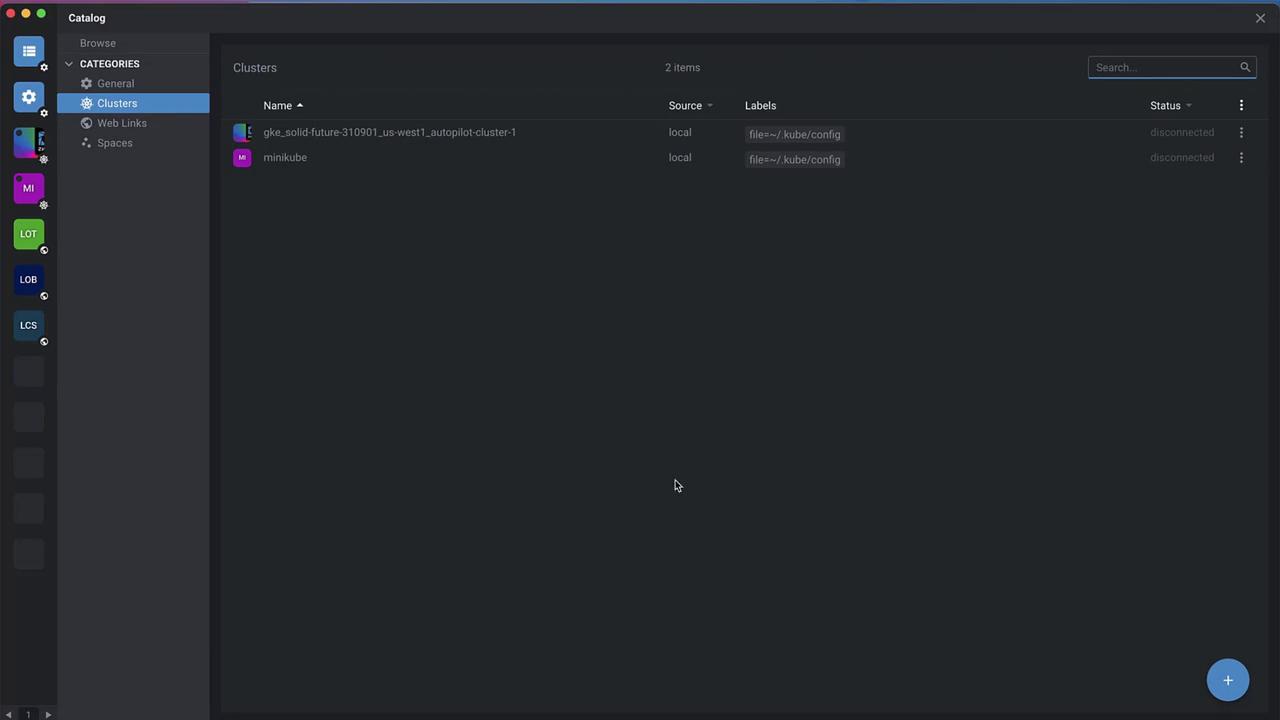
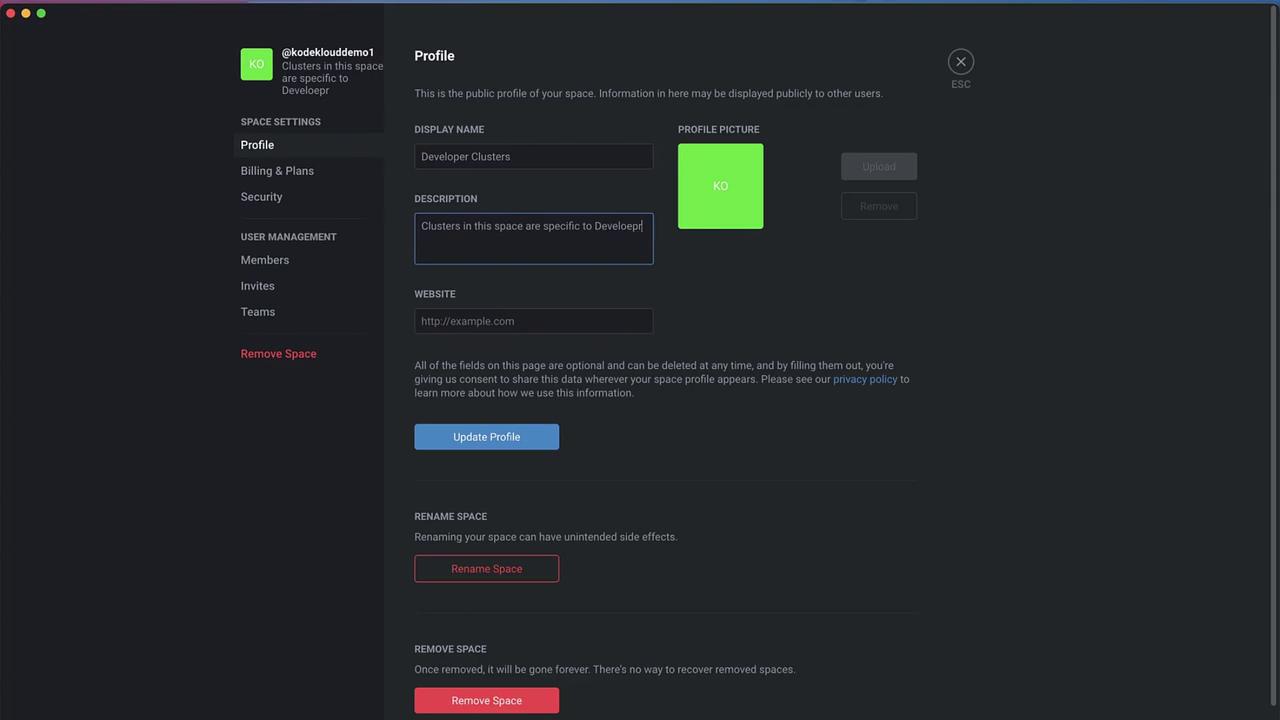
The image shows a software interface displaying a catalog of clusters, with two items listed as disconnected. The left sidebar contains various category icons.

Click any cluster to inspect its details—node performance, metrics, proxy settings, and more.

The image shows a dark-themed user interface of a software application, displaying settings for a Kubernetes cluster with options like General, Proxy, Terminal, and more on the left sidebar.


4. Create a Space

Spaces are collaborative workspaces for sharing clusters.

  1. Go to Catalog › Spaces.
  2. Click the + icon (or your username › Add Space).
  3. Enter a unique name (e.g., CodeCloudDemo1) and press Enter.

The image shows a software interface with a catalog of items, including clusters and web links, displayed in a table format with columns for name, kind, source, labels, and status. The left sidebar contains navigation options and icons.

  1. In Space Settings, update the Display name and Description (e.g., “Developer Clusters – Shared by TeamLens”).
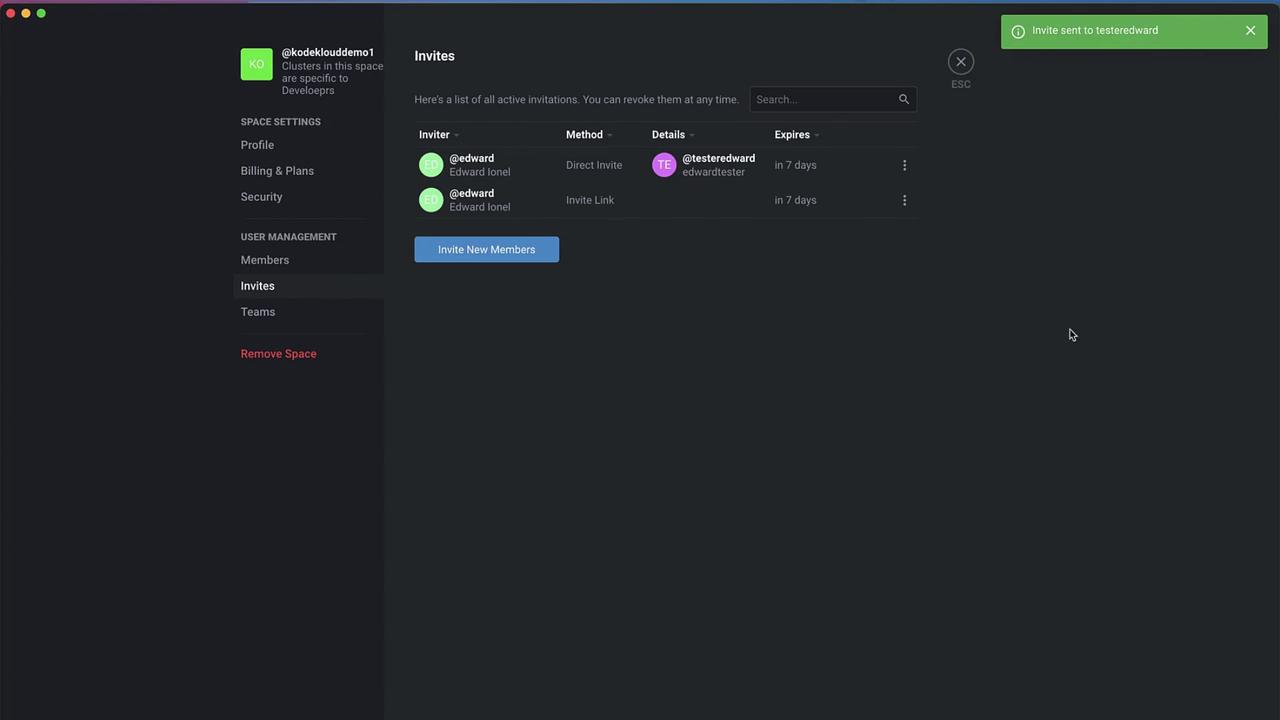
The image shows a user interface for managing a profile, including options to update the display name, description, and website, as well as buttons to update, rename, or remove the space.


5. Invite Members

Add collaborators by username, email, or shareable link.

  1. In Spaces › Members, click Invite.
  2. Enter a username or email (e.g., TesterEdward) and send the invite.

The image shows a user interface for managing invitations in a software application, displaying a list of active invitations with details such as inviter, method, and expiration. A notification confirms an invite was sent.

Once accepted, members can access clusters shared within this space.


6. Share Your Kubernetes Cluster

To share a cluster:

  1. In Clusters, select your target cluster (e.g., Minikube).
  2. Click the Share Cluster icon.
  3. Choose your space (CodeCloudDemo1).
  4. Install ClusterConnect when prompted.

The image shows a dashboard interface for managing a Kubernetes cluster using Minikube, displaying node details such as CPU, memory, and status. The left sidebar contains various options for managing workloads, configurations, and network settings.

The image shows a software interface for managing a Kubernetes cluster, with options to add members for collaboration and view cluster metrics like memory and pod usage.

ClusterConnect establishes a secure, end-to-end encrypted tunnel using a client-side reverse proxy and WebSocket. The BoreD daemon never inspects encrypted traffic.
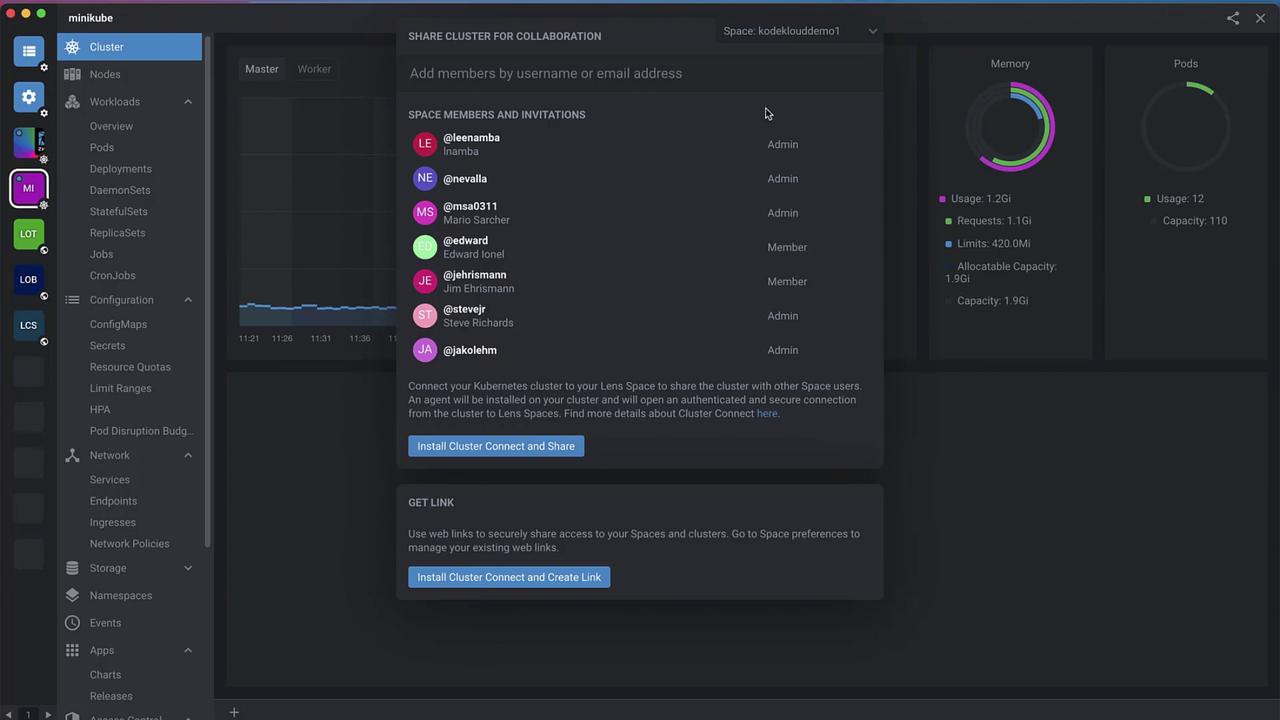
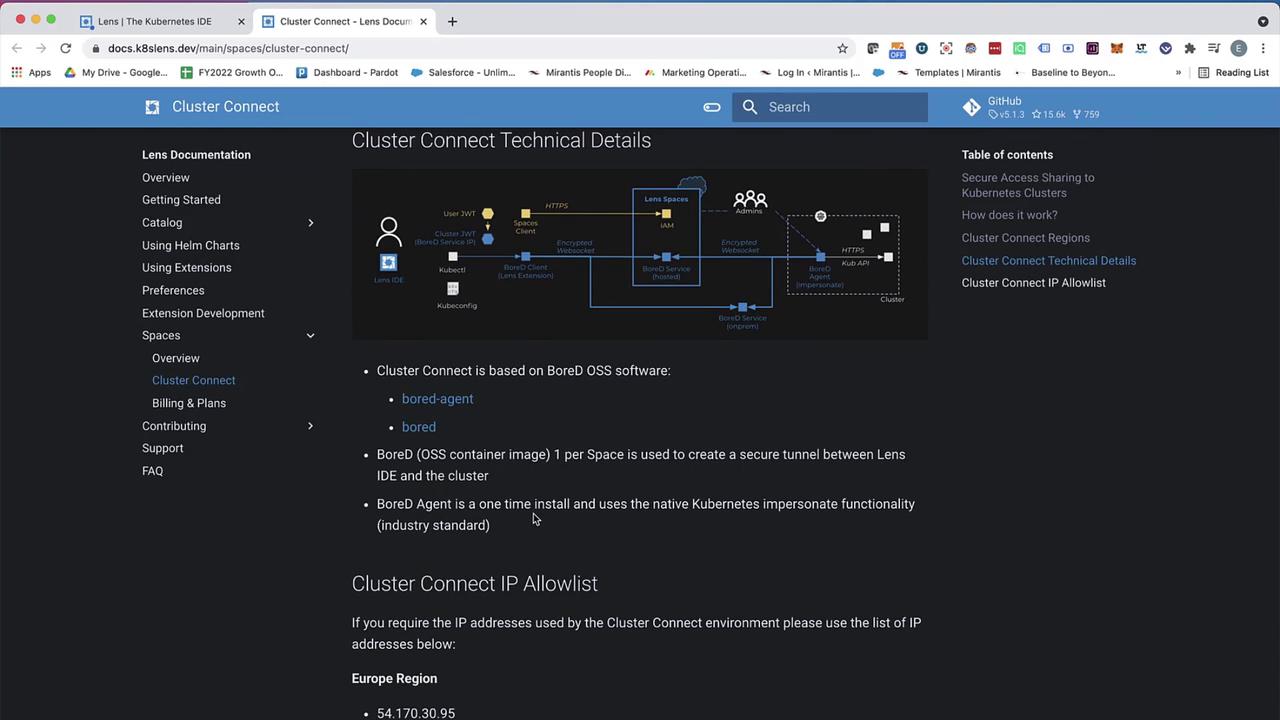
For architecture details, see the ClusterConnect documentation.

The image shows a webpage from the Lens documentation, specifically detailing "Cluster Connect Technical Details" with a diagram and text explaining the use of BoreD OSS software for secure tunneling.

Warning

By default, shared clusters are read-only. To grant write permissions or restrict namespaces, configure teams and role bindings.


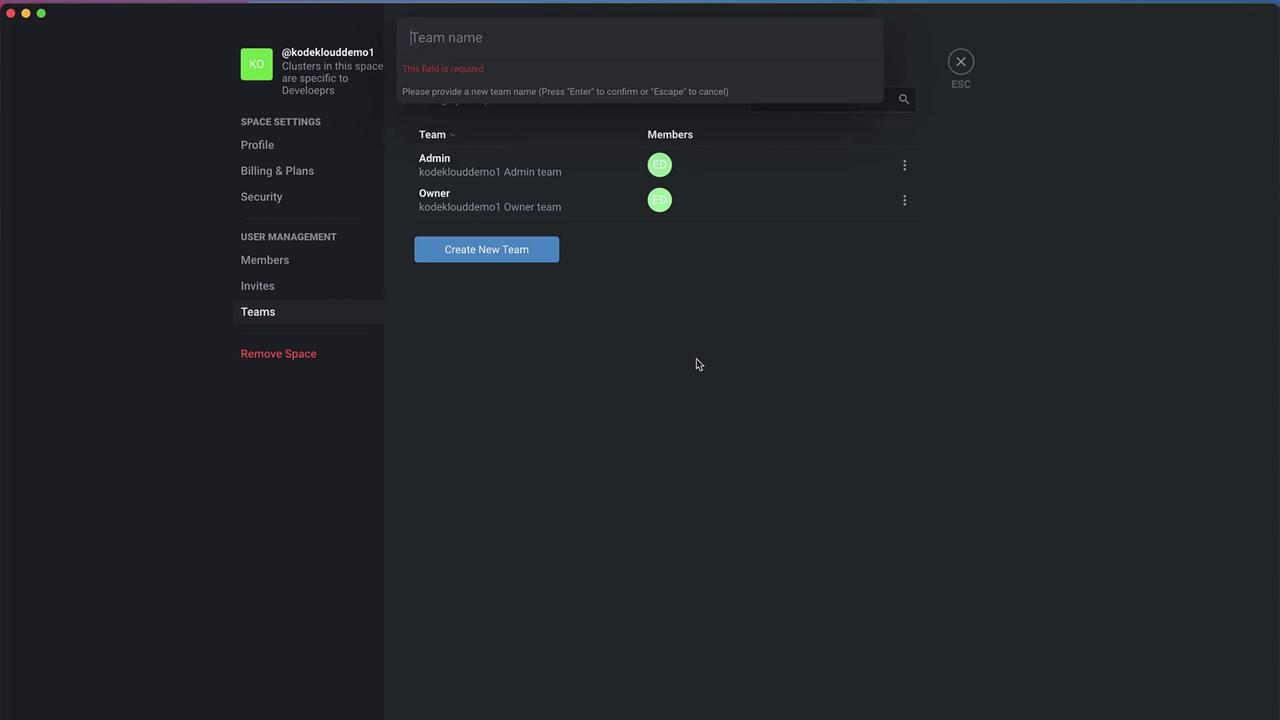
7. Configure Teams & Permissions

Create teams for granular access control:

  1. Under Teams, click Add Team (e.g., Developers).
  2. Assign members and define RoleBindings (e.g., restrict to the monitoring namespace).

The image shows a software interface displaying a catalog of items, including Kubernetes clusters and web links, with their status and source information. The interface has a sidebar with categories and a search bar at the top.

The image shows a user interface for managing teams, with options to create a new team and view existing teams and members. The left sidebar includes settings and user management options.


8. Accepting an Invitation

As the invited user:

  1. Log out and sign in with your invitee account (e.g., TesterEdward).
  2. Navigate to My Profile › Spaces. The pending invitation appears.
  3. Click Accept.

The image shows a user interface for managing spaces, with options to create a new space and accept or dismiss invitations. It includes a list of spaces with roles and an invitation to join another space.

Return to Clusters—you’ll see the shared cluster listed alongside your local ones.

The image shows a dashboard interface for monitoring a Kubernetes cluster using Minikube, displaying CPU, memory, and pod usage statistics, with a message indicating no issues found.

Open the cluster to explore workloads, metrics, configurations, and more—without manual kubeconfig management.


Conclusion

Lens Spaces unifies cluster management and collaboration under a single, secure platform. By combining ClusterConnect’s encrypted tunnels with team-based roles, your team can work on Kubernetes clusters confidently and efficiently—no VPNs or networking hurdles required.


Watch Video

Watch video content

Previous
Using Extensions