In this guide, you’ll learn how to set up and run a demo API built with Node.js. This demo API is part of a GitHub repository that contains several lesson folders, each demonstrating various Postman features through a simple API.
Before starting, ensure you have Node.js installed on your computer. If you haven’t installed it yet, please download the latest version (LTS or Current) from the official Node.js website.
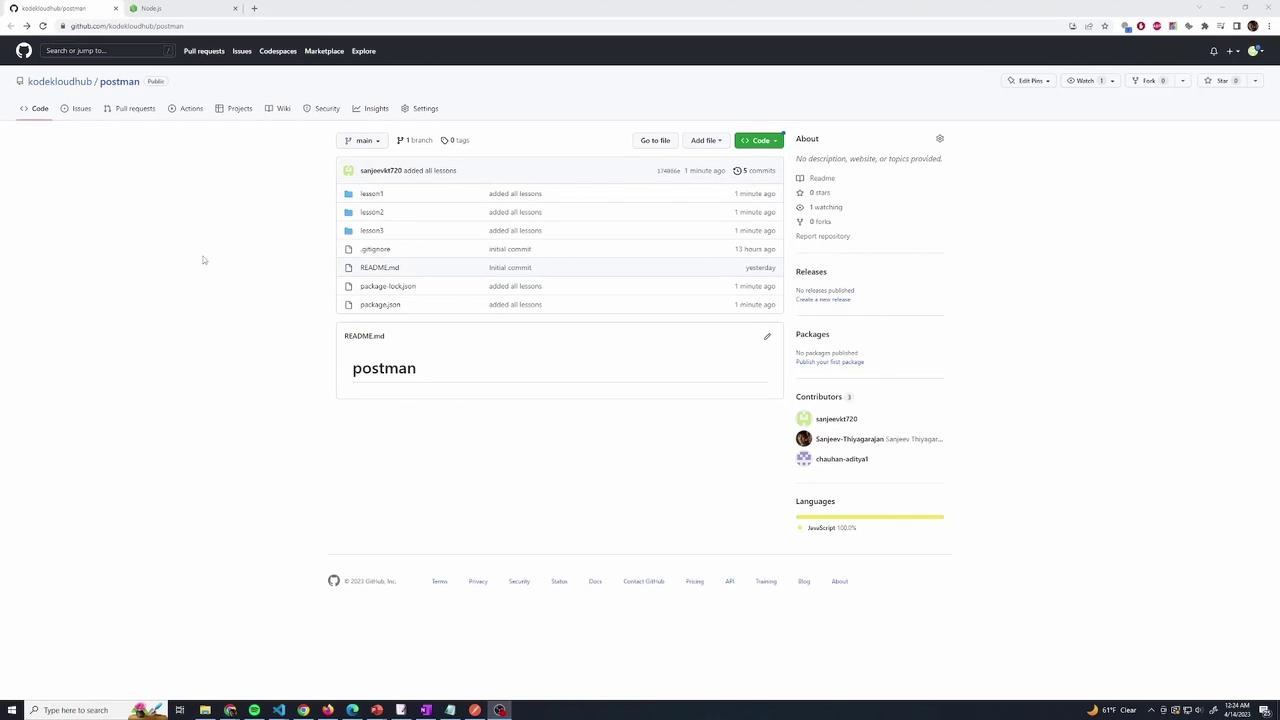
The image shows a GitHub repository page for "kodekloudhub/postman" with files and folders listed, including a README.md file. The page also displays contributor information and indicates that the project is written in JavaScript.

Repository Setup

Follow these steps to clone and install the repository:
  1. Clone the Repository
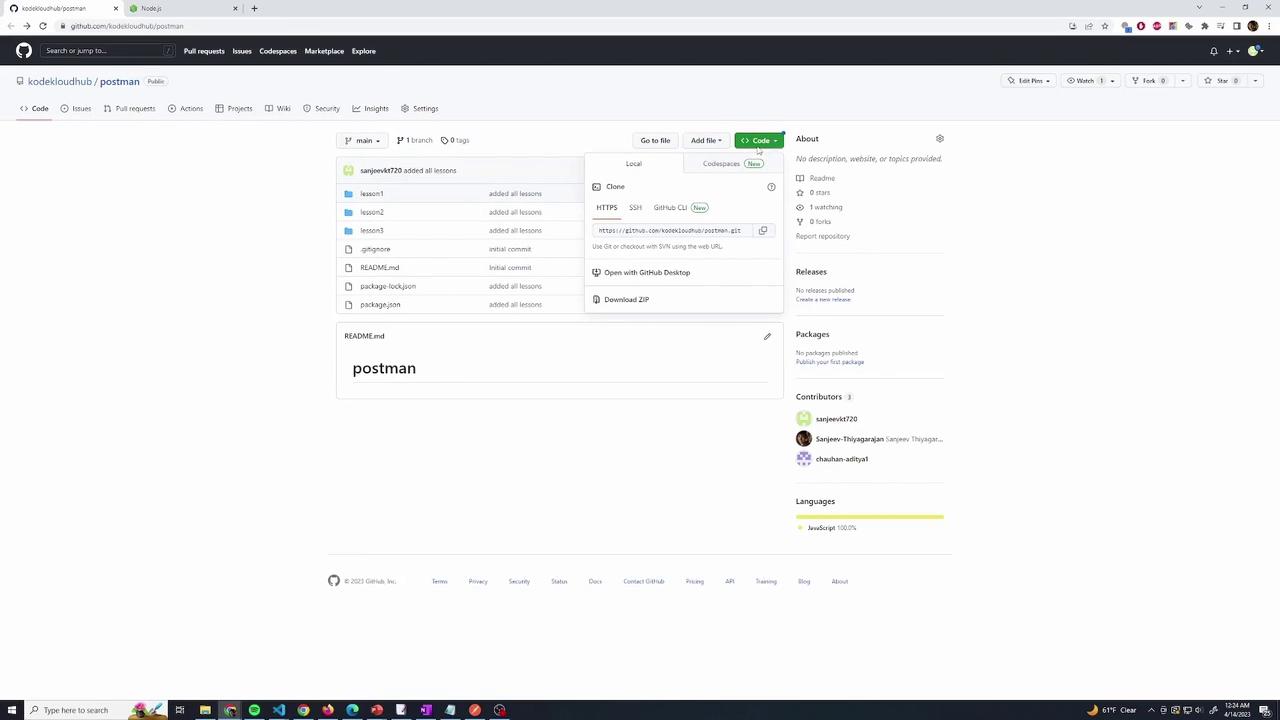
    Copy the repository URL from GitHub and open your terminal. Then run:
  2. Install Dependencies
    Change into the repository directory and install the required packages using NPM:
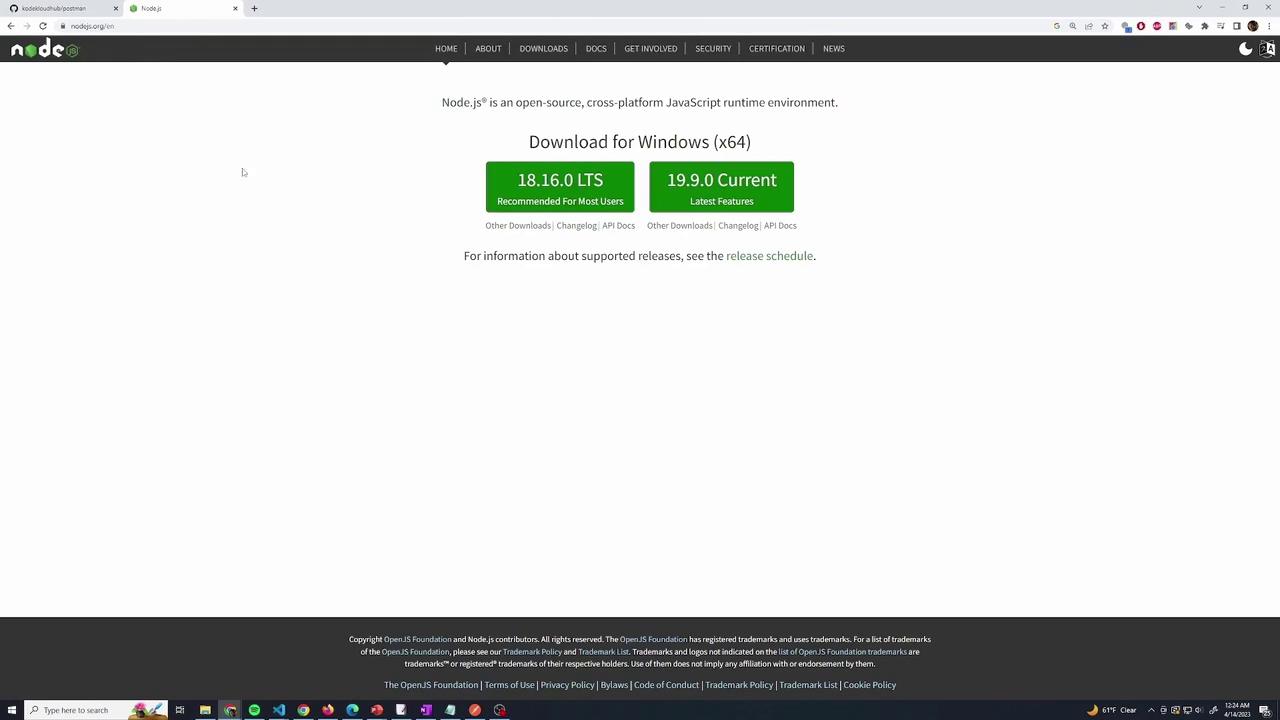
The image shows the Node.js download page, offering options to download the LTS and Current versions for Windows (x64). The page includes navigation links and information about supported releases.

Running the Demo API Lessons

The repository is organized into multiple lesson folders, each containing an index.js file that serves as the entry point for that lesson. Use the commands below to run the lessons on your local machine:

Lesson One

To run Lesson One, navigate to its folder and execute:

Lesson Two

For Lesson Two, run the following command:
When you run Lesson Two, you will see output similar to:
Once the API is running and listening on port 4000, it means your server is active on your local machine.
You can validate the functioning of the API by running:
If the API is working correctly, you’ll receive a response indicating success.
To stop the API at any time, press Ctrl+C in the terminal. You can then run another lesson by executing its corresponding command.
The image shows a GitHub repository page for "kodekloudhub/postman" with files and folders listed, including "lesson1," "lesson2," and "lesson3." The repository is written in JavaScript and has contributors listed on the right.

Conclusion

By following these steps, you can easily set up and experiment with the Node.js demo API on your local environment. Enjoy exploring and learning about the API features across the various lessons! For more information on working with Node.js and APIs, you might find these resources helpful:

Watch Video