Learn to test authentication endpoints using Postman by setting up a server, adding endpoints, and executing requests for signup and login functionalities.
In this lesson, you’ll learn how to test authentication endpoints using Postman. Follow these steps to run the server, add authentication endpoints, and test them using Postman.
Starting the Server and Testing Additional Endpoints
Stop your current server with Ctrl+C. Then, open the “lesson two” index.js file and run the start command for lesson two. In this lesson, additional endpoints have been introduced. For example, consider the following DELETE endpoint for products:
app.delete("/products/:id", async (req, res) => { const id = req.params.id;});
Below is a sample of the server log output when running this command:
Executing (default): DROP TABLE IF EXISTS `Products` ;Executing (default): PRAGMA foreign_keys = OFFExecuting (default): DROP TABLE IF EXISTS `Products`;Executing (default): DROP TABLE IF EXISTS `Users`;Executing (default): PRAGMA foreign_keys = ONExecuting (default): DROP TABLE IF EXISTS `Products` ;Executing (default): CREATE TABLE IF NOT EXISTS `Products` (`id` INTEGER PRIMARY KEY AUTOINCREMENT, `name` VARCHAR(255) NOT NULL UNIQUE, `price` FLOAT, `category` TEXT NOT NULL, createdAt` DATETIME NOT NULL, updatedAt` DATETIME NOT NULL);Executing (default): PRAGMA INDEX_LIST(`Products`);Executing (default): DROP TABLE IF EXISTS `Users` ;Executing (default): CREATE TABLE IF NOT EXISTS `Users` (`id` INTEGER PRIMARY KEY AUTOINCREMENT, `email` VARCHAR(255) NOT NULL UNIQUE, createdAt` DATETIME NOT NULL, updatedAt` DATETIME NOT NULL);Executing (default): PRAGMA INDEX_LIST(`Users`);Connection has been established successfully.listening on port 40000
Now, add endpoints for user authentication, including signup and login functionalities.Scroll to the bottom of the “lesson two” index.js file to see an example of error handling:
app.post("/signup", async (req, res) => { const { email, password } = req.body; try { const hashpassword = await bcrypt.hash(password, 12); const newUser = await User.create({ email, password: hashpassword, }); // Optionally, send a response with the new user data } catch (e) { res.status(500).json({ message: e }); }});
When you run this endpoint, the server logs output similar SQL commands as before:
Executing (default): DROP TABLE IF EXISTS `Products` ;Executing (default): PRAGMA foreign_keys = OFFExecuting (default): DROP TABLE IF EXISTS `Products`;Executing (default): DROP TABLE IF EXISTS `Users`;Executing (default): PRAGMA foreign_keys = ONExecuting (default): DROP TABLE IF EXISTS `Products`;Executing (default): CREATE TABLE IF NOT EXISTS `Products` (`id` INTEGER PRIMARY KEY AUTOINCREMENT, `name` VARCHAR(255) NOT NULL UNIQUE, `price` FLOAT, `category` TEXT NOT NULL, `createdAt` DATETIME NOT NULL, `updatedAt` DATETIME NOT NULL);Executing (default): DROP TABLE IF EXISTS `Users`;Executing (default): CREATE TABLE IF NOT EXISTS `Users` (`id` INTEGER PRIMARY KEY AUTOINCREMENT, `email` VARCHAR(255) NOT NULL UNIQUE, `password` VARCHAR(255) NOT NULL, `createdAt` DATETIME NOT NULL, `updatedAt` DATETIME NOT NULL);Executing (default): PRAGMA INDEX_LIST(`Products`);Executing (default): PRAGMA INDEX_LIST(`Users`);Connection has been established successfully.
There are two authentication endpoints now:
POST /signup: Creates a new user.
POST /login: Authenticates an existing user by verifying the email and password.
app.post("/login", async (req, res) => { const { email, password } = req.body; try { const user = await User.findOne({ where: { email } }); if (!user) { return res.status(404).json({ message: "incorrect username or password", }); } const isCorrect = await bcrypt.compare(password, user.password); // Continue with login, setting a cookie if successful } catch (error) { // Handle error here res.status(500).json({ message: error }); }});
The server log for the login endpoint execution is as follows:
Executing (default): DROP TABLE IF EXISTS `Products` ;Executing (default): PRAGMA foreign_keys = OFFExecuting (default): DROP TABLE IF EXISTS `Products`;Executing (default): DROP TABLE IF EXISTS `Users`;Executing (default): PRAGMA foreign_keys = 0Executing (default): DROP TABLE IF EXISTS `Products`;Executing (default): CREATE TABLE IF NOT EXISTS `Products` (`id` INTEGER PRIMARY KEY AUTOINCREMENT, `name` VARCHAR(255) NOT NULL UNIQUE, `price` FLOAT, `category` TEXT NOT NULL, `createdAt` DATETIME NOT NULL, `updatedAt` DATETIME NOT NULL);Executing (default): PRAGMA INDEX_LIST(`Products`)Executing (default): DROP TABLE IF EXISTS `Users`;Executing (default): CREATE TABLE IF NOT EXISTS `Users` (`id` INTEGER PRIMARY KEY AUTOINCREMENT, `email` VARCHAR(255) NOT NULL UNIQUE, `createdAt` DATETIME NOT NULL, `updatedAt` DATETIME NOT NULL);Executing (default): PRAGMA INDEX_LIST(`Users`)Connection has been established successfully.
To test the authentication process using Postman, create a new POST request for signup on localhost. Configure the request body as raw JSON similar to the sample below:
A successful login returns a success status and sets a cookie for the session:
{ "status": "success"}
After logging in, navigate to the cookie management section in Postman by clicking the “Cookies” button. This section displays session cookie details such as the name, domain, path, and value. Deleting the cookie simulates a logged-out state. For example, if you try to create a new product without a cookie, the API returns:
{ "message": "Unauthorized to access"}
Once you log in again and obtain a new cookie, you can perform create, delete, or update operations on products. Note that retrieving a product list does not require authentication. An example response for fetching a product is:
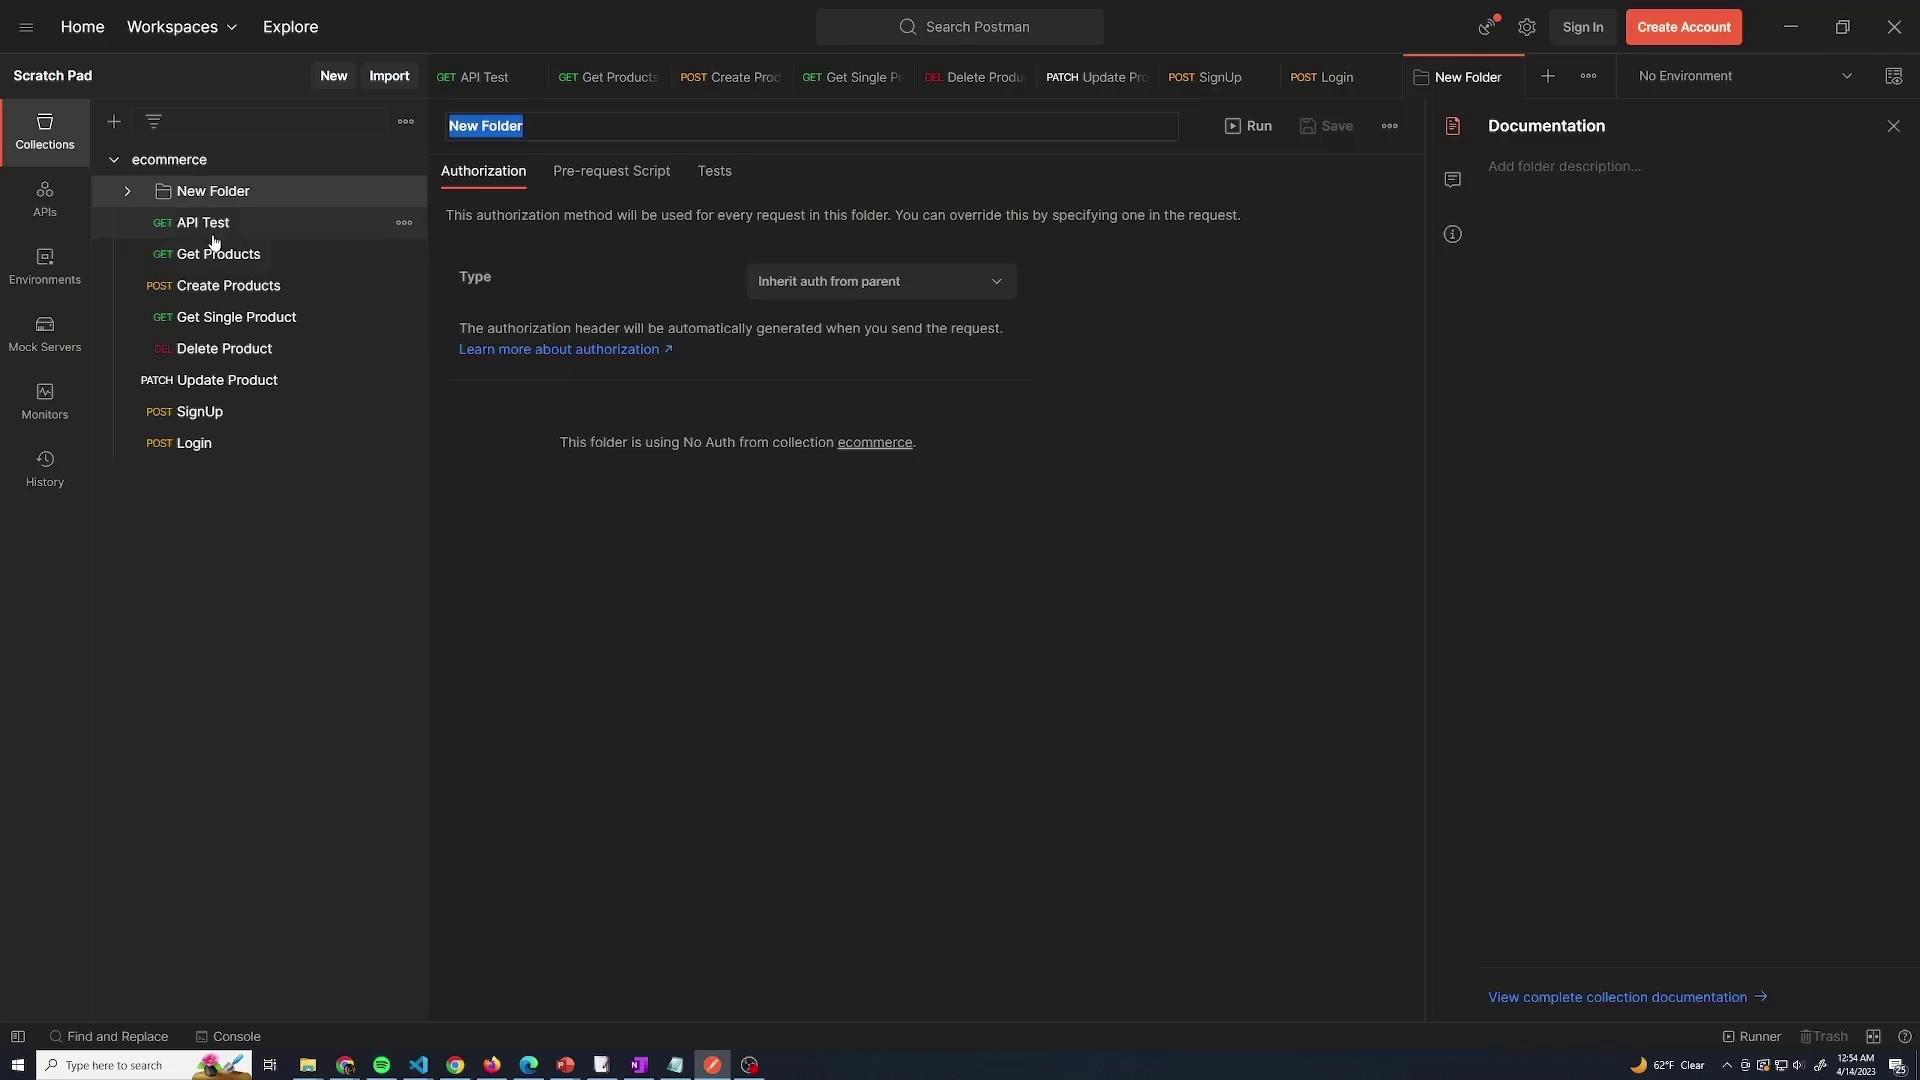
Create a folder named products for all product-related requests.
Create another folder named auth for authentication endpoints.
You may leave miscellaneous test requests outside these folders if desired.
Below is an image of the Postman interface showing the structure of the ecommerce API requests for products:
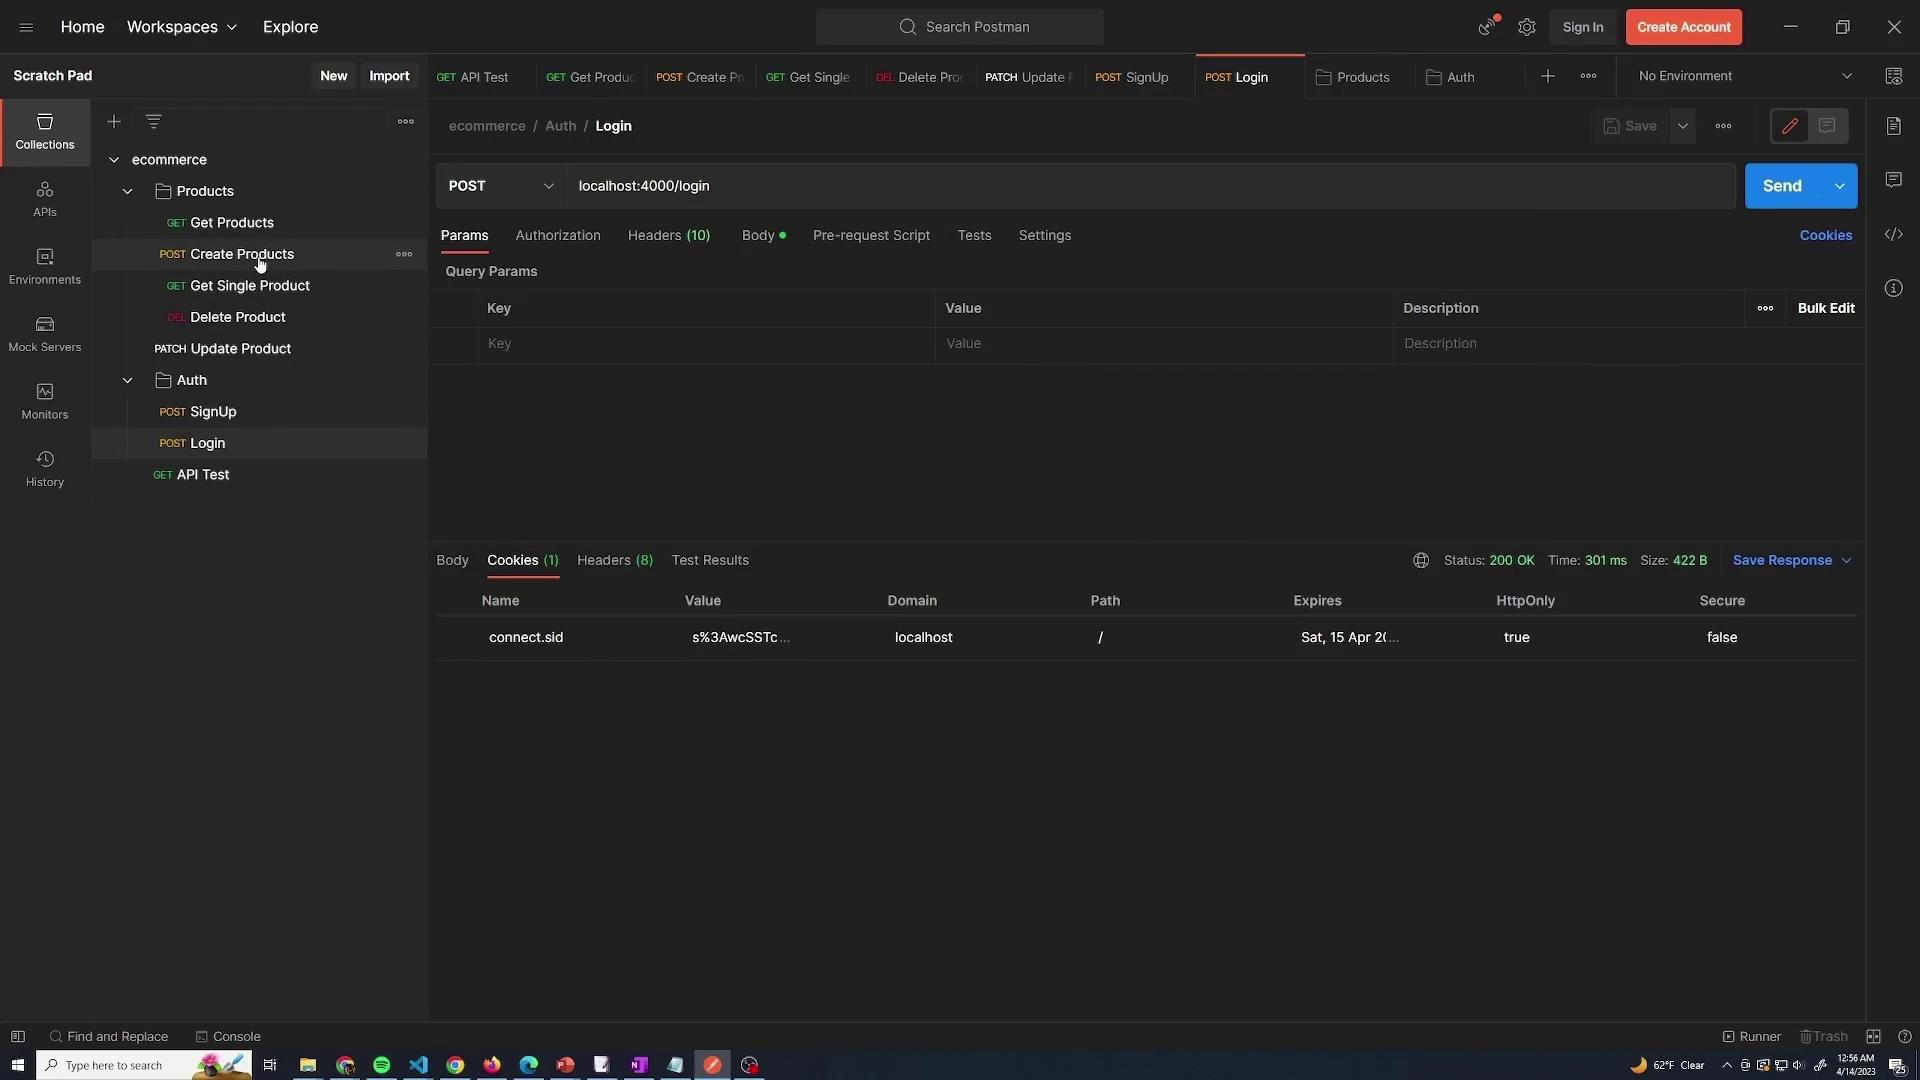
After organizing your requests, resend the login request to verify the creation of the session cookie. Postman’s cookie management feature allows you to manually add, view, or delete cookies, which helps simulate different testing scenarios. For instance, if you delete the cookie, trying to create a product returns an “Unauthorized” error. Logging in again refreshes the cookie, and product operations can then proceed seamlessly.The following image illustrates the Postman interface with the authentication requests and the cookie details for a successful login:
With these configurations, your API now requires authentication (via a valid cookie) to create, update, or delete a product, while retrieving product lists remains open to all users.