PyTorch

Getting Started with PyTorch

Introduction to PyTorch Tensors

In this lesson, we explore one of PyTorch's fundamental concepts: Tensors. Serving as the cornerstone for model building and training, tensors provide an efficient method for storing and processing data in multiple dimensions—from simple scalars to complex multi-dimensional arrays.

Understanding Tensors

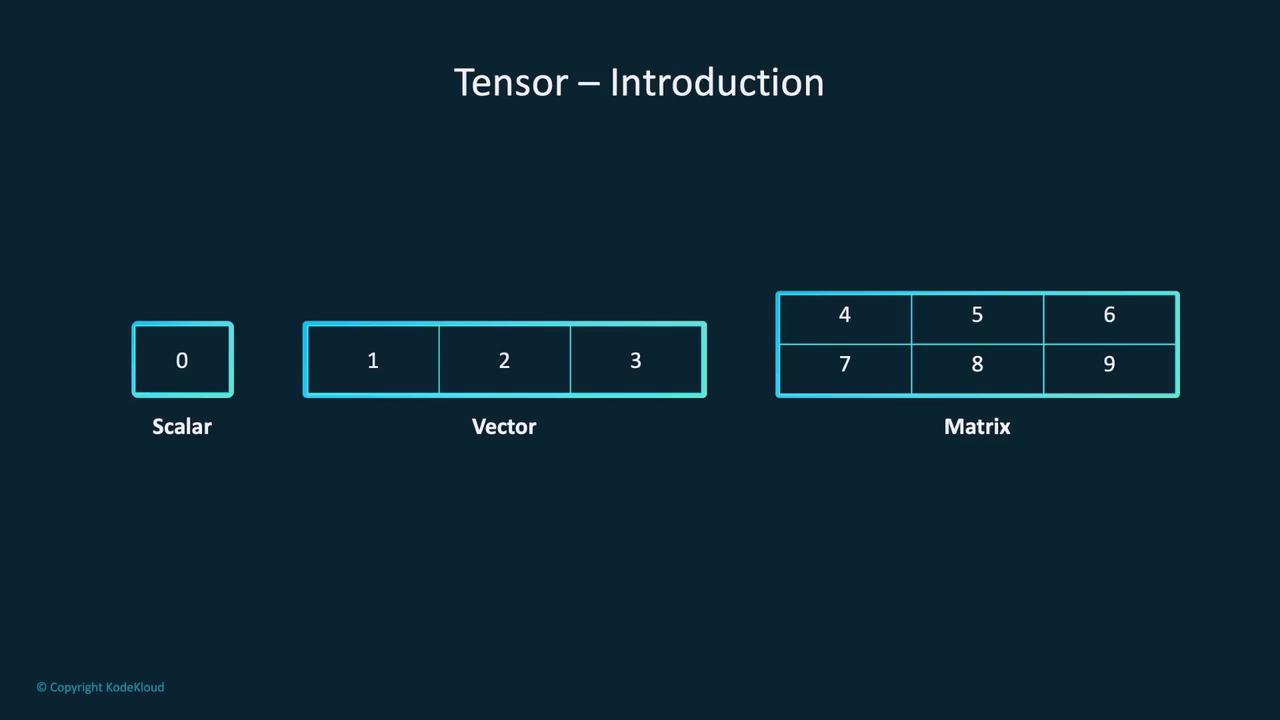
A tensor is a versatile container for data, similar to a list or table, but with enhanced capabilities. It can hold data across several dimensions:

  • A scalar is the simplest tensor, representing a single number (a zero-dimensional tensor).
  • A vector is a one-dimensional tensor, akin to a list of numbers.
  • A matrix is a two-dimensional tensor, organized in rows and columns.

The image is an introduction to tensors, highlighting their ability to organize data in different dimensions, act as containers for complex data, and hold more data than lists or arrays.

The image is an introduction to tensors, showing examples of a scalar, a vector, and a matrix. The scalar is a single number, the vector is a one-dimensional array, and the matrix is a two-dimensional array.

Tensors can also manage more complex data. For example, an image is typically stored as a three-dimensional tensor—with dimensions representing height, width, and color channels. Similarly, video data is commonly stored as a four-dimensional tensor, where the extra dimension corresponds to time.

The image shows a series of colored matrices stacked together, labeled with numbers 1 to 4, under the title "Tensor – Introduction."

In PyTorch, tensors are not only used to store data but also to perform a wide range of mathematical operations.

The image is an introduction to tensors, highlighting three key features: storing data and performing math operations, flexibility for all data types, and handling simple numbers to complex data.

Creating Tensors

PyTorch offers several convenient methods to create tensors, depending on your requirements:

  1. From Lists or Arrays: Convert a list, tuple, or NumPy array to a tensor using the torch.tensor() function.

    # Creating a tensor from a list
    tensor_from_list = torch.tensor([1, 2, 3])
    
  2. With Specific Values: Create tensors filled with zeros or ones using torch.zeros() or torch.ones().

    # Tensor filled with zeros
    zeros_tensor = torch.zeros(3, 3)
    
  3. Randomly Initialized Tensors: Use torch.rand() for tensors populated with random numbers between 0 and 1—ideal for initializing model weights.

  4. Uninitialized Tensors: Use torch.empty() for creating a tensor with uninitialized values (contents are based on the current memory state).

    # Uninitialized tensor
    empty_tensor = torch.empty(2, 3)
    

Key Tensor Attributes

Every PyTorch tensor carries attributes that describe its structure and storage location:

  • Shape: Indicates the dimensions (e.g., rows and columns).
  • dtype: Specifies the data type (e.g., float32, int64).
  • Device: Shows where the tensor is stored, such as the CPU or GPU.

For example:

import torch

t = torch.tensor([[1, 2], [3, 4]], dtype=torch.float32)
print(t.shape, t.dtype, t.device)
# Expected Output:
# torch.Size([2, 2]) torch.float32 cpu

Note

Knowing these attributes helps you manage tensor operations efficiently and debug your deep learning models.

Common Tensor Operations

PyTorch supports over 100 tensor operations. Here are several commonly used ones:

  1. Indexing and Slicing: Extract specific elements or sections of a tensor. For instance, you can select certain rows or columns in a 2D tensor.

    The image is a slide titled "Tensor Operations" focusing on "Indexing and Slicing," explaining that these operations select elements or portions of a tensor and retrieve specific rows or columns in a 2D tensor.

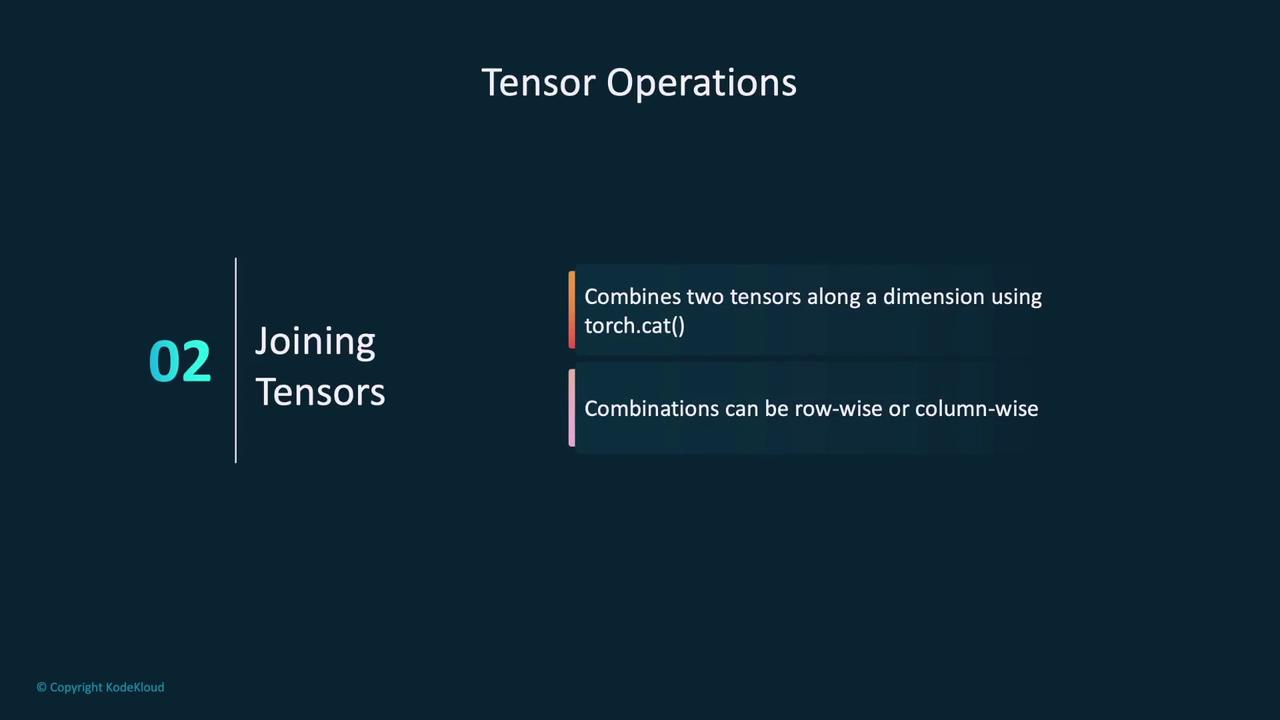
  2. Joining Tensors: Concatenate tensors along a specific dimension (row-wise or column-wise) using functions like torch.cat().

    The image is a slide titled "Tensor Operations" focusing on "Joining Tensors," explaining that tensors can be combined using `torch.cat()` either row-wise or column-wise.

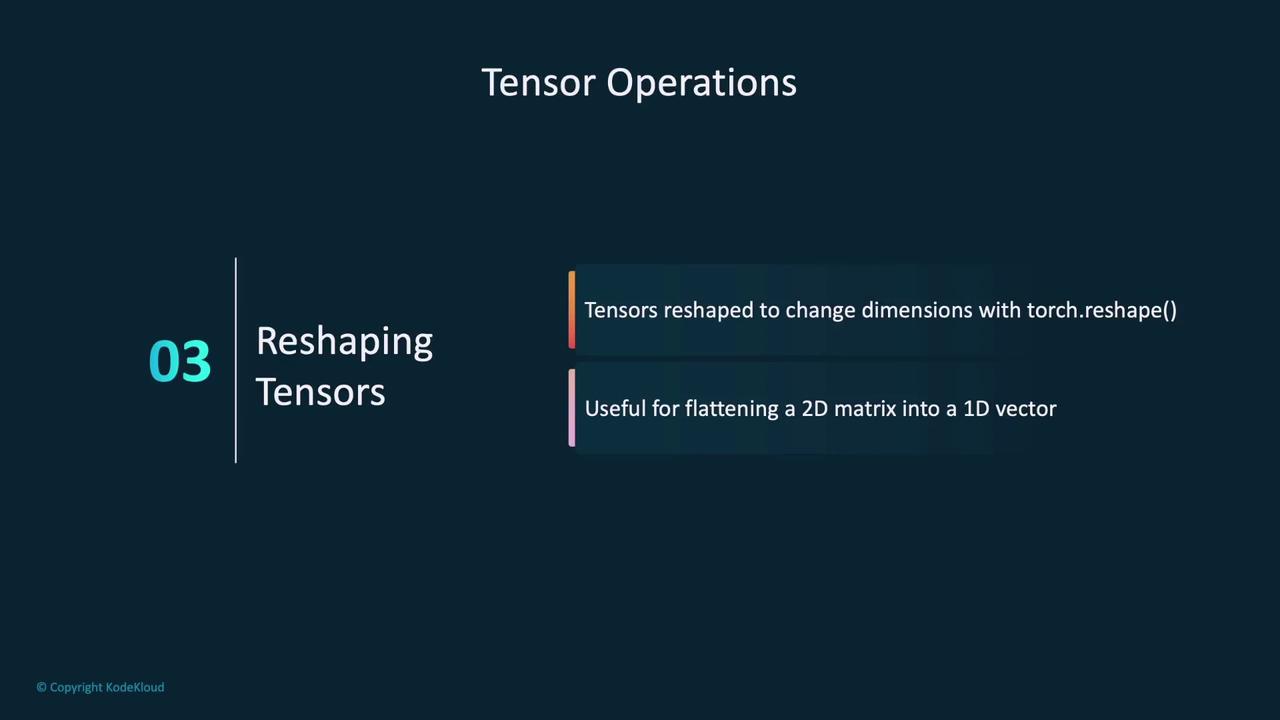
  3. Reshaping Tensors: Adjust the dimensions of a tensor (e.g., flatten a 2D matrix into a 1D vector) with the torch.reshape() function.

    The image is a slide titled "Tensor Operations" focusing on "Reshaping Tensors," explaining how tensors can be reshaped using `torch.reshape()` and its usefulness in flattening a 2D matrix into a 1D vector.

Below is an example that compares common indexing approaches in both PyTorch and NumPy:

import torch
import numpy as np

# Create a 2D tensor (3x3 matrix) in PyTorch
tensor = torch.tensor([[1, 2, 3],
                       [4, 5, 6],
                       [7, 8, 9]])

# Indexing operations in PyTorch
row_2 = tensor[1, :]
print("Second row (PyTorch):", row_2)

slice_2 = tensor[1, 0:2]
print("First two columns of the second row (PyTorch):", slice_2)

element = tensor[2, 1]
print("Element at (3rd row, 2nd column) (PyTorch):", element)

# Create a 2D array (3x3 matrix) in NumPy
array = np.array([[1, 2, 3],
                  [4, 5, 6],
                  [7, 8, 9]])

# Indexing operations in NumPy
row_2_np = array[1, :]
print("Second row (NumPy):", row_2_np)

slice_2_np = array[1, 0:2]
print("First two columns of the second row (NumPy):", slice_2_np)

element_np = array[2, 1]
print("Element at (3rd row, 2nd column) (NumPy):", element_np)

Both PyTorch tensors and NumPy arrays utilize similar syntax for indexing, making it easier to transition your skills from NumPy to PyTorch.

Converting Images to Tensors

Converting images into tensors is a frequent task in machine learning. Typically, the Pillow library is used to open images, and TorchVision—via the transforms.ToTensor() function—converts them into tensors.

from PIL import Image
from torchvision import transforms

img = Image.open('image.jpg')
transform = transforms.ToTensor()
img_tensor = transform(img)
print(img_tensor)

After conversion, the image is represented as a 3D tensor with normalized RGB channel values between 0 and 1. To inspect this tensor's attributes, use:

print(img_tensor.shape, img_tensor.dtype, img_tensor.device)
# Expected Output:
# torch.Size([4, 144, 144]) torch.float32 cpu

This output indicates that the image tensor contains 4 channels (possibly RGBA) with dimensions of 144x144 pixels, stored on the CPU.

Leveraging GPUs with PyTorch

PyTorch's strong GPU support significantly boosts deep learning performance. GPUs specialize in handling parallel computations, making them ideal for the heavy matrix operations found in deep learning.

The image outlines the benefits of using a Graphics Processing Unit (GPU) for deep learning, including faster training, parallel computations, suitability for large datasets, reduced training time, and optimization for PyTorch.

PyTorch utilizes NVIDIA’s CUDA (Compute Unified Device Architecture) to enable GPUs to handle tasks beyond rendering graphics, such as scientific computations and model training.

The image is a presentation slide about NVIDIA's Compute Unified Device Architecture (CUDA), highlighting its use in scientific computing, machine learning, and leveraging GPU power for deep learning.

Check for GPU availability and move tensors as follows:

# Check if GPU is available
if torch.cuda.is_available():
    print("GPU is available")
else:
    print("GPU is not available")

To move a tensor to a GPU:

# Check tensor device before and after moving to GPU
print(tensor.device)  # Expected Output: cpu

# Move tensor to GPU
tensor = tensor.to('cuda')
print(tensor.device)  # Expected Output: cuda

For portability, dynamically select the device:

# Select device based on GPU availability
device = 'cuda' if torch.cuda.is_available() else 'cpu'

# Create tensor on the selected device
tensor = torch.tensor([1, 2, 3], device=device)
print(tensor.device)

Note

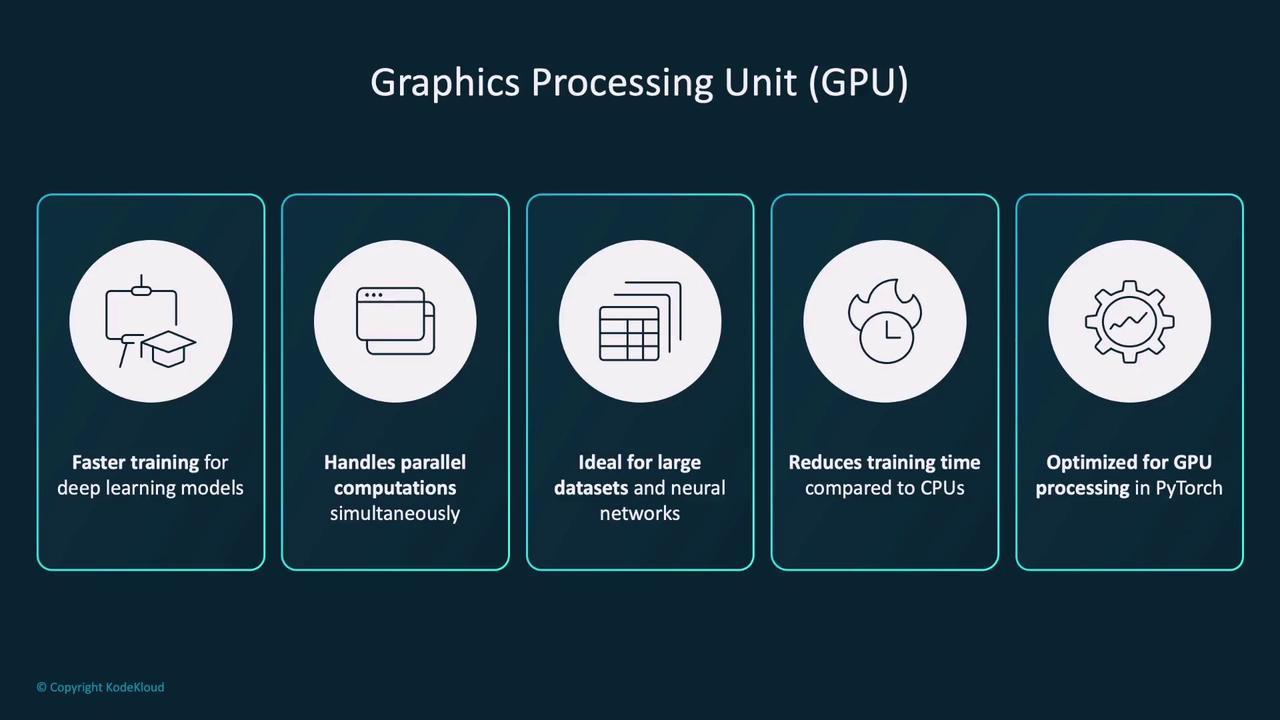
Using dynamic device selection ensures that your code runs efficiently on both GPUs and CPUs.

Conclusion

This lesson established a strong foundation for understanding and working with PyTorch tensors. We covered how to create tensors, utilize their powerful operations, convert images to tensors, and leverage GPU acceleration for performance gains. In the upcoming demo, we will further explore these concepts on our development machine.

Happy coding!

Watch Video

Watch video content

Previous
Demo Setting up PyTorch