PyTorch
Working with Data
Demo Datasets and Dataloaders
Welcome to this comprehensive guide on PyTorch Datasets and Dataloaders. In this lesson, you will learn how to load preexisting datasets from TorchAudio and TorchVision, as well as build and visualize custom datasets. These techniques allow you to efficiently stream data to your model during training while ensuring your data is organized and accessible.
Preloaded Audio Datasets
Preloaded datasets are excellent for research and experimentation. In this section, we use TorchAudio's built-in DR_VCTK (Device Recorded VCTK) dataset. The snippet below downloads the test subset of the dataset into a folder named "audio". Note that the dataset is sizable (approximately 1.6 GB) and may take a minute or two to download.
# Let's begin with preloaded audio files
import torchaudio.datasets
# Create a dataset using DR_VCTK (Device Recorded VCTK)
audio_dataset = torchaudio.datasets.DR_VCTK(root='./audio', subset='test', download=True)
Once the download is complete, you can inspect the ./audio
folder to explore the dataset.
Preloaded Image Datasets
Next, we explore preloaded image datasets using TorchVision. In this example, we use the FashionMNIST classification dataset. A transformation is applied to convert images to tensors for further processing.
import torchvision.datasets
from torchvision.transforms import ToTensor
# Create a dataset from the FashionMNIST classification dataset
image_dataset = torchvision.datasets.FashionMNIST(
root='./fashion',
train=False,
download=True,
transform=ToTensor()
)
After downloading, the dataset is stored in the "fashion" directory. You can inspect the class labels and index mapping as shown below:
# Display dataset classes and their index mapping
print(image_dataset.classes)
print(image_dataset.class_to_idx)
# Create a reversed mapping for readability
class_to_index_map = image_dataset.class_to_idx
index_to_class_map = {v: k for k, v in class_to_index_map.items()}
print(index_to_class_map)
For FashionMNIST, the classes are:
['T-shirt/top', 'Trouser', 'Pullover', 'Dress', 'Coat', 'Sandal', 'Shirt', 'Sneaker', 'Bag', 'Ankle boot']
with indices ranging from 0 to 9.
Visualizing the FashionMNIST Dataset
Visualizing a subset of the dataset helps to better understand the data. The following code randomly displays a grid of 9 images along with their labels:
import torch
import matplotlib.pyplot as plt
# Set up a plot for 9 random images
figure = plt.figure(figsize=(8, 8))
cols, rows = 3, 3
for i in range(1, cols * rows + 1):
sample_idx = torch.randint(len(image_dataset), size=(1,)).item()
img, label = image_dataset[sample_idx]
figure.add_subplot(rows, cols, i)
plt.title(index_to_class_map[label])
plt.axis("off")
plt.imshow(img.squeeze())
plt.show()
Alternatively, you can visualize the dataset with a different grid layout:
figure = plt.figure(figsize=(6, 8))
cols, rows = 3, 2
for i in range(1, cols * rows + 1):
sample_idx = torch.randint(len(image_dataset), size=(1,)).item()
img, label = image_dataset[sample_idx]
figure.add_subplot(rows, cols, i)
plt.title(index_to_class_map[label])
plt.axis("off")
plt.imshow(img.squeeze())
plt.show()
The grid maps numerical labels to human-friendly class names, making it easier to interpret the visualized data.
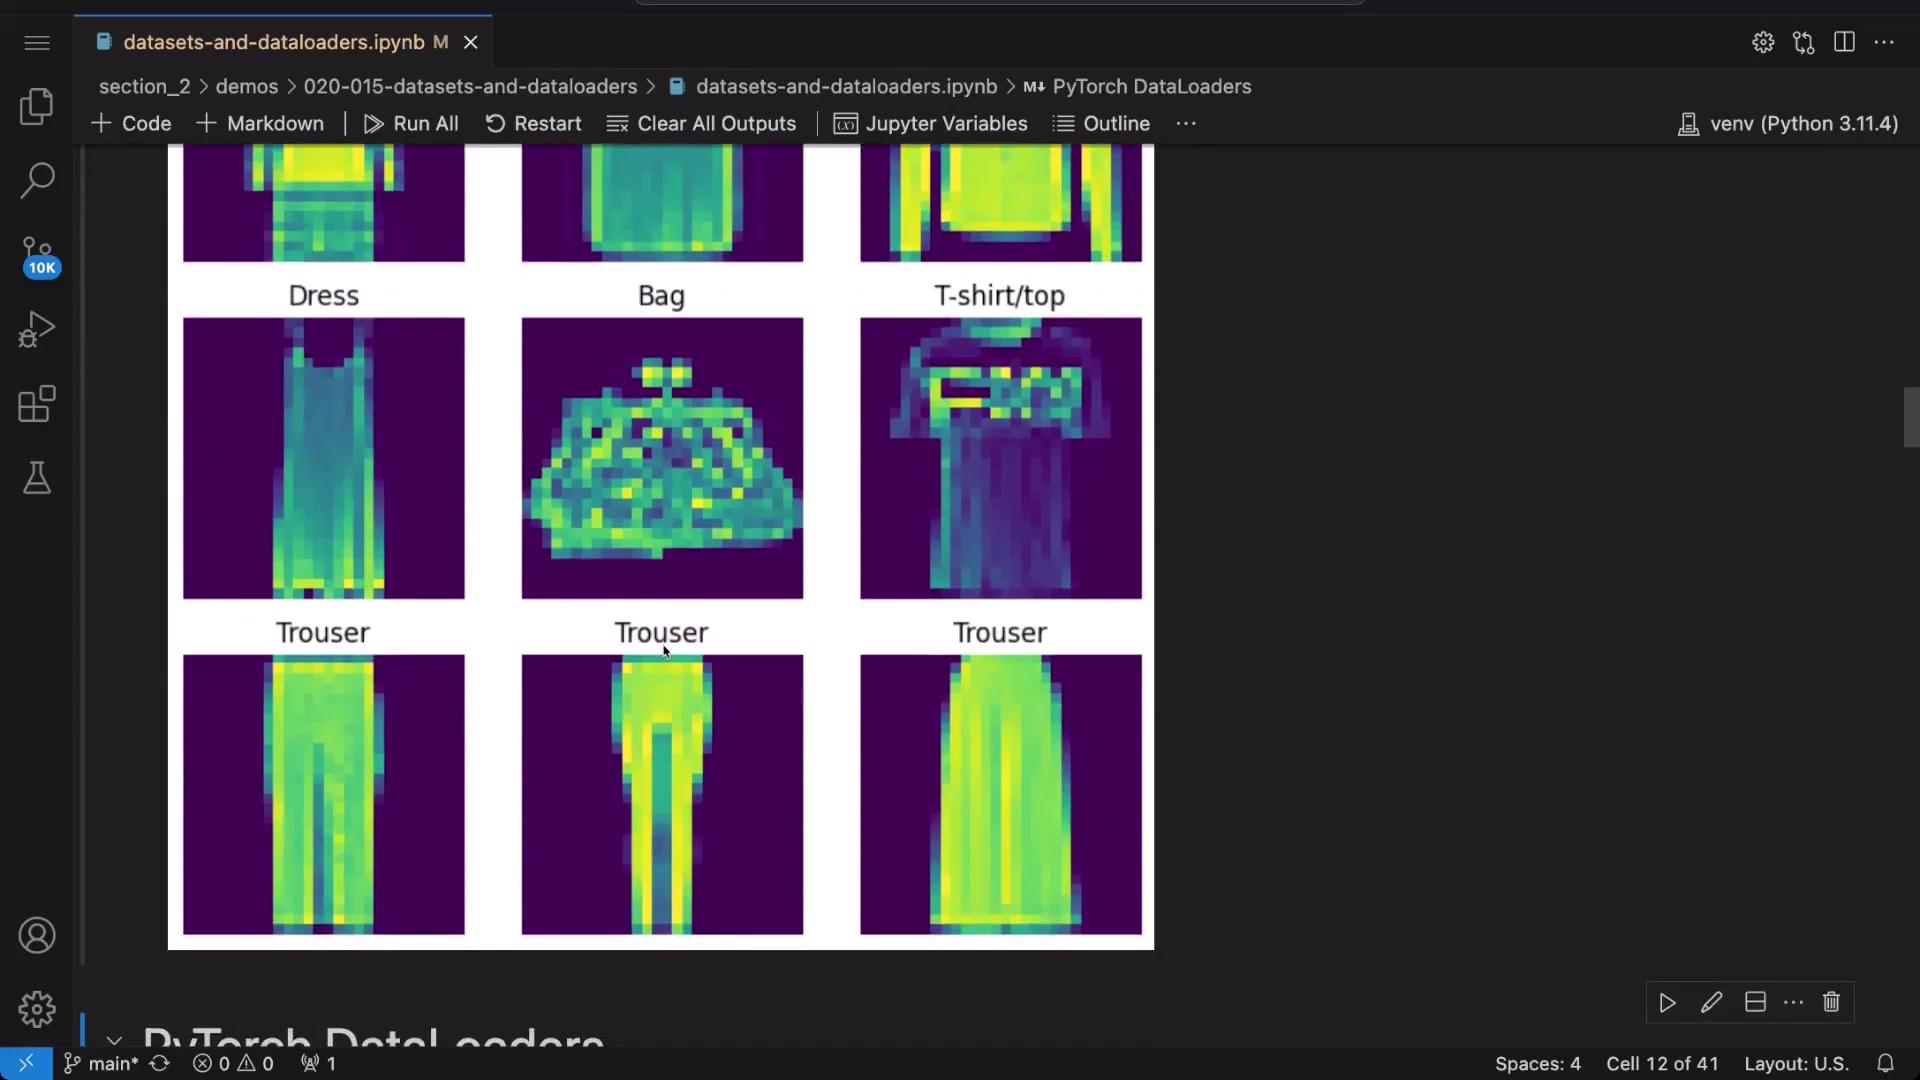
Working with DataLoaders
A DataLoader handles the batching and shuffling of your dataset during training. Below is an example that demonstrates how to create a DataLoader for the FashionMNIST dataset with a batch size of 64, ensuring that the data is shuffled during training.
from torch.utils.data import DataLoader
image_dataloader = DataLoader(
dataset=image_dataset,
batch_size=64,
shuffle=True,
num_workers=1
)
To evaluate a single batch, iterate over the DataLoader once:
# Retrieve one batch of images and labels
features, labels = next(iter(image_dataloader))
print(f"Features shape: {features.size()}")
print(f"Labels shape: {labels.size()}")
For example, the output might be:
Features shape: torch.Size([64, 1, 28, 28])
Labels shape: torch.Size([64])
This confirms that each batch contains 64 grayscale images of size 28x28 along with their corresponding labels.
To further visualize a random image from the batch and display its human-readable label:
import random
# Select a random index from the batch
rand_idx = random.randint(0, labels.size(0) - 1)
# Extract the image and label
img = features[rand_idx].squeeze()
label = labels[rand_idx]
# Plot the image using a gray colormap for better clarity
plt.imshow(img, cmap='gray')
plt.show()
# Print the label and its corresponding class name
print(f"Label: {label} -> {index_to_class_map[label.item()]}")
Executing this code snippet repeatedly will display various images and their correct labels from the dataset.
Creating a Custom Dataset
If you have your own image collection and corresponding labels, you can define a custom dataset using PyTorch’s Dataset class. In this example, we assume that image file paths and labels are stored in a CSV file named labels.csv
.
Note
Ensure your CSV file is formatted correctly, as shown in the example below.
Defining the Custom Dataset
Import the necessary modules and create a custom dataset class as follows:
from torch.utils.data import Dataset
import pandas as pd
from PIL import Image
from torchvision import transforms
class CustomImageDataset(Dataset):
def __init__(self, annotations_file, class_list):
self.df = pd.read_csv(annotations_file)
self.class_list = class_list
def __len__(self):
return self.df.shape[0]
def __getitem__(self, index):
image = Image.open(self.df.file_path[index])
img_url = self.df.file_path[index]
# Convert image to tensor
convert_tensor = transforms.ToTensor()
image = convert_tensor(image)
label = self.class_list.index(self.df.label[index])
return image, label, img_url
Assume your labels.csv
is structured as follows:
file_path,label
images/cat/cat-1.jpg,cat
images/cat/cat-2.jpg,cat
images/cat/cat-3.jpg,cat
images/cat/cat-4.jpg,cat
images/dog/dog-1.jpg,dog
images/dog/dog-2.jpg,dog
images/dog/dog-3.jpg,dog
images/dog/dog-4.jpg,dog
images/dog/dog-5.jpg,dog
Create an instance of your custom dataset with:
class_list = ["cat", "dog"]
custom_dataset = CustomImageDataset(annotations_file='labels.csv', class_list=class_list)
print(custom_dataset)
To inspect the dataset details, use:
print(f"Annotations data: \n{custom_dataset.df}")
print(f"Classes: {custom_dataset.class_list}")
Since the custom dataset does not automatically generate a mapping from class names to indices, you can create one manually:
custom_class_labels_map = {0: 'cat', 1: 'dog'}
Visualizing the Custom Dataset
The following code snippet visualizes 9 random images from your custom dataset:
import torch
import matplotlib.pyplot as plt
from PIL import Image
# Set up the plot grid
figure = plt.figure(figsize=(8, 8))
cols, rows = 3, 3
for i in range(1, cols * rows + 1):
sample_idx = torch.randint(len(custom_dataset), size=(1,)).item()
# Retrieve the image path and label
img_path, label = custom_dataset[sample_idx][2], custom_dataset[sample_idx][1]
img = Image.open(img_path)
figure.add_subplot(rows, cols, i)
plt.title(label)
plt.axis("off")
plt.imshow(img)
plt.show()
Each execution displays different images along with their labels (e.g., 0 for cat, 1 for dog).
Custom Dataset DataLoader
Similar to preloaded datasets, you can create a DataLoader for your custom dataset. Even if the dataset contains fewer images than the specified batch size (64 in this example), the DataLoader will return all available samples.
custom_dataloader = DataLoader(dataset=custom_dataset, batch_size=64, shuffle=True)
# Retrieve a batch from the custom DataLoader
features, labels, urls = next(iter(custom_dataloader))
print(f"Features shape: {features.size()}")
print(f"Labels shape: {labels.size()}")
For example, the output might be:
Features shape: torch.Size([10, 3, 224, 224])
Labels shape: torch.Size([10])
To visualize a random image from this batch with its corresponding label:
rand_idx = random.randint(0, labels.size(0) - 1)
img = features[rand_idx]
label = labels[rand_idx]
plt.imshow(img.permute(1, 2, 0)) # Permute dimensions from (C, H, W) to (H, W, C)
plt.show()
print(f"Label: {label} -> {custom_class_labels_map.get(label.item())}")
Running this snippet multiple times will help validate that your custom dataset and its label mapping work correctly.
Using TorchVision's ImageFolder
An efficient alternative for organizing images is to use TorchVision’s ImageFolder. When your images are arranged such that each class has its own subdirectory, ImageFolder automatically assigns labels based on these subdirectory names.
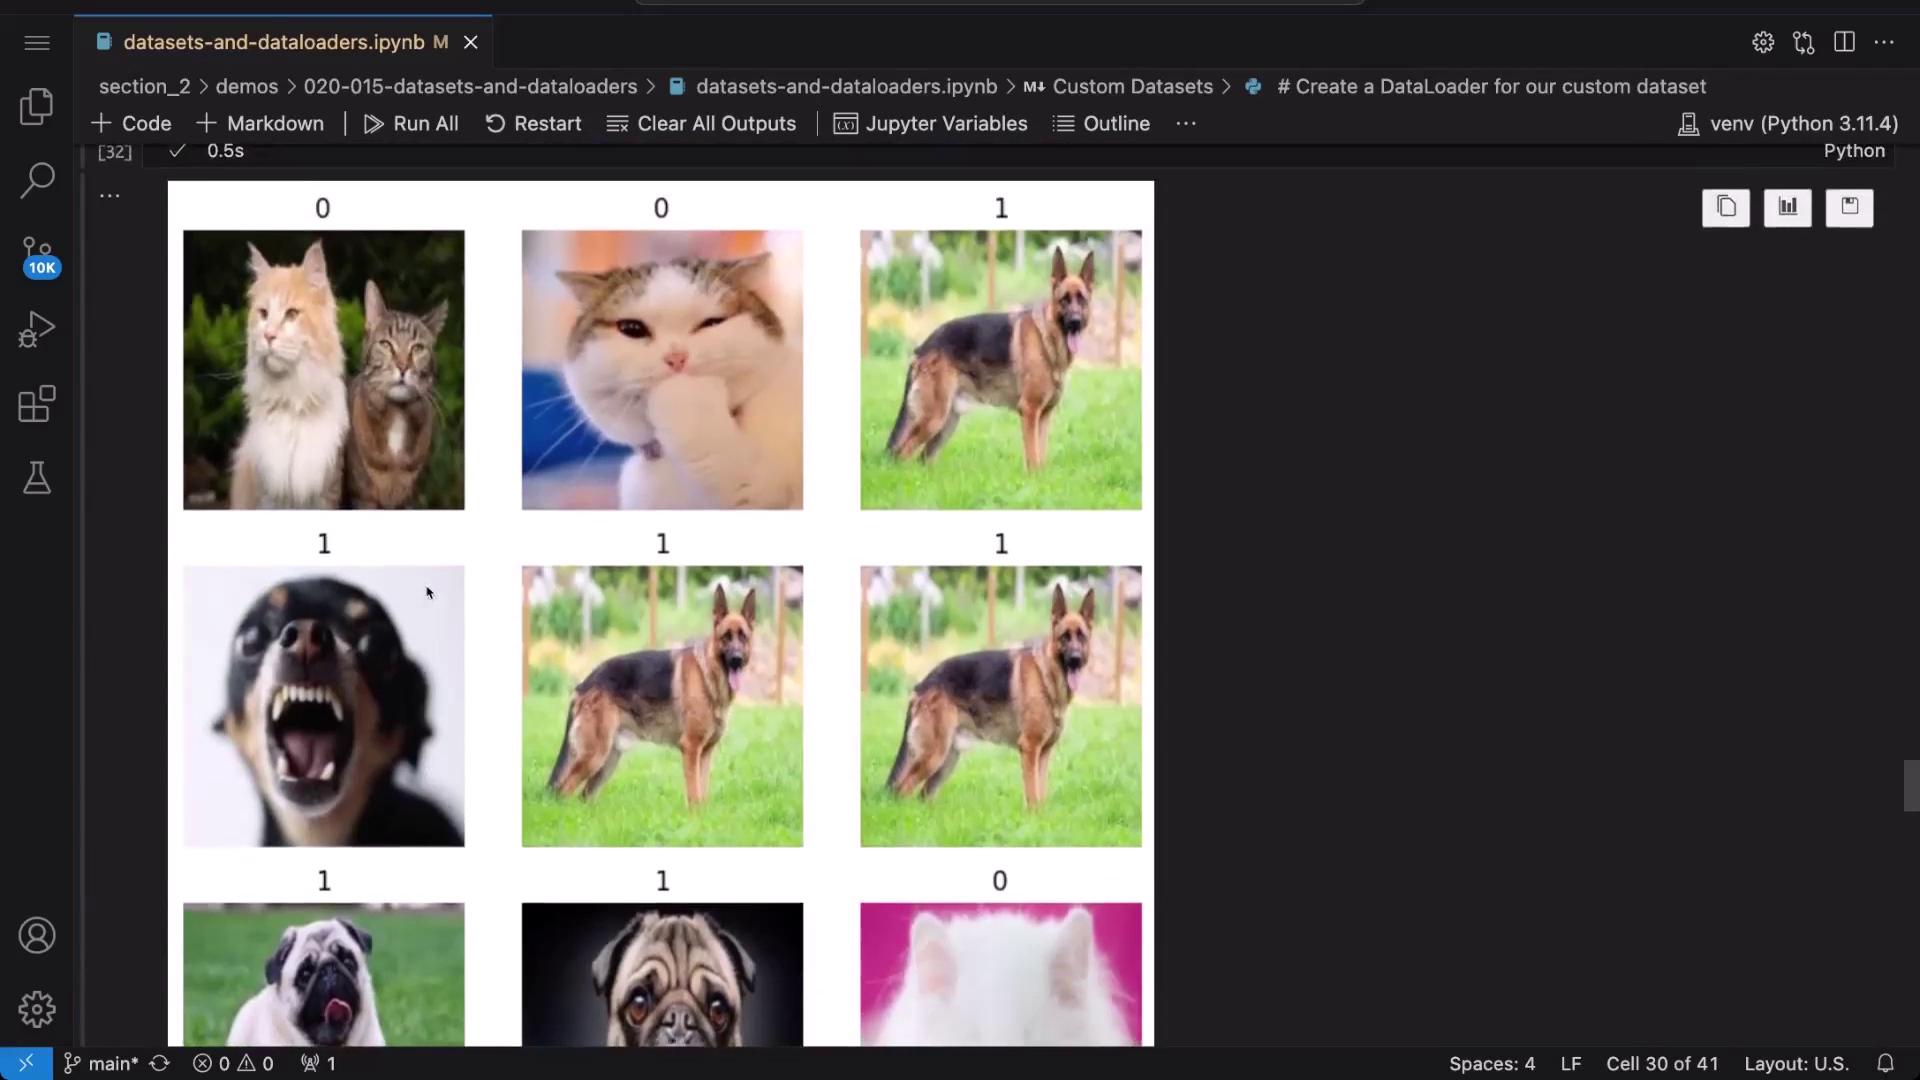
import torchvision
from torchvision import transforms
# Create a dataset using ImageFolder
image_folder_dataset = torchvision.datasets.ImageFolder(
root="images", # Directory containing class subdirectories
transform=transforms.Compose([transforms.ToTensor()])
)
print(image_folder_dataset)
print(image_folder_dataset.classes)
print(image_folder_dataset.class_to_idx)
Load this dataset with a DataLoader:
image_folder_dataloader = DataLoader(image_folder_dataset, batch_size=64, shuffle=True)
To visualize a batch of images from the ImageFolder dataset:
# Retrieve one batch of images and labels
images, labels = next(iter(image_folder_dataloader))
fig, axes = plt.subplots(1, len(images), figsize=(8, 8))
for i, (img, label) in enumerate(zip(images, labels)):
img = img.permute(1, 2, 0) # Convert from (C, H, W) to (H, W, C)
axes[i].imshow(img)
axes[i].set_title(image_folder_dataset.classes[label])
axes[i].axis("off")
plt.show()
This approach leverages the directory structure to automatically generate class labels, simplifying dataset creation when working with well-organized image folders.
Conclusion
In this guide, we demonstrated techniques for working with preloaded datasets and DataLoaders in PyTorch, as well as methods for creating and visualizing custom datasets. These approaches help streamline data loading and preprocessing for model training, whether you’re using built-in libraries or your own data collections. Happy coding and exploring with PyTorch!
Further Reading
For more details on PyTorch data handling, visit the PyTorch Documentation.
Watch Video
Watch video content
Practice Lab
Practice lab