

- Develop a service locally while the rest of the application continues running in Kubernetes.
- Intercept and route traffic from the cluster to a local process for interactive debugging.
- Mount local files or use Docker-based workflows to iterate quickly without rebuilding images in the cluster.
Before you begin, ensure you have a working
kubectl context and cluster access, and that Telepresence is installed on your workstation. You will need permissions to create and modify resources in the target namespace.- Why Telepresence is a game changer for Kubernetes developers — benefits for local development and testing.
- How Telepresence works — a high-level look at architecture and traffic routing.
- A hands-on demo to get started quickly with your own projects.
- Mastering Telepresence intercepts — redirect service traffic to your local machine.
- Real-world demo scenarios using intercepts.
- Managing environment configuration using env files.
- Using volumes with Telepresence to sync files between local and cluster environments.
- Combining Telepresence with Docker for container-oriented local development.
products-depl, forwarding local port 8000 to the container port 3000:
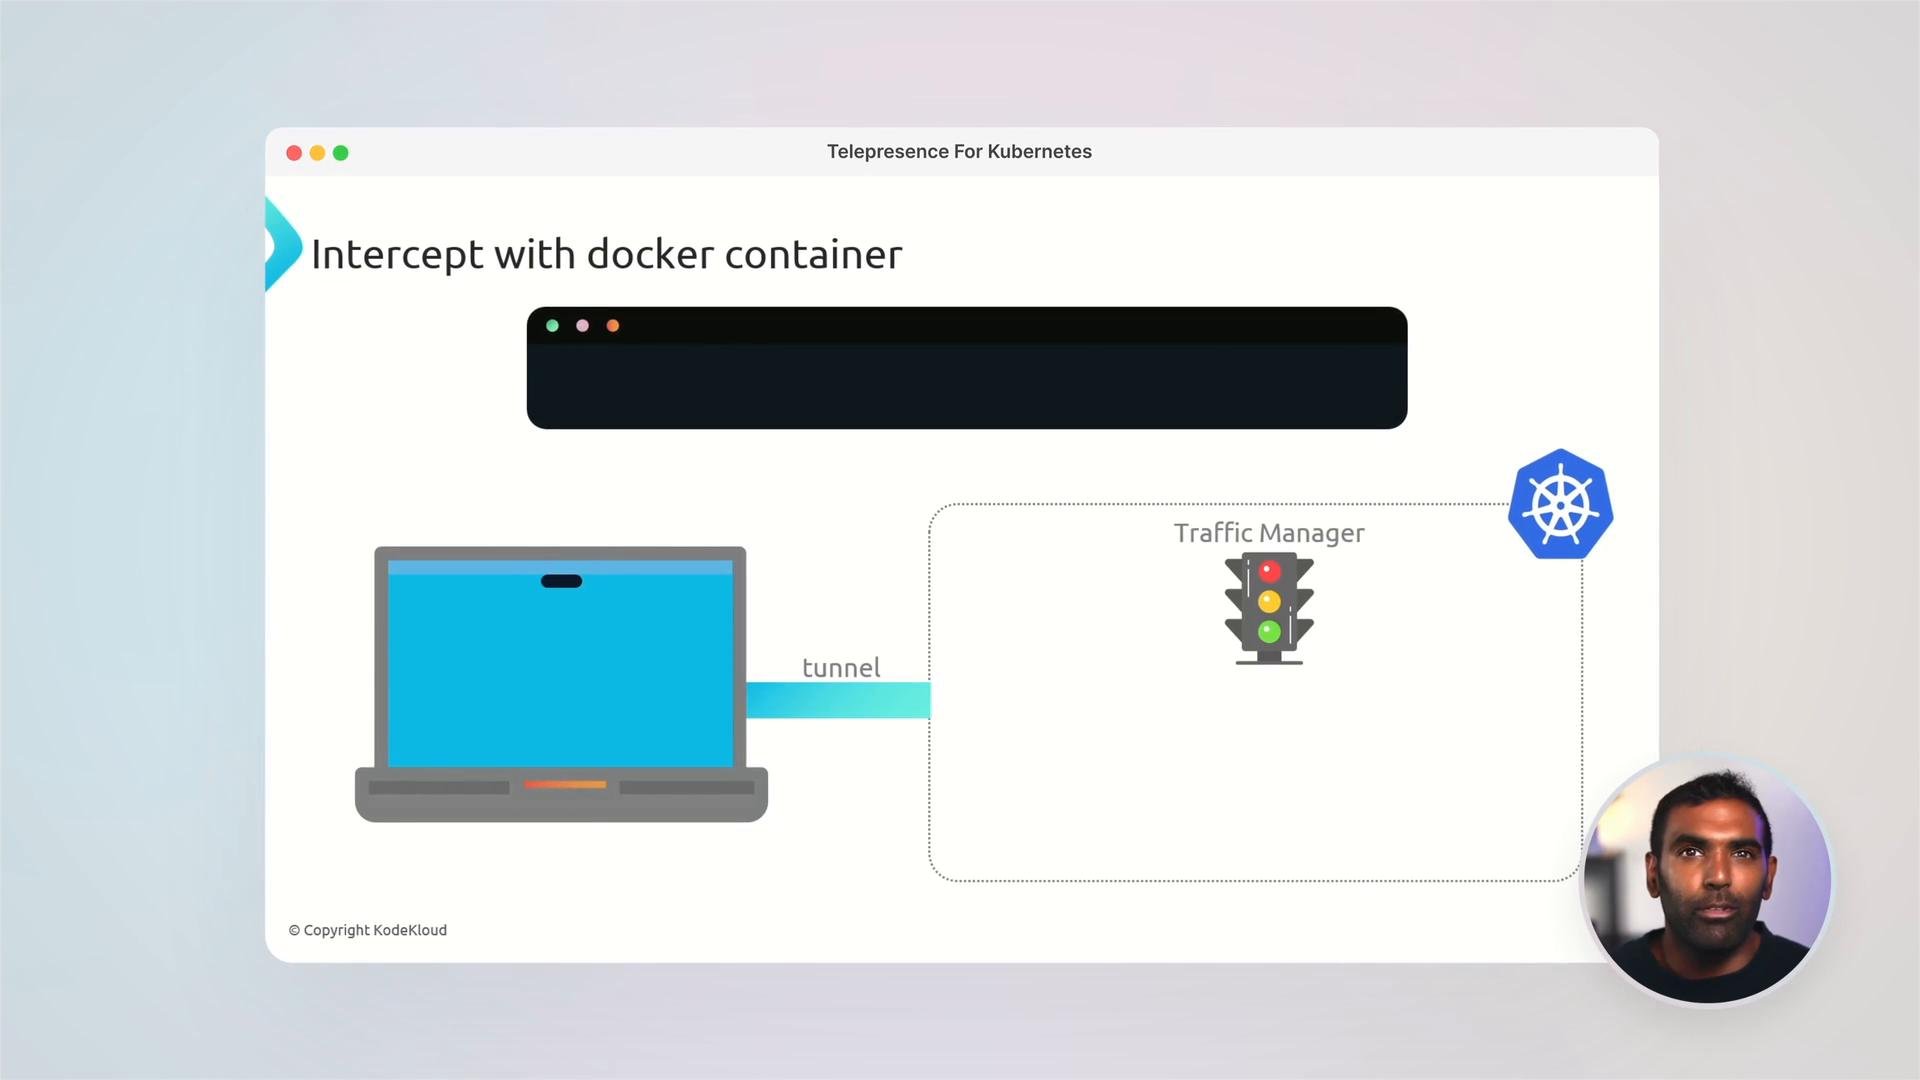
- How intercepts let you run a local process (or container) in place of a remote pod.
- Using env files to manage environment variables for local services.
- Mounting or syncing code into the intercepted environment using volumes.
- Using Telepresence with Docker to test containerized workflows locally.
Important: Avoid intercepting production services or traffic that could impact users. Always verify namespace, permissions, and that the target environment is safe for local debugging.
- Use Telepresence to iterate faster on microservices that depend on in-cluster services.
- Intercept Kubernetes services and route traffic to your local processes or containers.
- Manage environment configuration and sync code with volumes for rapid local testing.
- Combine Telepresence with Docker to validate container behavior locally before deployment.
- Telepresence docs: https://www.telepresence.io/
- Kubernetes documentation: https://kubernetes.io/docs/
- KodeKloud community: https://kodekloud.com/community