

Overview
Telepresence provides a two-way proxy so a local process can transparently replace or augment a service running inside a Kubernetes cluster. This enables iterative development and debugging without rebuilding container images or redeploying applications. Key points:- You have a Kubernetes cluster and a local development machine.
- Telepresence creates a secure, routed tunnel so traffic for selected cluster services is forwarded to your local process and responses are routed back into the cluster.
- The typical workflow is: CLI -> Traffic Manager (in cluster) -> Traffic Agent (in pod) -> Telepresence daemon (local) -> your local process.
Components
How the pieces interact (step-by-step)
- Install the Telepresence CLI on your development machine. Use it to run commands such as
telepresence connect,telepresence intercept, andtelepresence helm install. - Deploy the Traffic Manager into the Kubernetes cluster. The Traffic Manager coordinates injected traffic agents and local Telepresence daemons.
- Start the Telepresence connection from your machine: the Telepresence daemon establishes a persistent connection to the Traffic Manager, creating the two-way proxy and configuring local routes and DNS.
- Create an intercept for a target service or pod. The Traffic Manager arranges for a traffic-agent to be injected into the target pod (as a sidecar or ephemeral container). The traffic-agent proxies requests destined for that pod back to your local machine via the Traffic Manager and the Telepresence daemon, allowing your local process to handle production traffic transparently.
Requirements
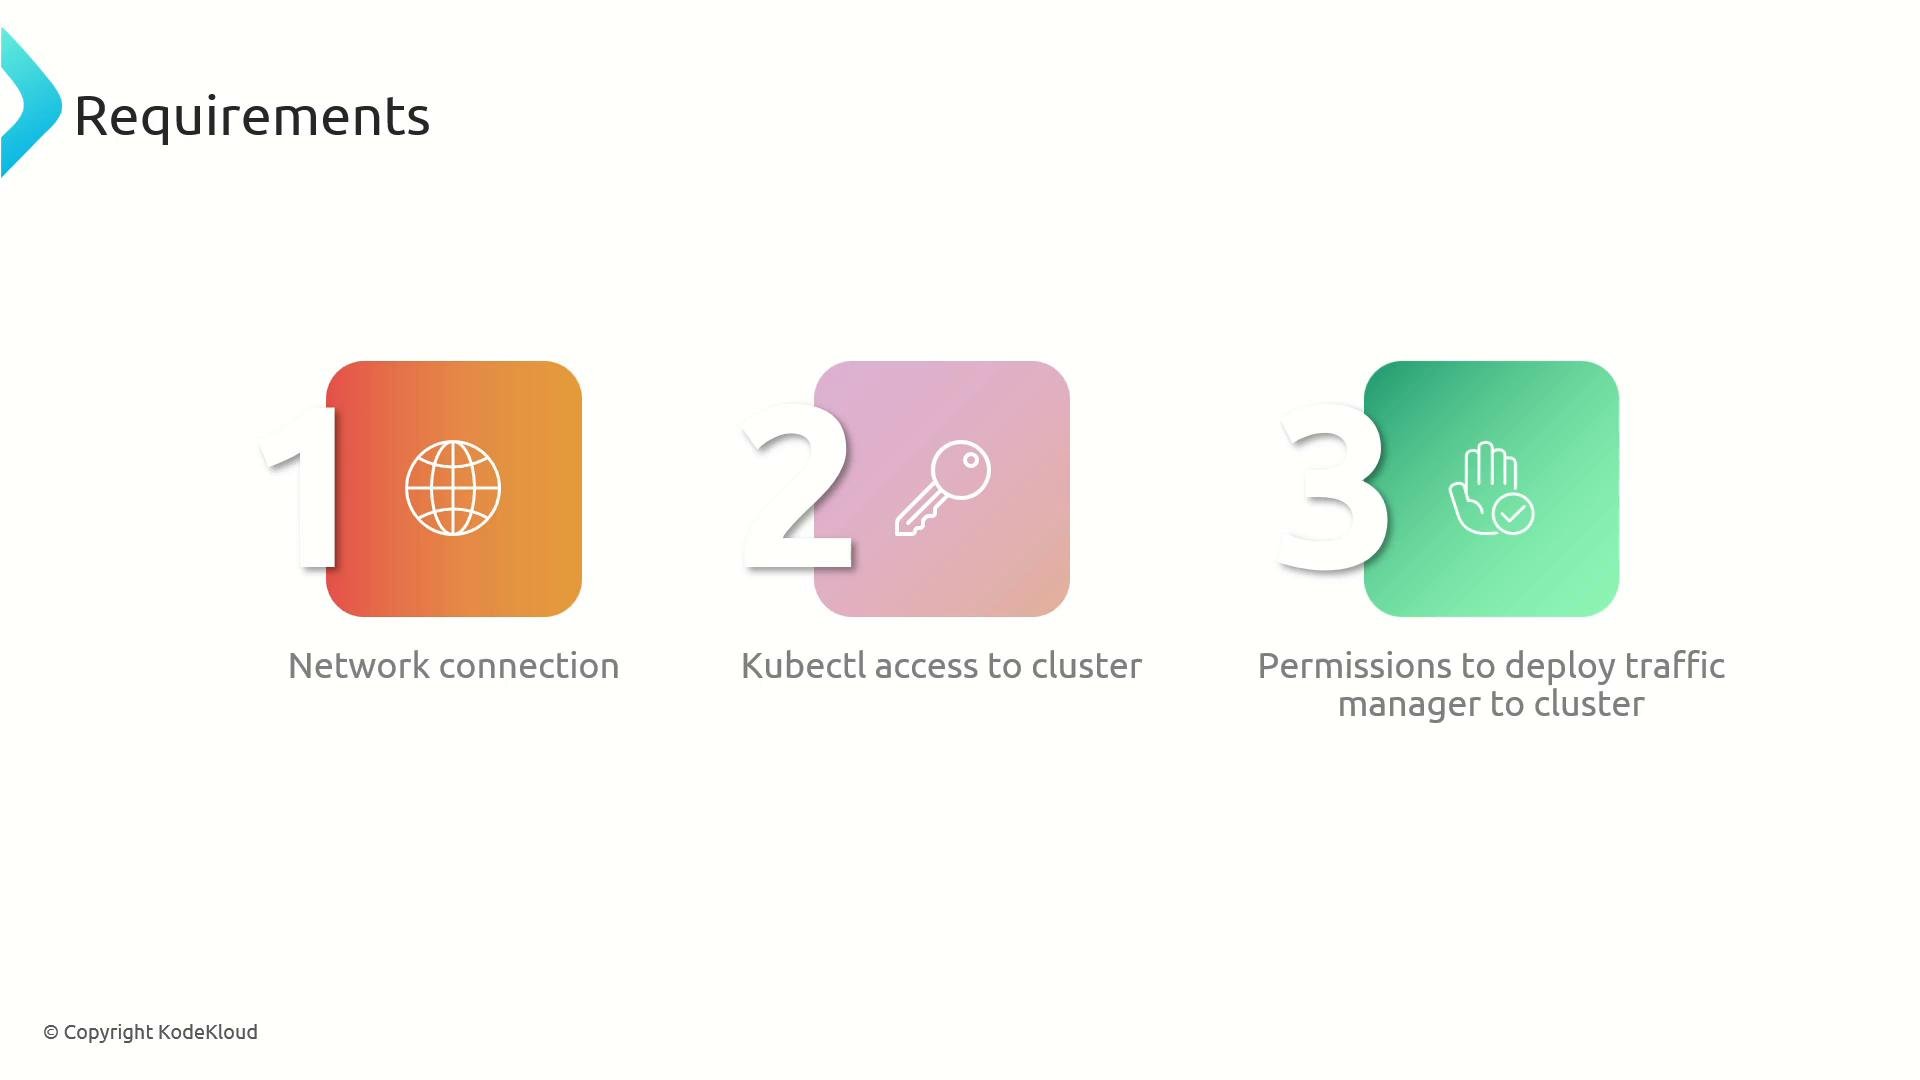
If you do not have permission to install the Traffic Manager, ask a cluster administrator to install it once. After that installation, developers only need
kubectl access and a network connection to use Telepresence.Installing Telepresence and the Traffic Manager
Follow these steps to get Telepresence running:- Download the Telepresence CLI binary and make it executable.
- Use the bundled Helm helper to install the Traffic Manager into your cluster.
- Connect from your local machine and verify the Telepresence status.
- Replace the binary URL/version with the latest release if needed.
telepresence helm installuses the bundled Helm helper to simplify Traffic Manager installation; you can also use your own Helm chart or operator workflows if required by your organization.
Verify Telepresence status
After connecting,telepresence status should show the local daemons, the Traffic Manager, and an overall Connected status. A representative status output:
Routing and networking details
- Telepresence learns cluster subnets (for example, pod CIDR and service network) and configures routes on your local machine so traffic destined for those subnets is routed through a Telepresence virtual interface (commonly
tel0,tel1, etc.). - You can inspect route configuration with
ip route:
- The entries pointing to
tel*interfaces indicate subnets that are routed across the Telepresence tunnel back to the cluster. - Telepresence also configures DNS so cluster services resolve from your local machine (for example,
service.namespace.svc.cluster.local).
Testing connectivity
Once connected, you can resolve and reach services in the cluster directly from your local machine. Examples:Summary
The Telepresence workflow combines the local CLI and daemons with a cluster-side Traffic Manager and injected traffic agents to create a seamless two-way proxy. This setup enables fast local development and debugging while preserving production-like connectivity.Links and References
- Telepresence project: https://www.telepresence.io/
- Kubernetes Documentation: https://kubernetes.io/docs/
- Helm: https://helm.sh/