In this lesson, we guide you through working with Amazon OpenSearch by creating and configuring an OpenSearch domain. A domain represents an OpenSearch cluster with specific settings, instance types, instance counts, and storage resources. In this demo, our domain is named “demo.”Documentation Index
Fetch the complete documentation index at: https://notes.kodekloud.com/llms.txt
Use this file to discover all available pages before exploring further.
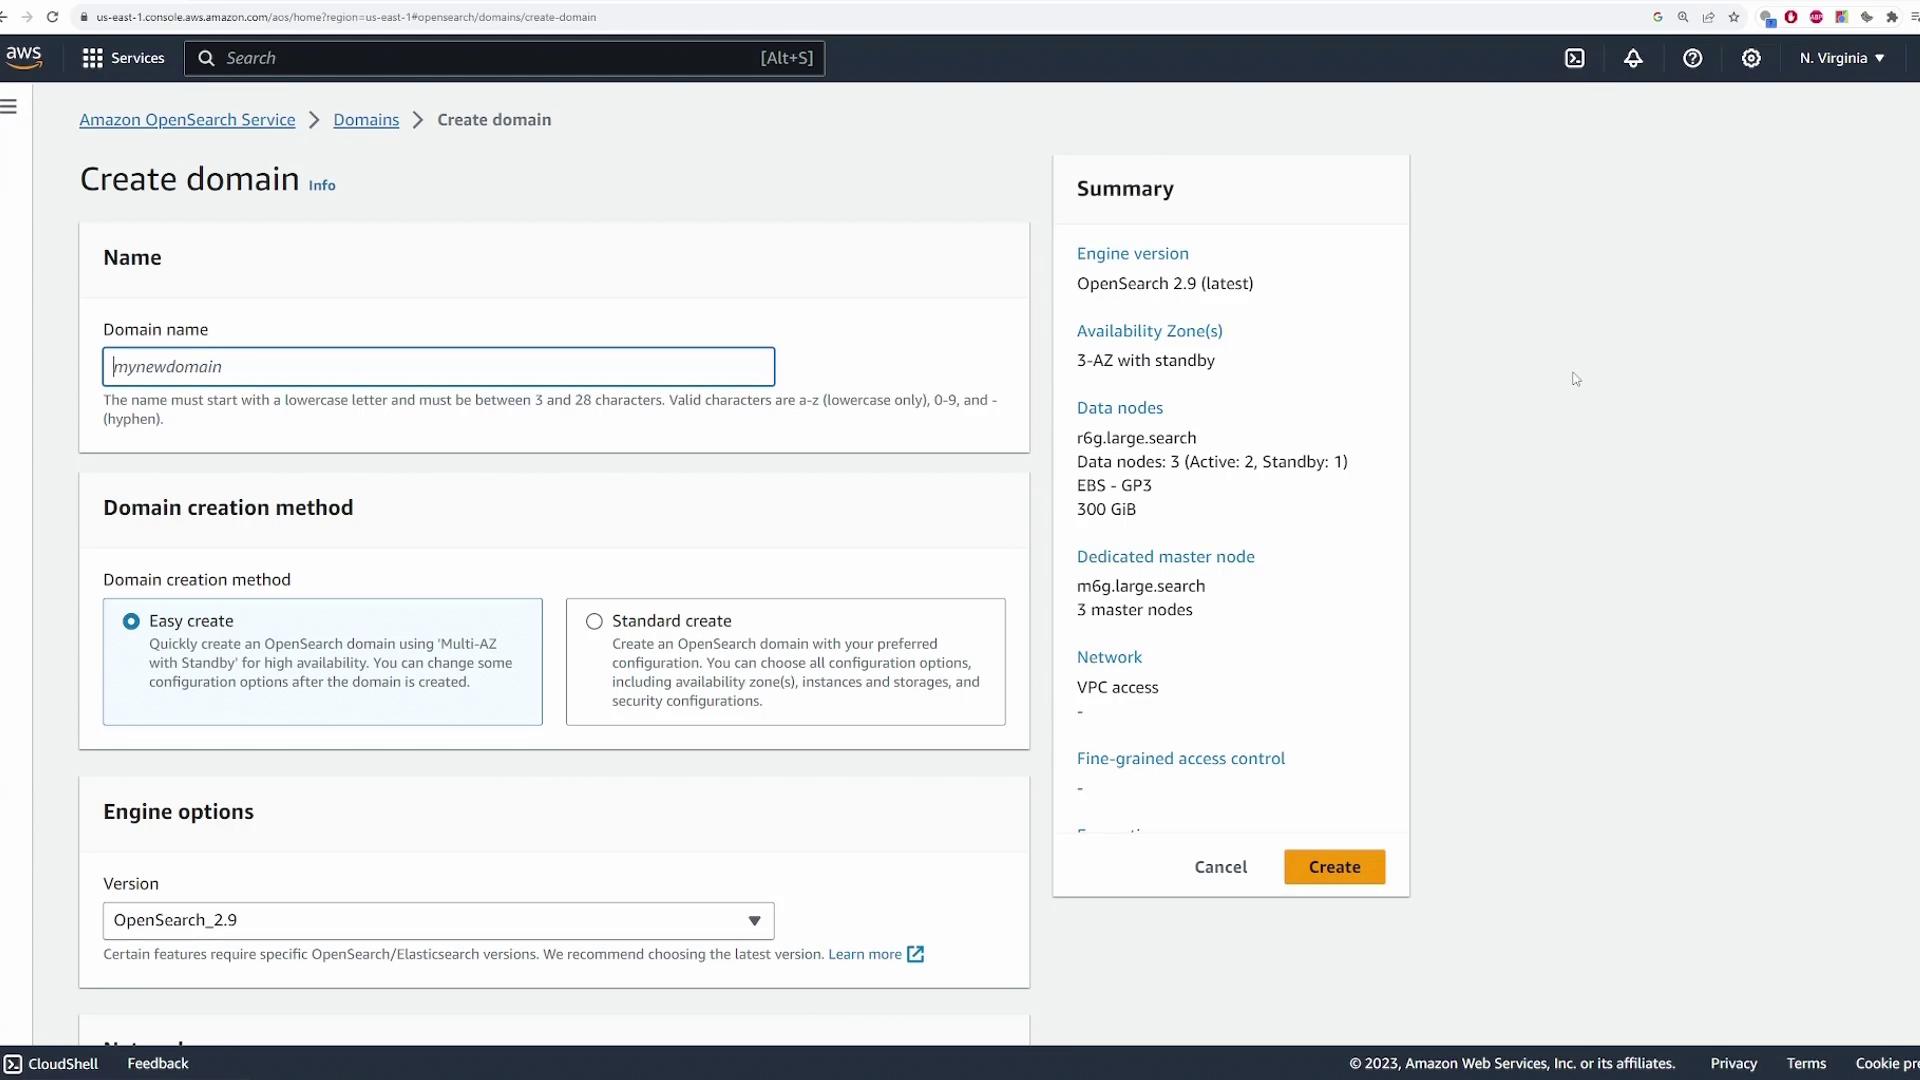
Domain Creation: Easy Create vs. Standard Create
When creating a domain, you have two options:- Easy create: Quickly set up the domain with recommended default configurations.
- Standard create: Customize each setting in detail.
Domain Configuration Options
Template Selection and Availability Zones
Begin by selecting an environment template:- For production data, choose production.
- For demos or testing, select dev/test.
OpenSearch Version and Instance Configuration
Choose the OpenSearch version you require. You may also select an Elasticsearch version if needed. For this demo, we opt for version 2.9 (the latest). Next, select the EC2 instance type to run your cluster. Since this is a demo, we choose a cost-effective T3 small instance. Determine the number of nodes per Availability Zone; for example, one node per zone yields a single node. (If you configured three Availability Zones with one node each, you would have three total nodes.)Storage Options
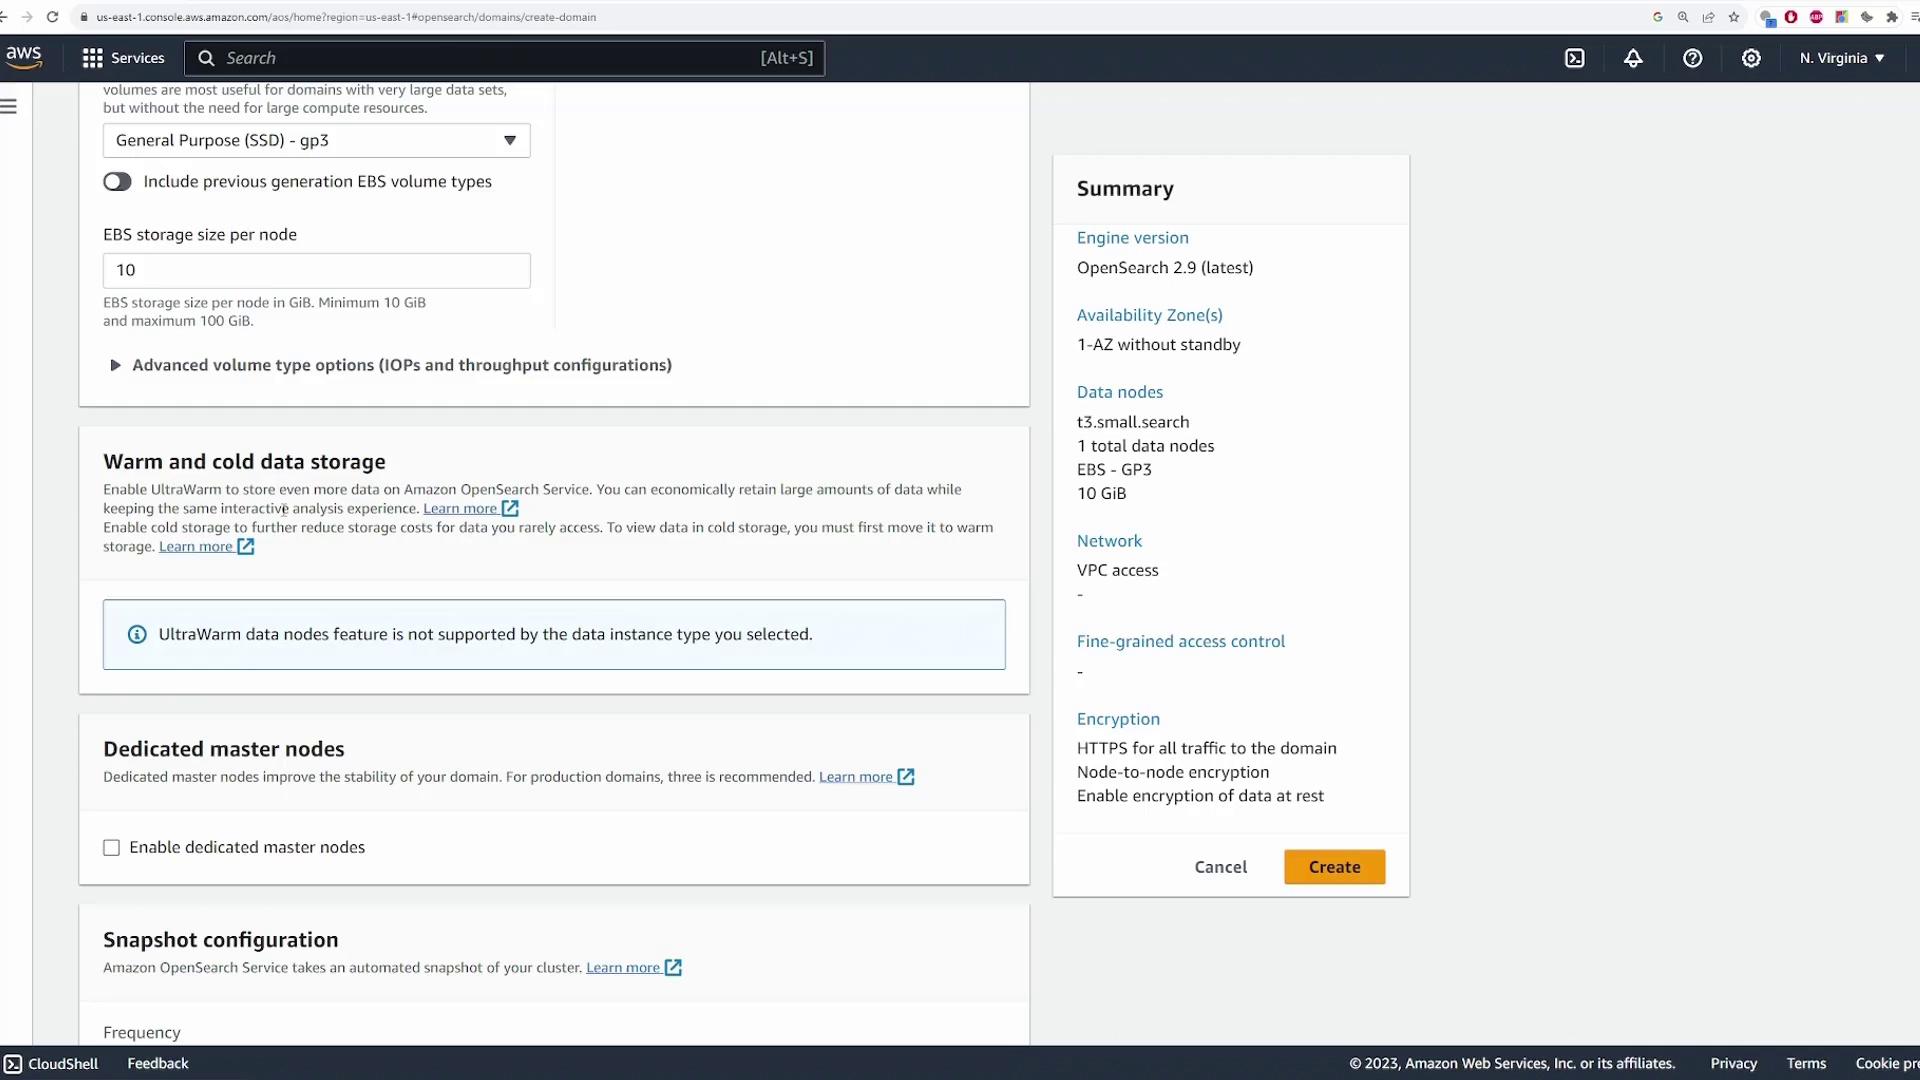
Configure your storage preferences:- Choose EBS as the storage type.
- Select the appropriate volume type.
- Define the storage size per node. For this demo, we use a minimal configuration of 10 GB per node.
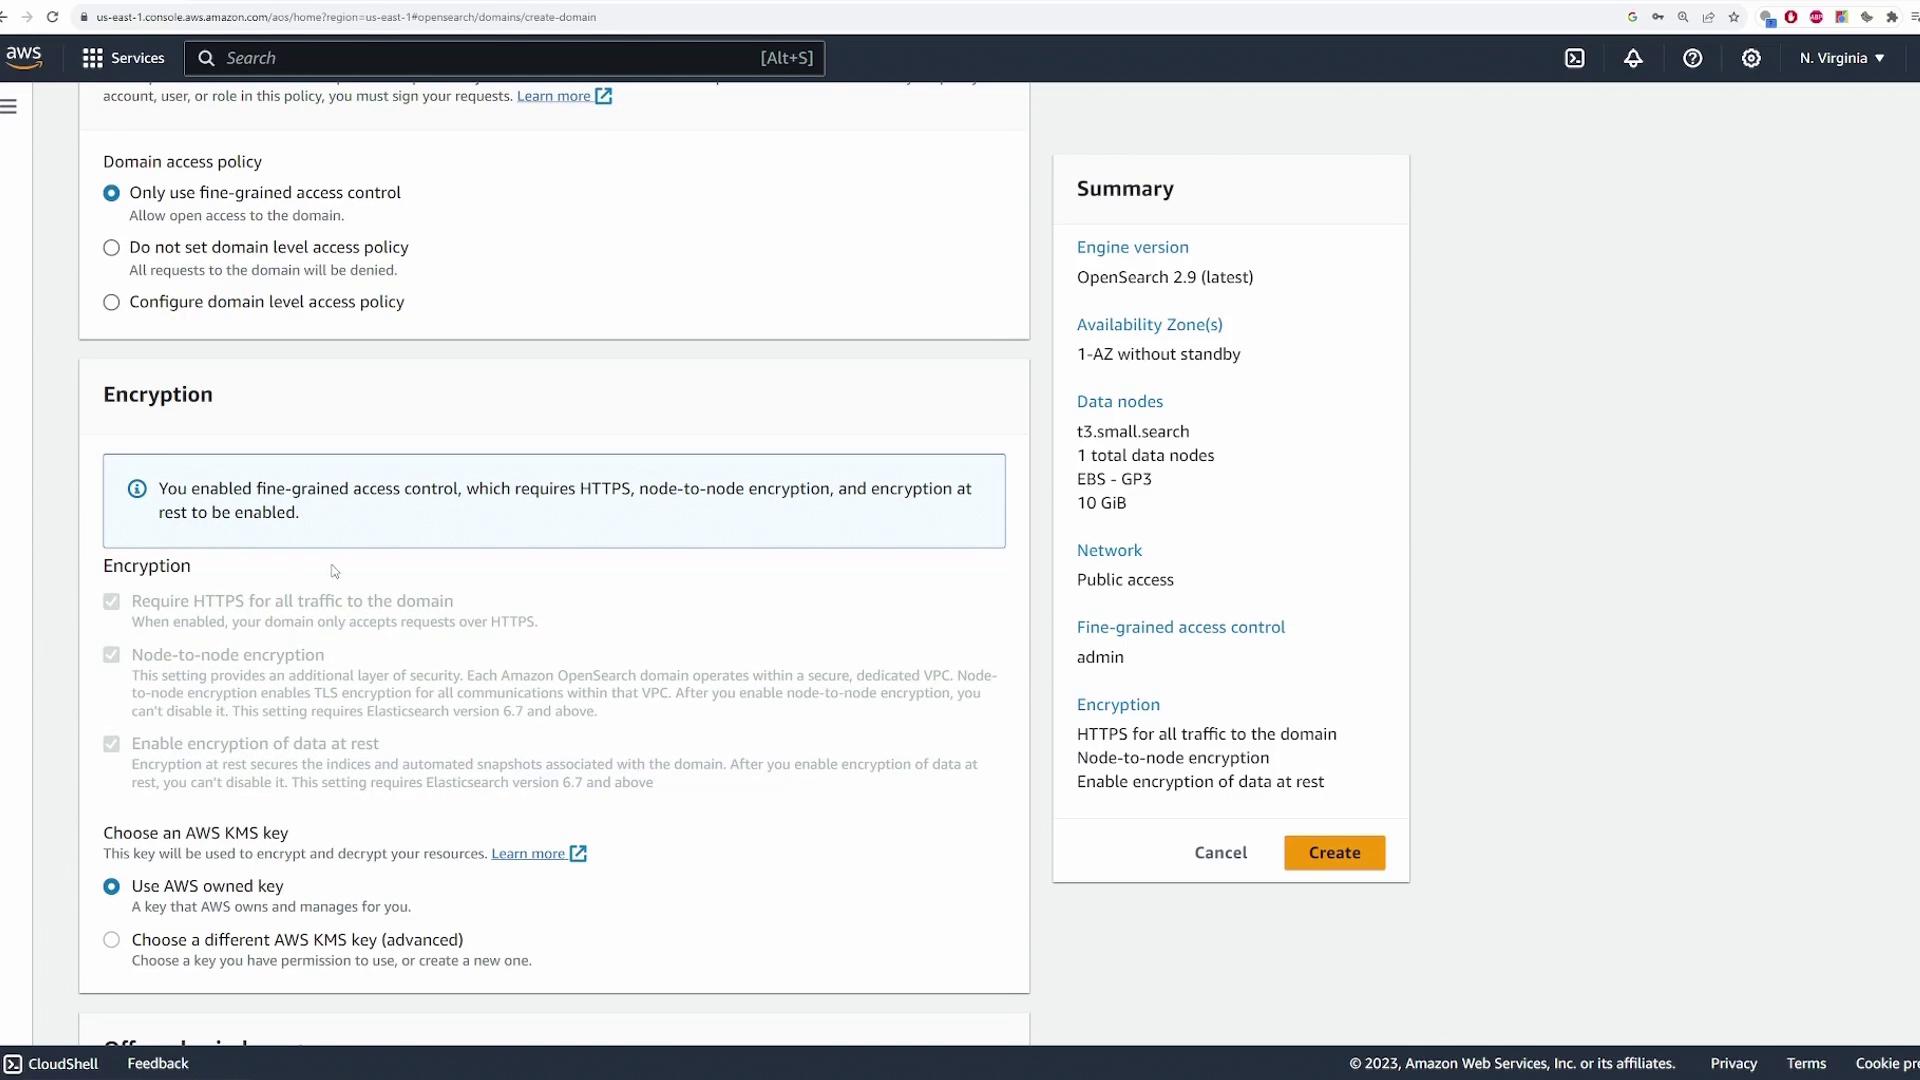
Network and Access Control Settings
Scroll down to configure network settings. For this demo, choose public access. In a production environment, you may wish to deploy within a specific VPC, subnet, and defined security groups. For access control, you have two options: use IAM or create a master user. In this example, we create a master user by entering a default master username and password that meet security requirements.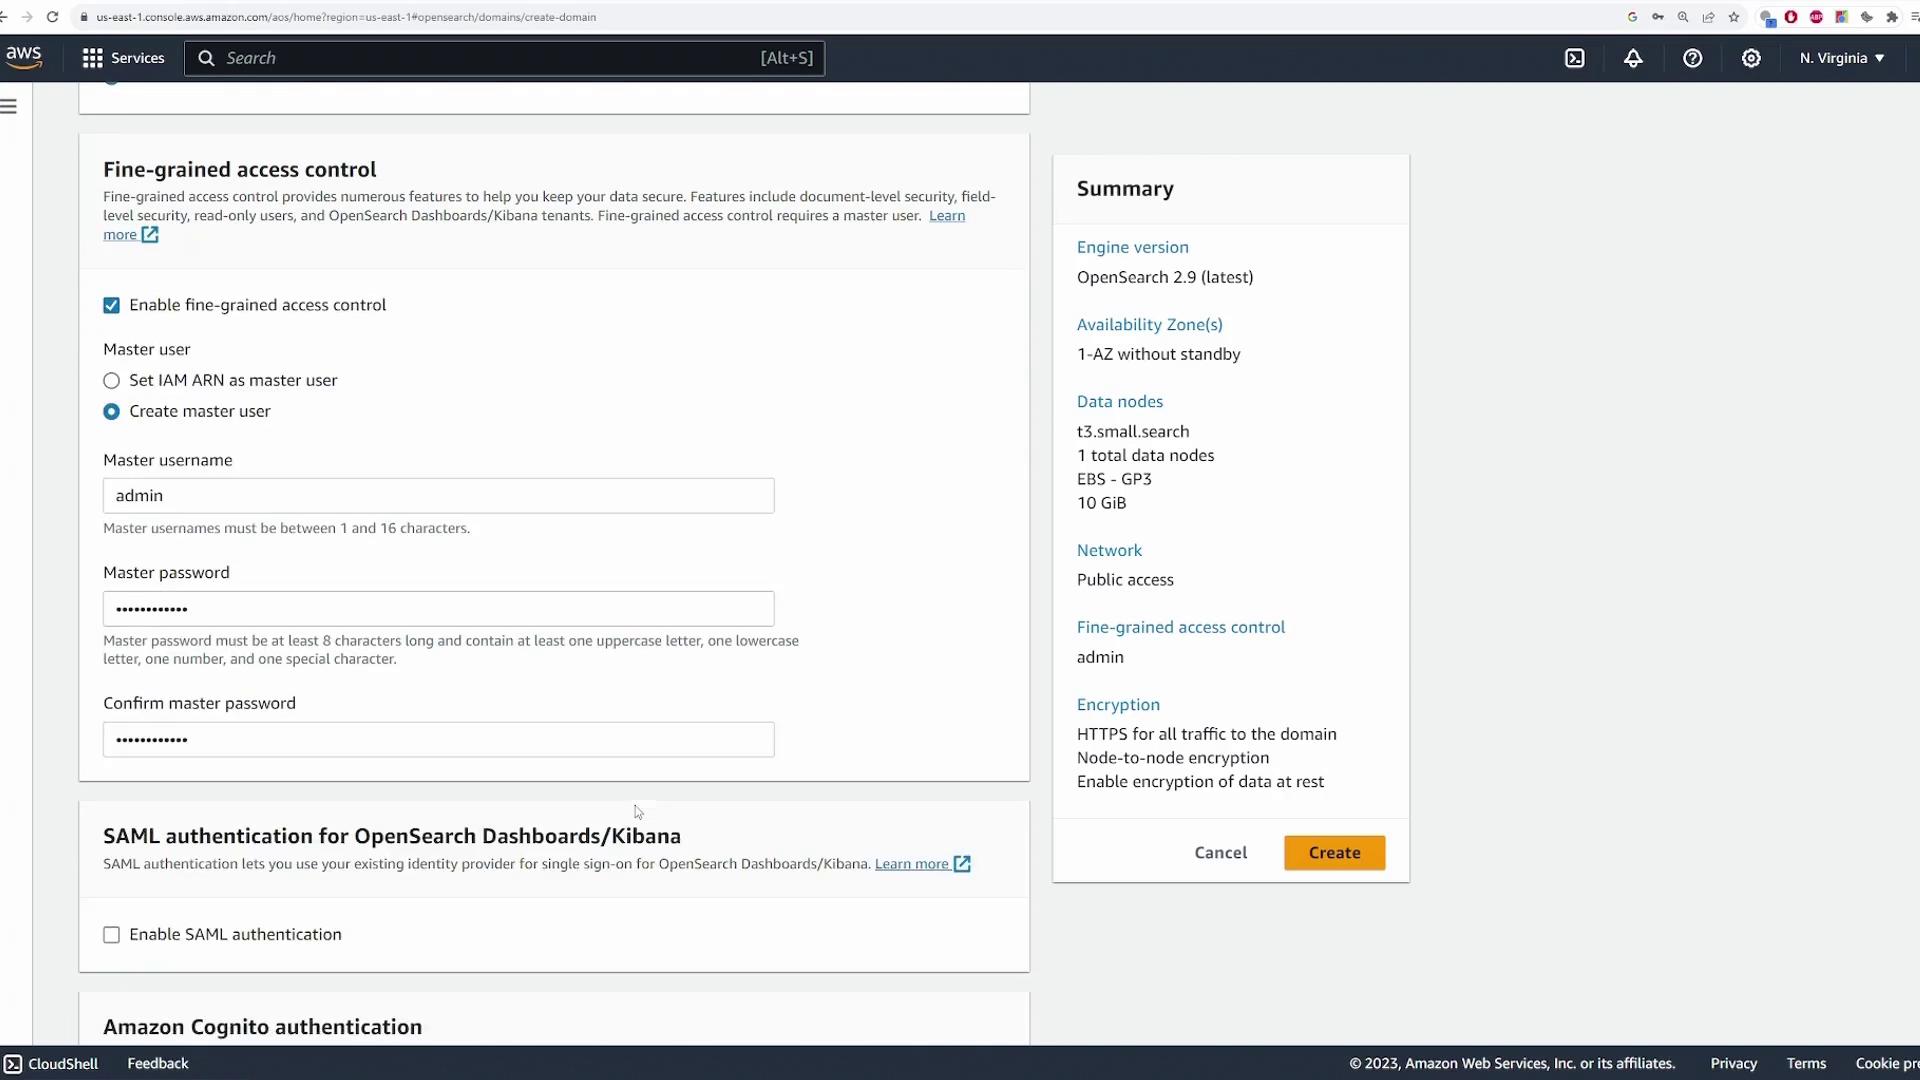
The deployment process may take 15 to 20 minutes.
Accessing the OpenSearch Cluster
After deployment, click the endpoint to connect to your cluster. You will see two URLs: one for sending requests to add or retrieve data and another for accessing the OpenSearch Dashboard. Click the dashboard URL and log in using your master username (for example, “admin”) and the password you configured. During the initial login, a pop-up message may prompt you to choose between specific tenants or a global dashboard. For simplicity, select the global option. At this point, the cluster will be empty. OpenSearch provides a demo dataset to help you practice with sample data.Adding Sample Data
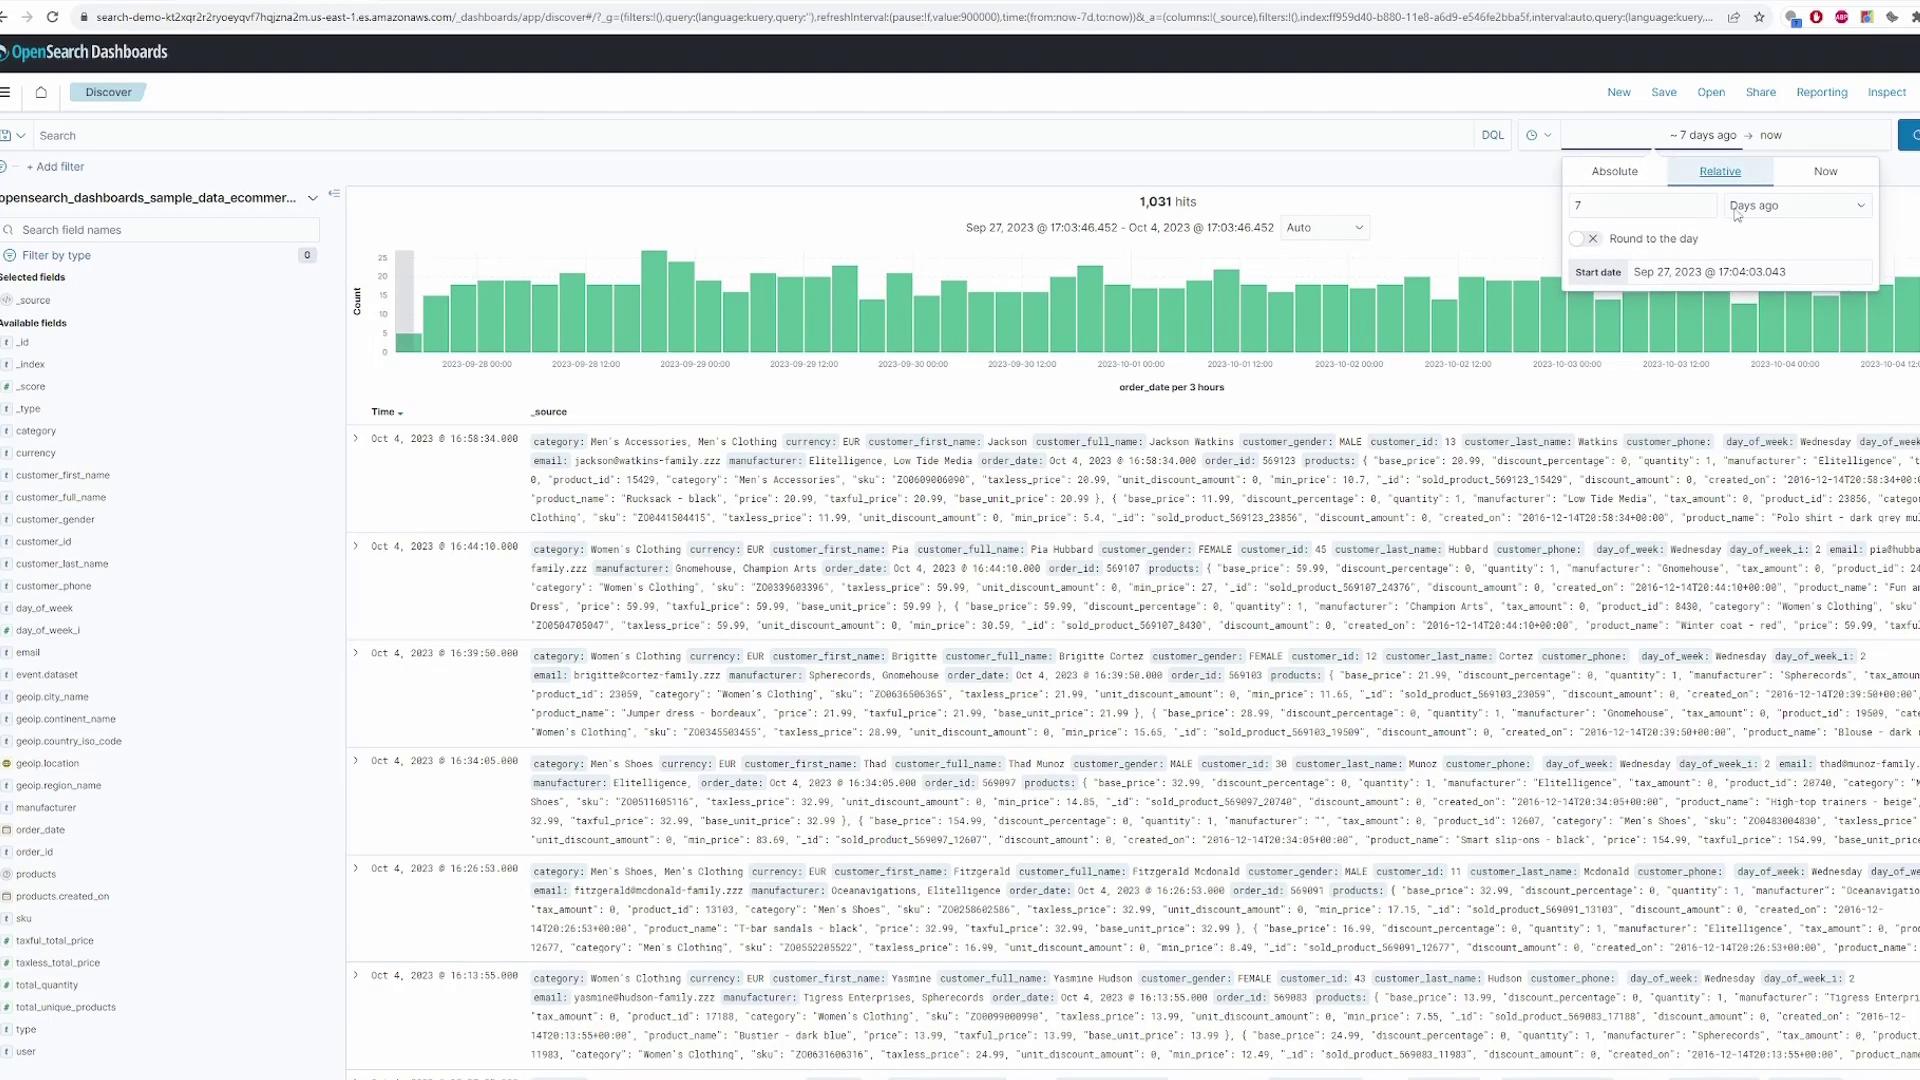
When adding data, you will see three sample datasets. For this lesson, select the e-commerce orders dataset. After installation, click “view data” to explore the new configurations created automatically within OpenSearch.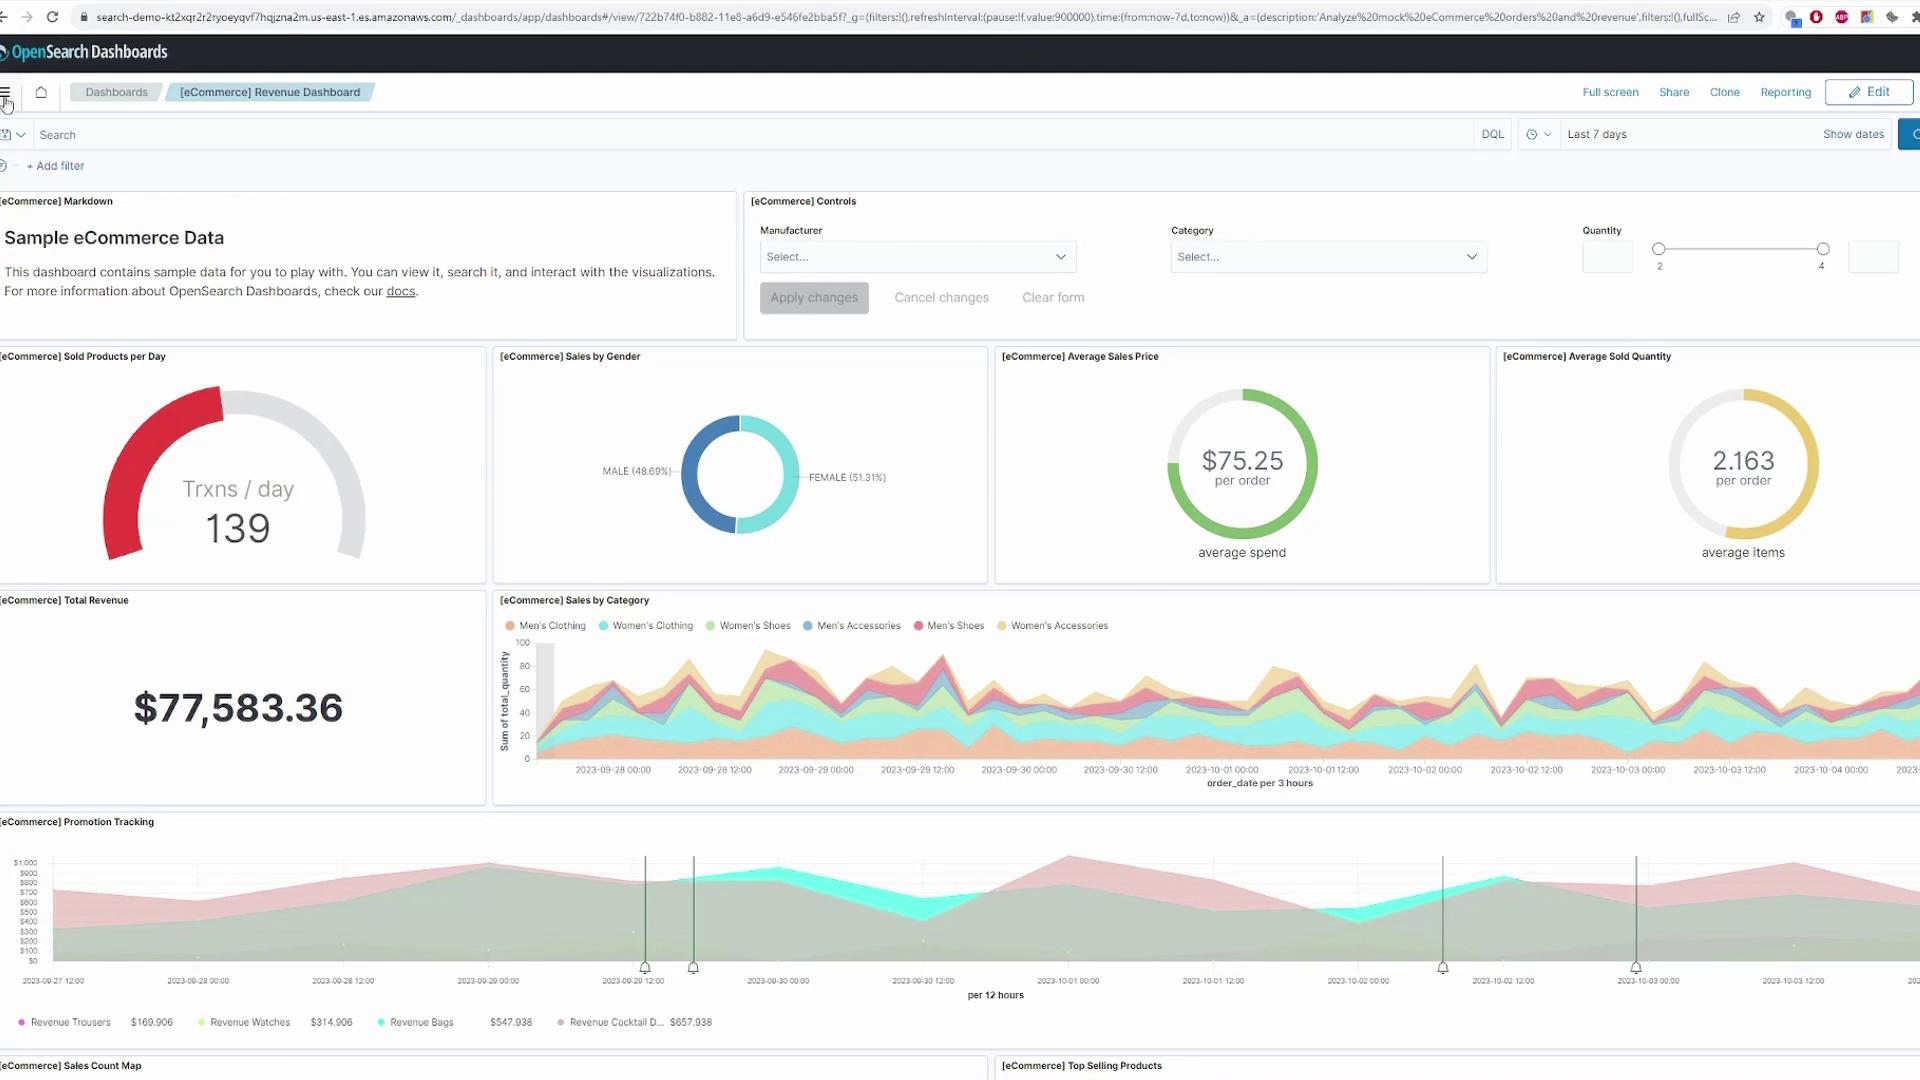
Uploading Data to OpenSearch
For those interested in uploading their own data and performing queries on an OpenSearch cluster, refer to the AWS Documentation for a demo with commands to upload data and run queries.Single Document Upload
Use this curl command to upload a single document to the “movies” index. Remember to update the username, password, and domain endpoint as needed.Bulk Document Upload
For bulk uploads, prepare a file (e.g., bulk_movies.json) with the following content: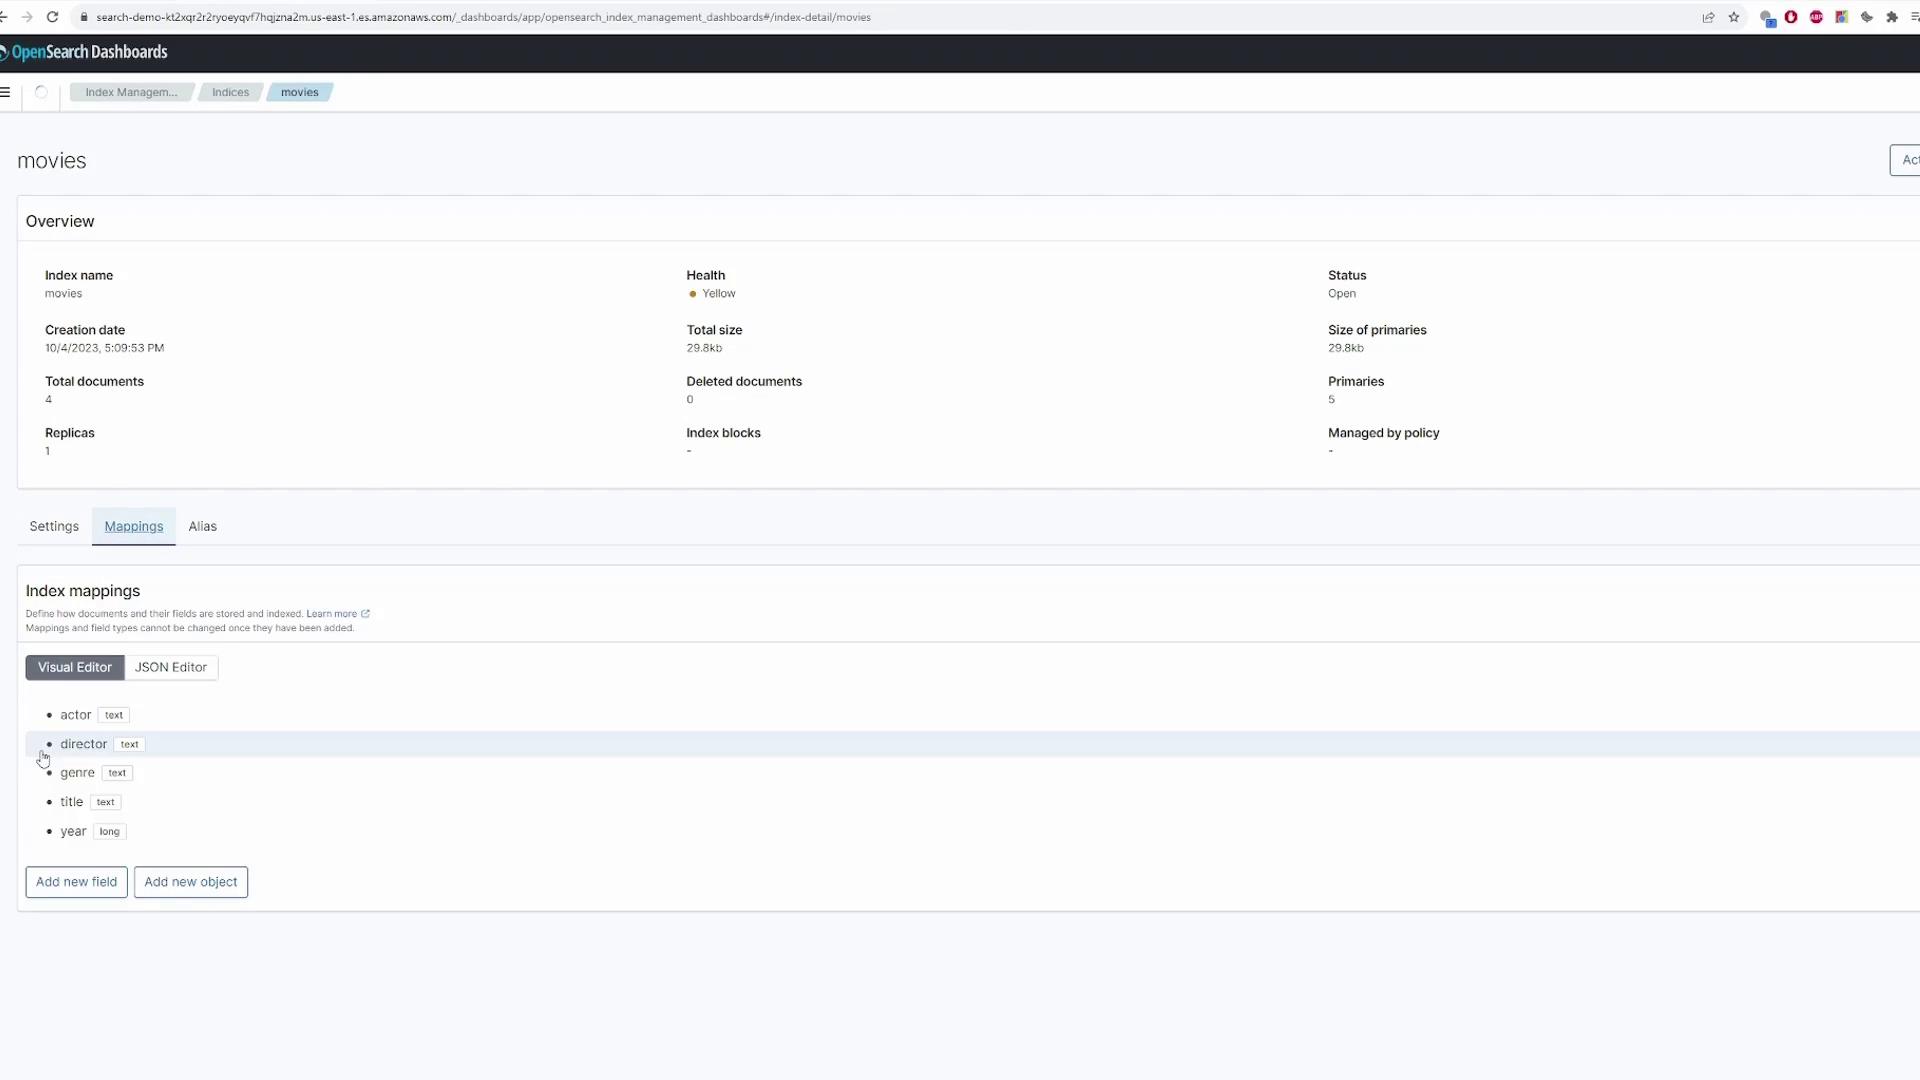
Searching Data via Dashboards
To search for data in OpenSearch Dashboards:- Navigate to Dashboards > Index Patterns and create an index pattern for “movies.”
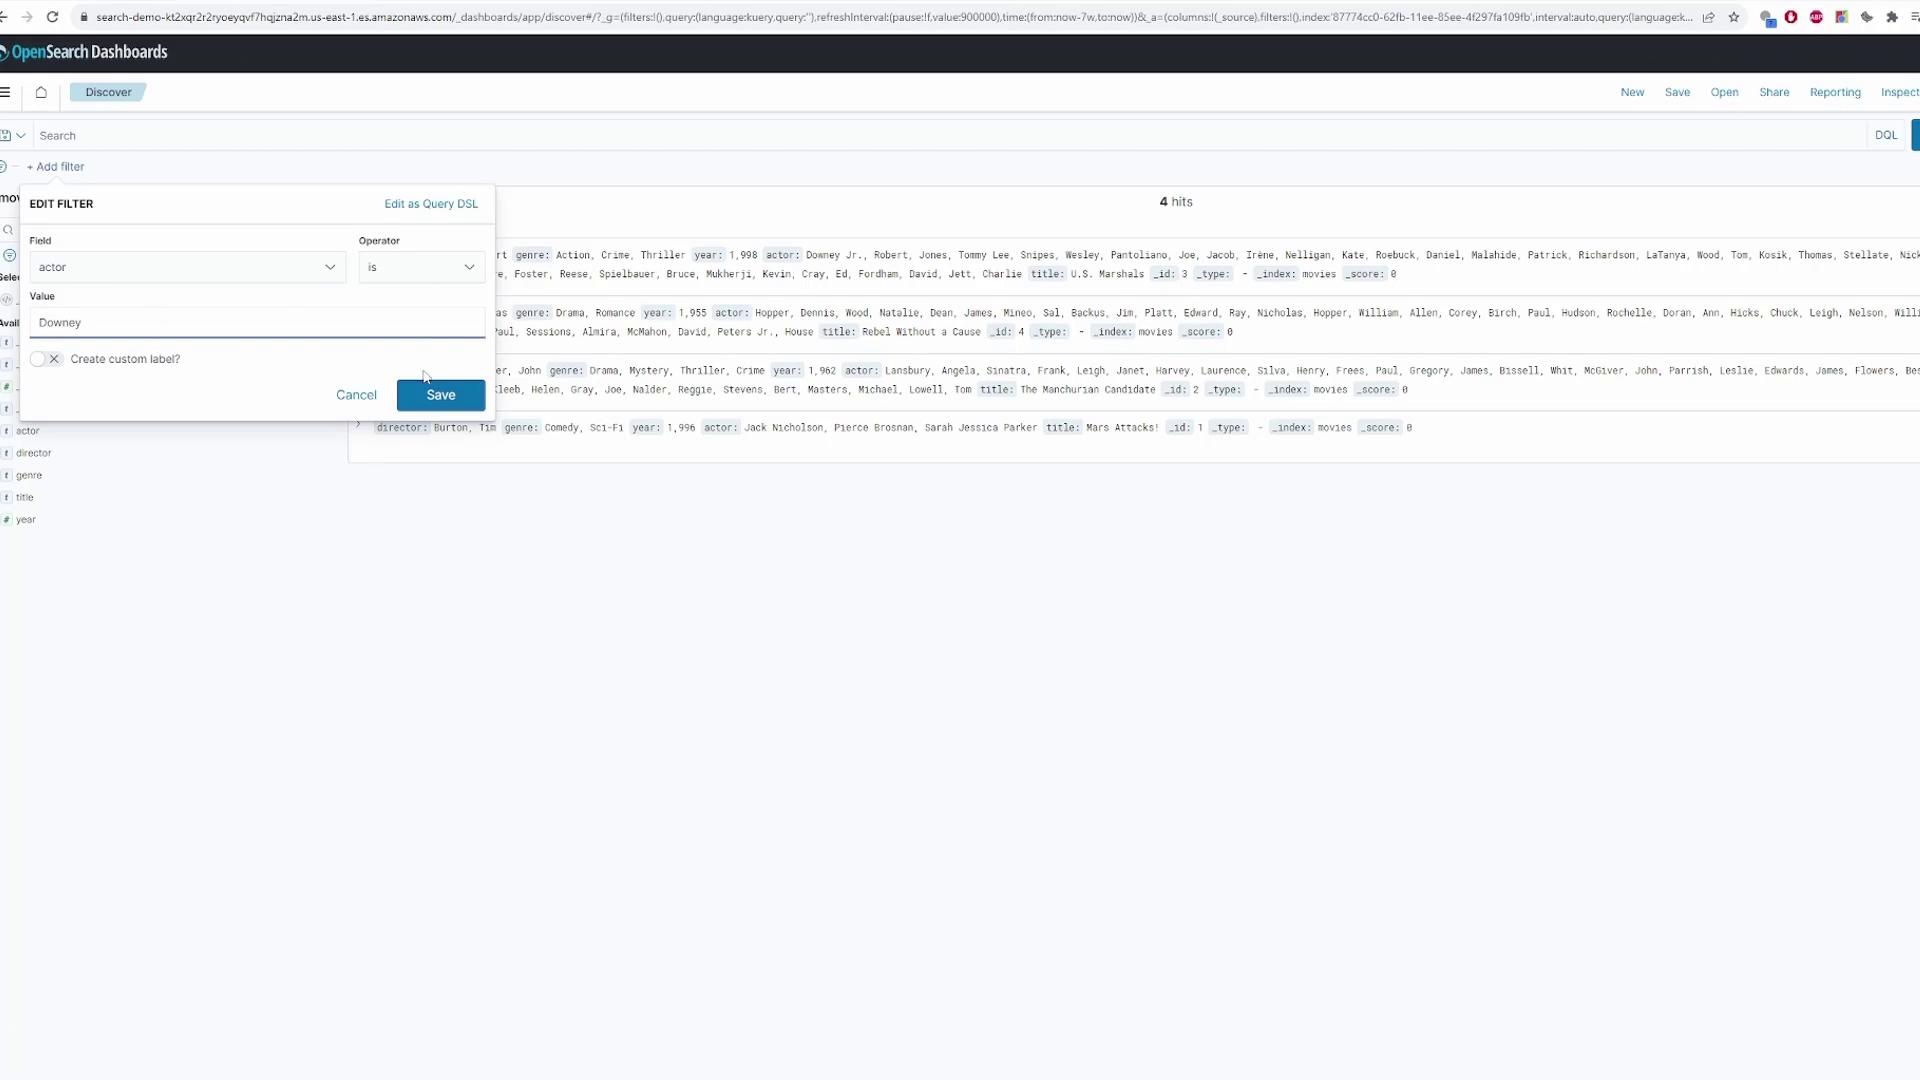
- Go to the Discover tab.
- Select the “movies” index and run queries. For example, search for movies featuring a specific actor like Robert Downey Jr.
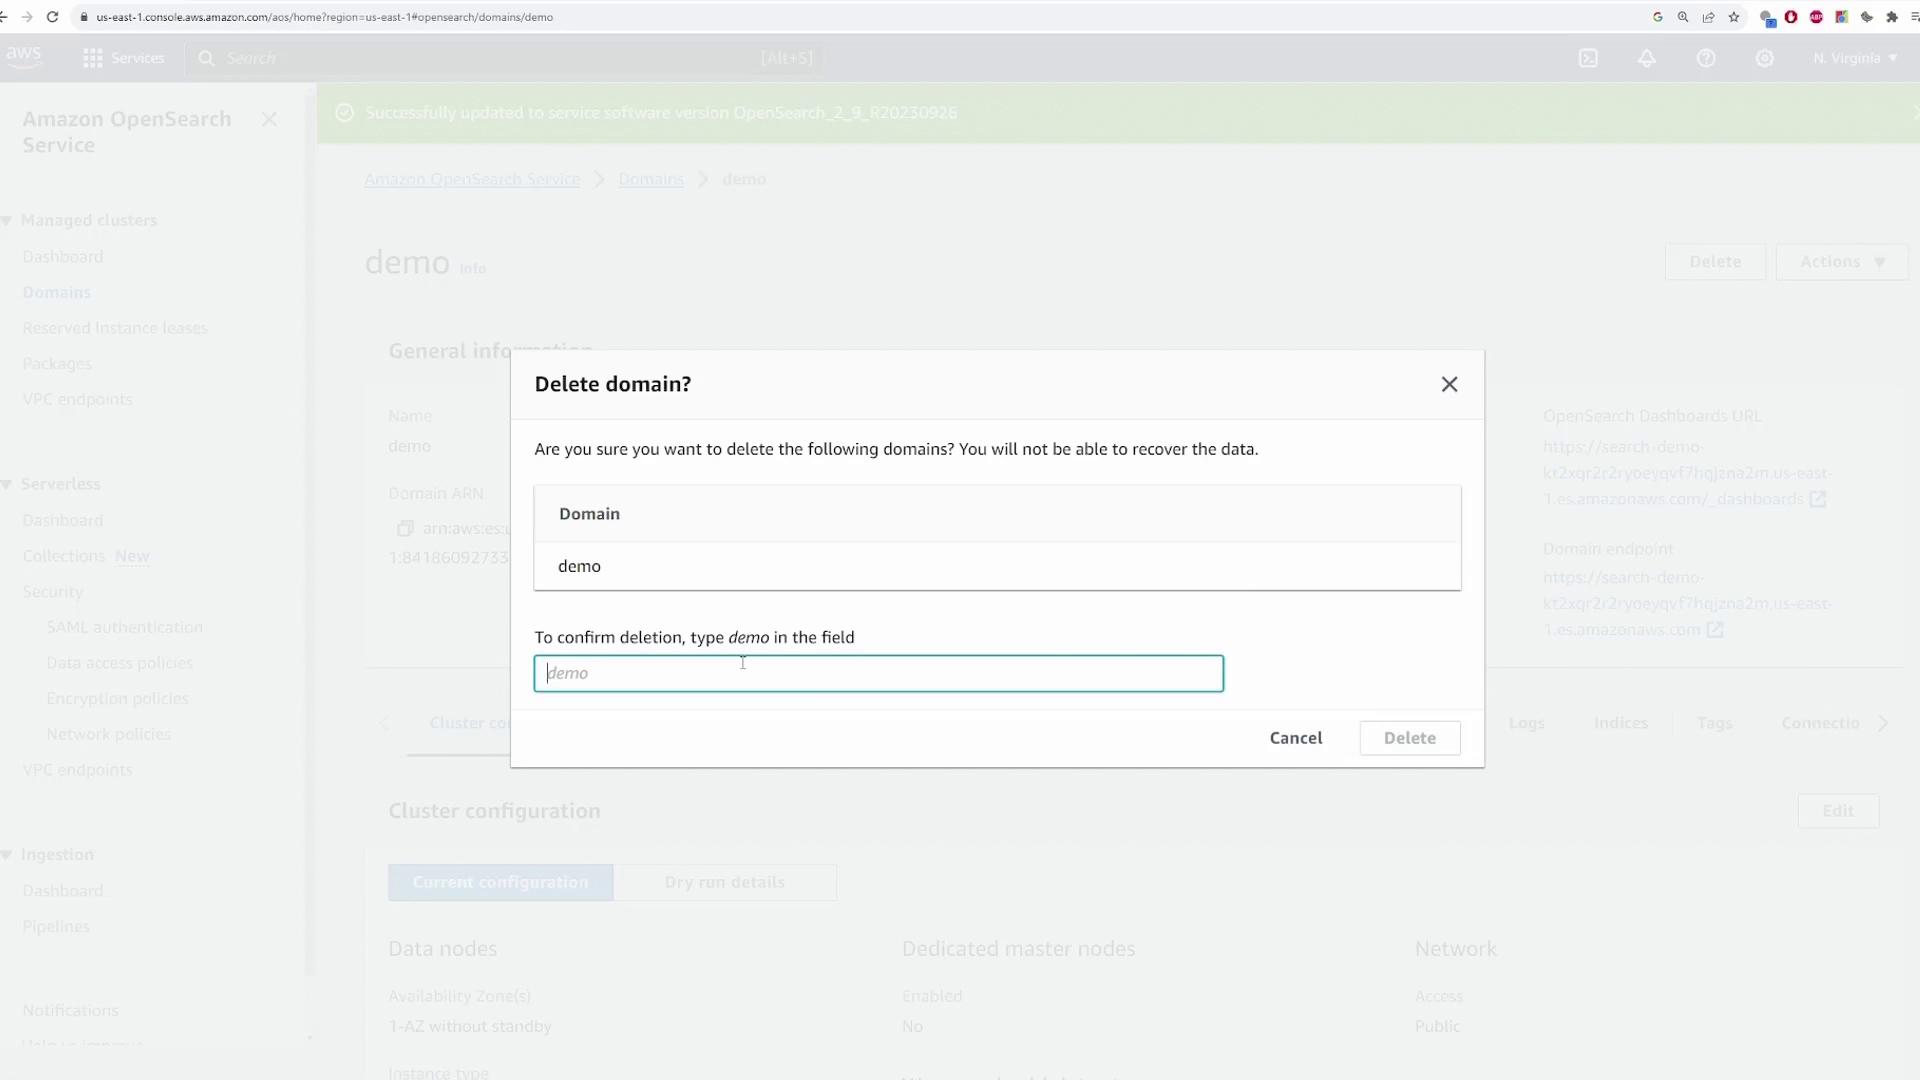
Deleting the OpenSearch Domain
To conclude this lesson, delete your OpenSearch cluster by following these steps:- In the AWS console, navigate to Domains.
- Select your “demo” domain.
- Click delete and confirm by typing the domain name (“demo”) into the confirmation dialog.
This concludes our lesson on Amazon OpenSearch. Enjoy exploring the capabilities and features that OpenSearch has to offer!