AWS Solutions Architect Associate Certification

Services Networking

Load Balancers Demo

In this article, we walk through the process of configuring an AWS Application Load Balancer to distribute network requests across multiple EC2 instances. The demo uses two pre-provisioned web servers located in different Availability Zones (US East 1A and US East 1B) and leverages an existing VPC with an Internet Gateway and proper route configurations.

Each web server is running an Nginx web server that displays a simple page with an H1 tag identifying which server processed the request. For example, when you enter the IP address of web server one in your browser (using "http://"), you should see a page indicating that the request was handled by server one:

The image shows an AWS EC2 Management Console with two running instances, "web-server1" and "web-server2," both of type t2.micro. The details of "web-server2" are displayed, including its instance ID, IP addresses, and status checks.

Likewise, accessing web server two directly shows:

The image shows a web page indicating that "server1" is running, confirming the successful installation of the Nginx web server. It includes links for online documentation and commercial support.

And when viewing server two details:

The image shows an AWS EC2 Management Console with two running instances named "web-server1" and "web-server2," both of type t2.micro. Monitoring graphs for CPU utilization and network activity are displayed below.

The image shows a web page indicating that the Nginx web server is successfully installed and running on "server2," with a message about further configuration being required.

Additionally, a quick look at the VPC reveals that each instance resides in a different public subnet:

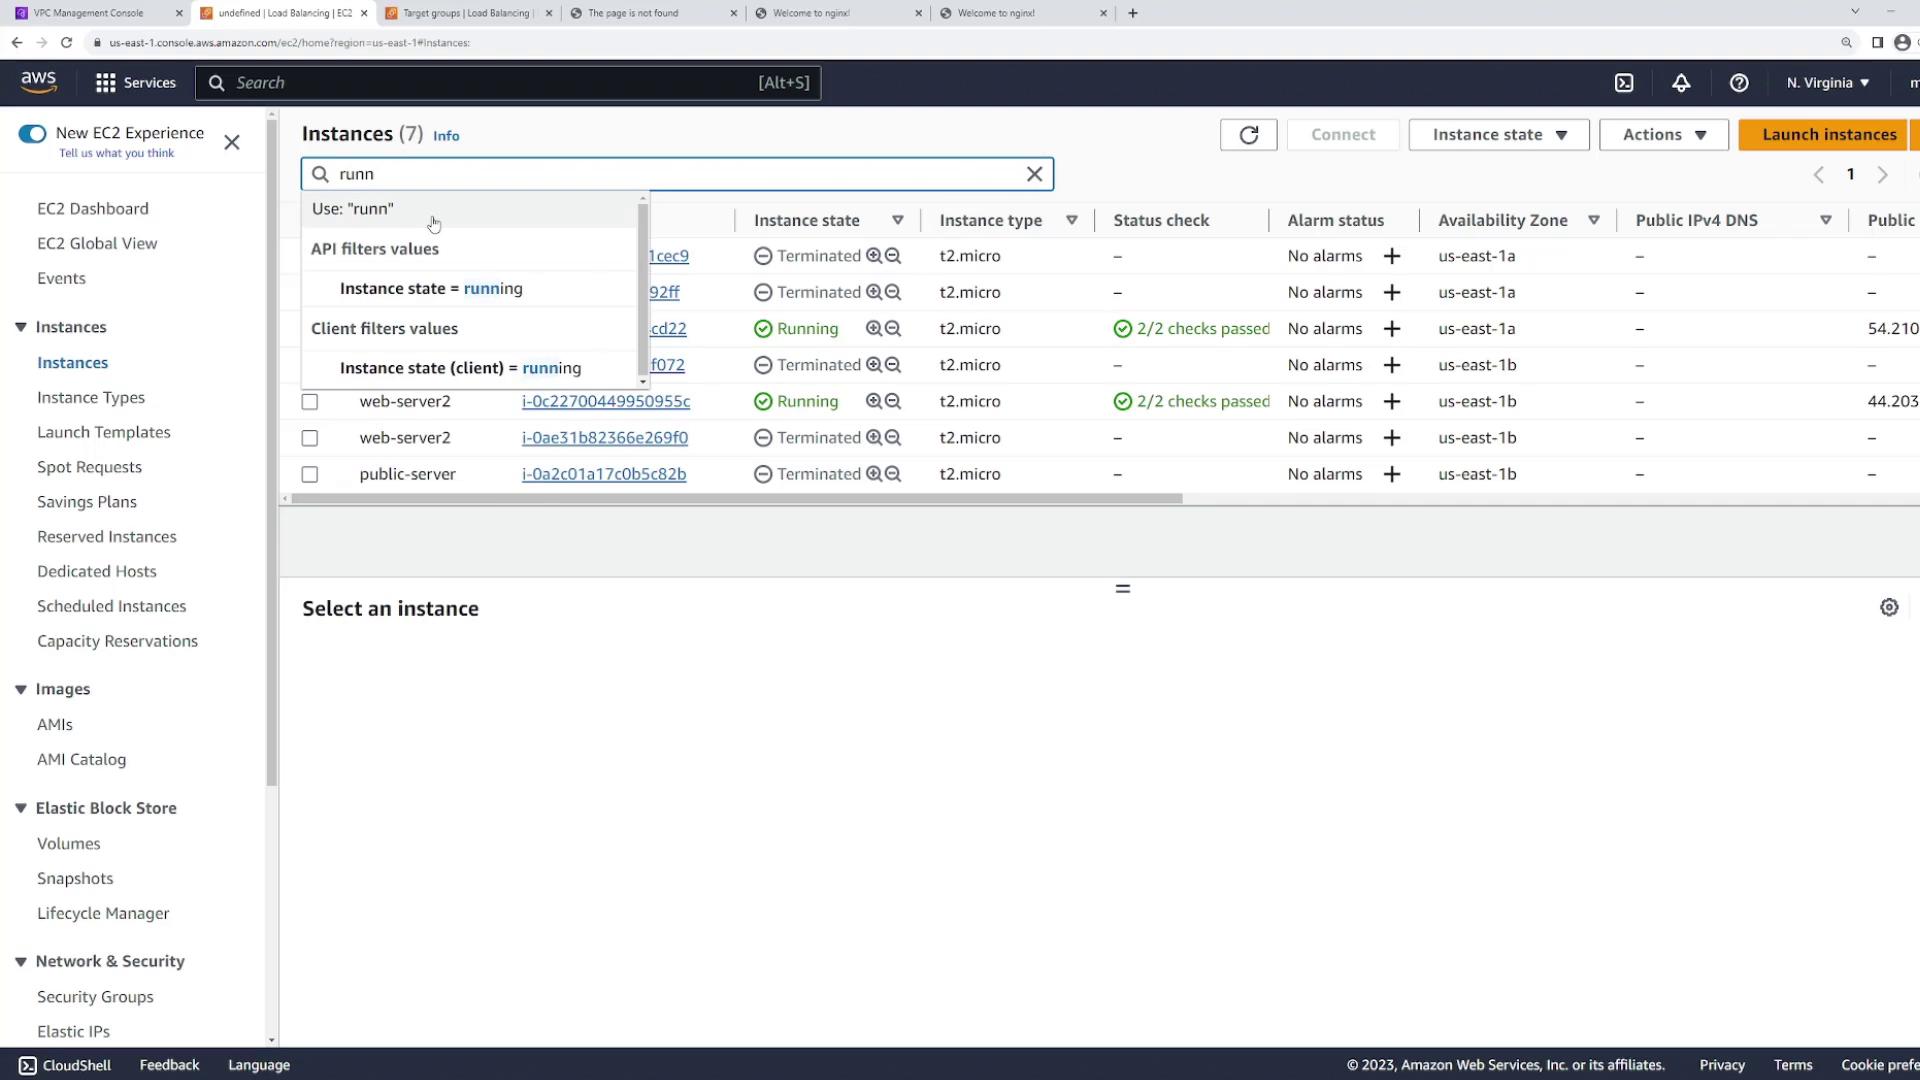
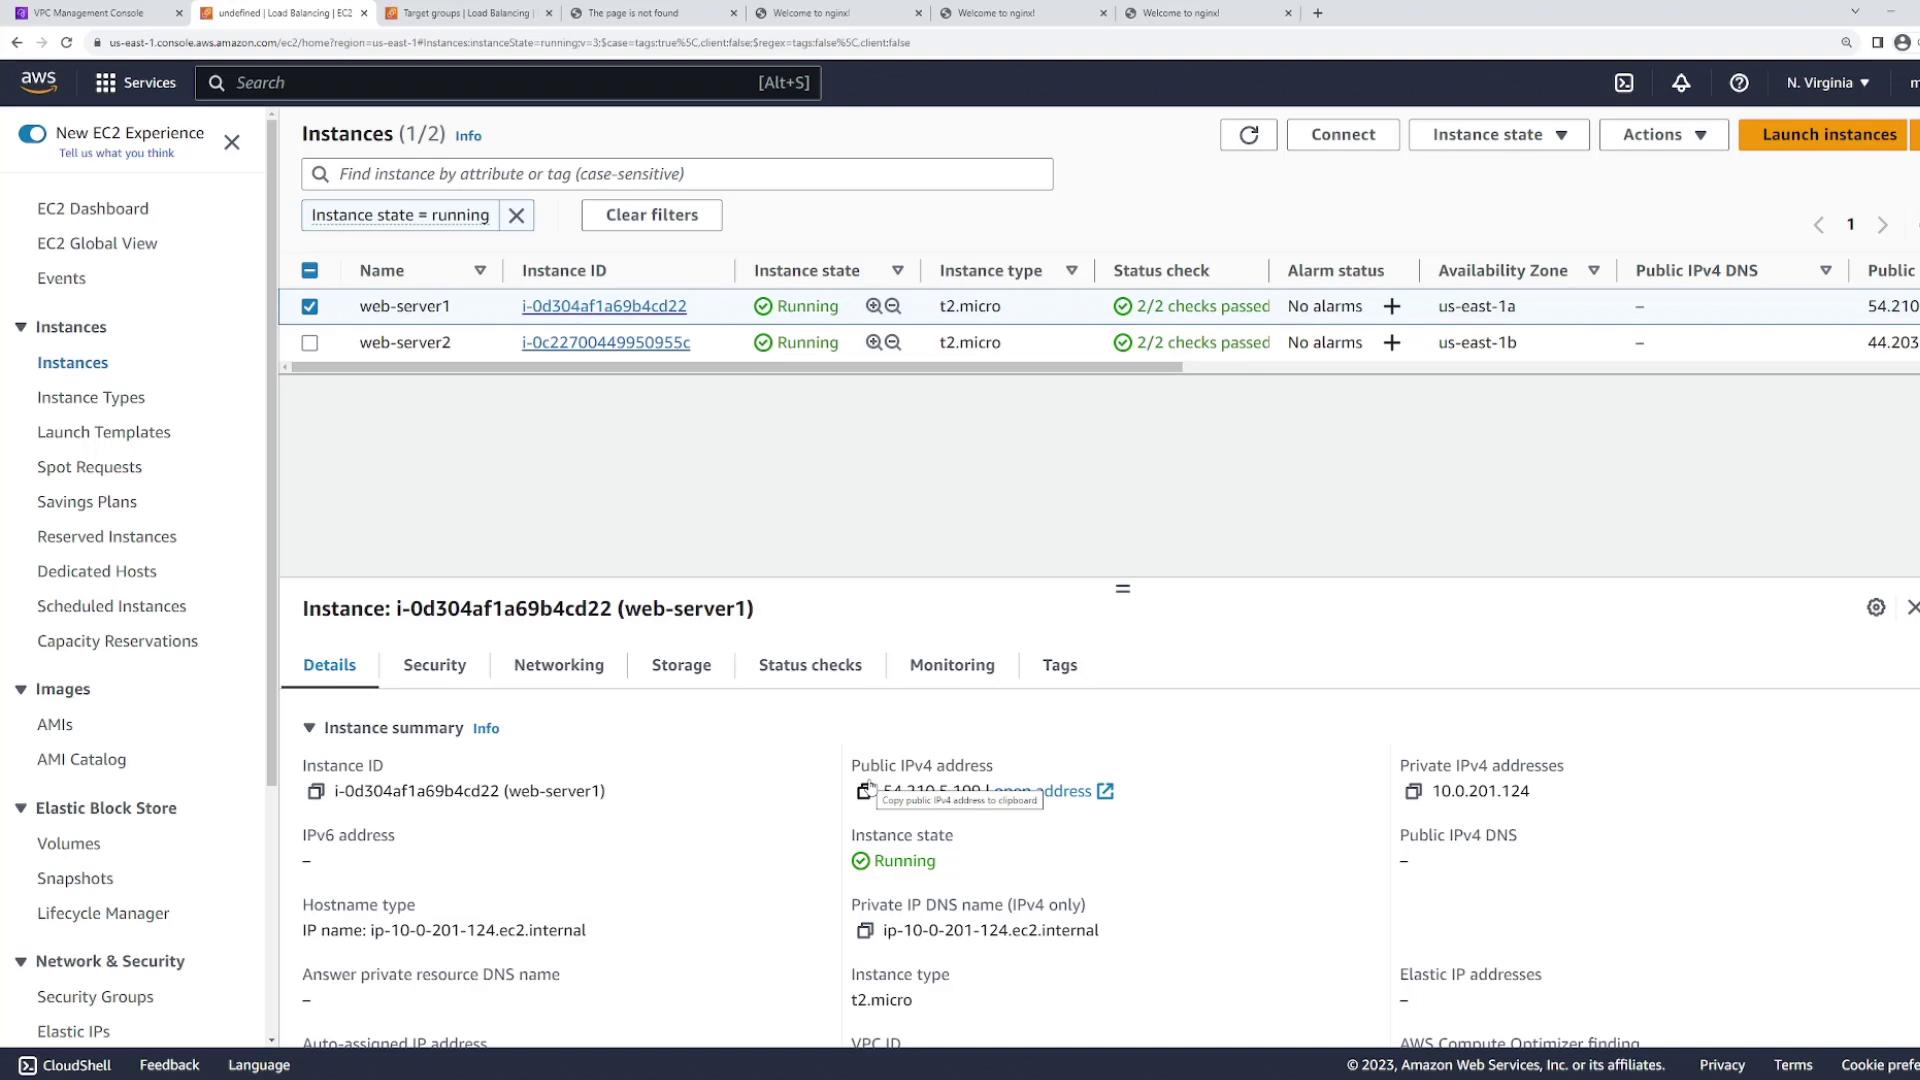
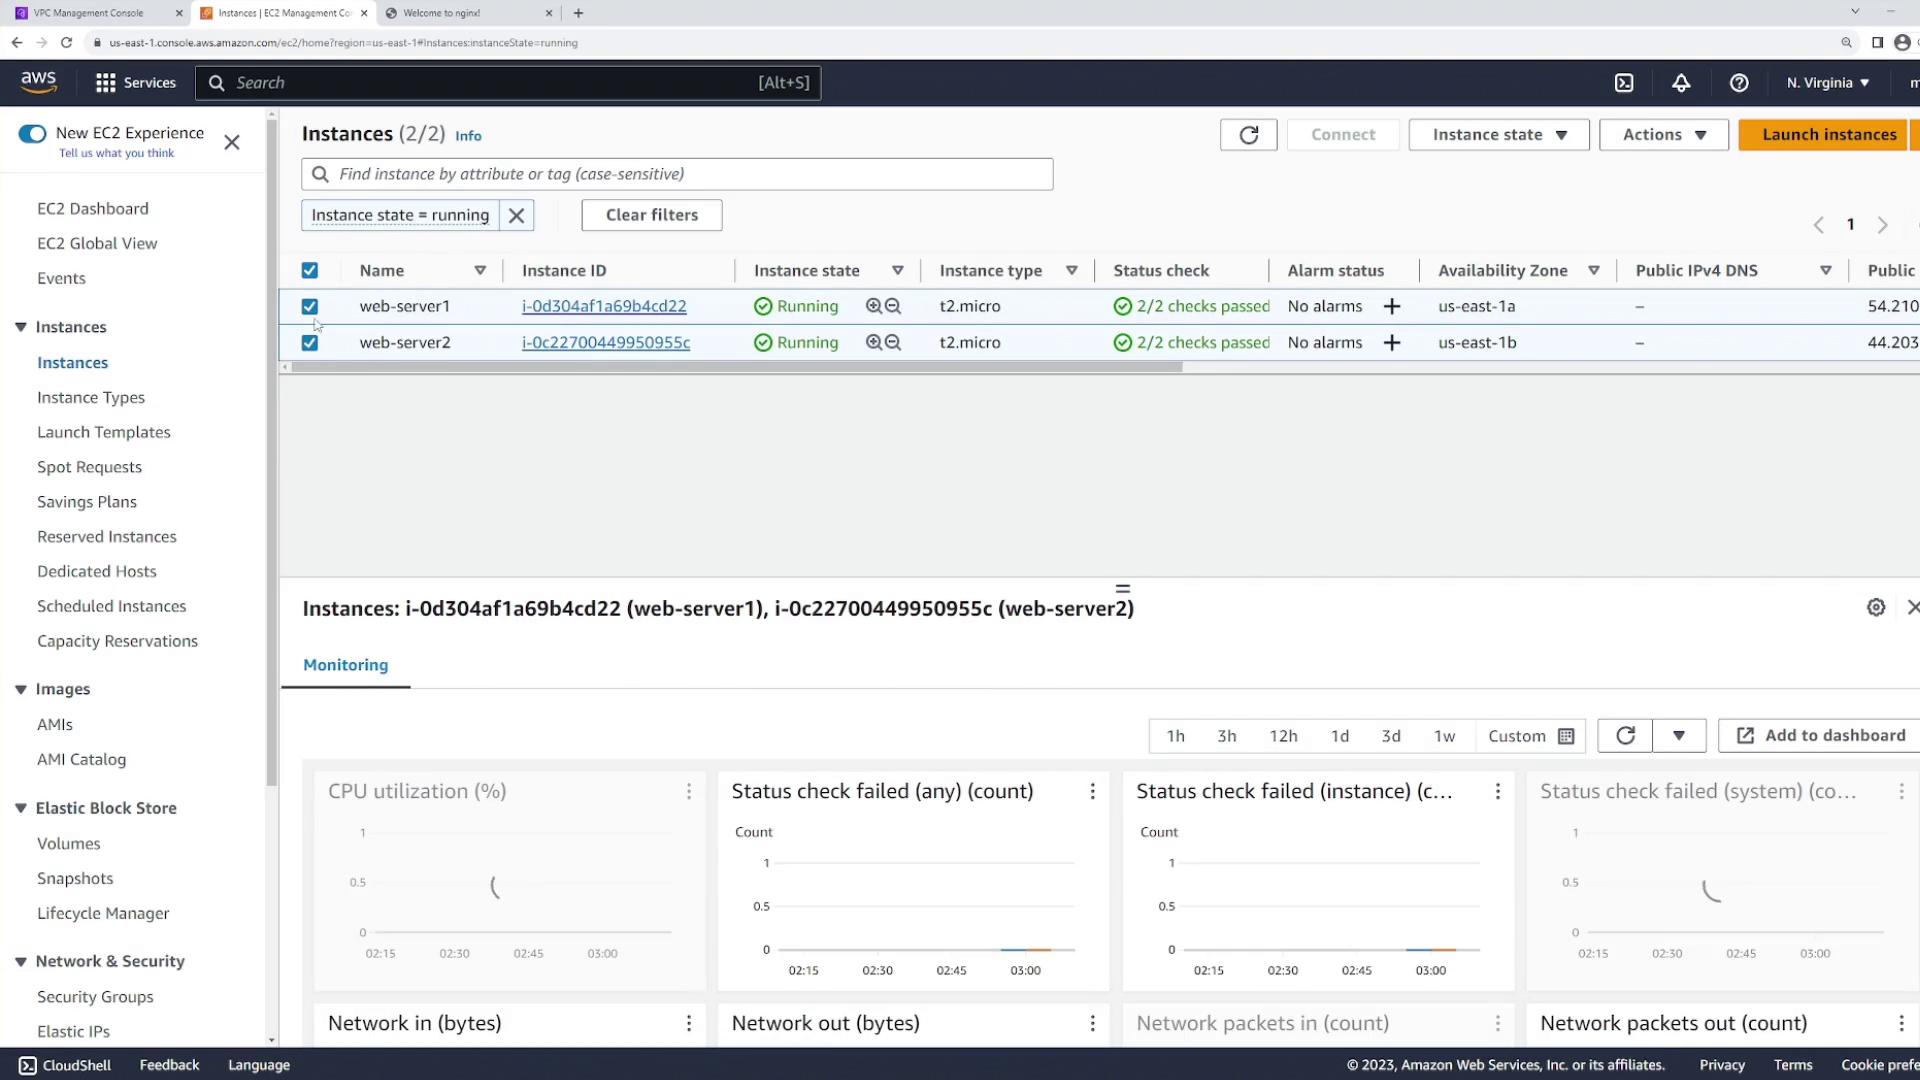
  • Web server one is in subnet 10.0.201.0/24 (US East 1A).
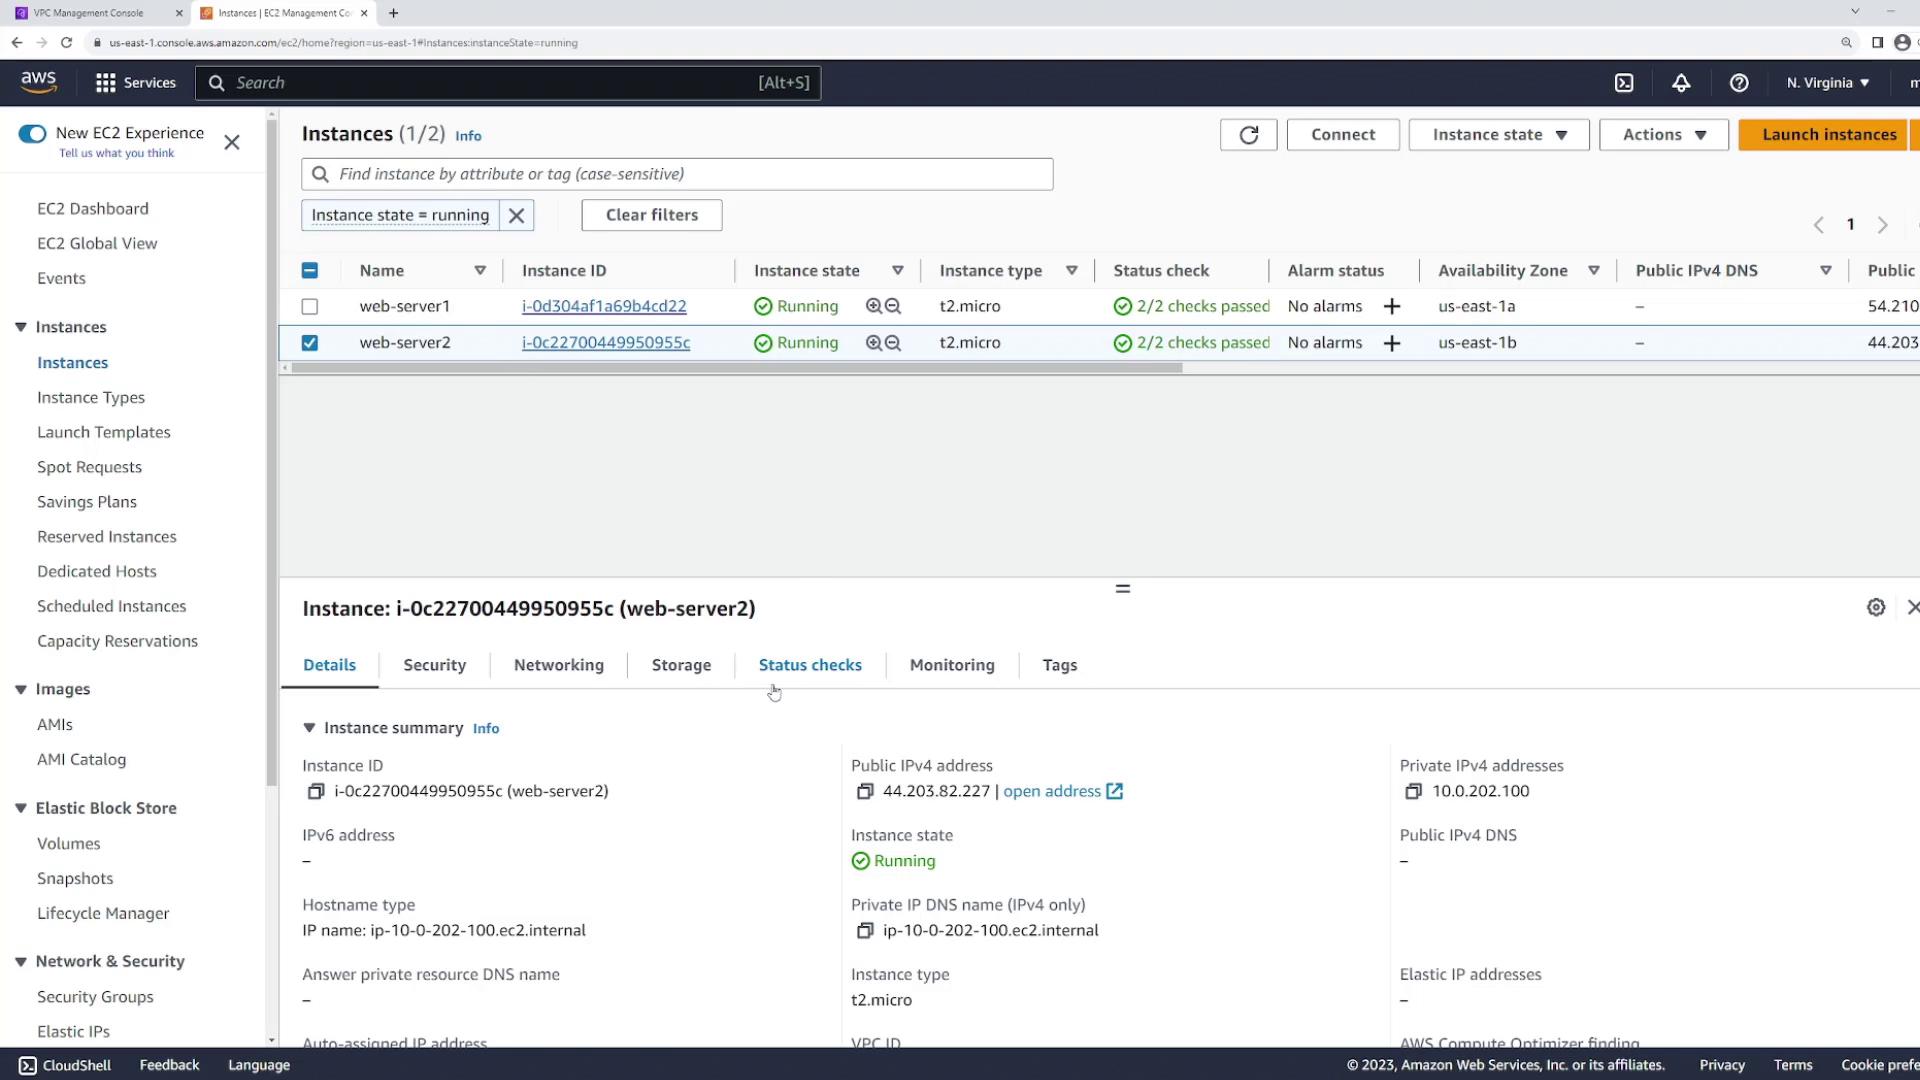
  • Web server two is in subnet 10.0.202.0/24 (US East 1B).

This separation encourages redundancy, so if one zone experiences issues, the other continues serving requests.

Load Balancer Overview

The main goal here is to configure a load balancer that provides a unified DNS name, distributing incoming traffic evenly between both web servers.


Creating Dedicated Subnets for the Load Balancer

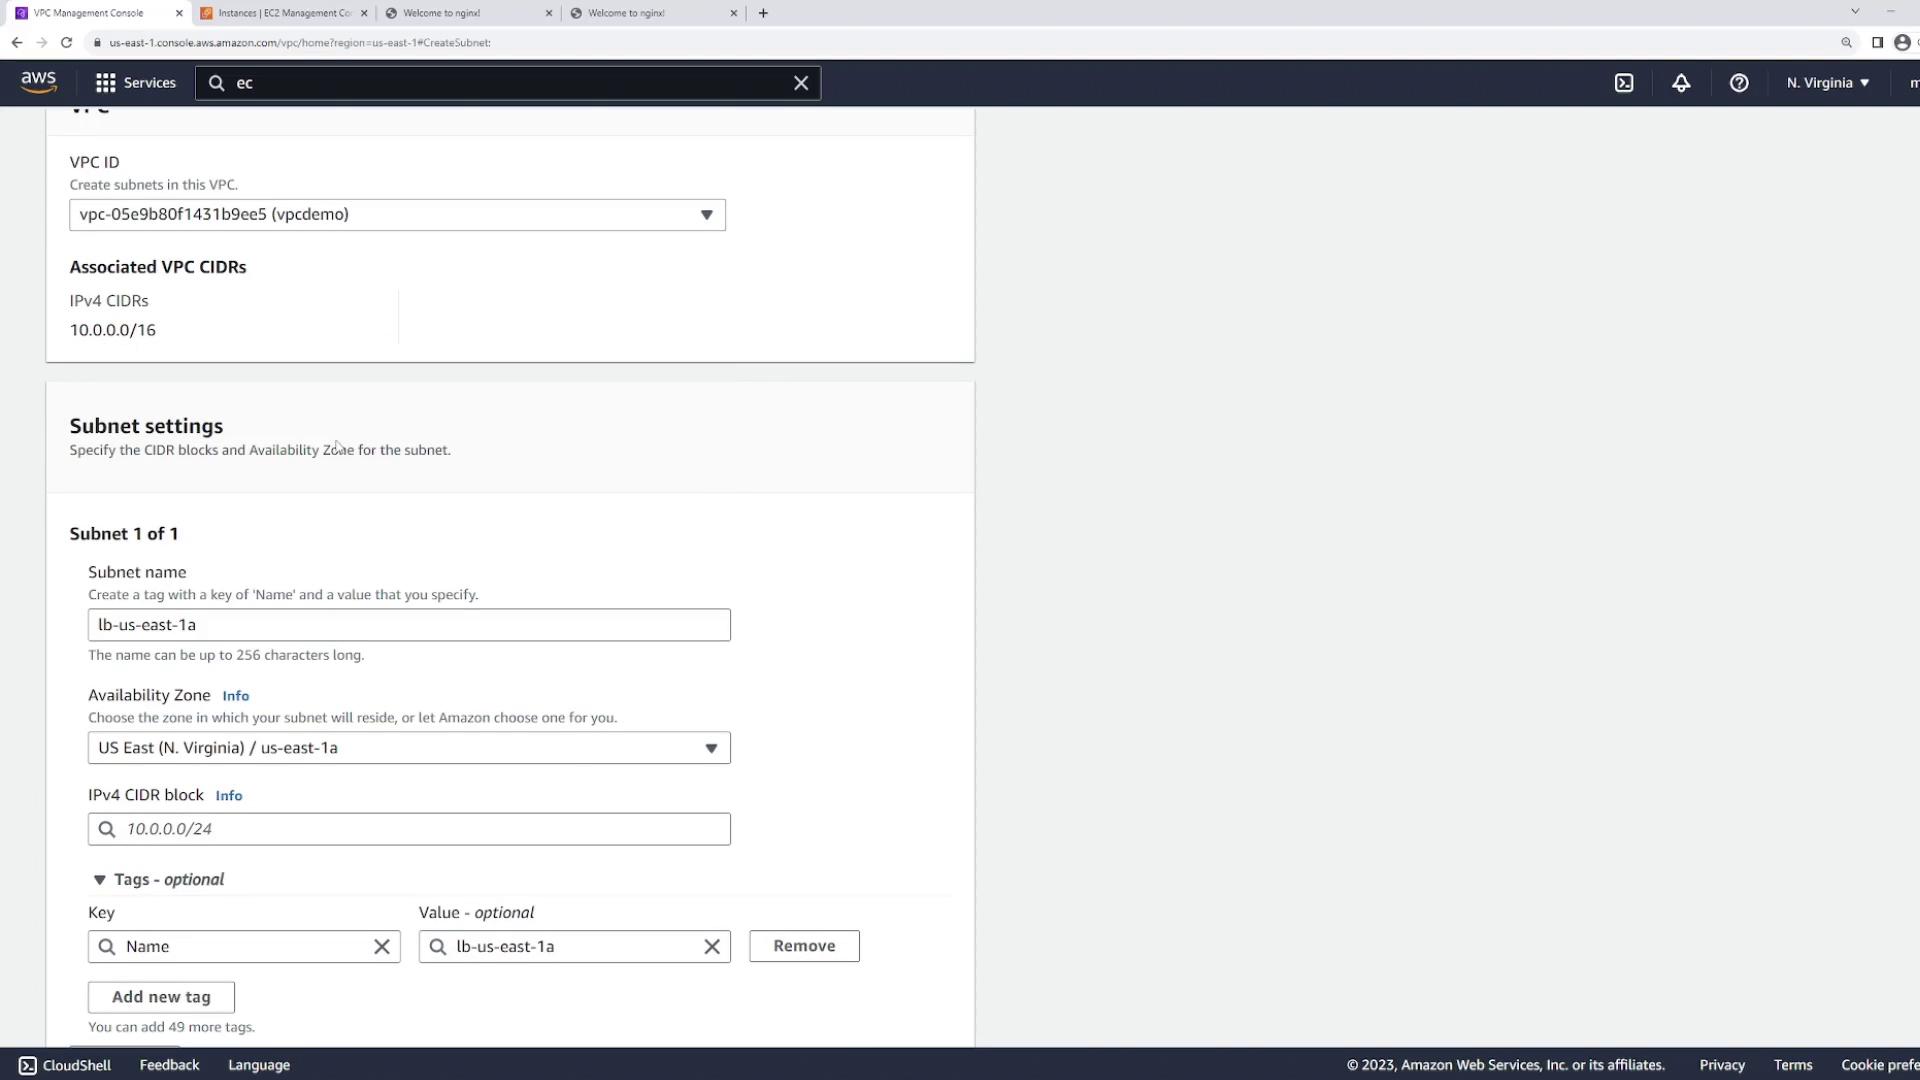
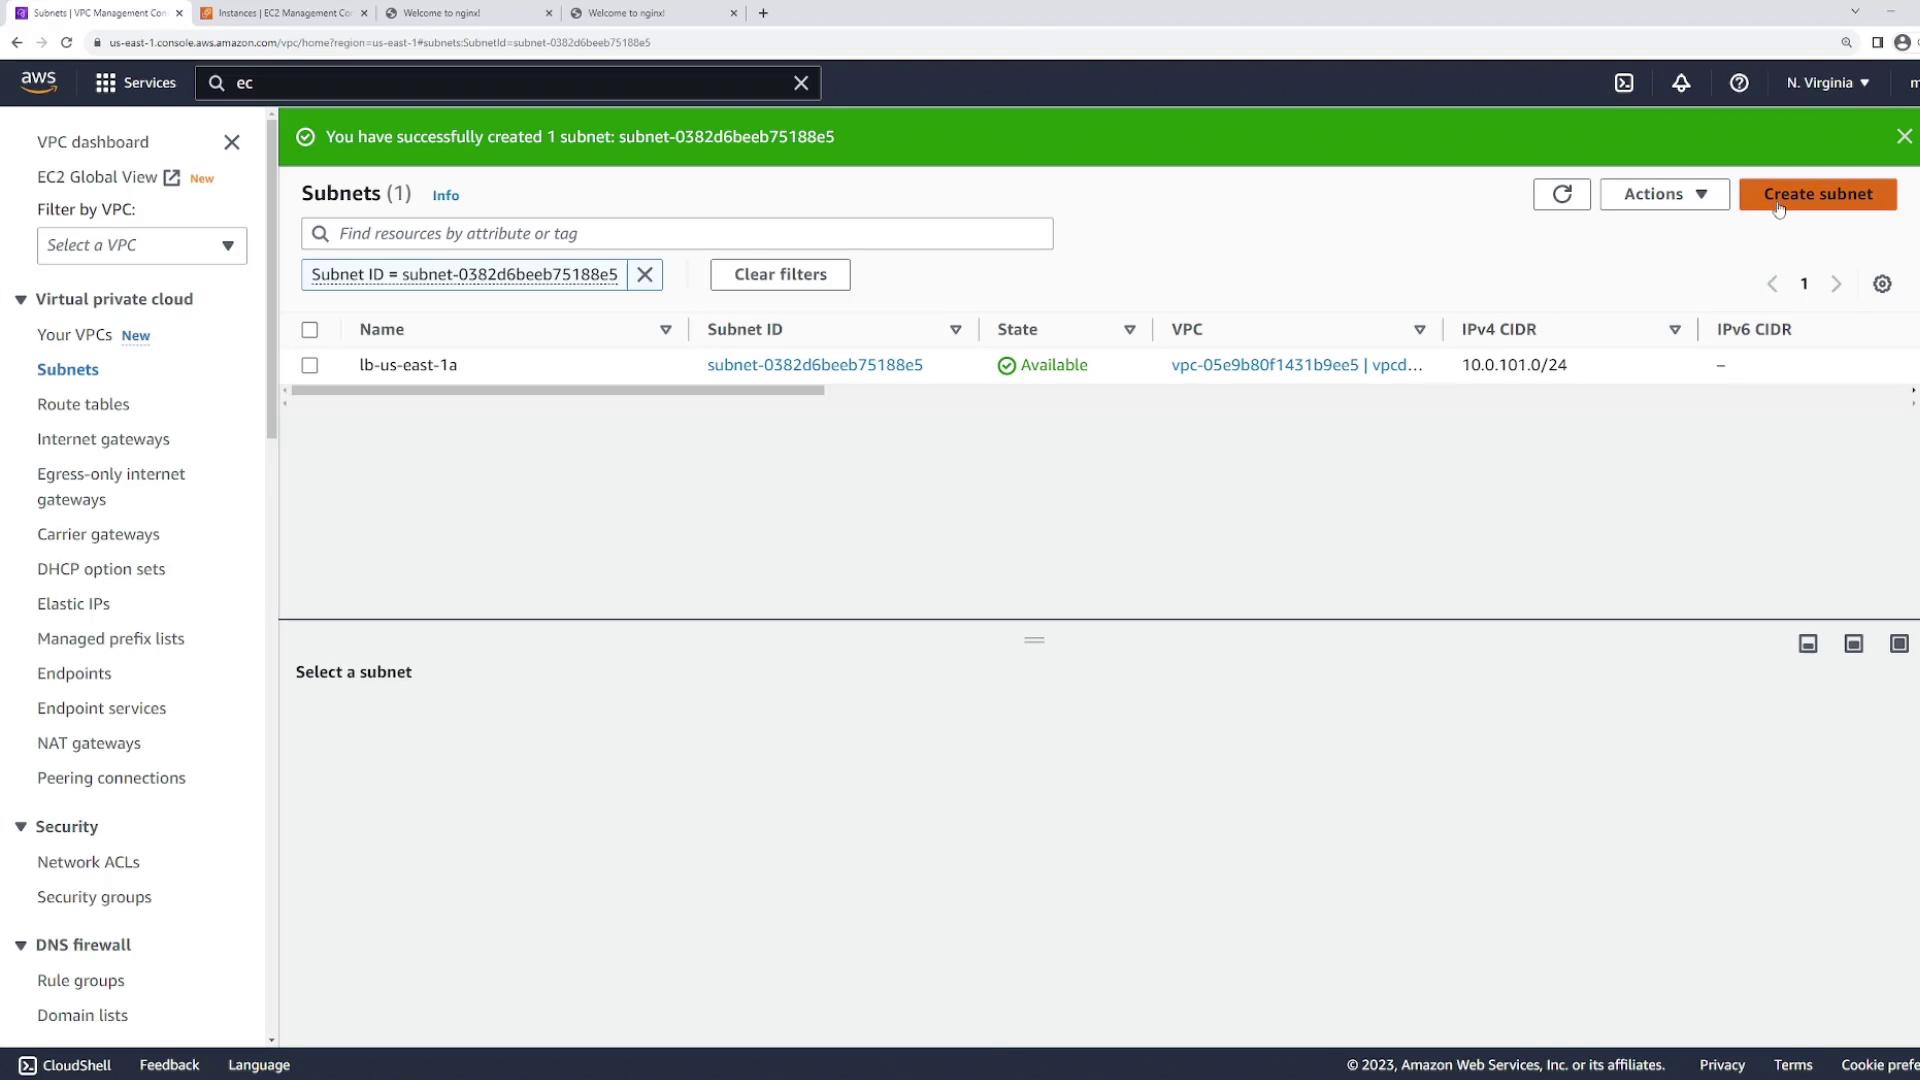
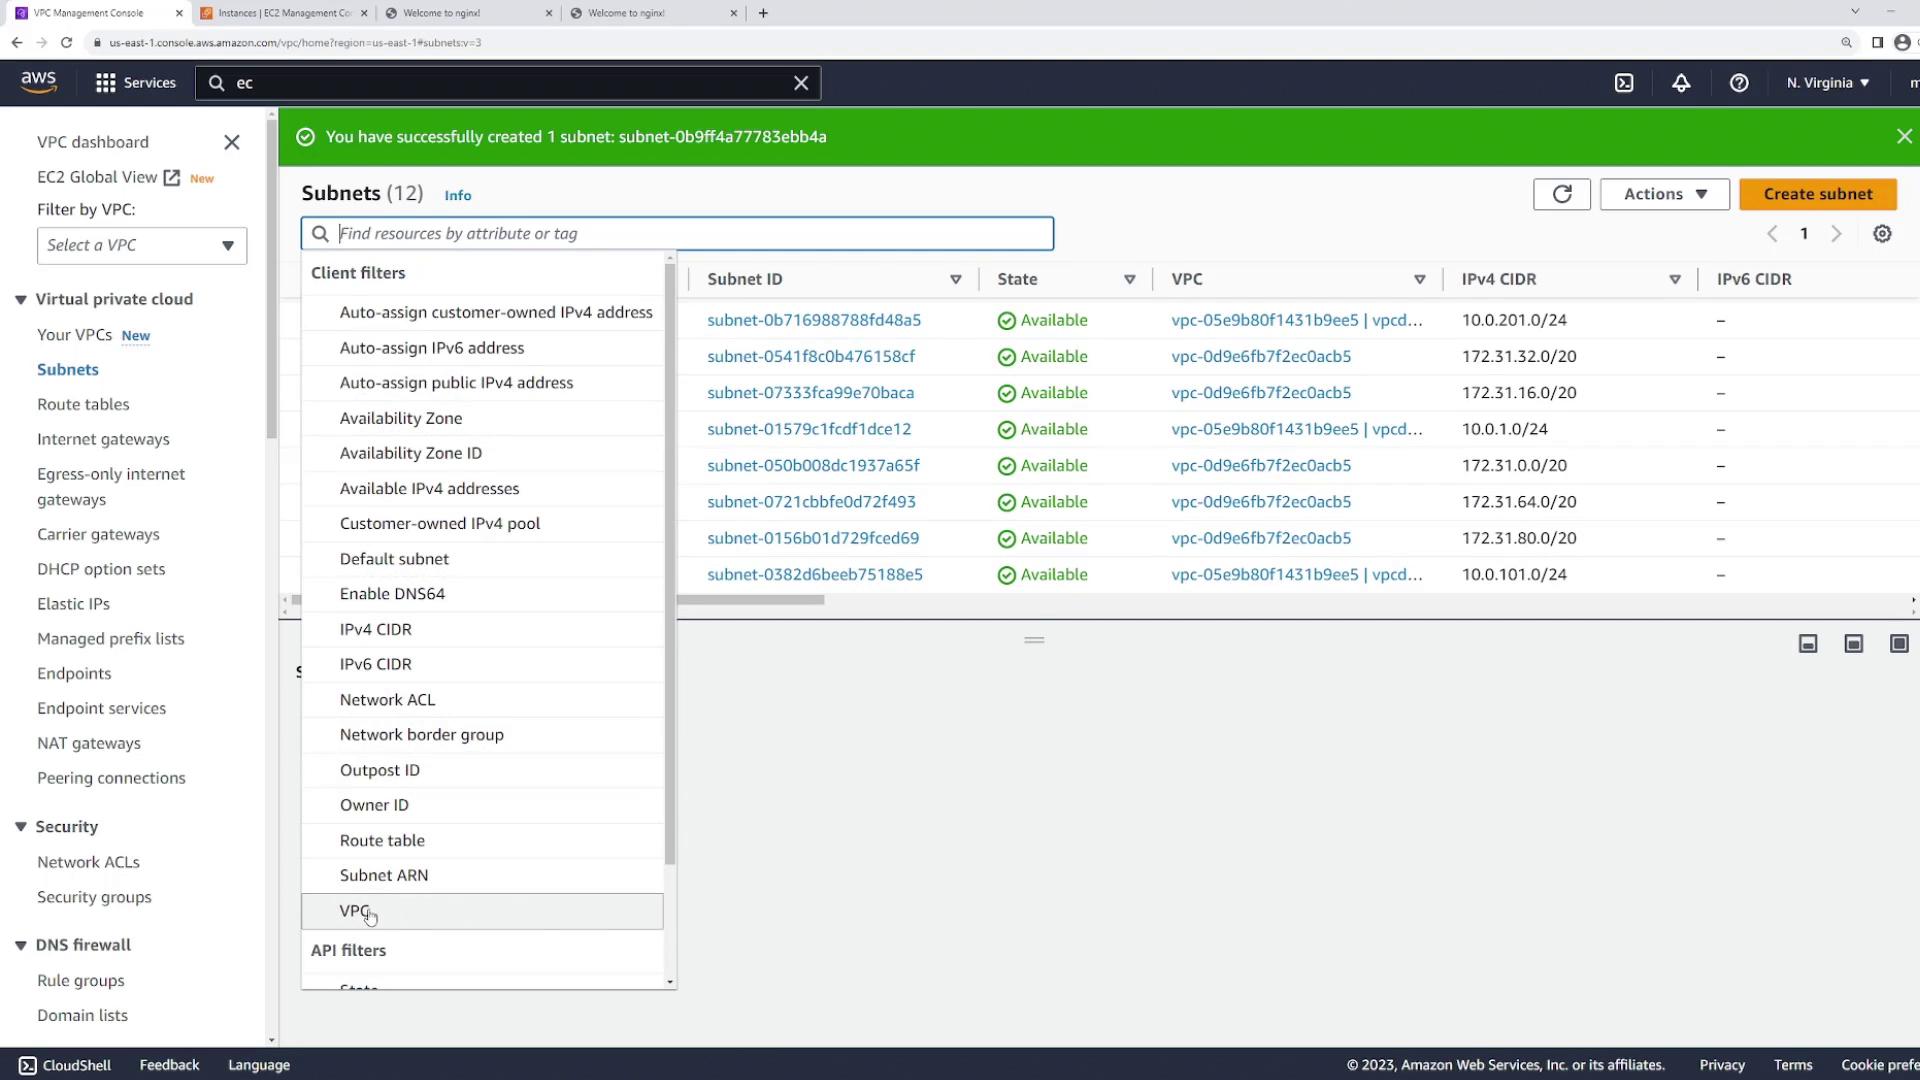
Before configuring the load balancer, you need to create dedicated subnets for its nodes. Since the load balancer will operate in both US East 1A and US East 1B, create one subnet in each Availability Zone:

  1. Create a subnet named "LB" in US East 1A with the CIDR block 10.0.101.0/24.
  2. Create another subnet named "LB" in US East 1B with the CIDR block 10.0.102.0/24.

After completing these steps, your VPC includes four subnets: two for the web servers and two dedicated LB subnets.

The image shows the AWS Management Console interface for creating a subnet, with fields for VPC ID, subnet name, availability zone, and IPv4 CIDR block.

The image shows an AWS VPC Management Console with a notification indicating a subnet has been successfully created. The console displays details of the subnet, including its ID, state, and associated VPC.

The image shows the AWS Management Console displaying a list of subnets within a VPC, with details such as Subnet ID, State, VPC, and IPv4 CIDR. A green notification bar indicates a subnet was successfully created.


Configuring the Load Balancer

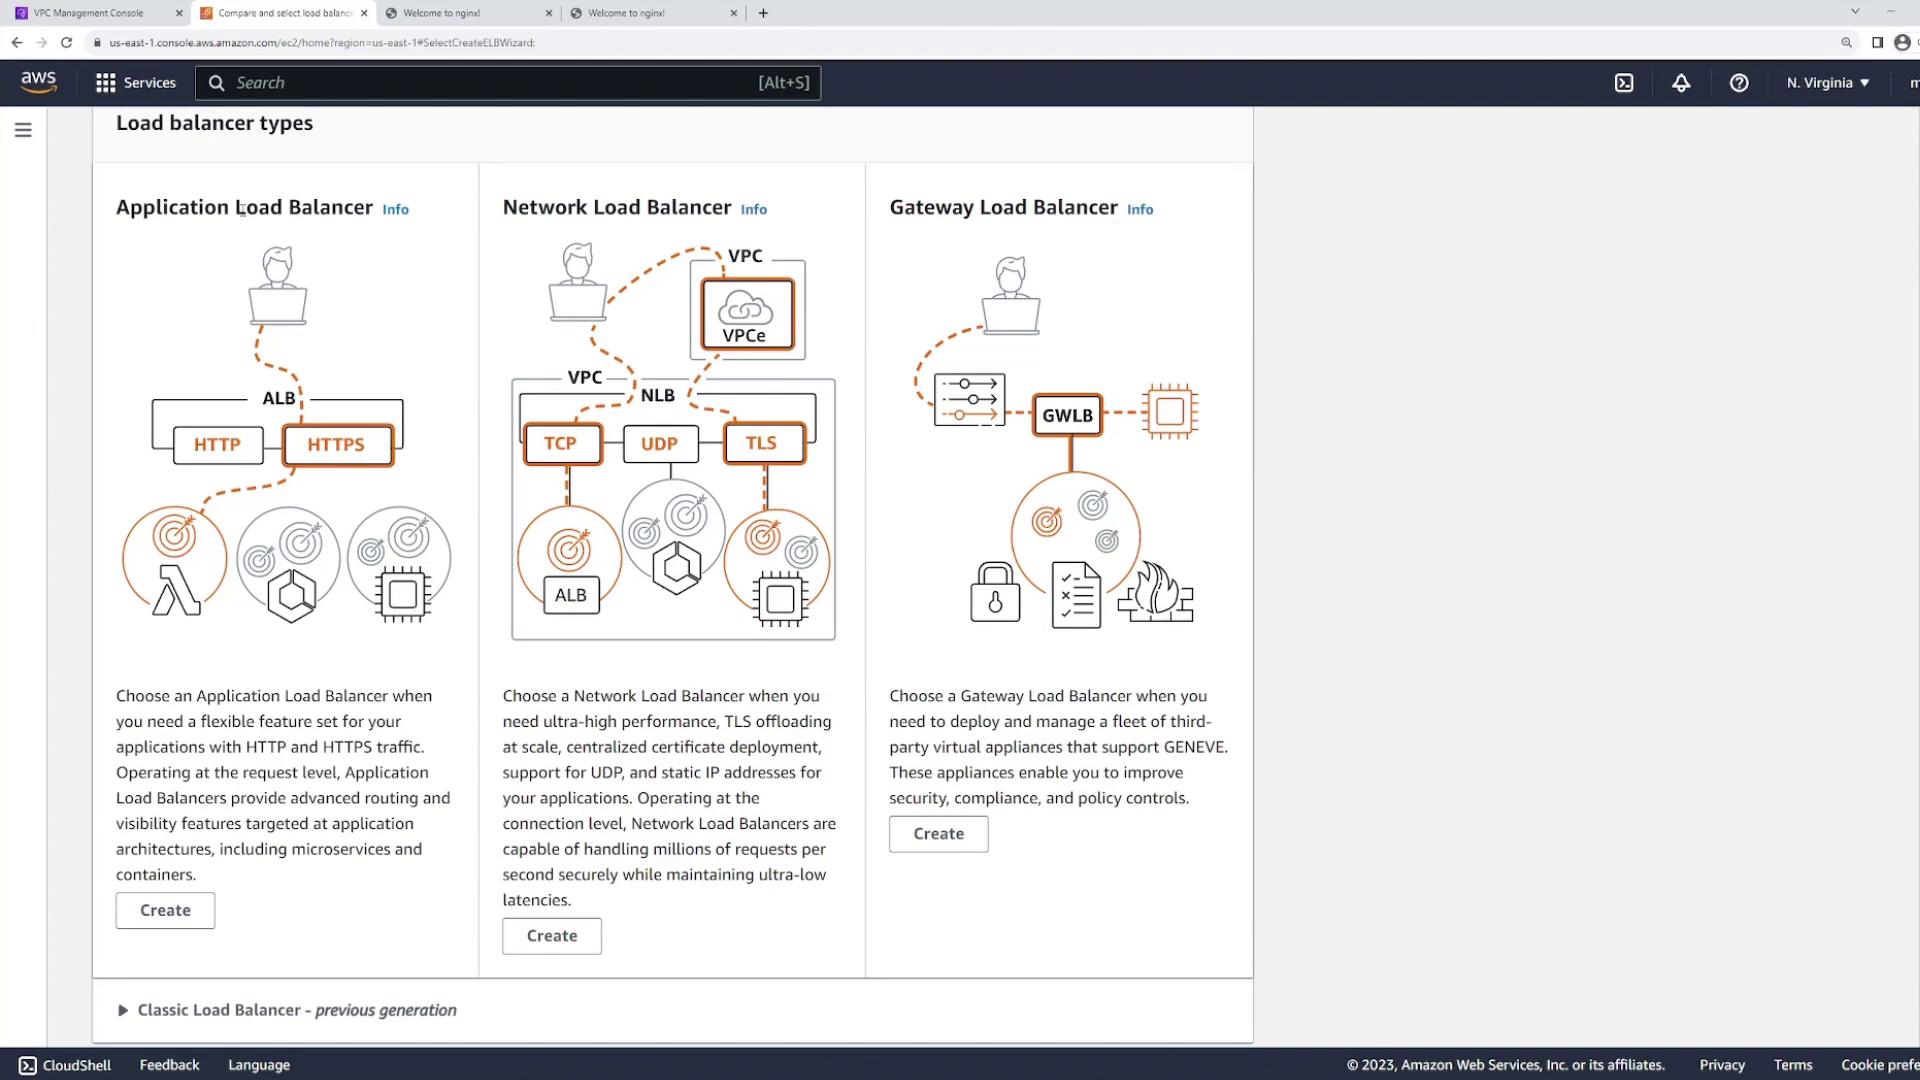
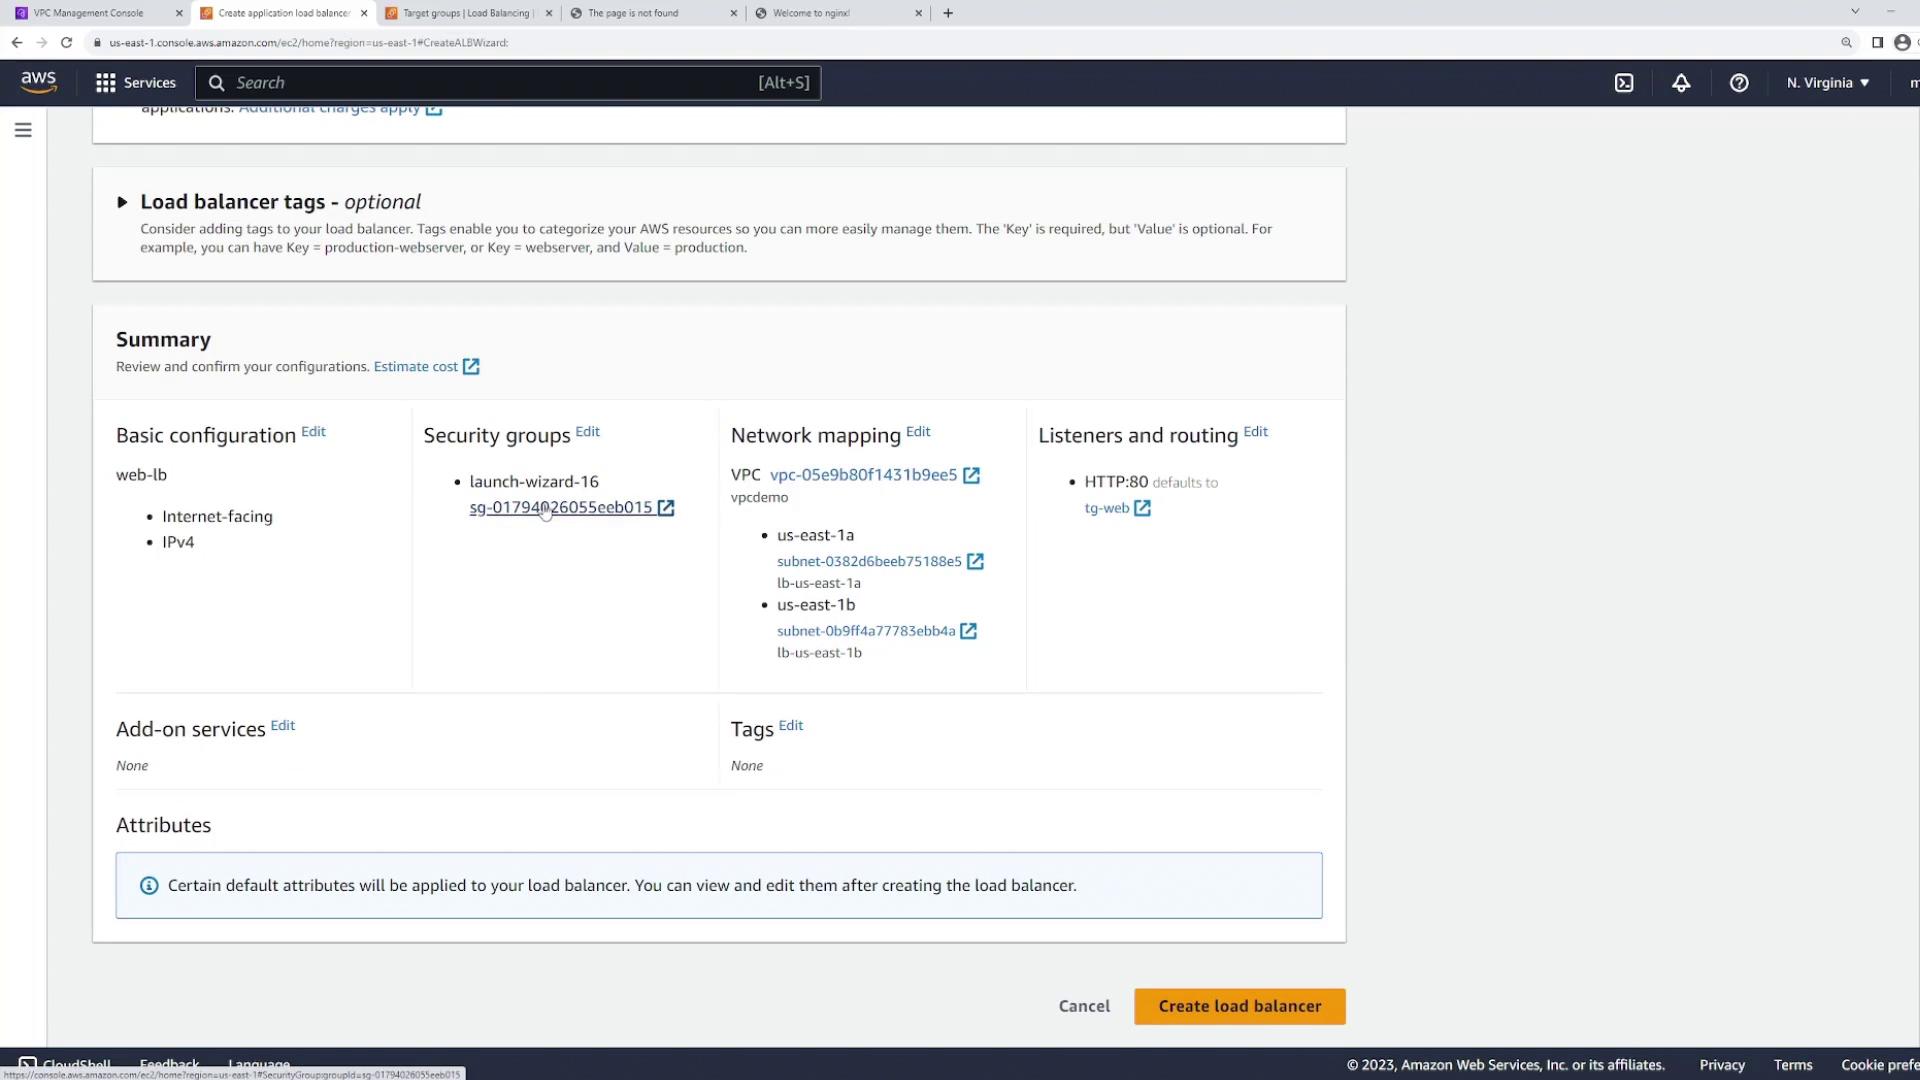
For a website, the load balancer must be publicly accessible. Since the LB subnets are configured as public (with default routes to the Internet Gateway), navigate to the EC2 console and access the Load Balancers section:

  1. Click on "Create Load Balancer" and choose the "Application Load Balancer" option.
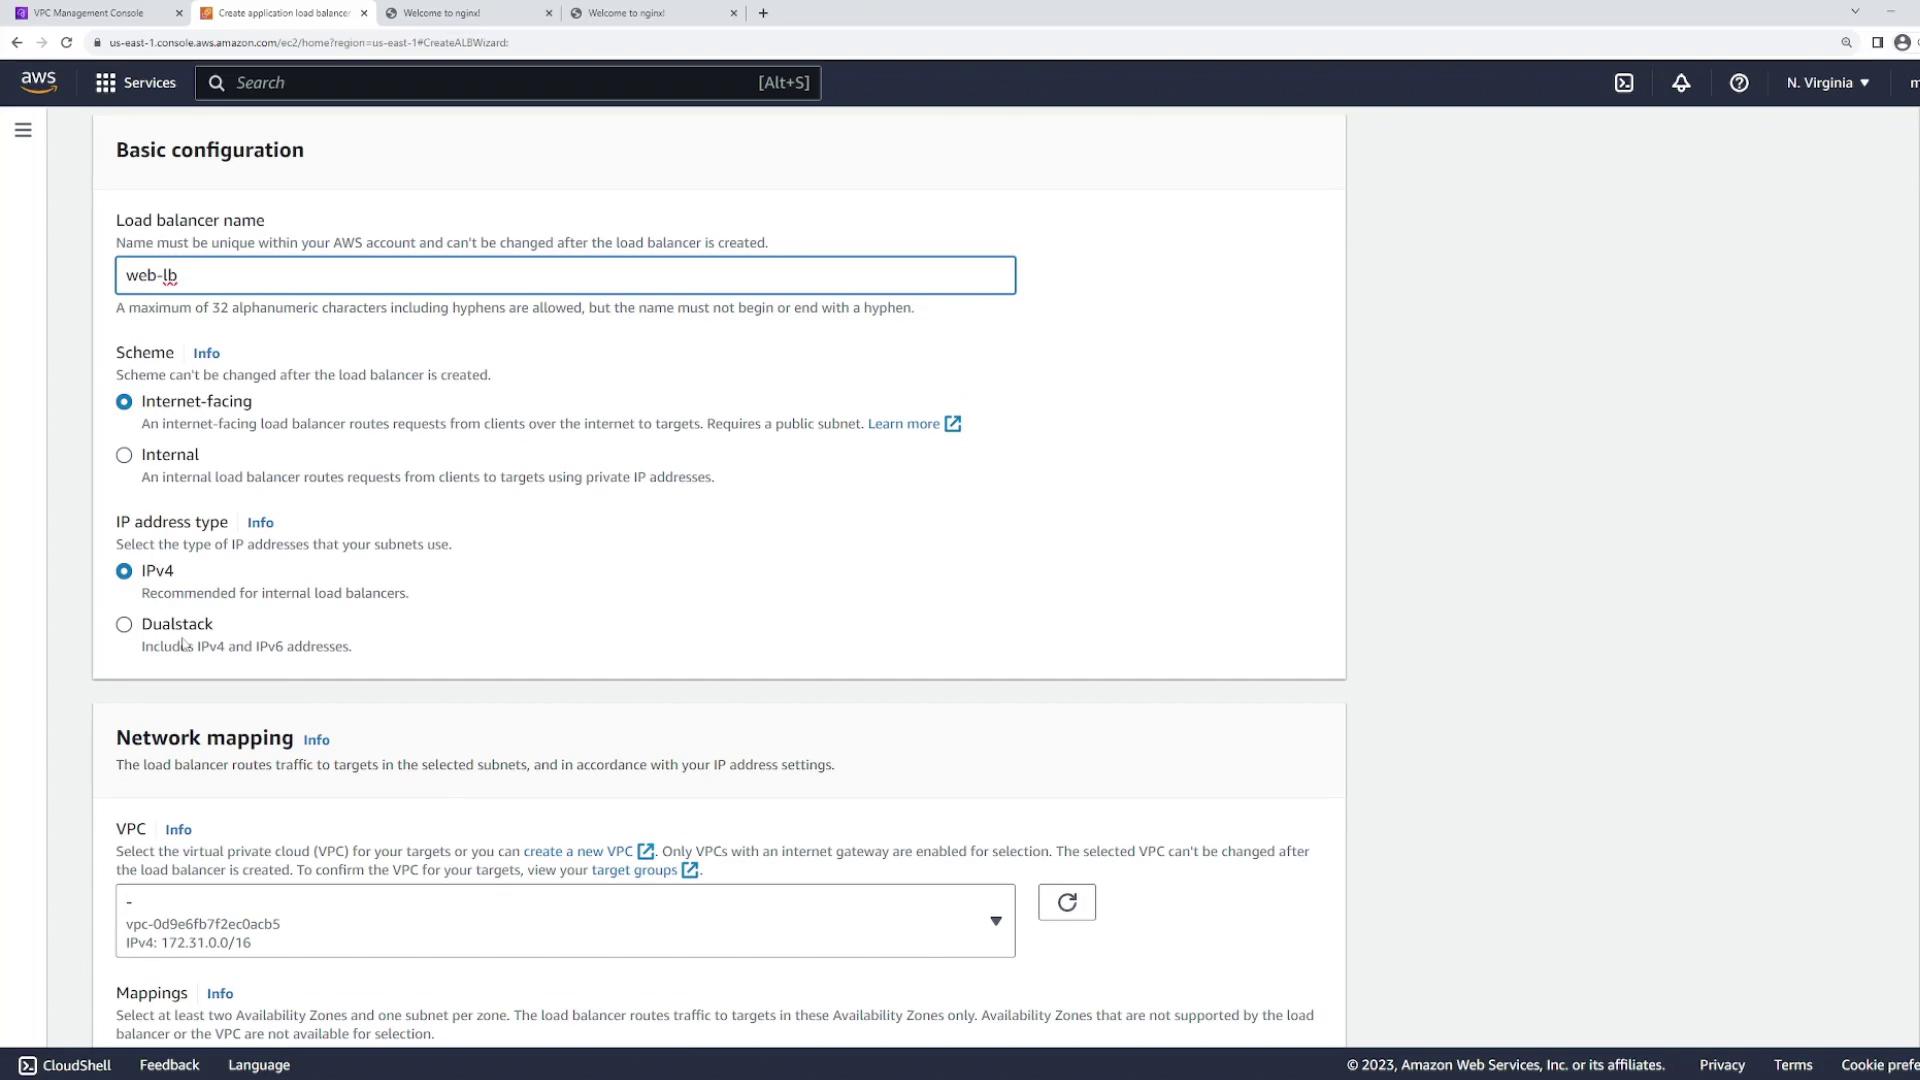
  2. Enter the following details:
    • Name: "web load balancer"
    • Scheme: "internet-facing"
    • IP address type: IPv4 (or dual stack if IPv6 is also required)
    • VPC: Select the VPC (e.g., "demo")
  3. For the Availability Zones, select the dedicated LB subnets (one in US East 1A and one in US East 1B) instead of the web server subnets.
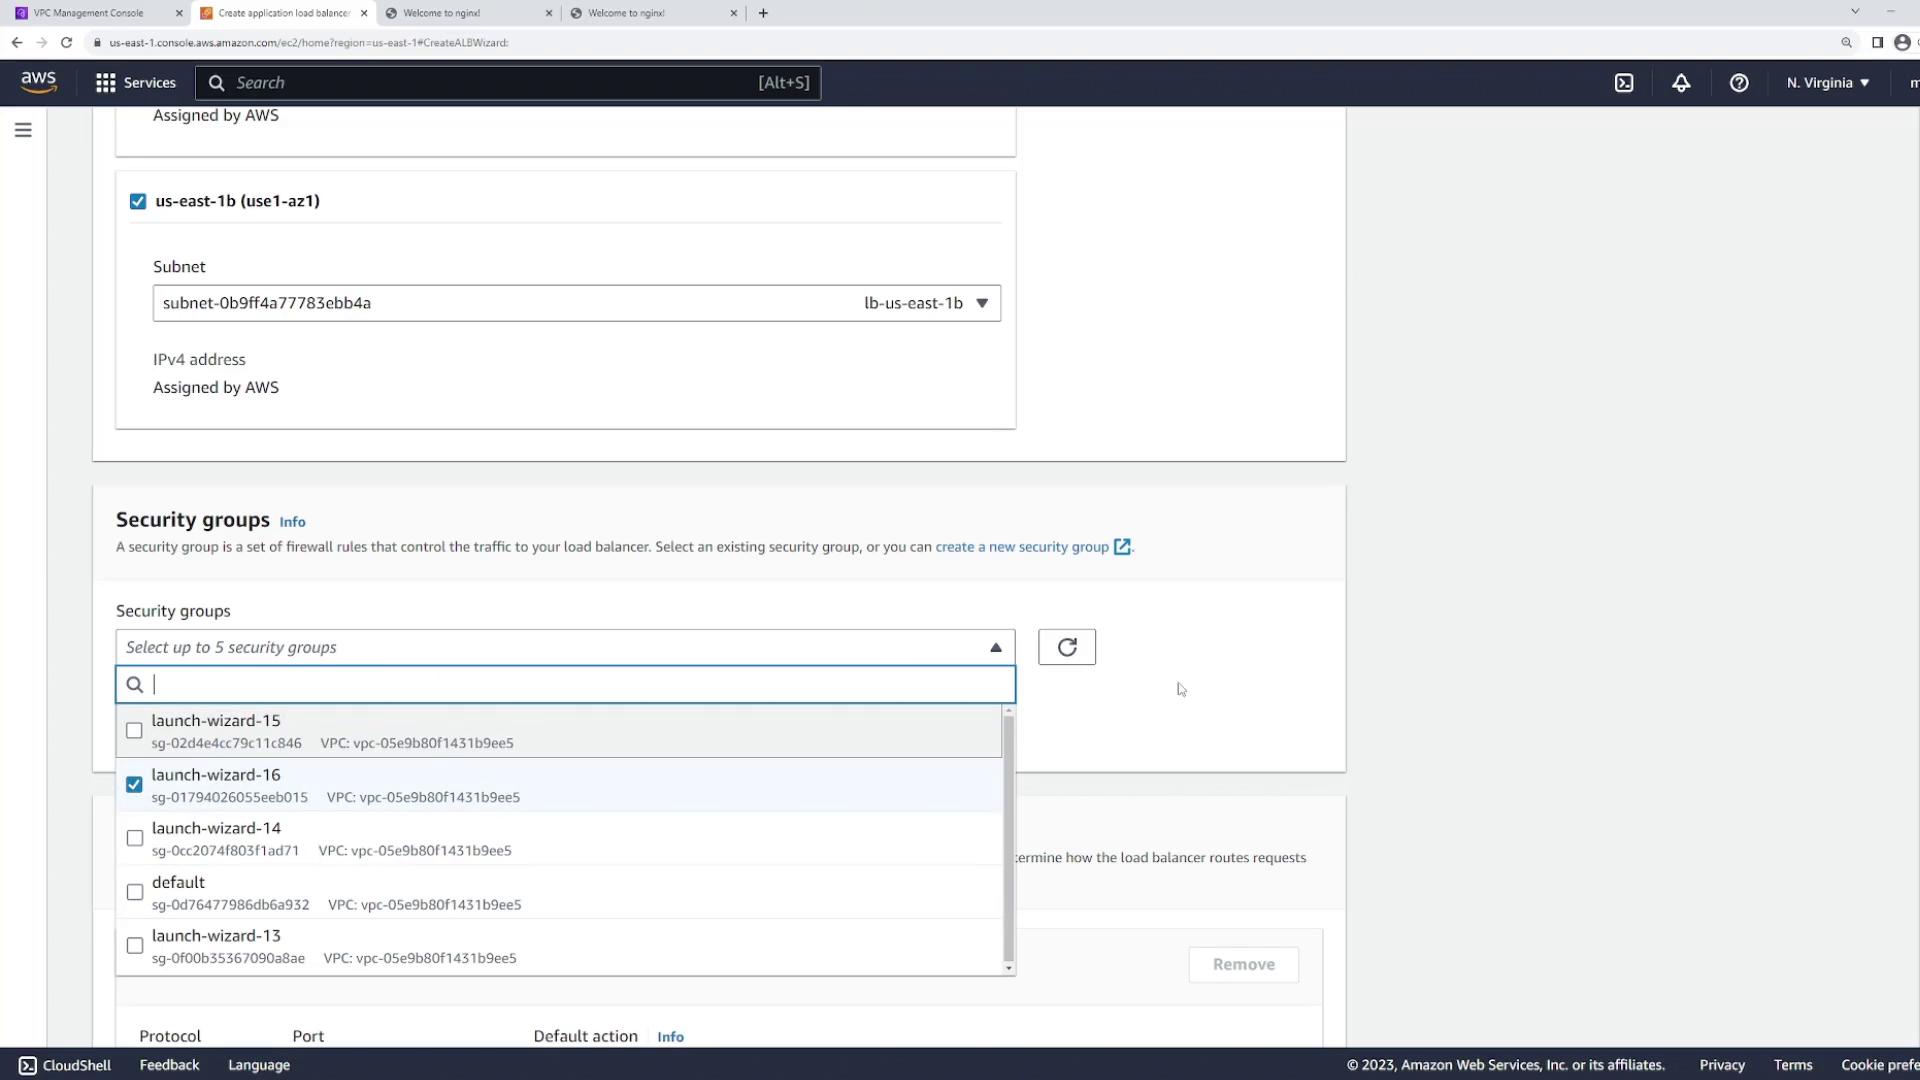
  4. Configure a preexisting security group that allows web traffic on ports 80 and 443.

The image shows a comparison of three types of AWS load balancers: Application Load Balancer, Network Load Balancer, and Gateway Load Balancer, each with a brief description and a "Create" button.

The image shows the AWS Management Console interface for creating an application load balancer, with options for naming, scheme selection, IP address type, and network mapping.

Security Group Reminder

Ensure that your security group permits HTTP (port 80) and HTTPS (port 443) traffic so that the load balancer can communicate with end users effectively.


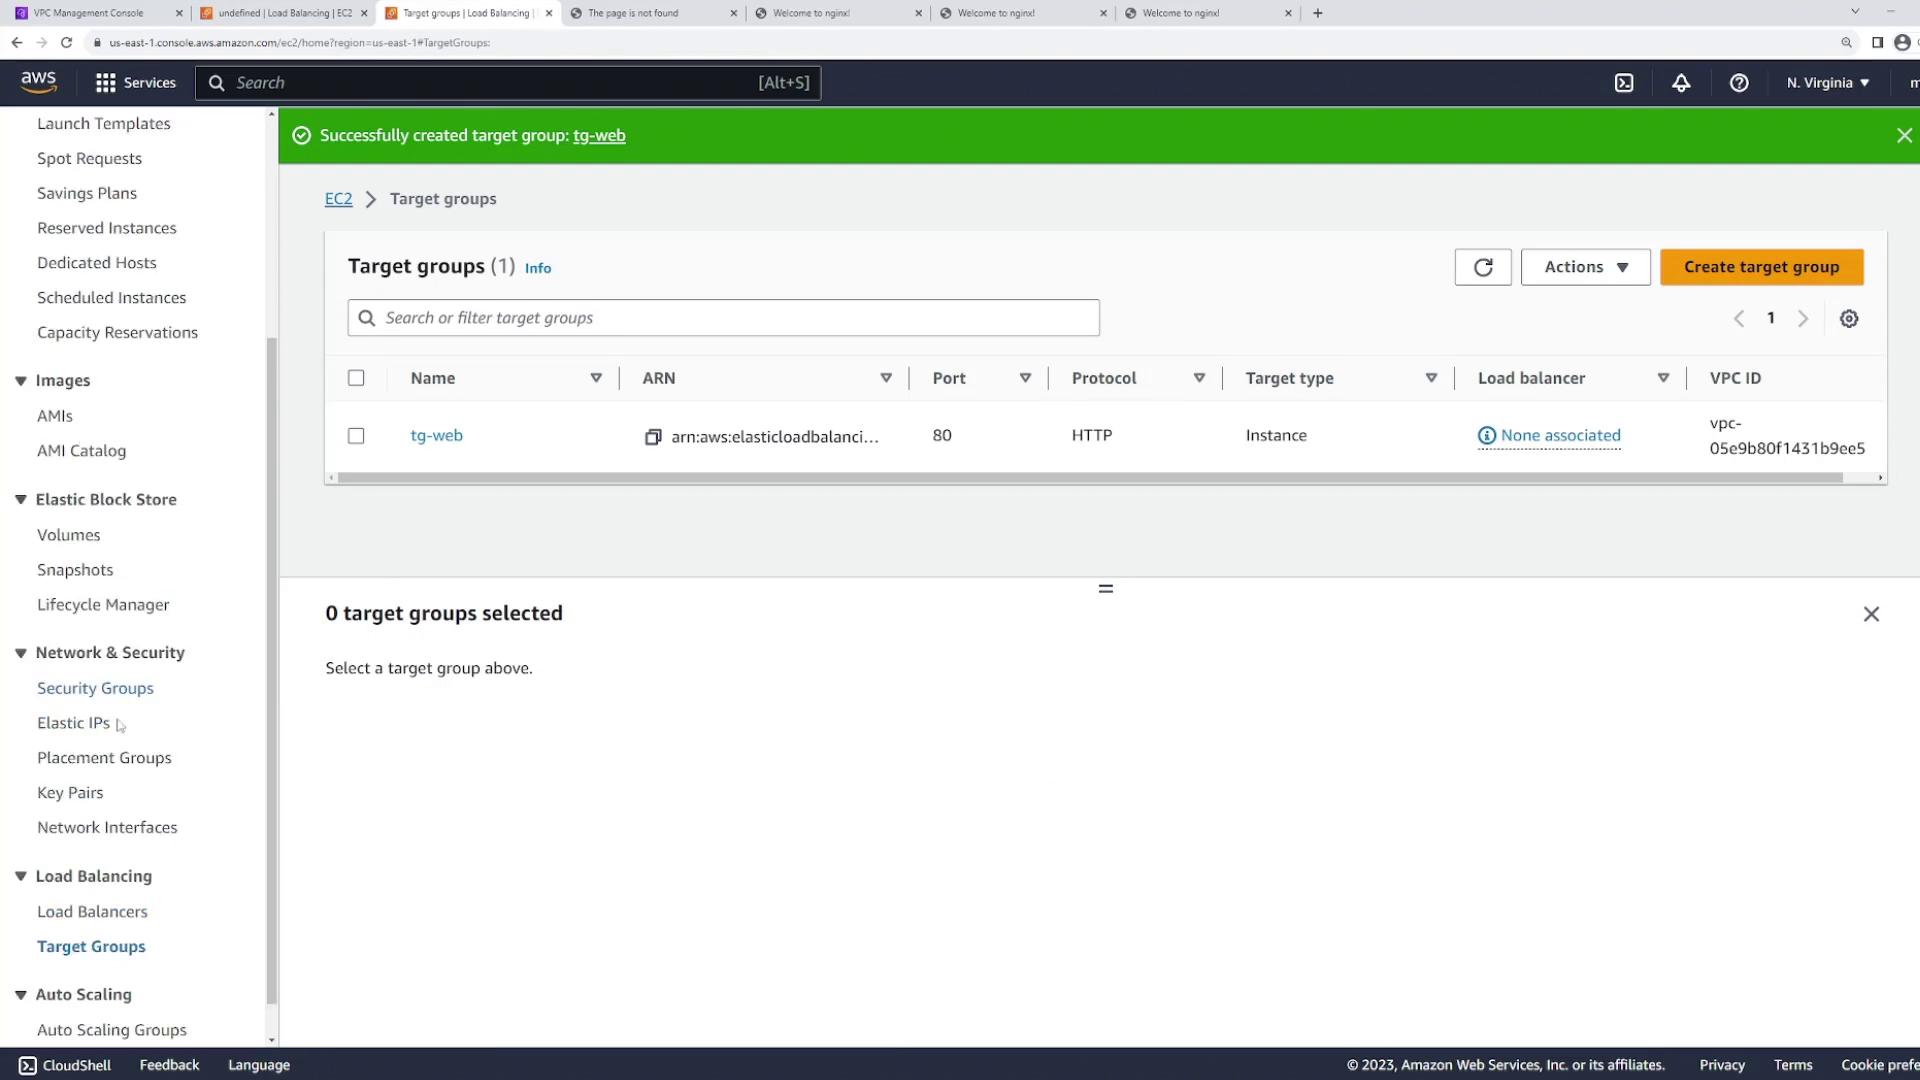
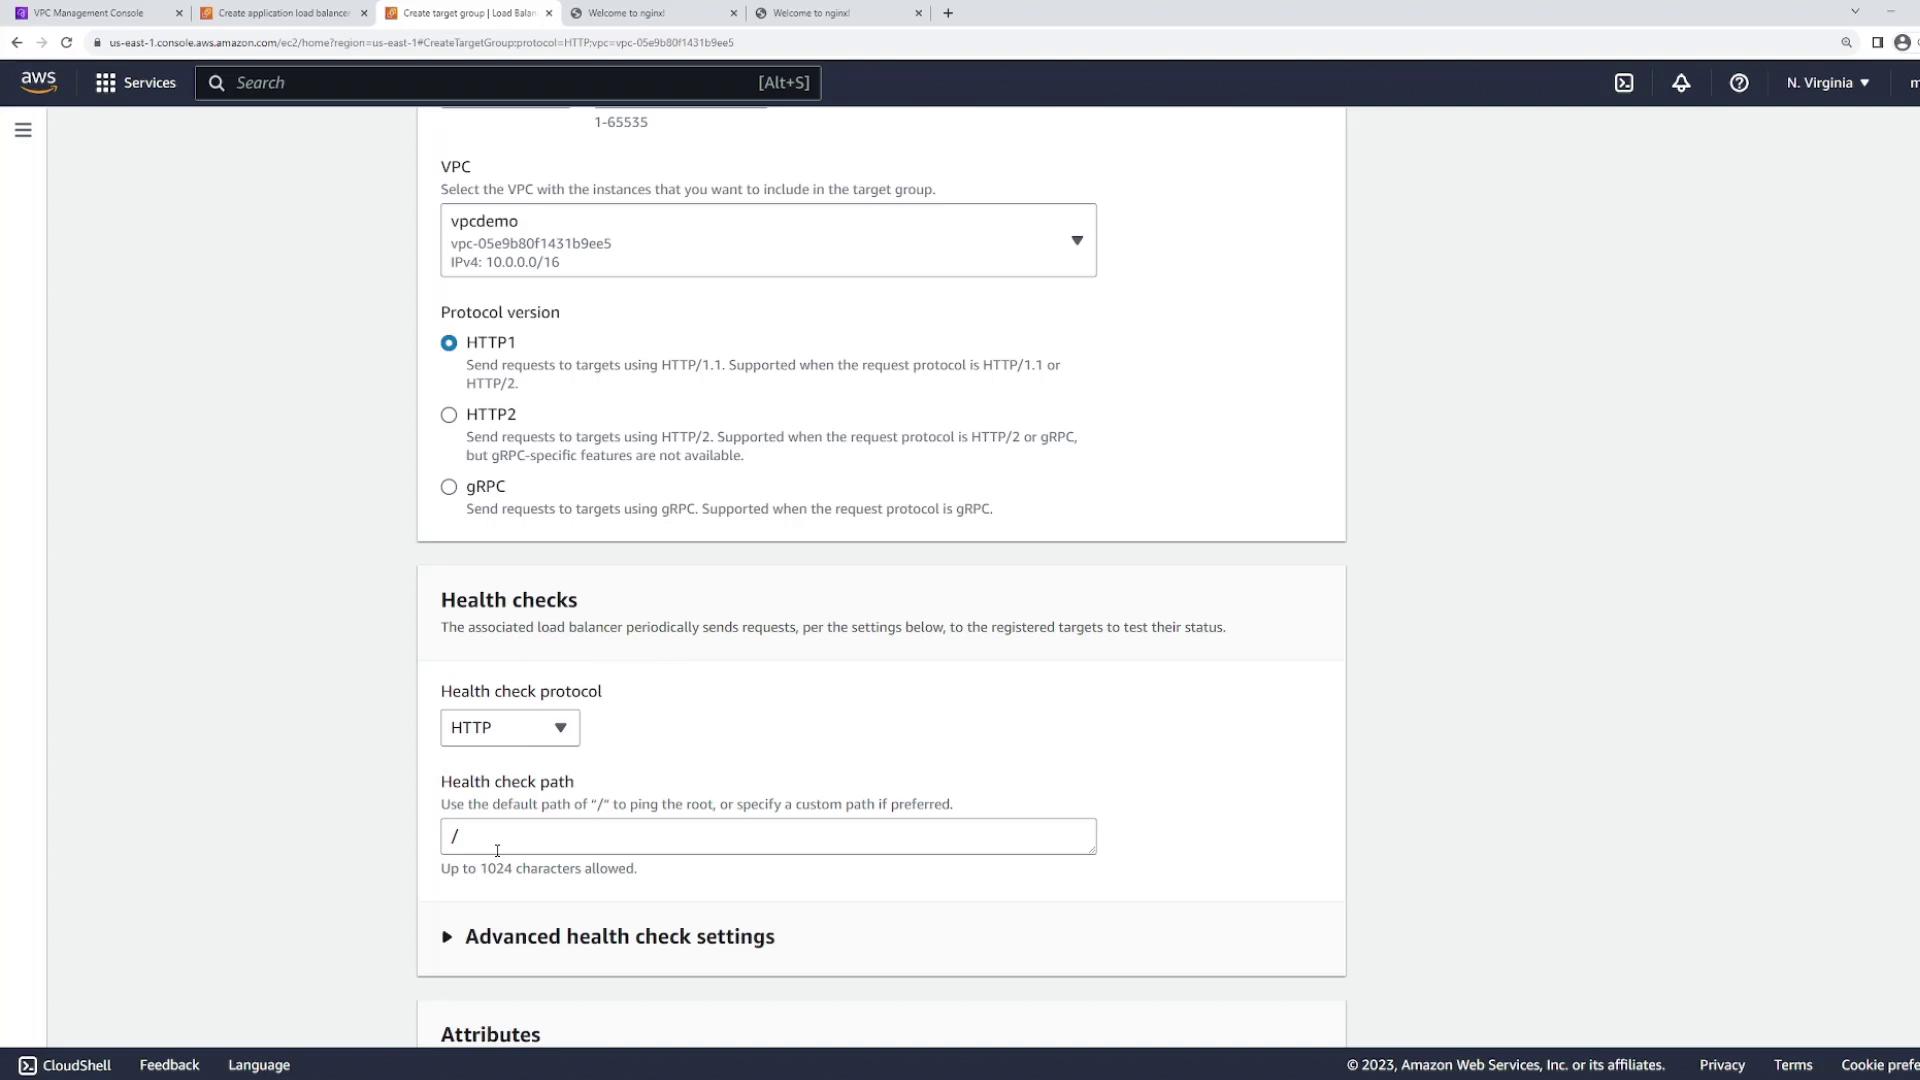
Setting Up Listeners and Target Groups

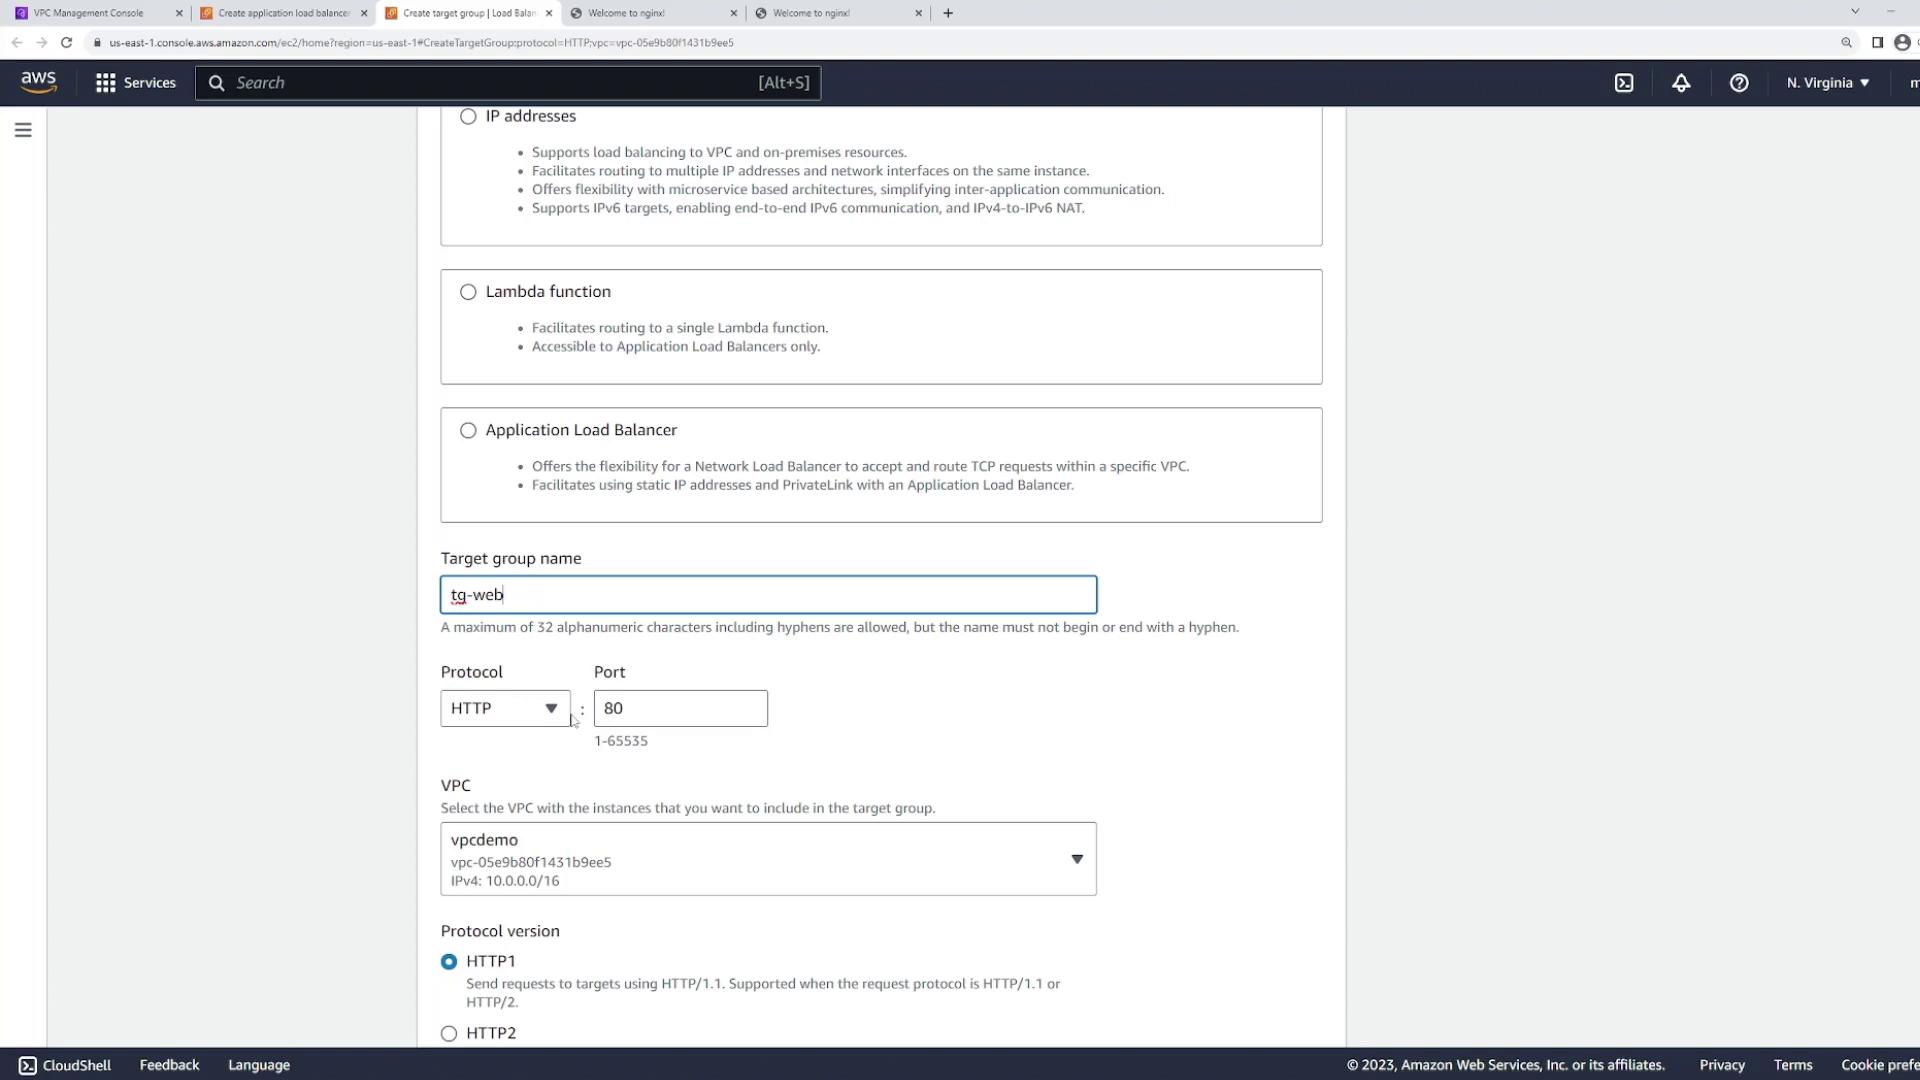
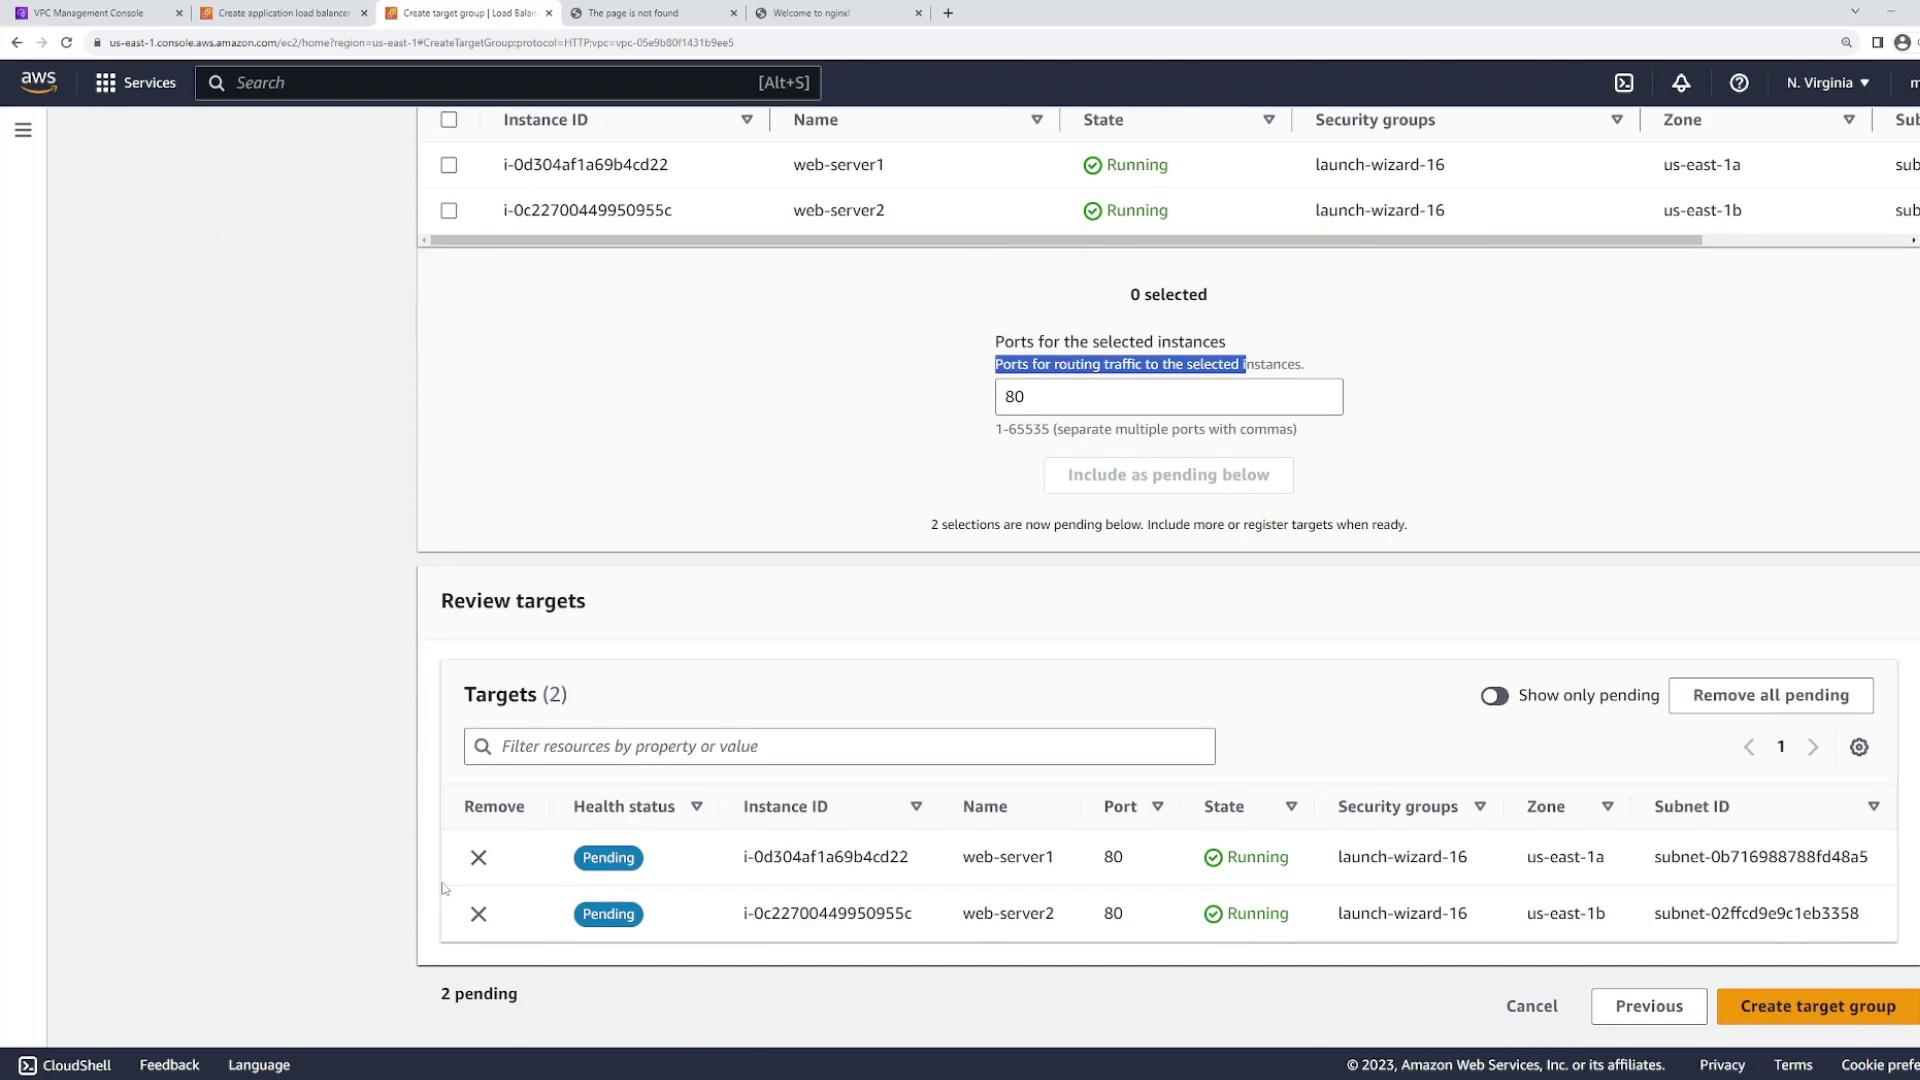
The listener configuration instructs the load balancer on which port to monitor. For this demo, port 80 (HTTP) is used.

Next, create a target group that includes the two EC2 web server instances:

  • Target type: Instances
  • Name: "web"
  • Protocol: HTTP
  • Port: 80

Optionally configure health checks (using the default root path “/” or a custom path if required) to monitor the health of your instances. Register both web server instances (web server one and web server two) to this target group.

The image shows a screenshot of the AWS Management Console, specifically the section for creating a target group for an Application Load Balancer. It includes fields for target group name, protocol, port, and VPC selection.

The image shows a configuration screen from the AWS Management Console for setting up a target group, including options for VPC selection, protocol version, and health check settings.

Once your target group is configured, return to the Application Load Balancer setup to assign this group to the listener on port 80. Although additional listeners (e.g., HTTPS) could be set up, this example remains focused on HTTP traffic.

The image shows a screenshot of the AWS Management Console, specifically the section for configuring security groups for a load balancer. It includes a dropdown menu for selecting security groups and options for subnet and IPv4 address assignment.

The image shows an AWS Management Console screen where two EC2 instances, "web-server1" and "web-server2," are being configured as targets for a load balancer, with both instances running and pending health status checks.

Finalize the configuration and create the load balancer. The provisioning process may take a few minutes.

The image shows an AWS Management Console screen for creating an application load balancer, displaying configuration details such as security groups, network mapping, and listeners.


Testing the Load Balancer

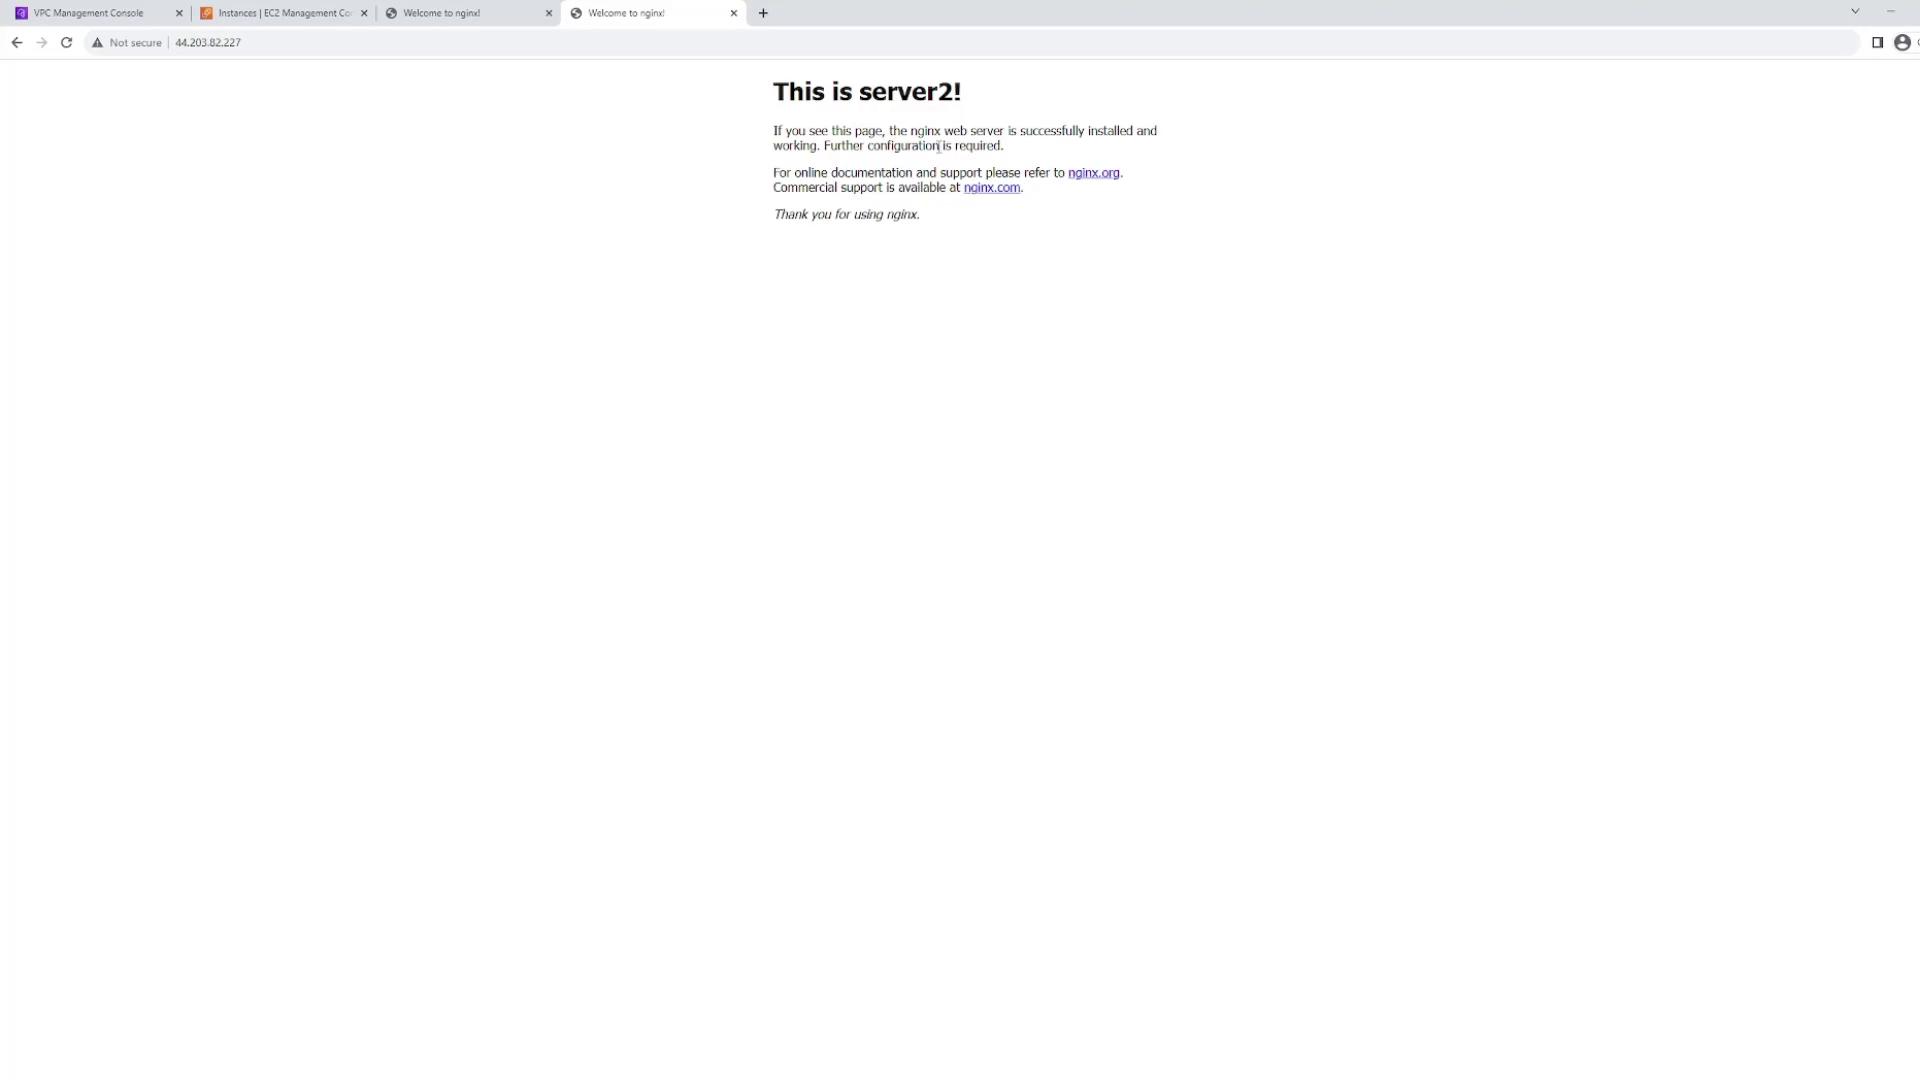
Once your load balancer is active, select it in the console to view its details and locate its DNS name. This DNS name is the point of contact for end users. Open a new browser tab, paste the DNS name, and hit refresh multiple times; you should see the following behavior:

  • One refresh may display "this is server one."
  • Another refresh may show "this is server two."

This confirms that traffic is being distributed evenly between the two servers.

The image shows an AWS Management Console screen displaying details of an active load balancer named "web-lb" in the EC2 service, including its type, status, and associated VPC.


Security Considerations

In production environments, direct public access to backend EC2 instances is discouraged. Instead, restrict access to ensure all traffic flows through the load balancer. Consider the following best practices:

  • Configure the web server security groups to only allow traffic from the load balancer.
  • Deploy backend servers in private subnets, ensuring the public load balancer is the sole point of access.

This strategy enhances overall security by limiting direct exposure of backend resources.

The image shows an AWS EC2 Management Console with a list of instances, some running and some terminated, along with their details like instance state, type, and status checks.

The image shows an AWS EC2 management console with two running instances, "web-server1" and "web-server2," both of type t2.micro. The details of "web-server1" are displayed, including its instance ID, public IPv4 address, and instance state.

The image shows an AWS Management Console screen displaying a successfully created target group named "tg-web" with details such as protocol, port, and VPC ID.


Conclusion

This guide demonstrated how to set up an AWS Application Load Balancer that efficiently distributes traffic across EC2 instances in different Availability Zones. By creating dedicated LB subnets, configuring listeners and target groups, and implementing best security practices, you can ensure a resilient and highly available web application architecture.

Happy load balancing!

Watch Video

Watch video content

Previous
Load Balancers
Next
VPN