Step 1: Create the Private Subnet
Next, create a private subnet where your EC2 instance will reside. For this demo, configure the subnet with the CIDR block 10.0.1.0/24.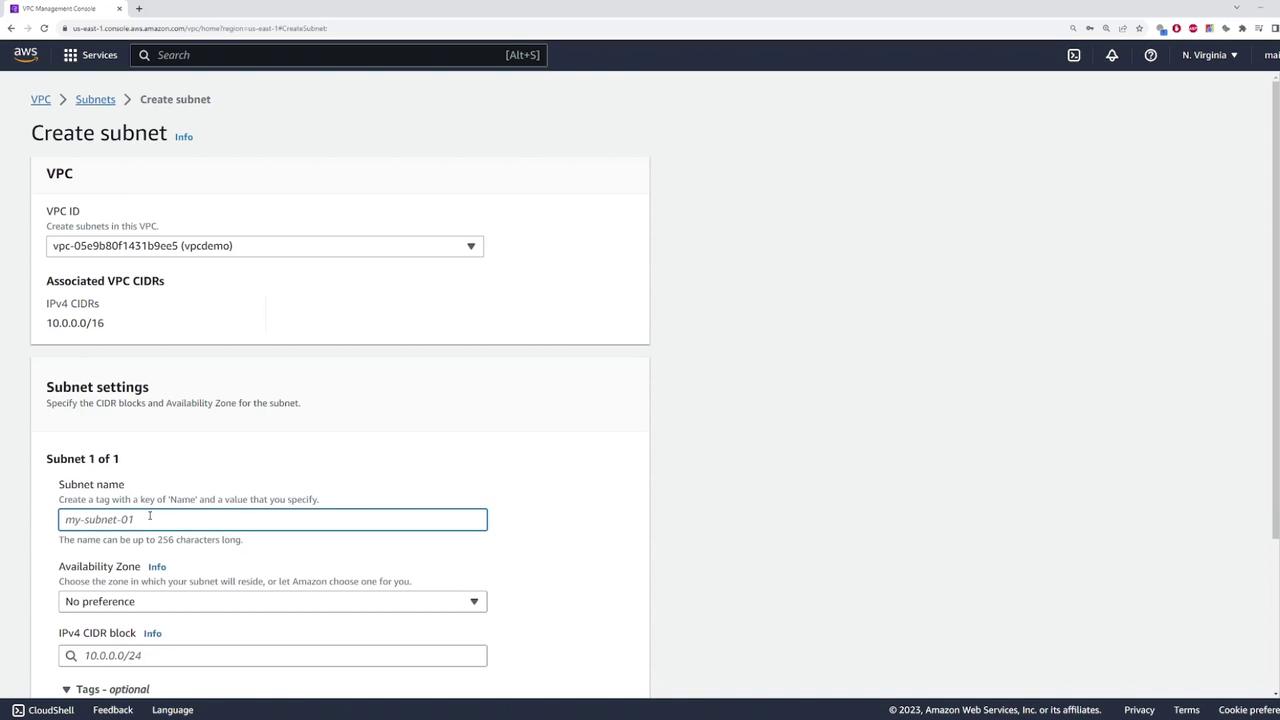
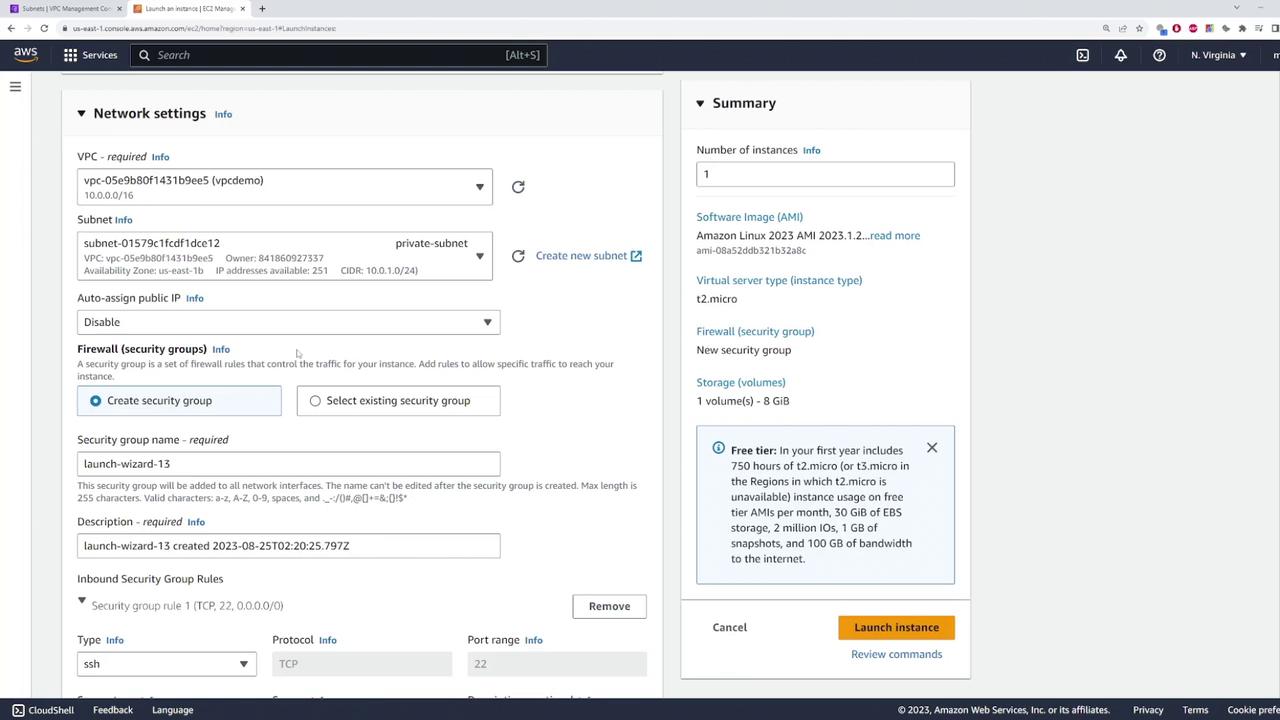
Step 2: Launch an EC2 Instance
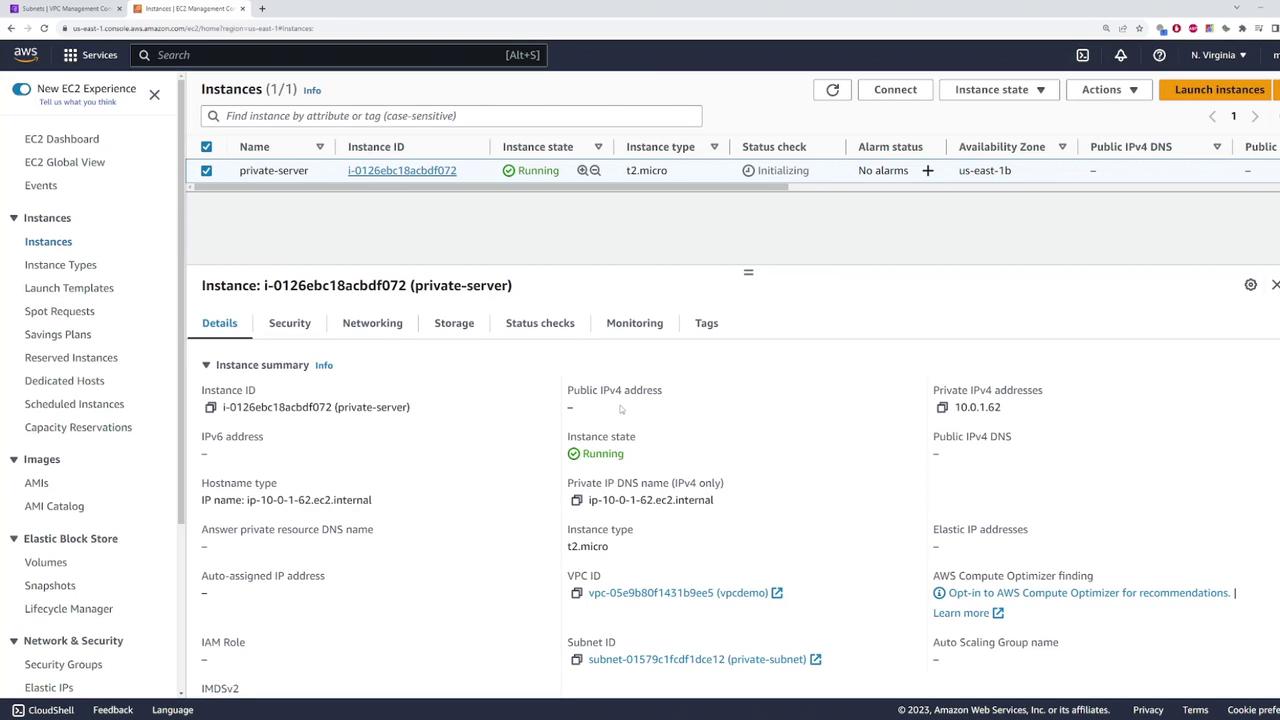
After setting up the VPC and private subnet, navigate to the EC2 console to launch an instance in the private subnet. Name the instance “private-server” and use the default Amazon Linux image.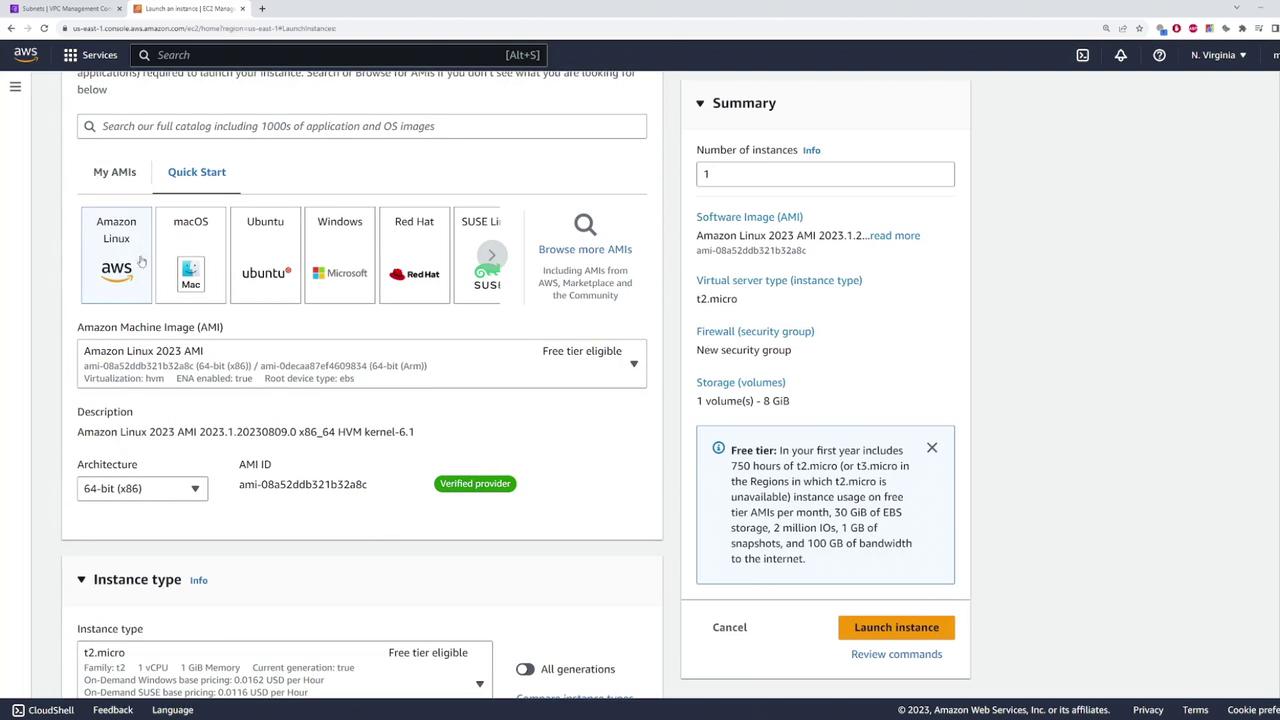
Step 3: Configure the Internet Gateway and Public Subnet
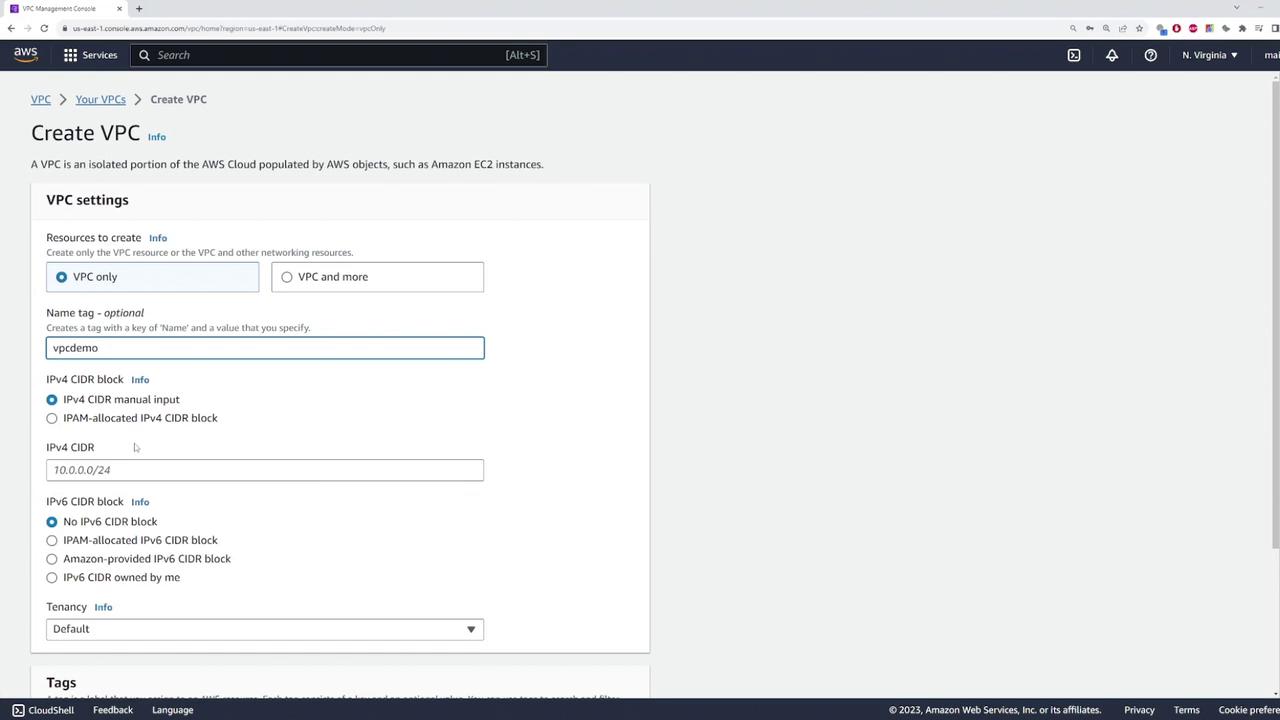
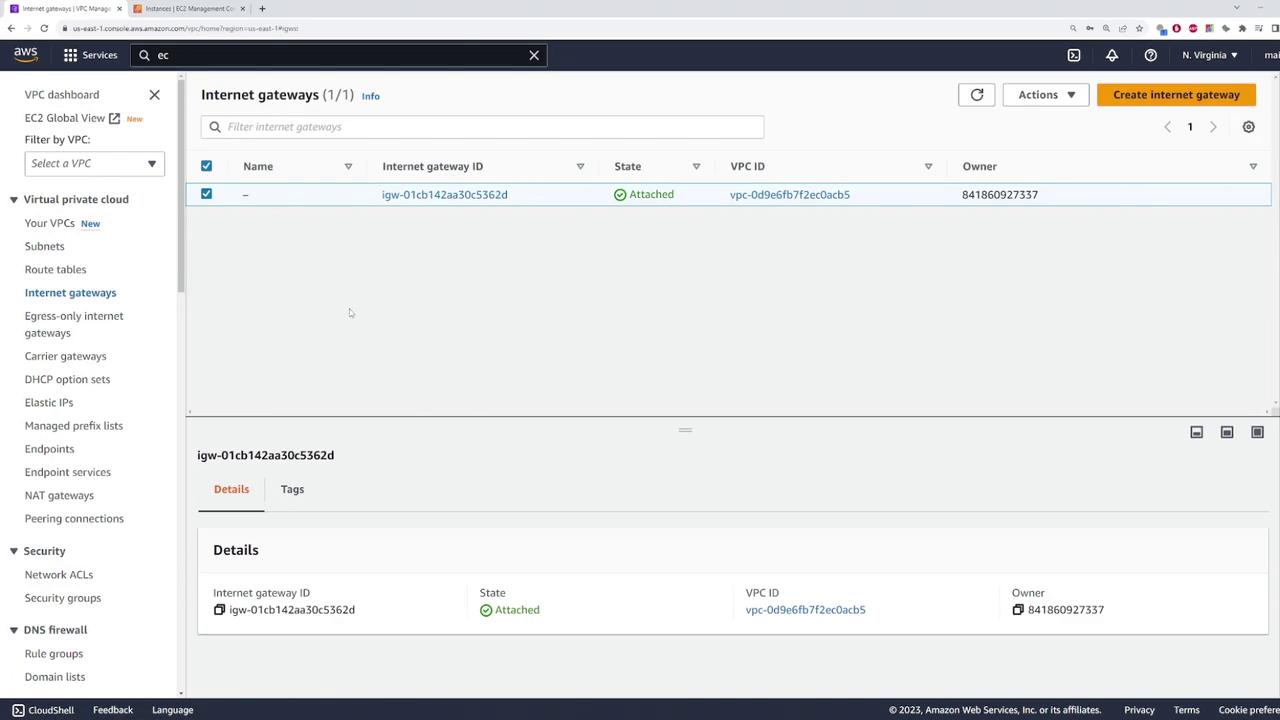
To enable internet access for the private instance via a NAT gateway, start by attaching an internet gateway to your VPC. Follow these steps:- Create an internet gateway.
- Attach the internet gateway to your VPC.
-
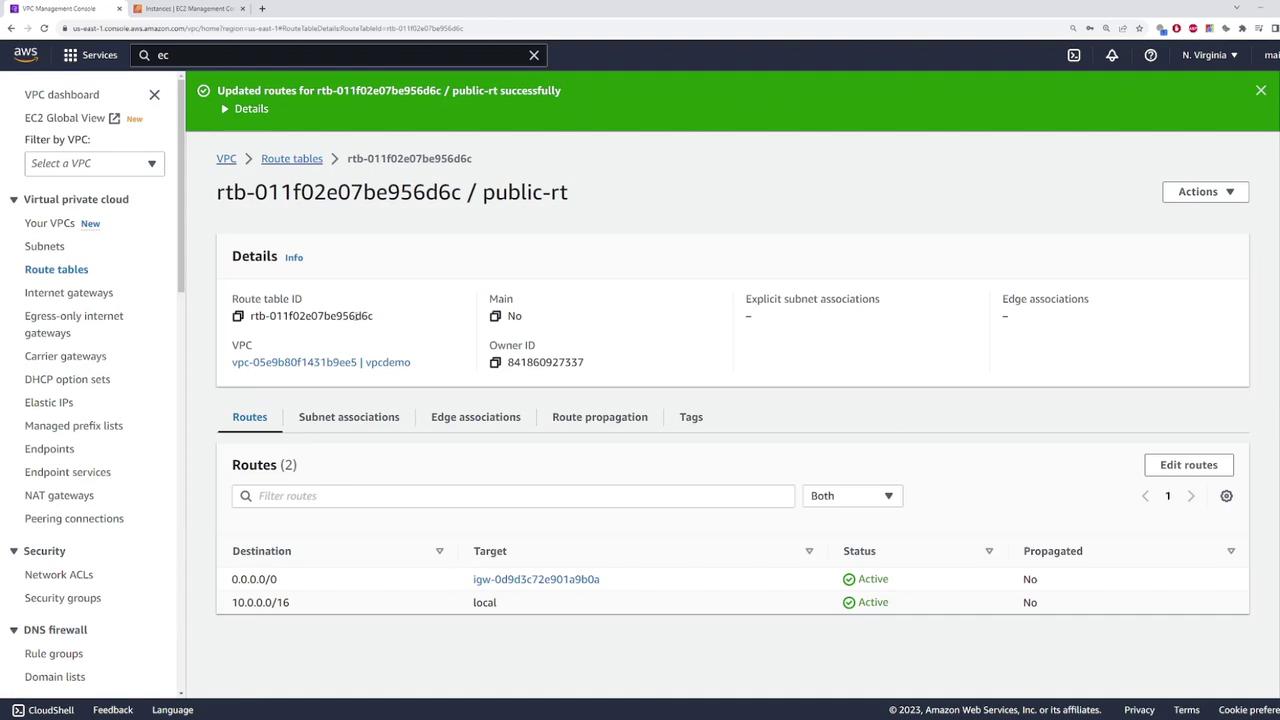
Public Route Table:
- Associate this route table with the VPC.
- Add a default route (0.0.0.0/0) pointing to the internet gateway.
- Associate the public route table with the public subnet.
-
Private Route Table:
- This route table will later include a default route that points to the NAT gateway.
- Associate this route table with the private subnet.
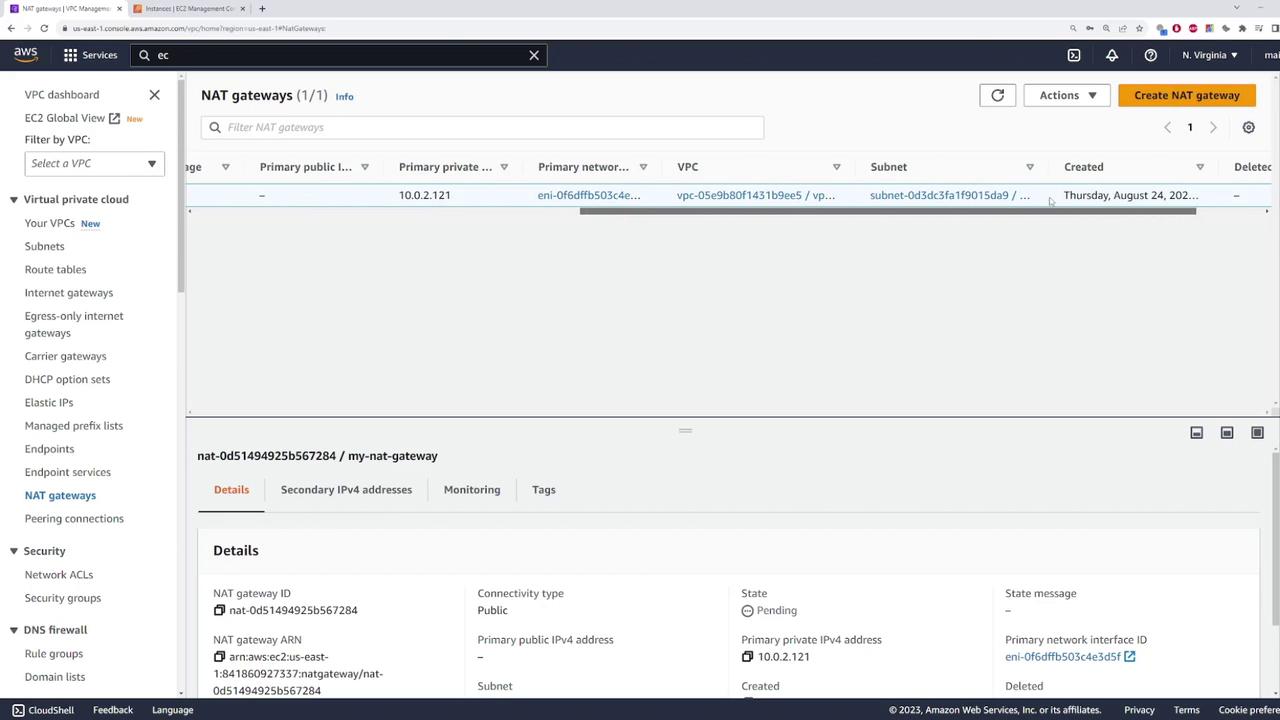
Step 4: Deploy the NAT Gateway
Deploy a NAT gateway in the public subnet by following these steps:- Create a NAT gateway in the public subnet.
- Assign a name to the NAT gateway.
- Allocate an Elastic IP to ensure the gateway has a fixed public IP address.

It is normal for the NAT gateway to show a pending status during initial setup—this indicates that the gateway is initializing.
Considerations for High Availability
NAT gateways are deployed within a specific subnet and are only resilient within their respective availability zones. For example, if a NAT gateway is deployed in us-east-1b and that availability zone experiences an outage, instances relying on that gateway will lose internet connectivity. In production environments, deploy multiple NAT gateways across different availability zones (e.g., us-east-1a, us-east-1b) and update your route tables accordingly to ensure redundancy and high availability. For this demo, only a single NAT gateway is used, so high availability configuration is not implemented.