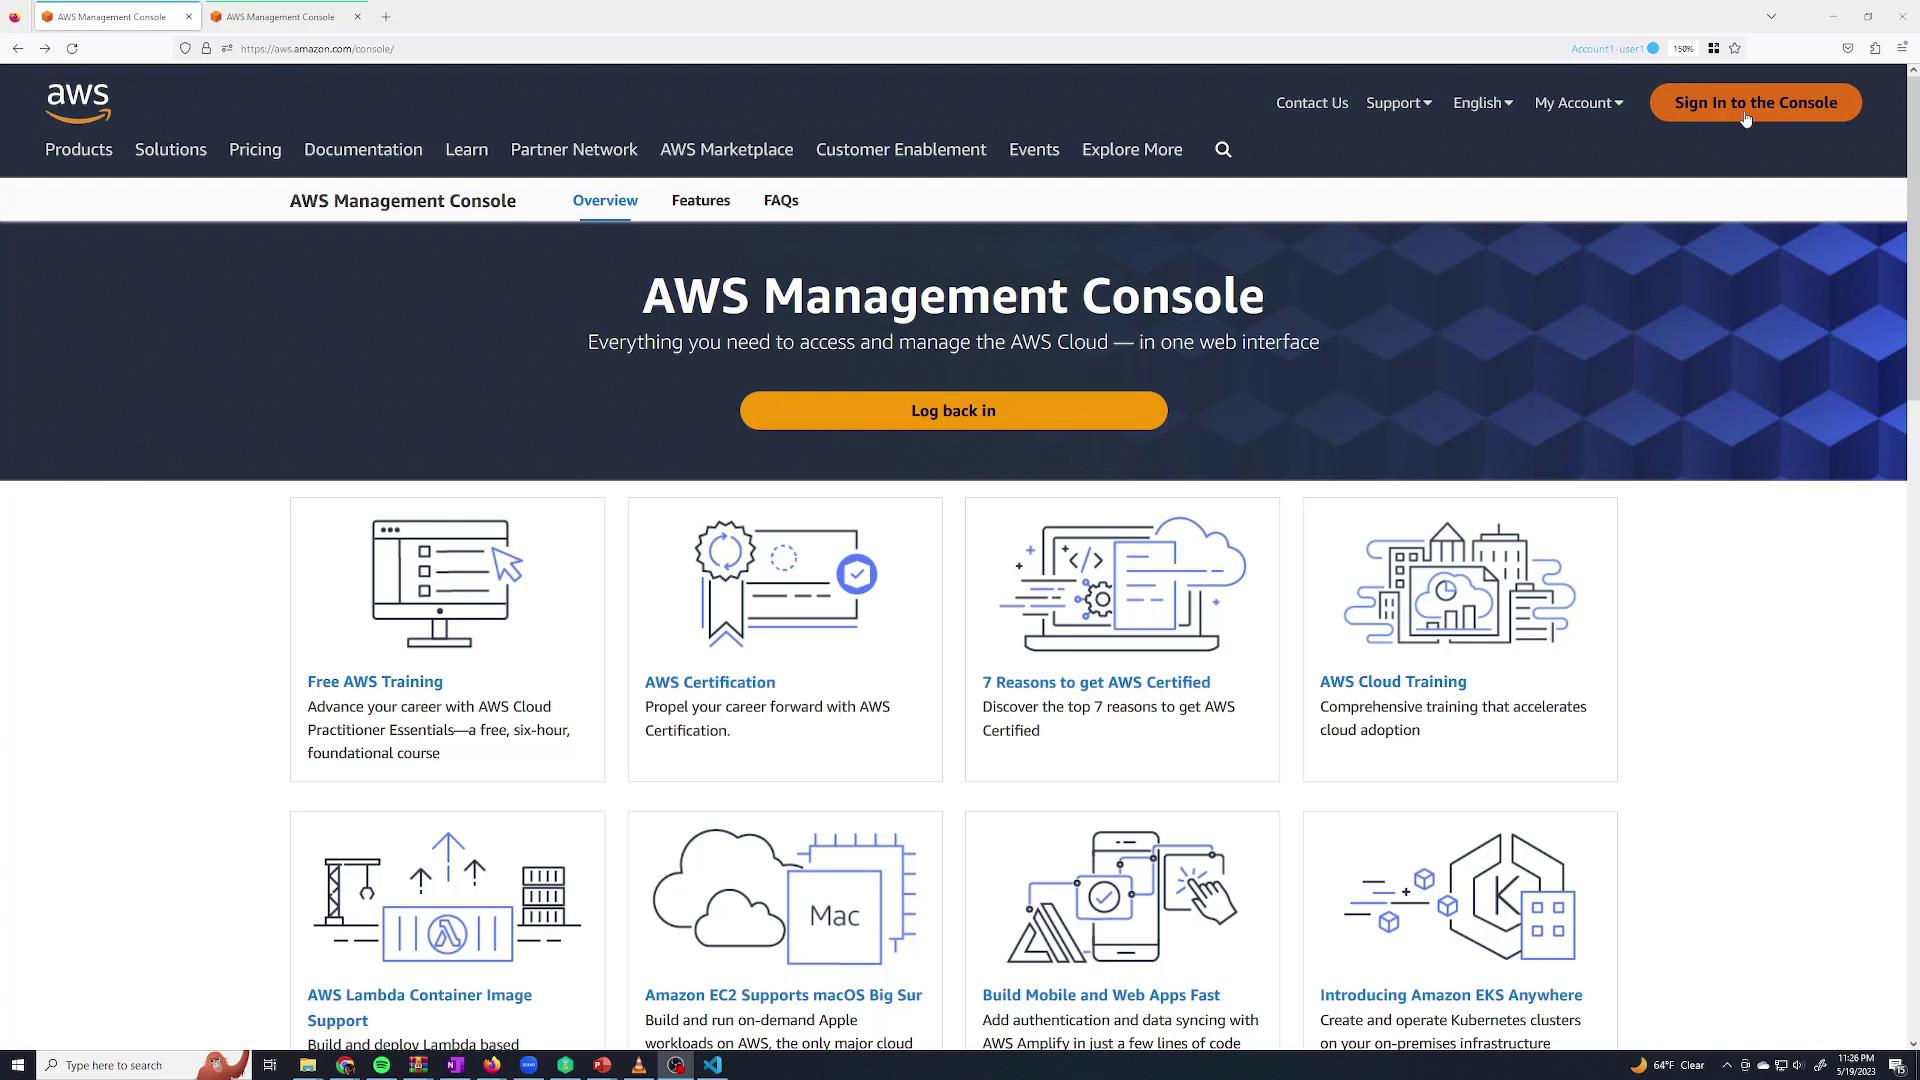
In this lesson, we demonstrate how to manage AWS Identity and Access Management (IAM) by creating users, groups, and roles, as well as by customizing permissions and policies. Using IAM, you can control which users have access to specific AWS services, ensuring secure and organized access management. When you visit the AWS Management Console and click the “Sign in to the console” button at the top right, you’ll be prompted to log in.Documentation Index
Fetch the complete documentation index at: https://notes.kodekloud.com/llms.txt
Use this file to discover all available pages before exploring further.
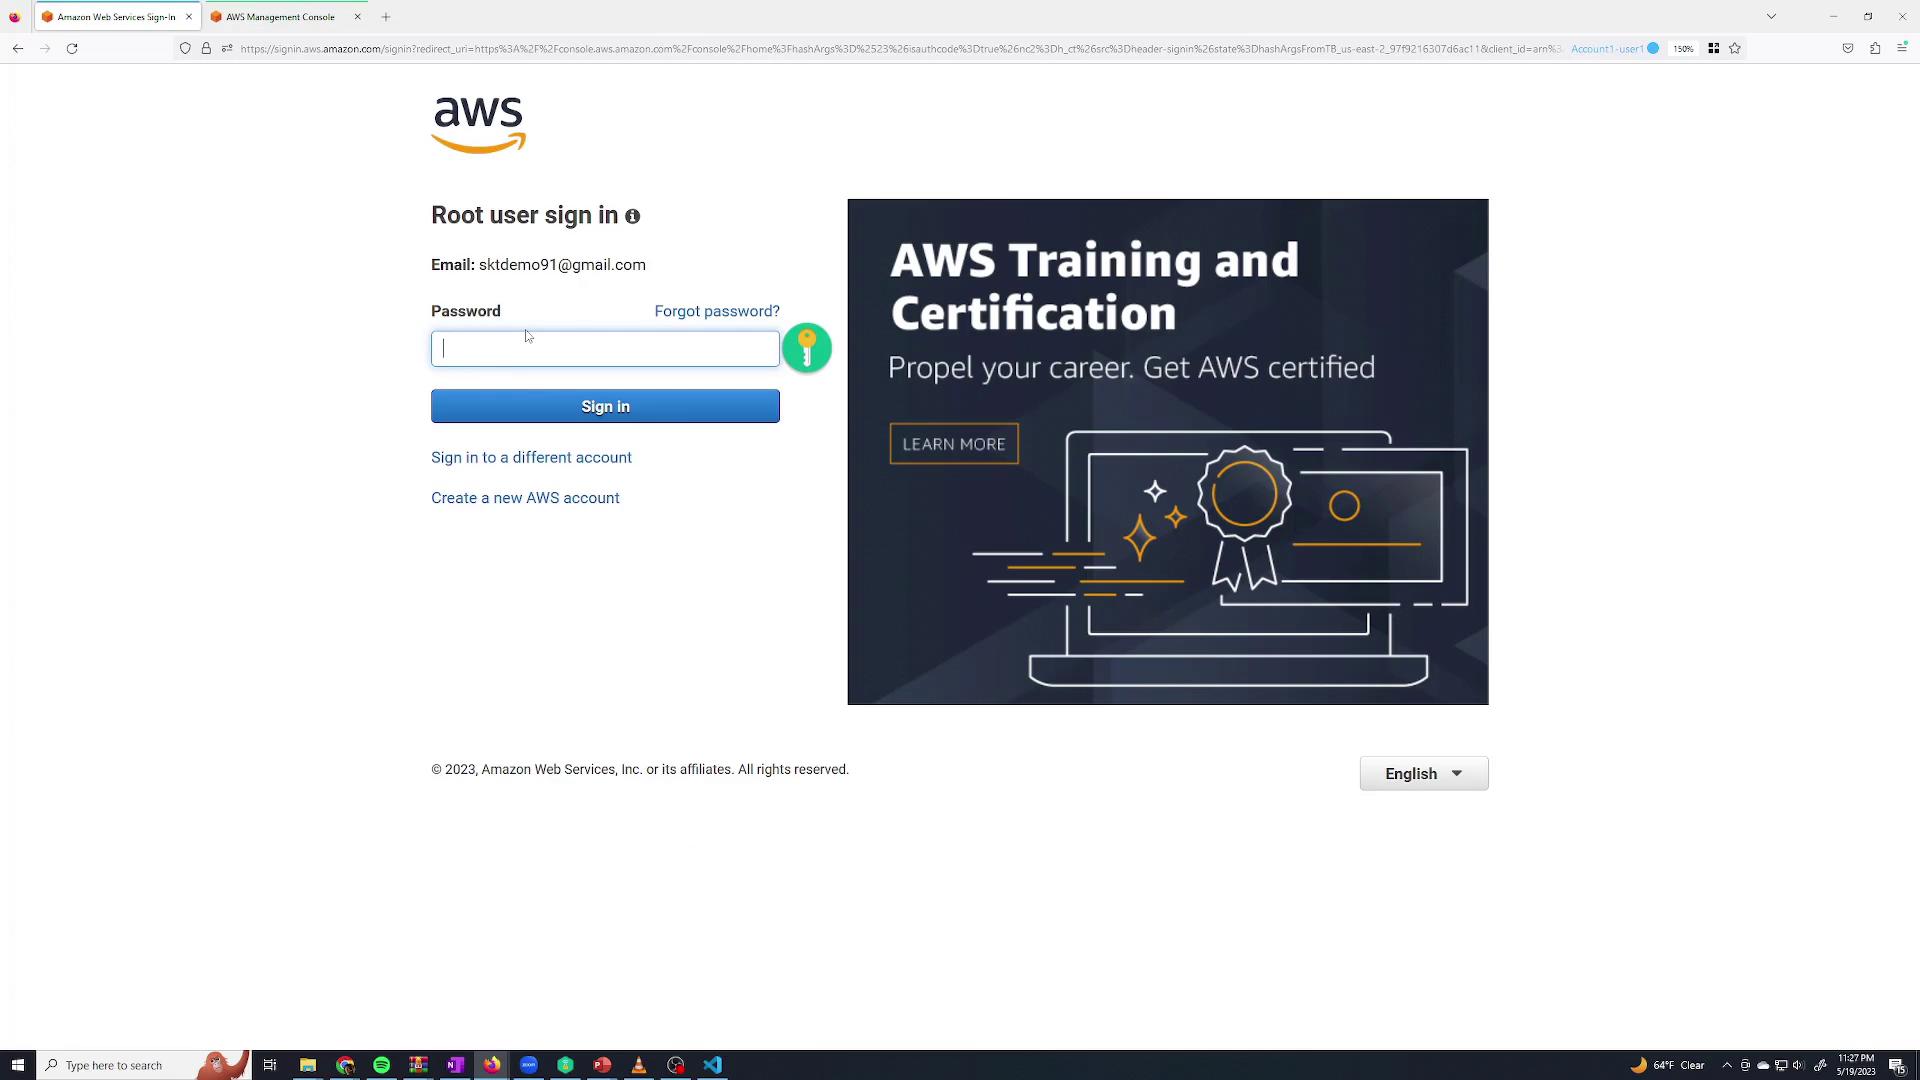
For enhanced security, avoid daily use of root credentials. Create and use limited-permission IAM users instead.
Accessing IAM and Creating a User
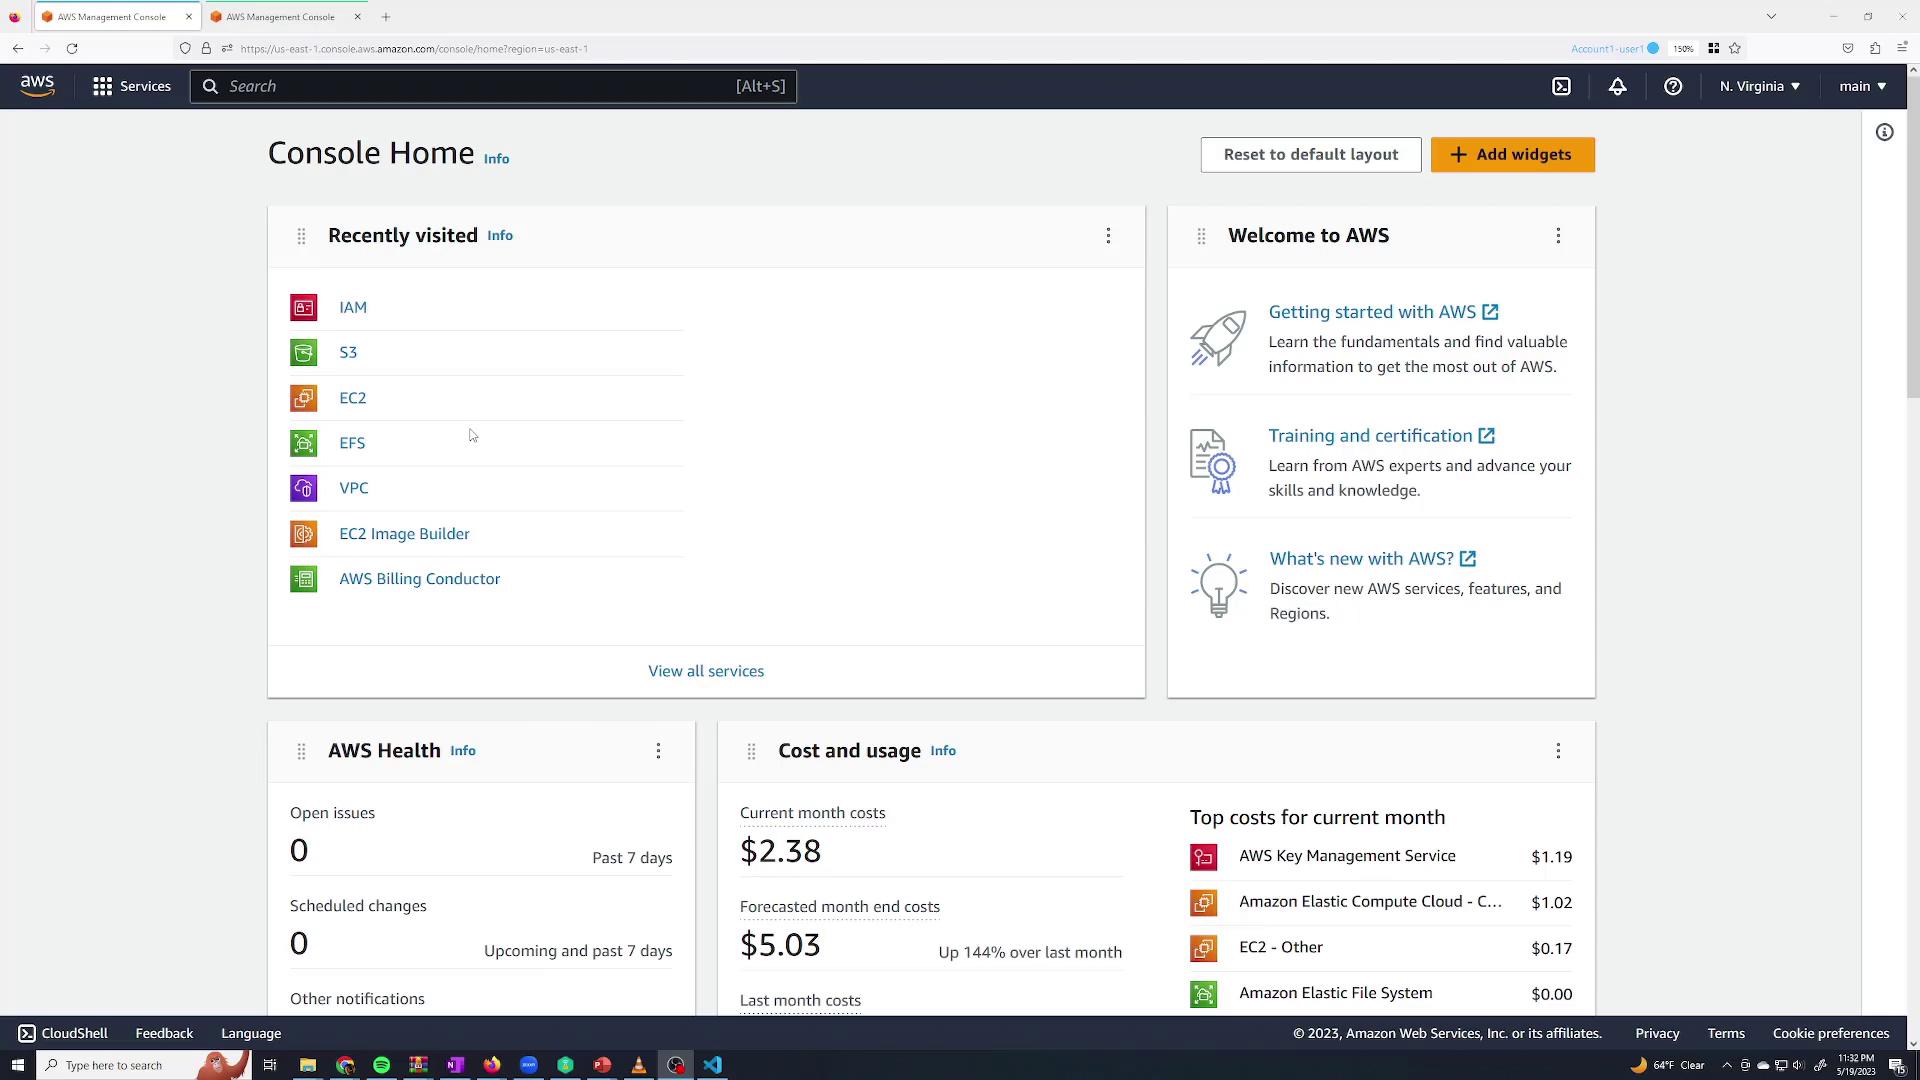
To create a new IAM user:- Navigate to IAM from the AWS Management Console (use the search bar or the recent services section).
- In the IAM dashboard, manage your groups, users, roles, and policies.
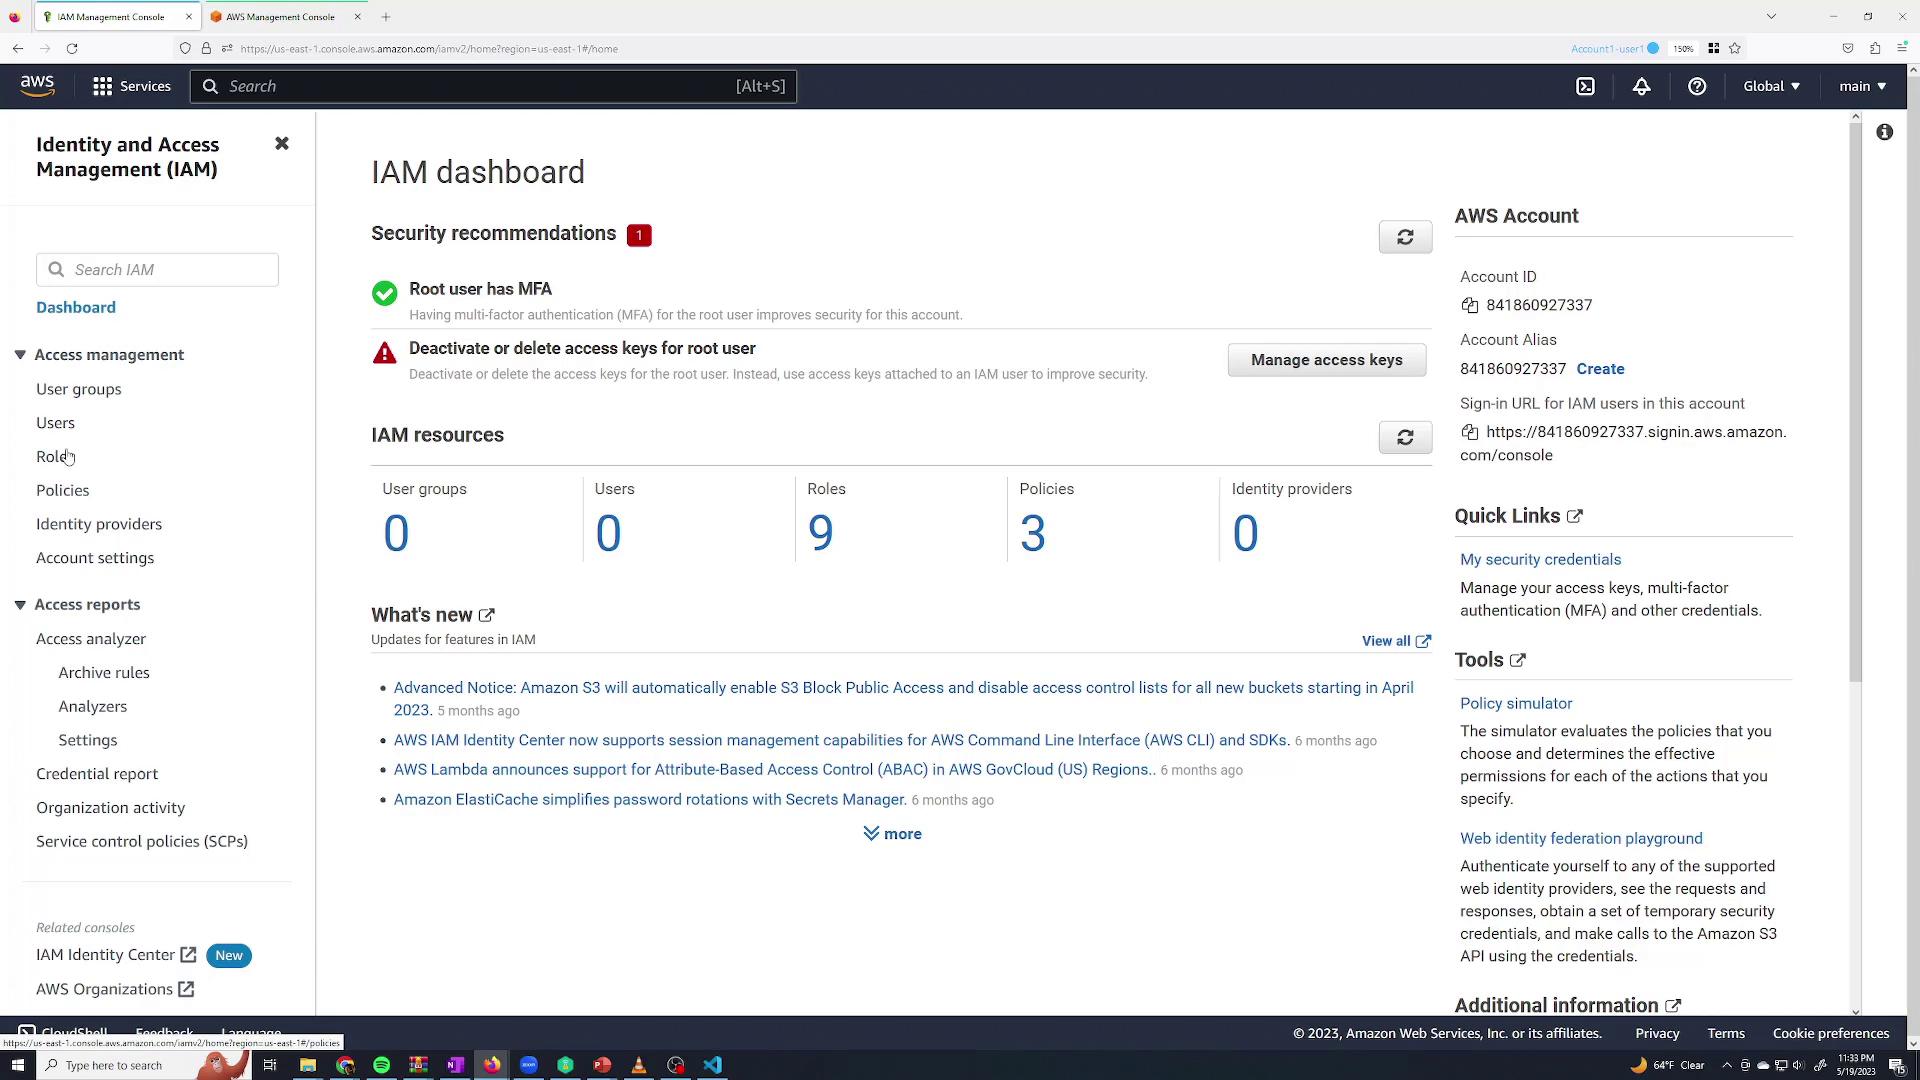
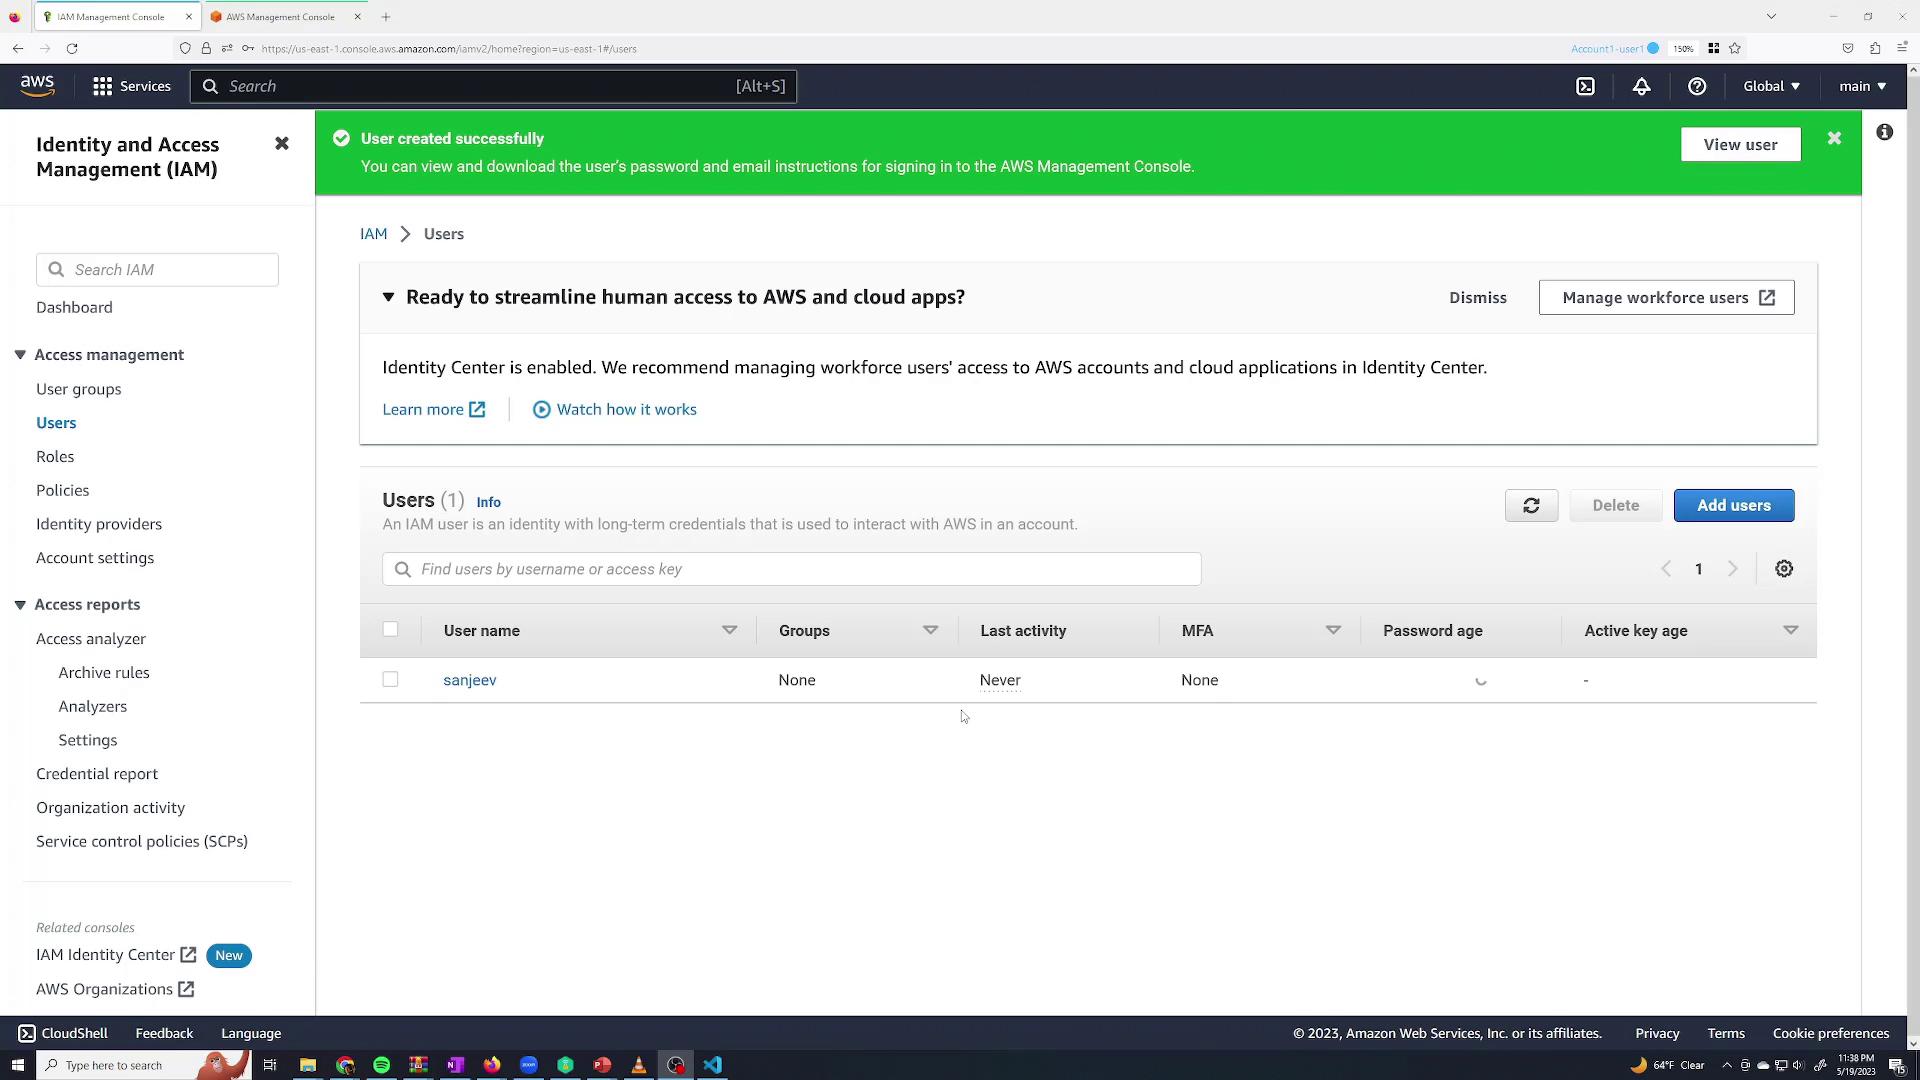
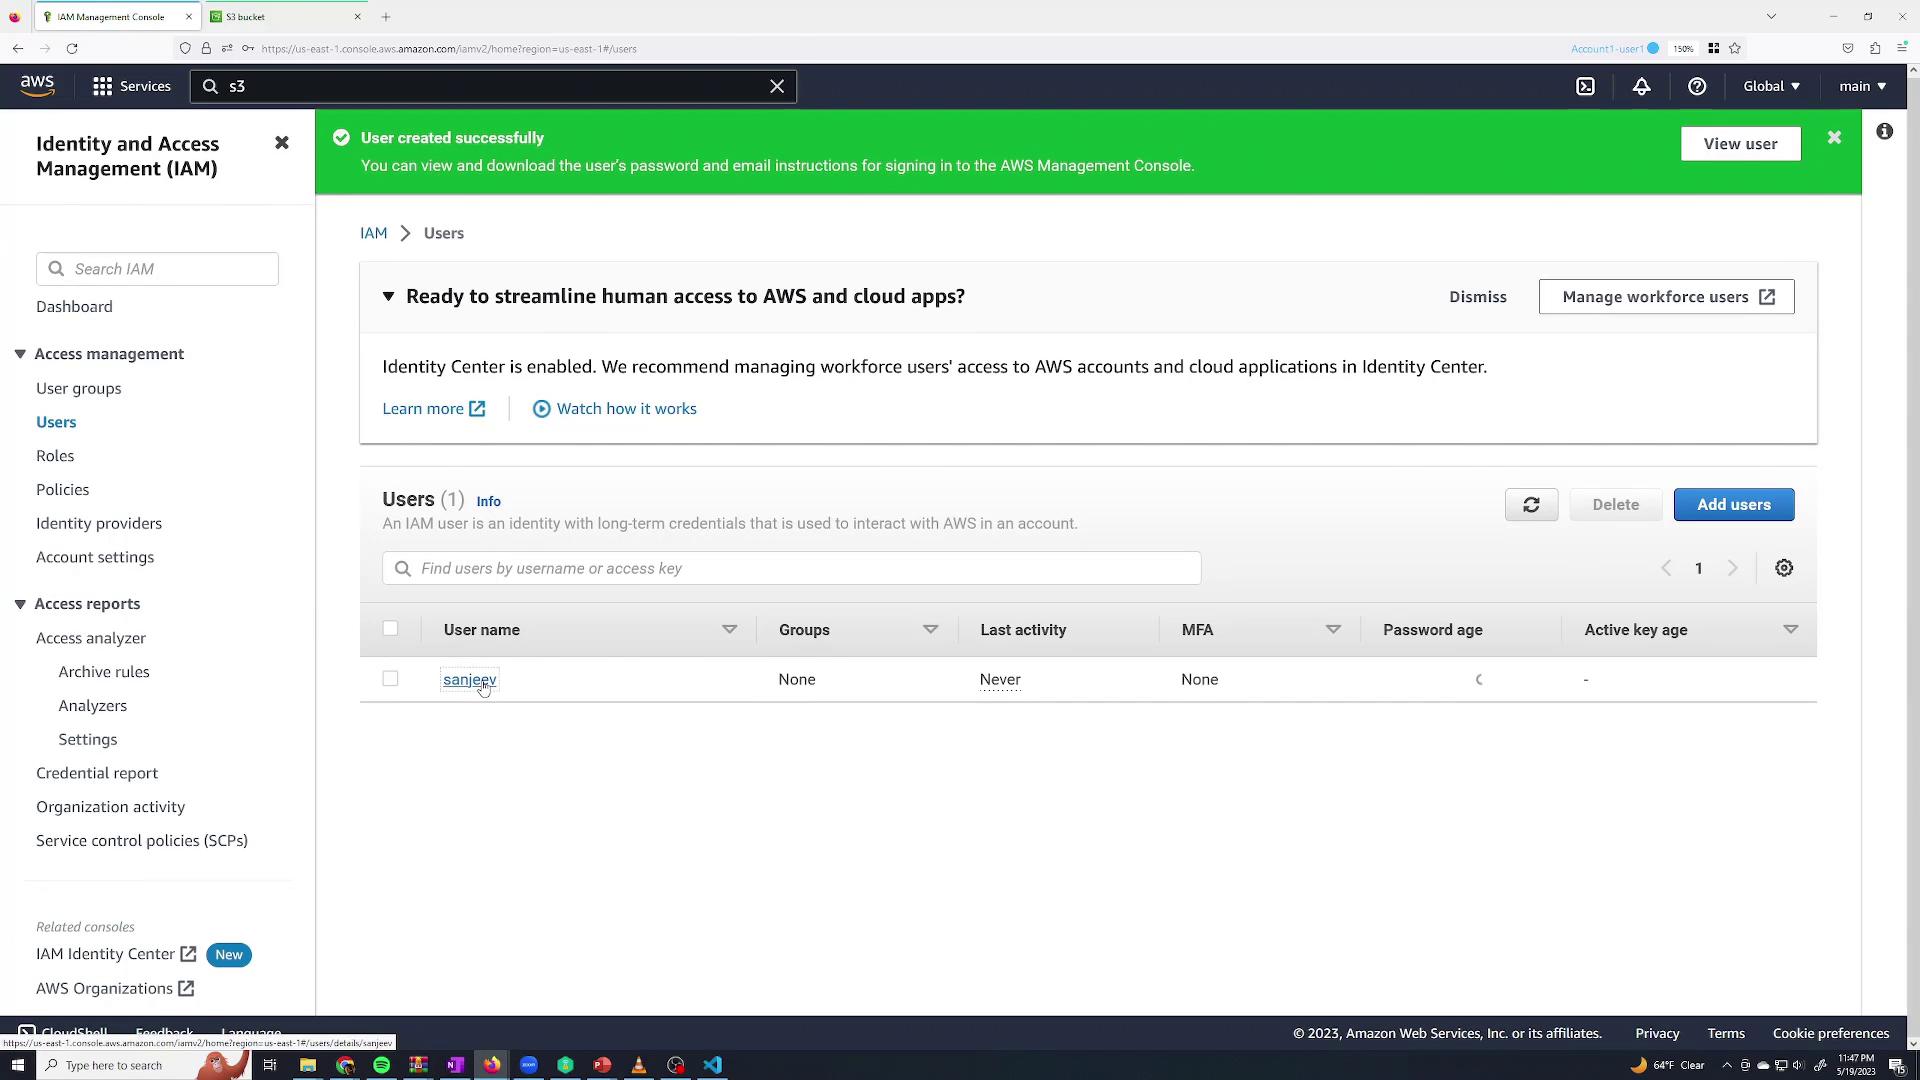
- Click the Users section.
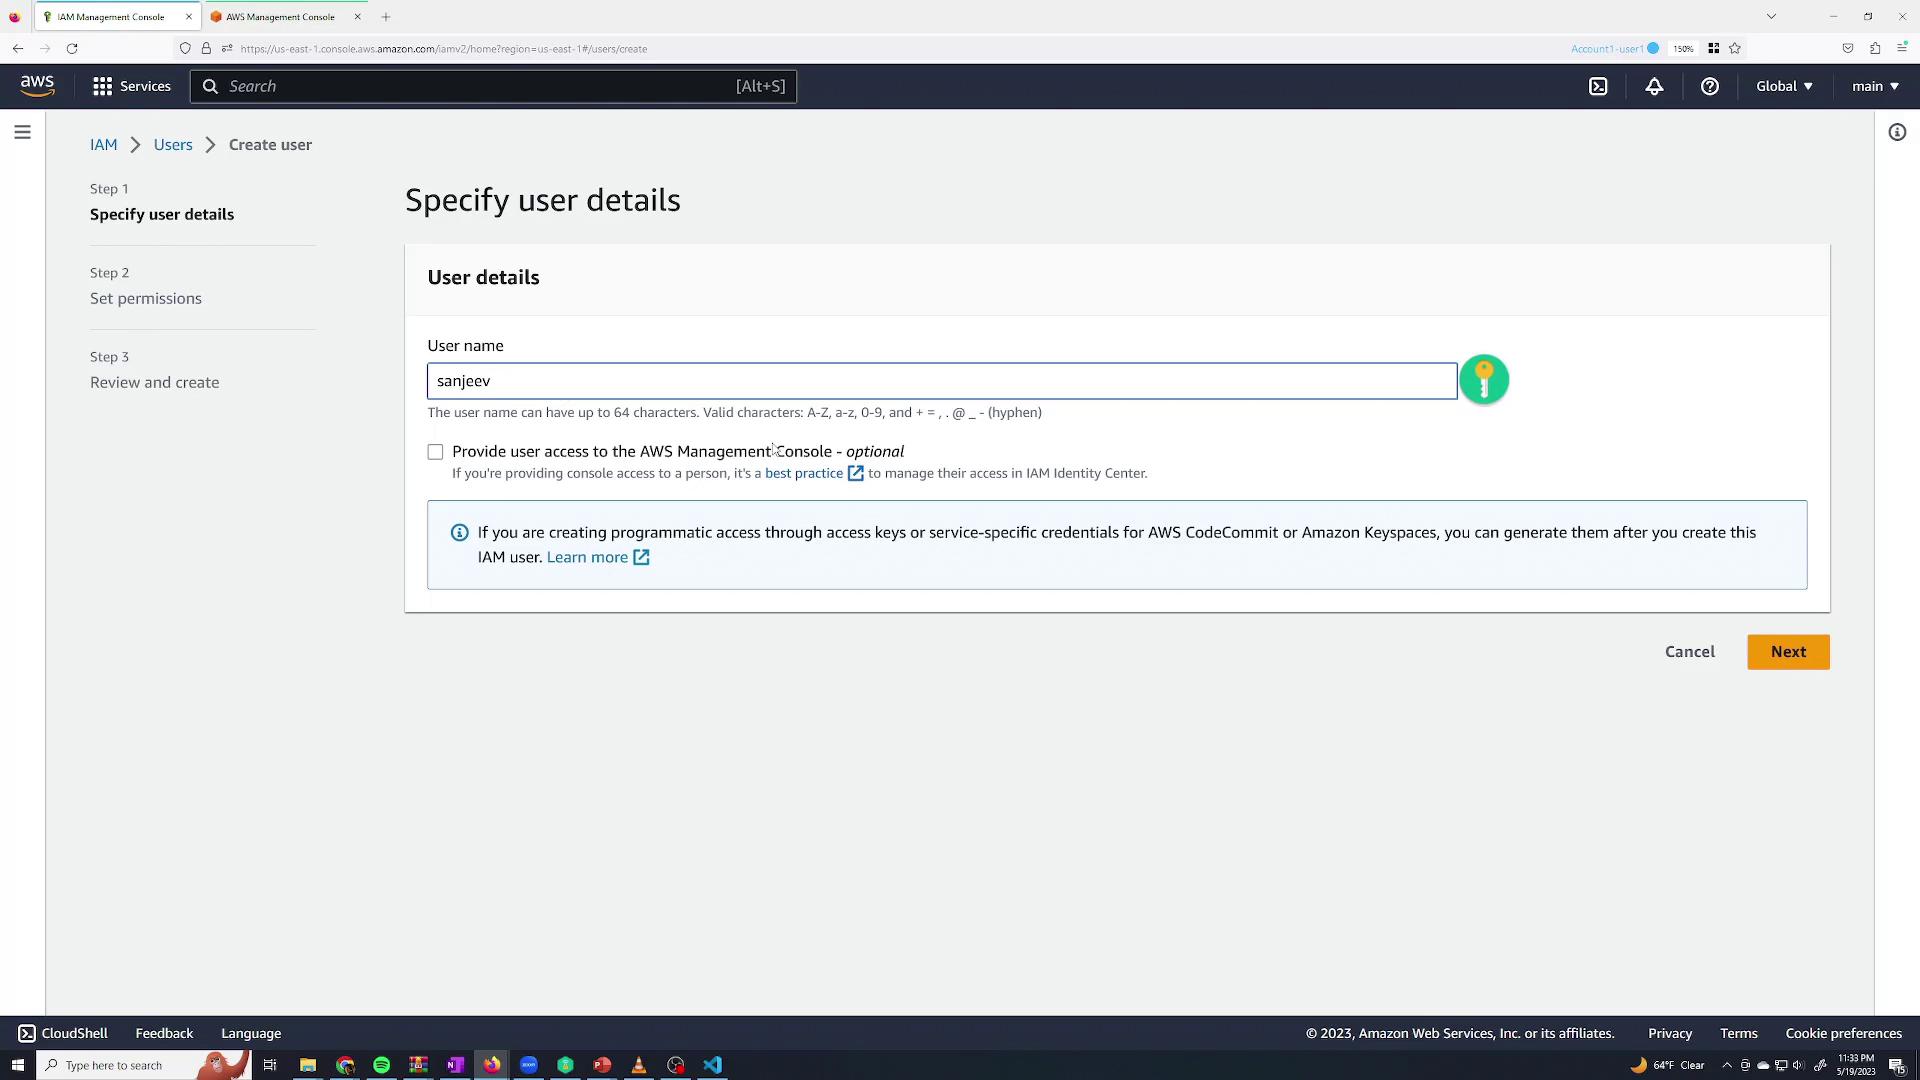
- Since there are no users yet, click Add users.
- Enter a user name (for example, “Sanjeev Thiyagarajan”) and check the option to Provide user access to the AWS Management Console.
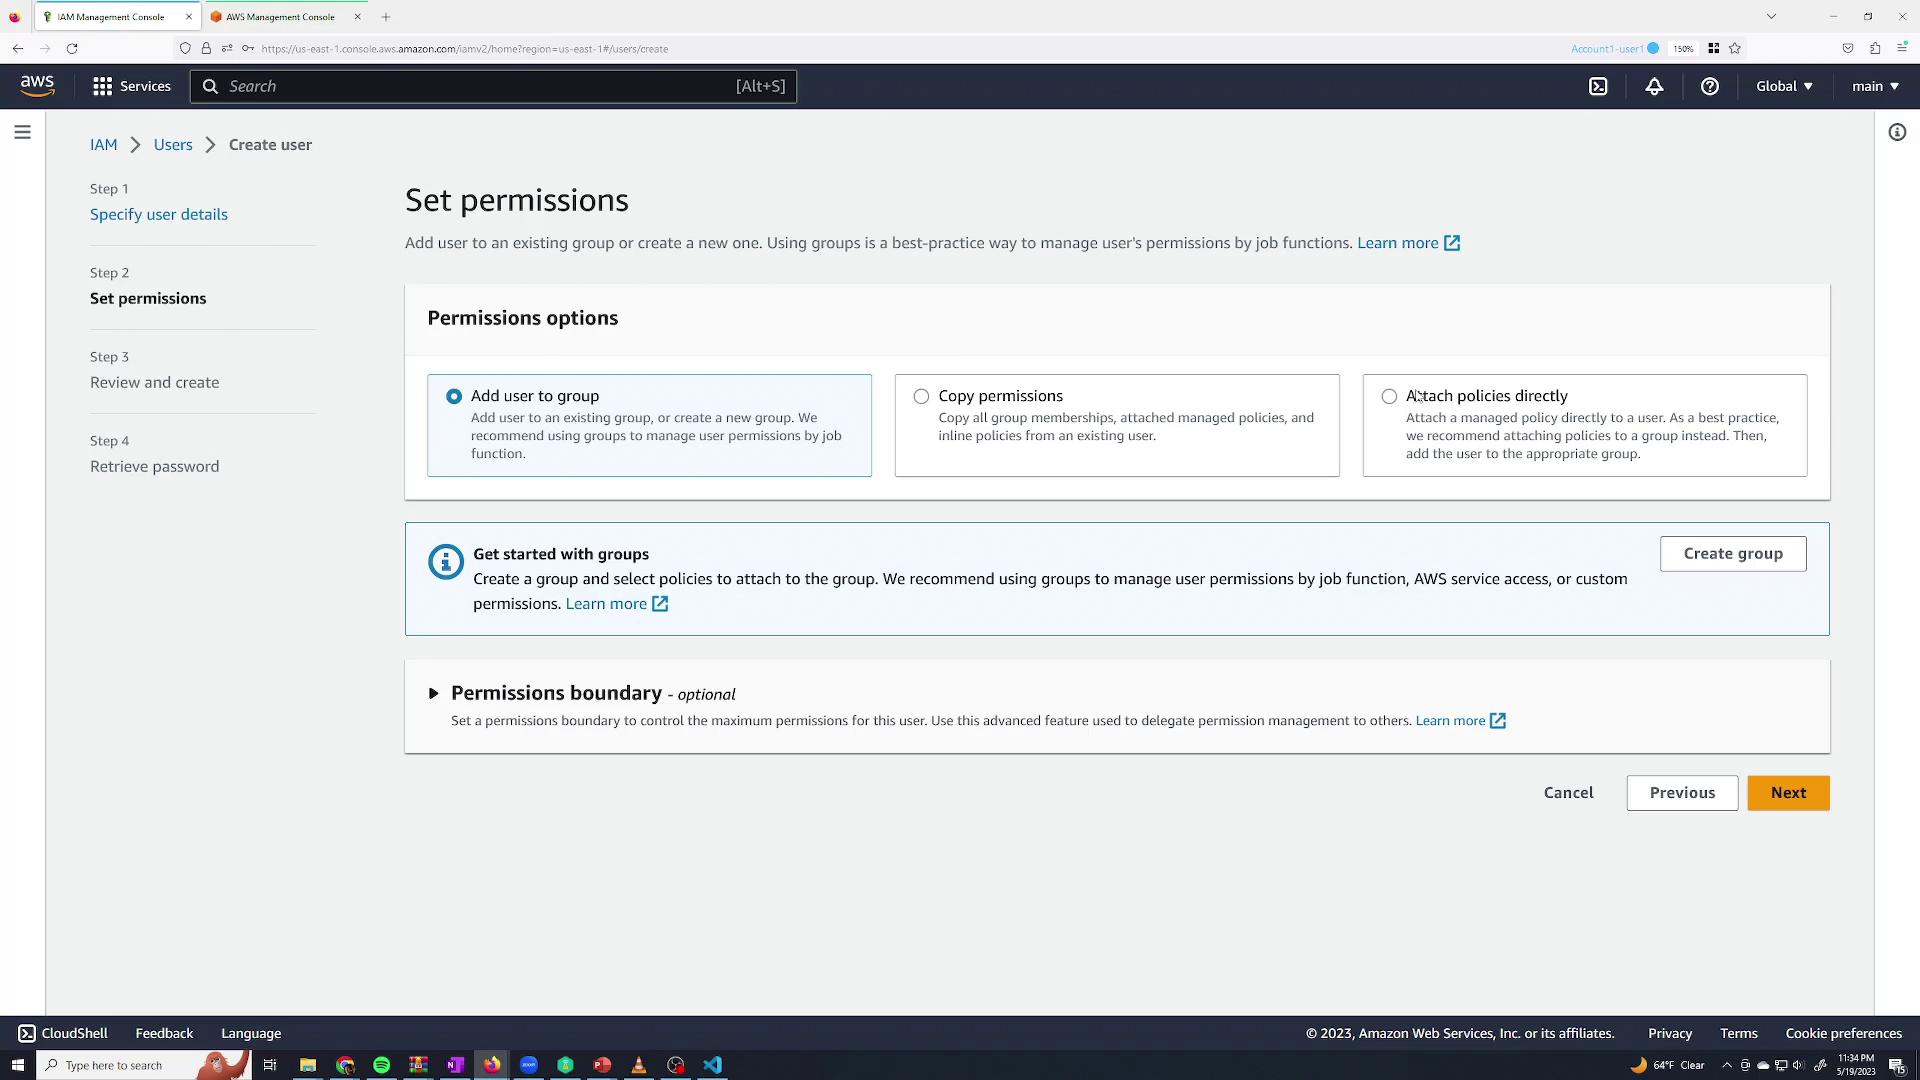
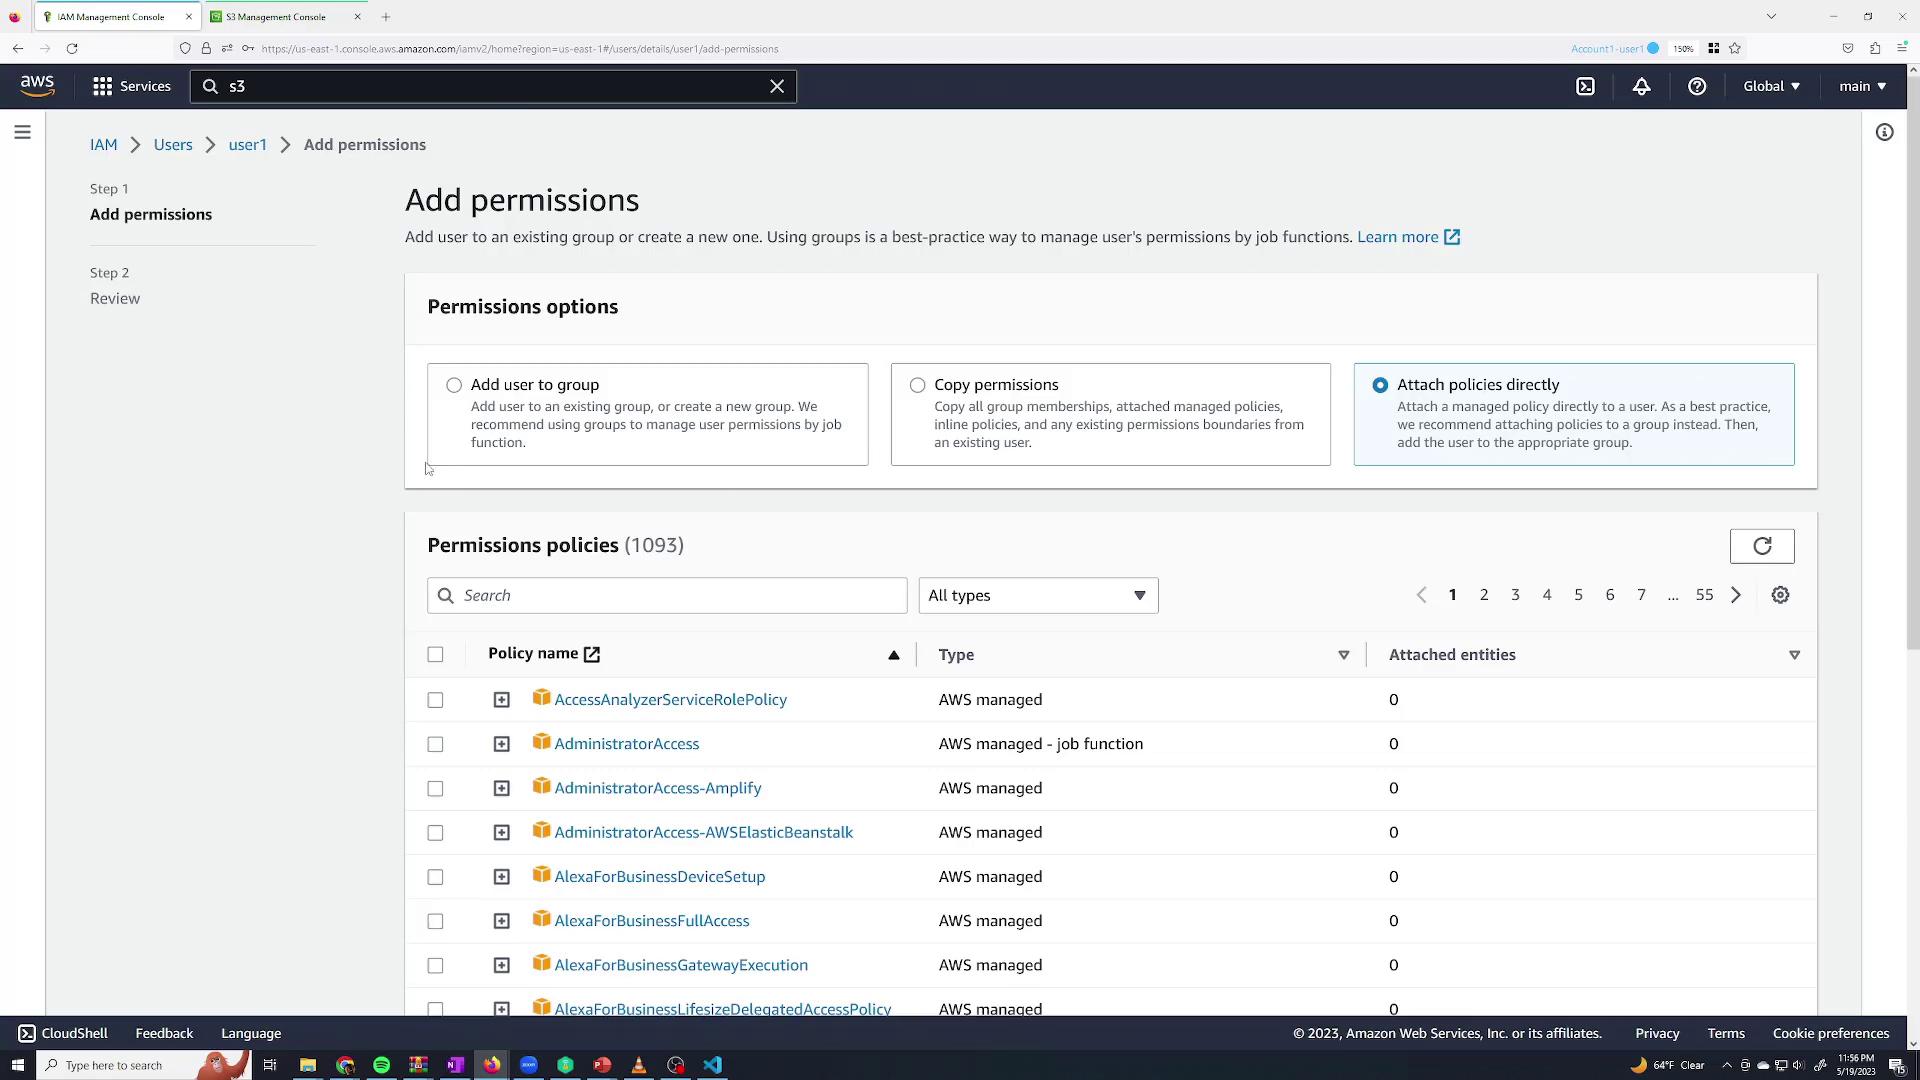
- Add the user to a group to inherit permissions.
- Copy permissions from another user.
- Attach policies directly to the user.

Testing the New User’s Permissions
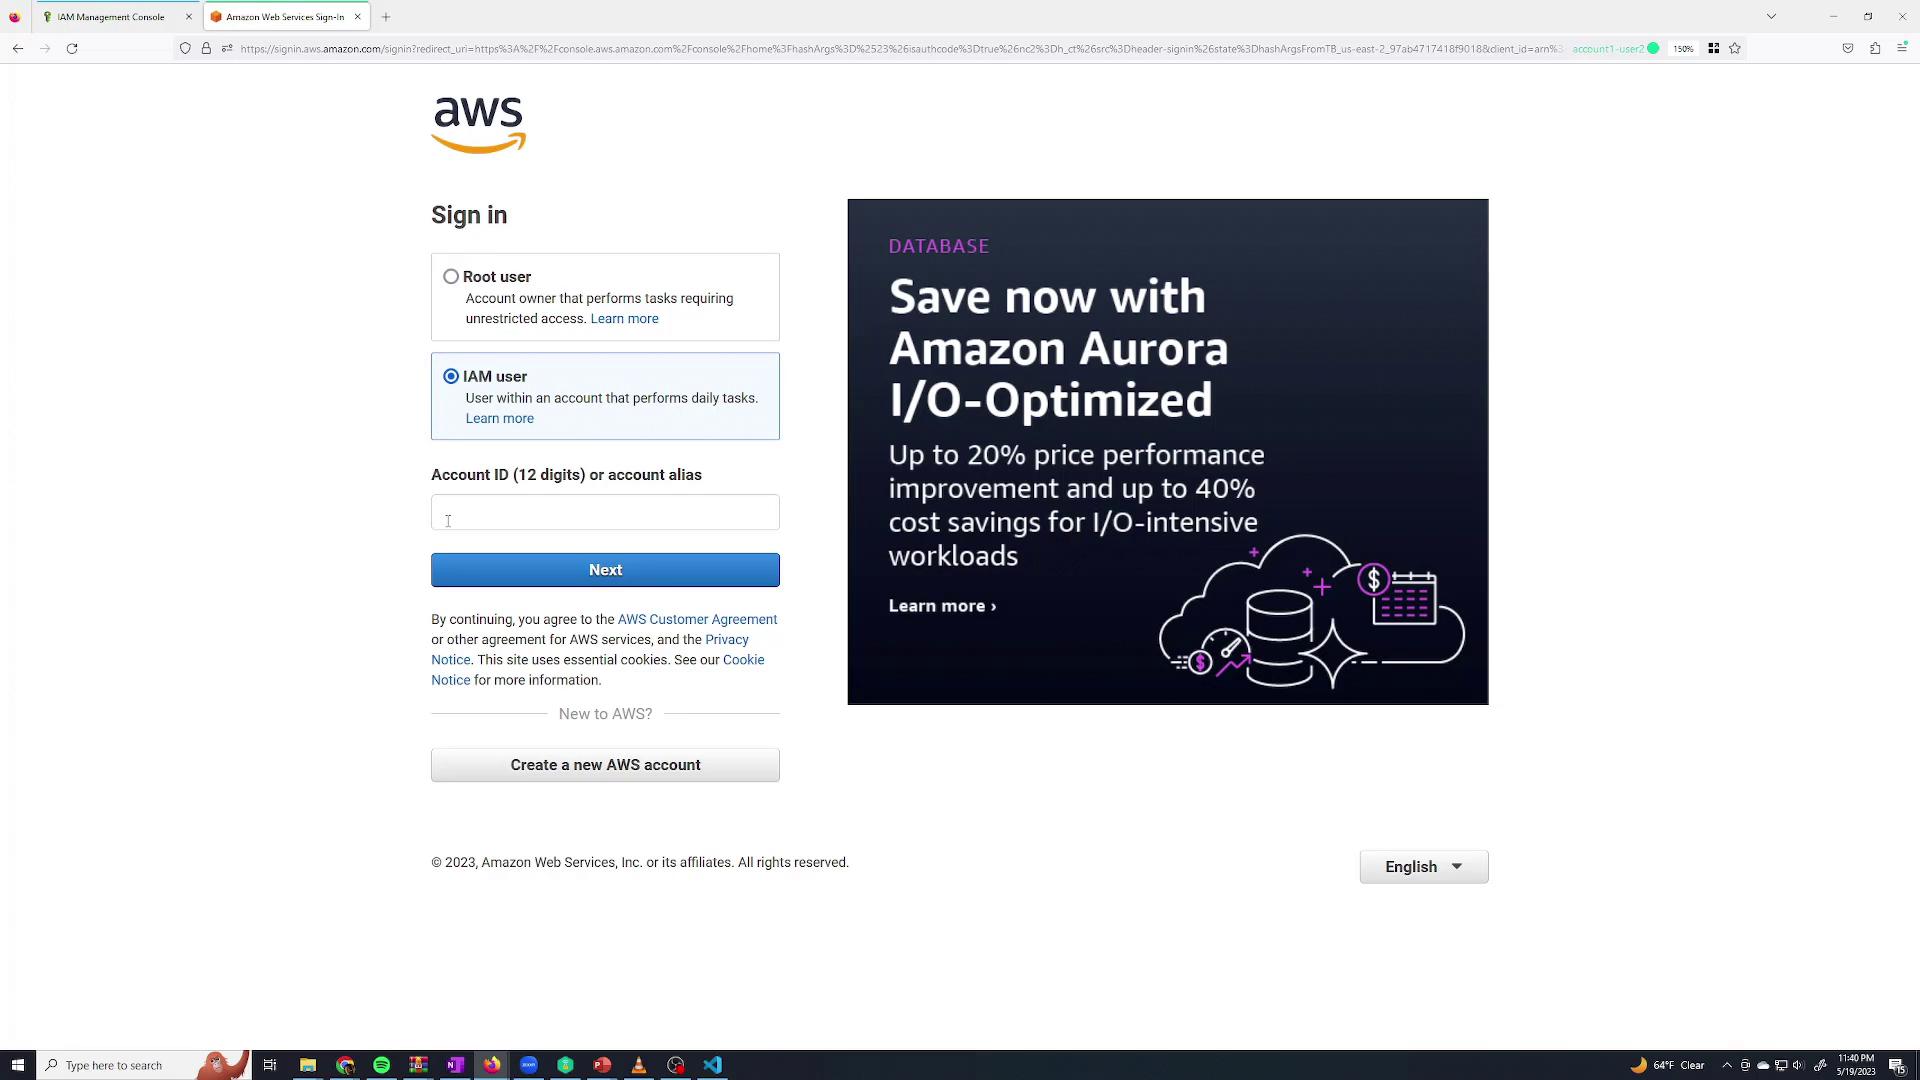
Now, log in as the “Sanjeev Thiyagarajan” IAM user. Since this IAM user currently has no permissions, it will not be able to perform any actions. Open a new browser tab, incognito window, or use a session management extension for this purpose. On the sign-in page, select Sign in as IAM user and enter:- The AWS Account ID (available from the root user’s account dropdown),
- The IAM user name, and
- The password you specified.
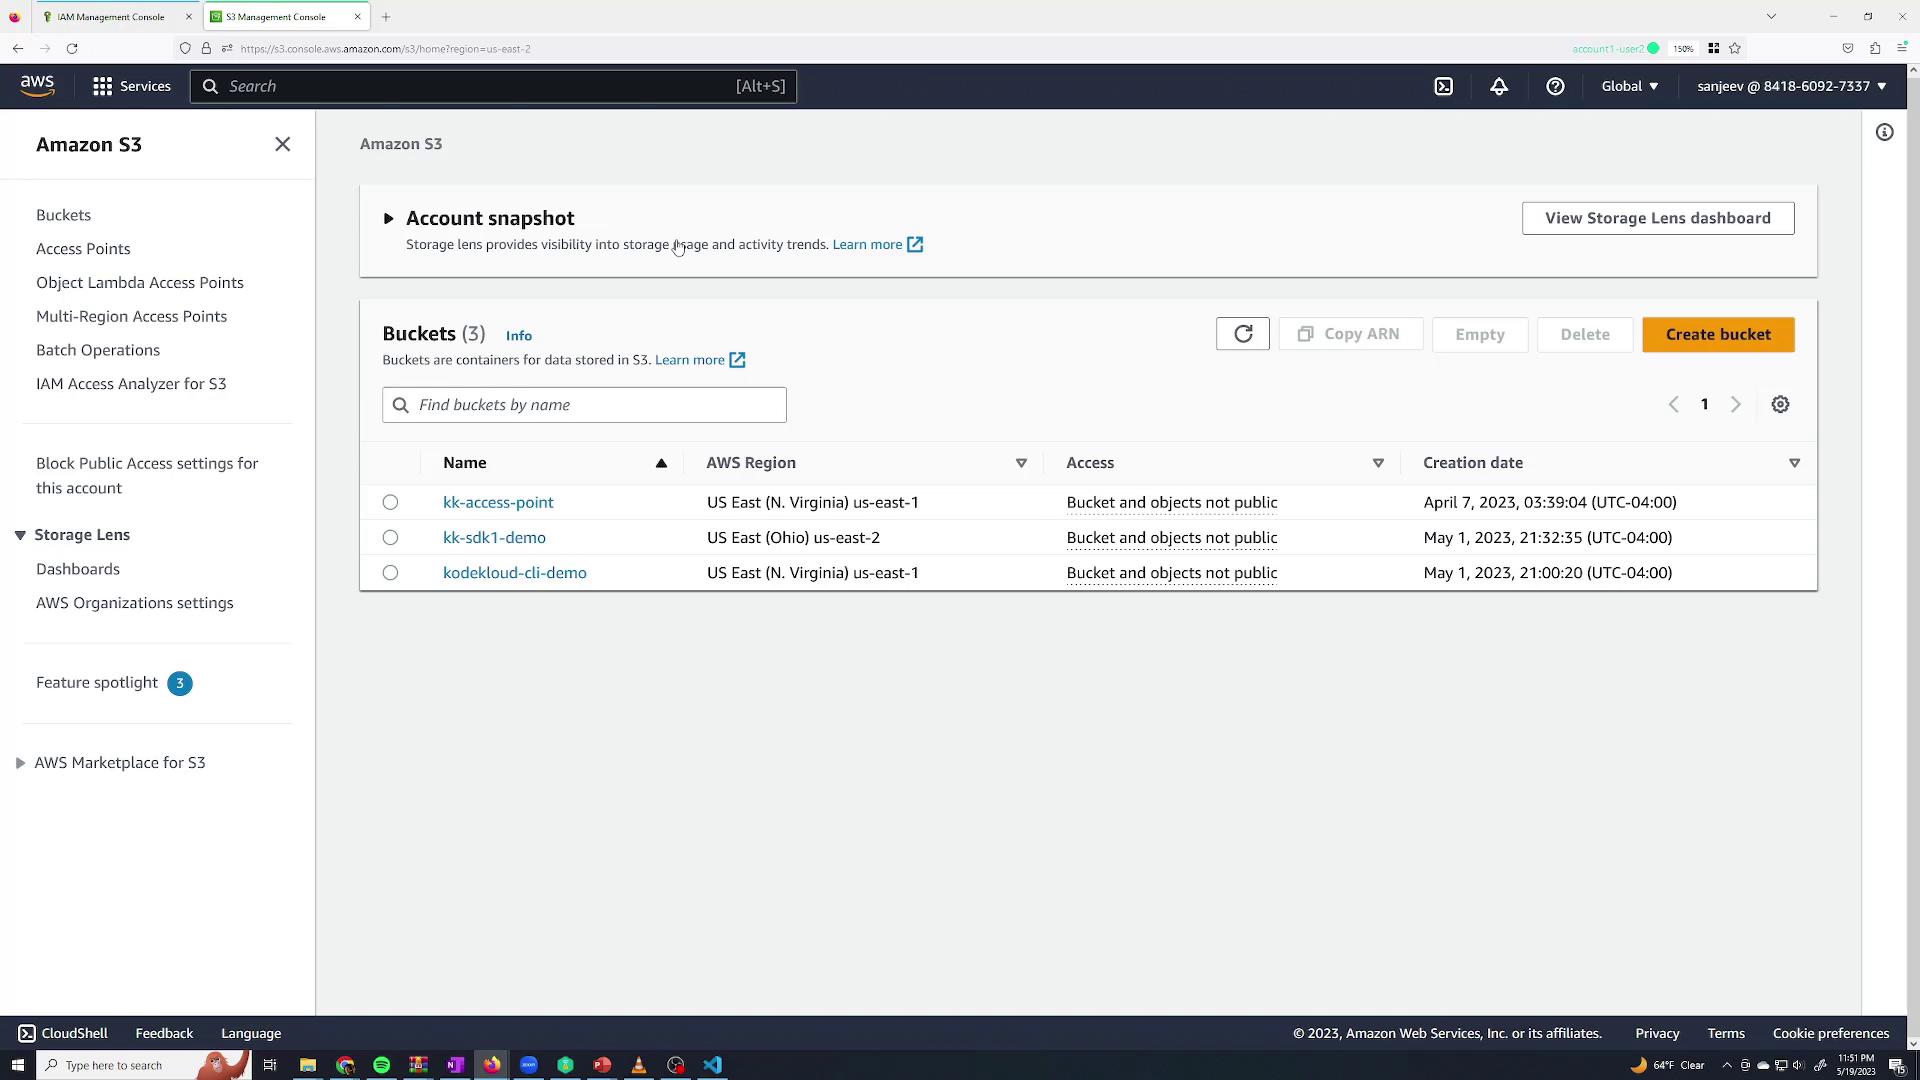
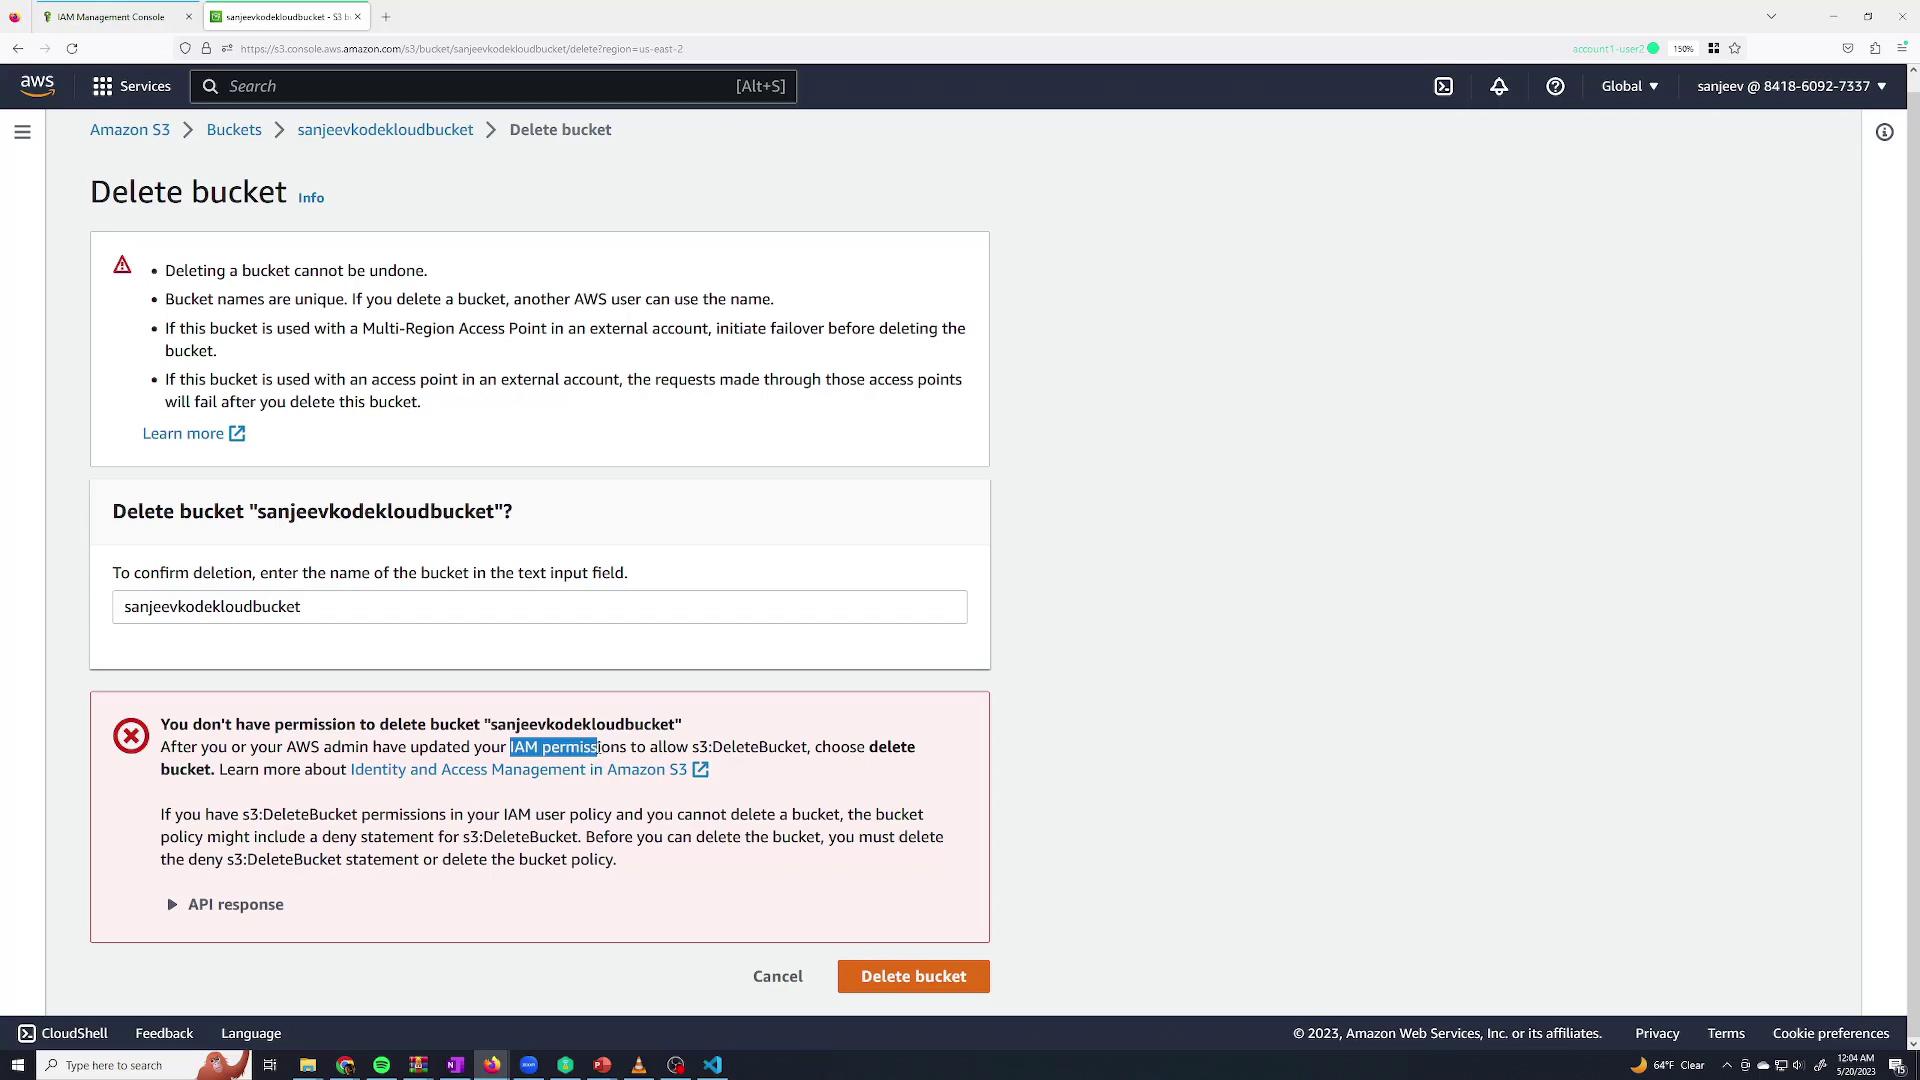
- Click on S3 from the console search.
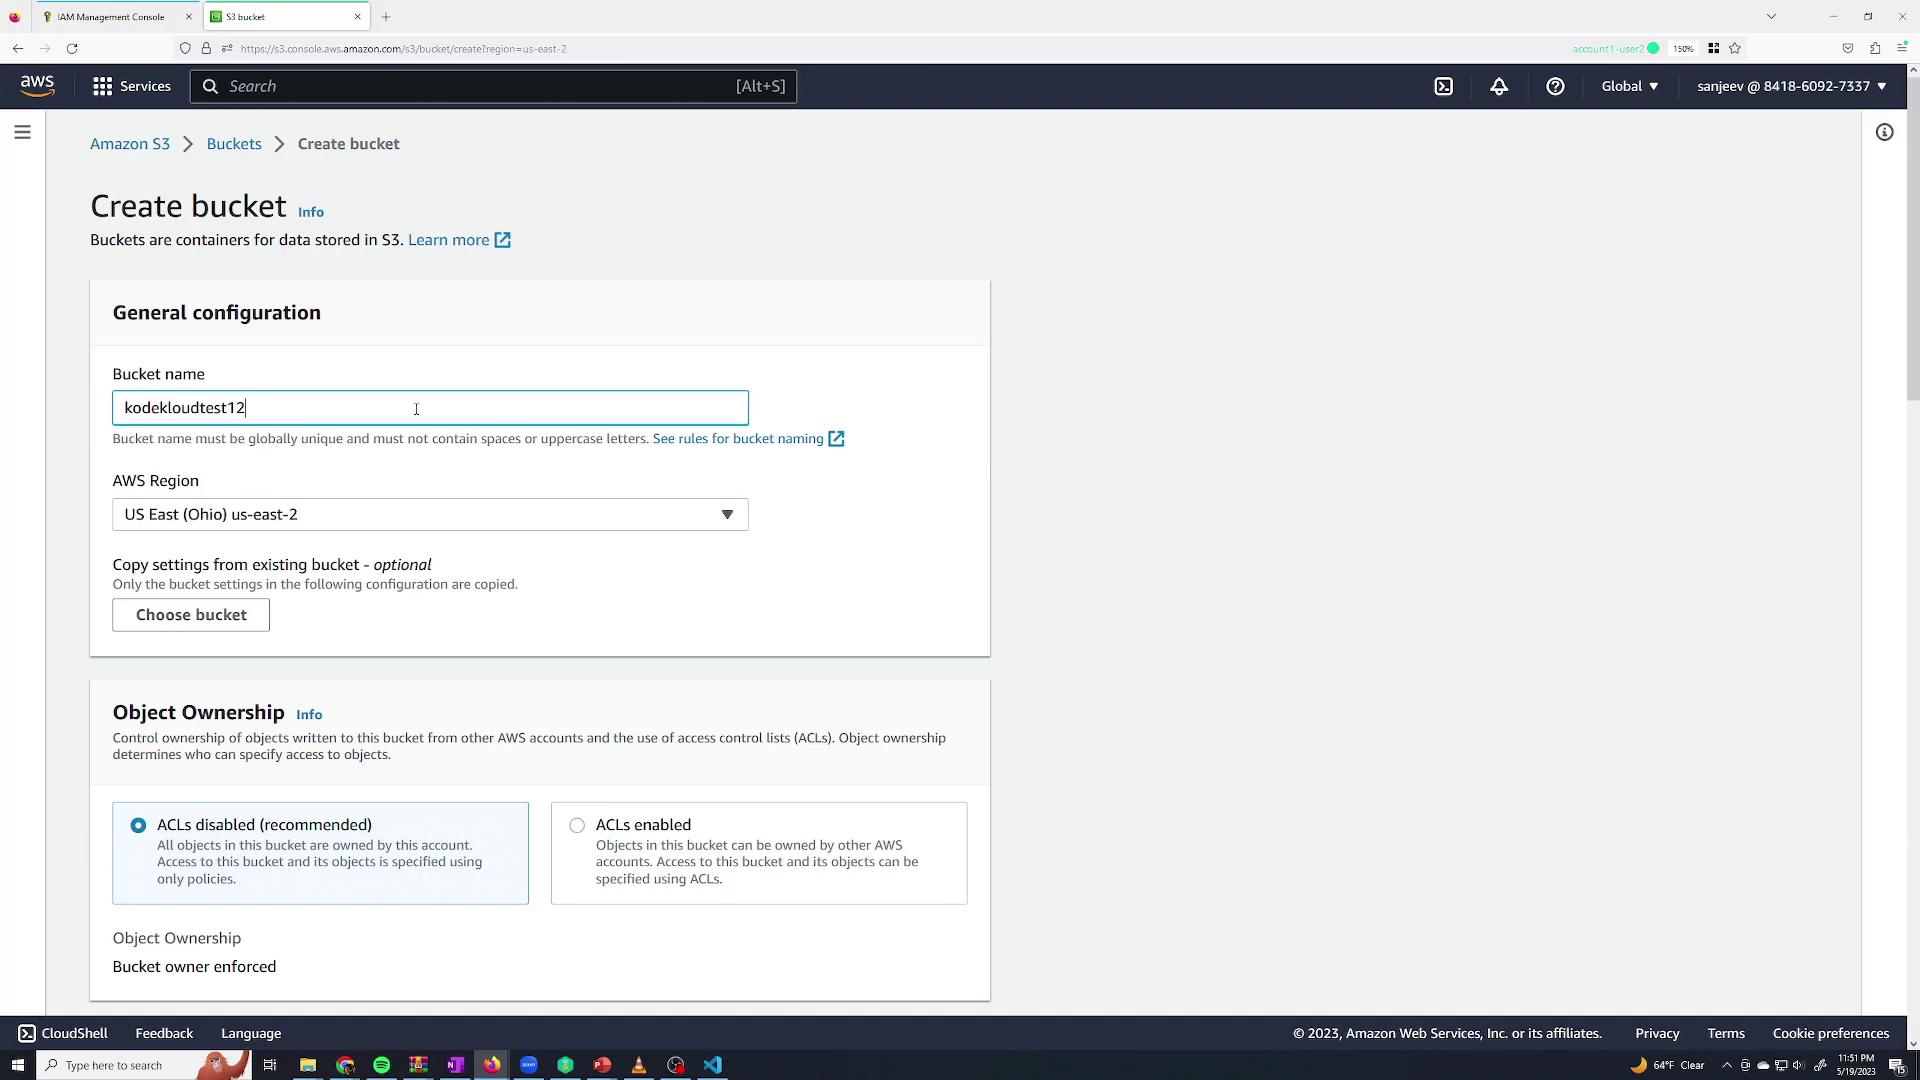
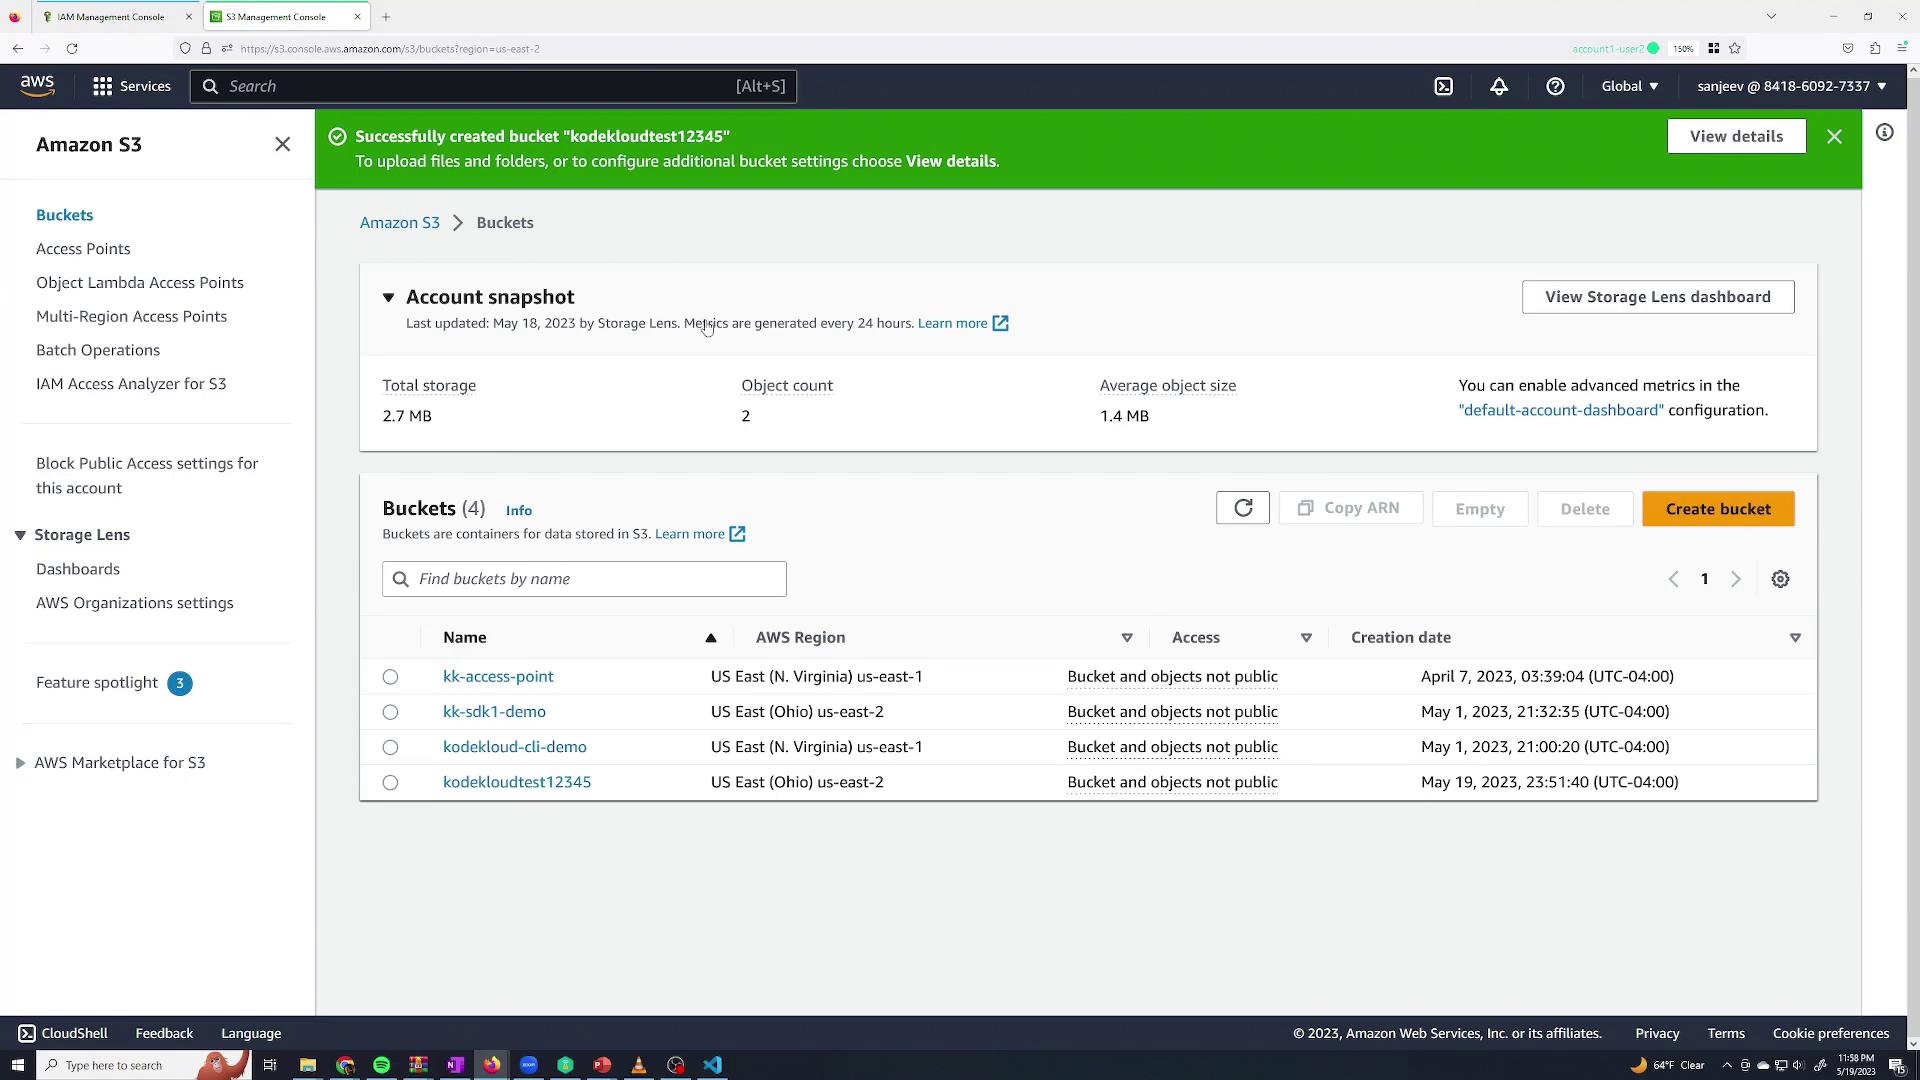
- Choose to create a bucket (name it and select a region as needed).
- Attempting to create the bucket will fail with an error stating that the “S3 Create Bucket” permission is required.
Granting Permissions via Policies
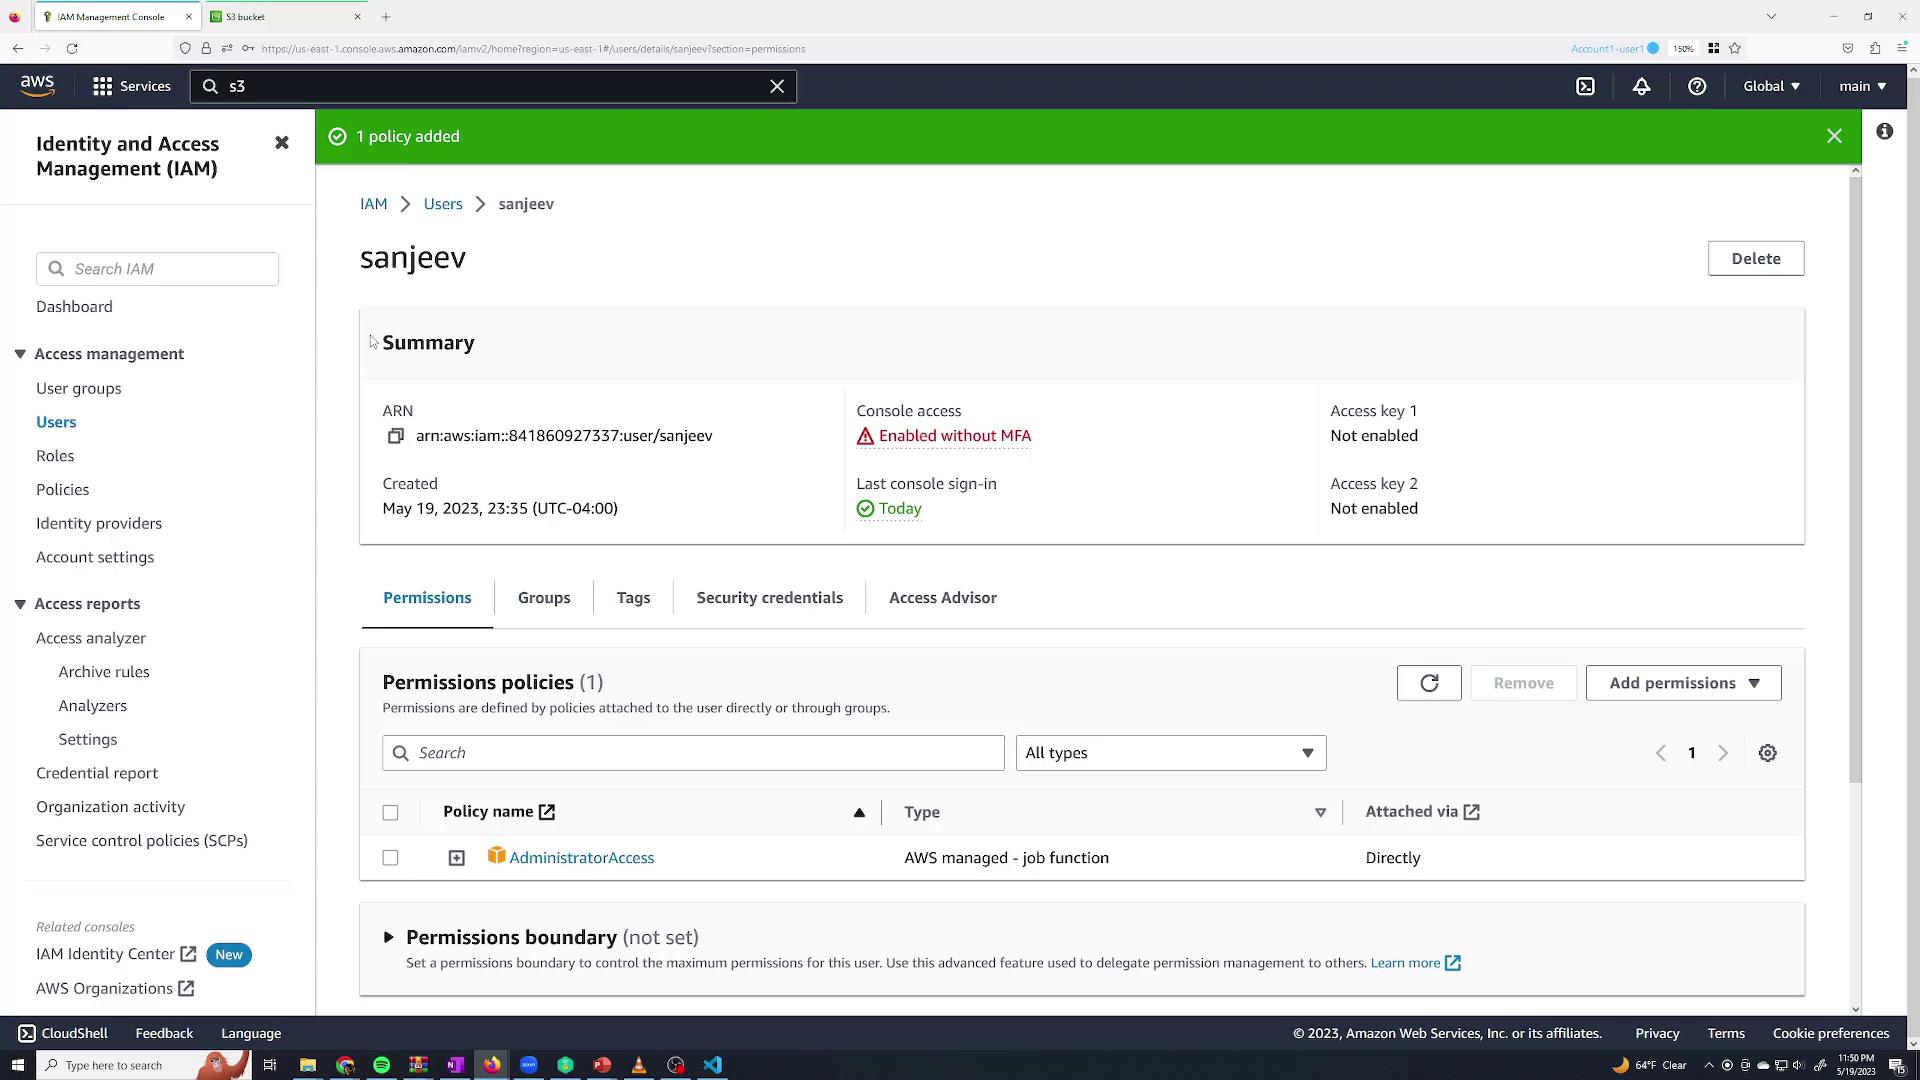
Since the Sanjeev user cannot modify any resources, log back in as the root user to grant permissions. Follow these steps:- Navigate to the IAM Users page.
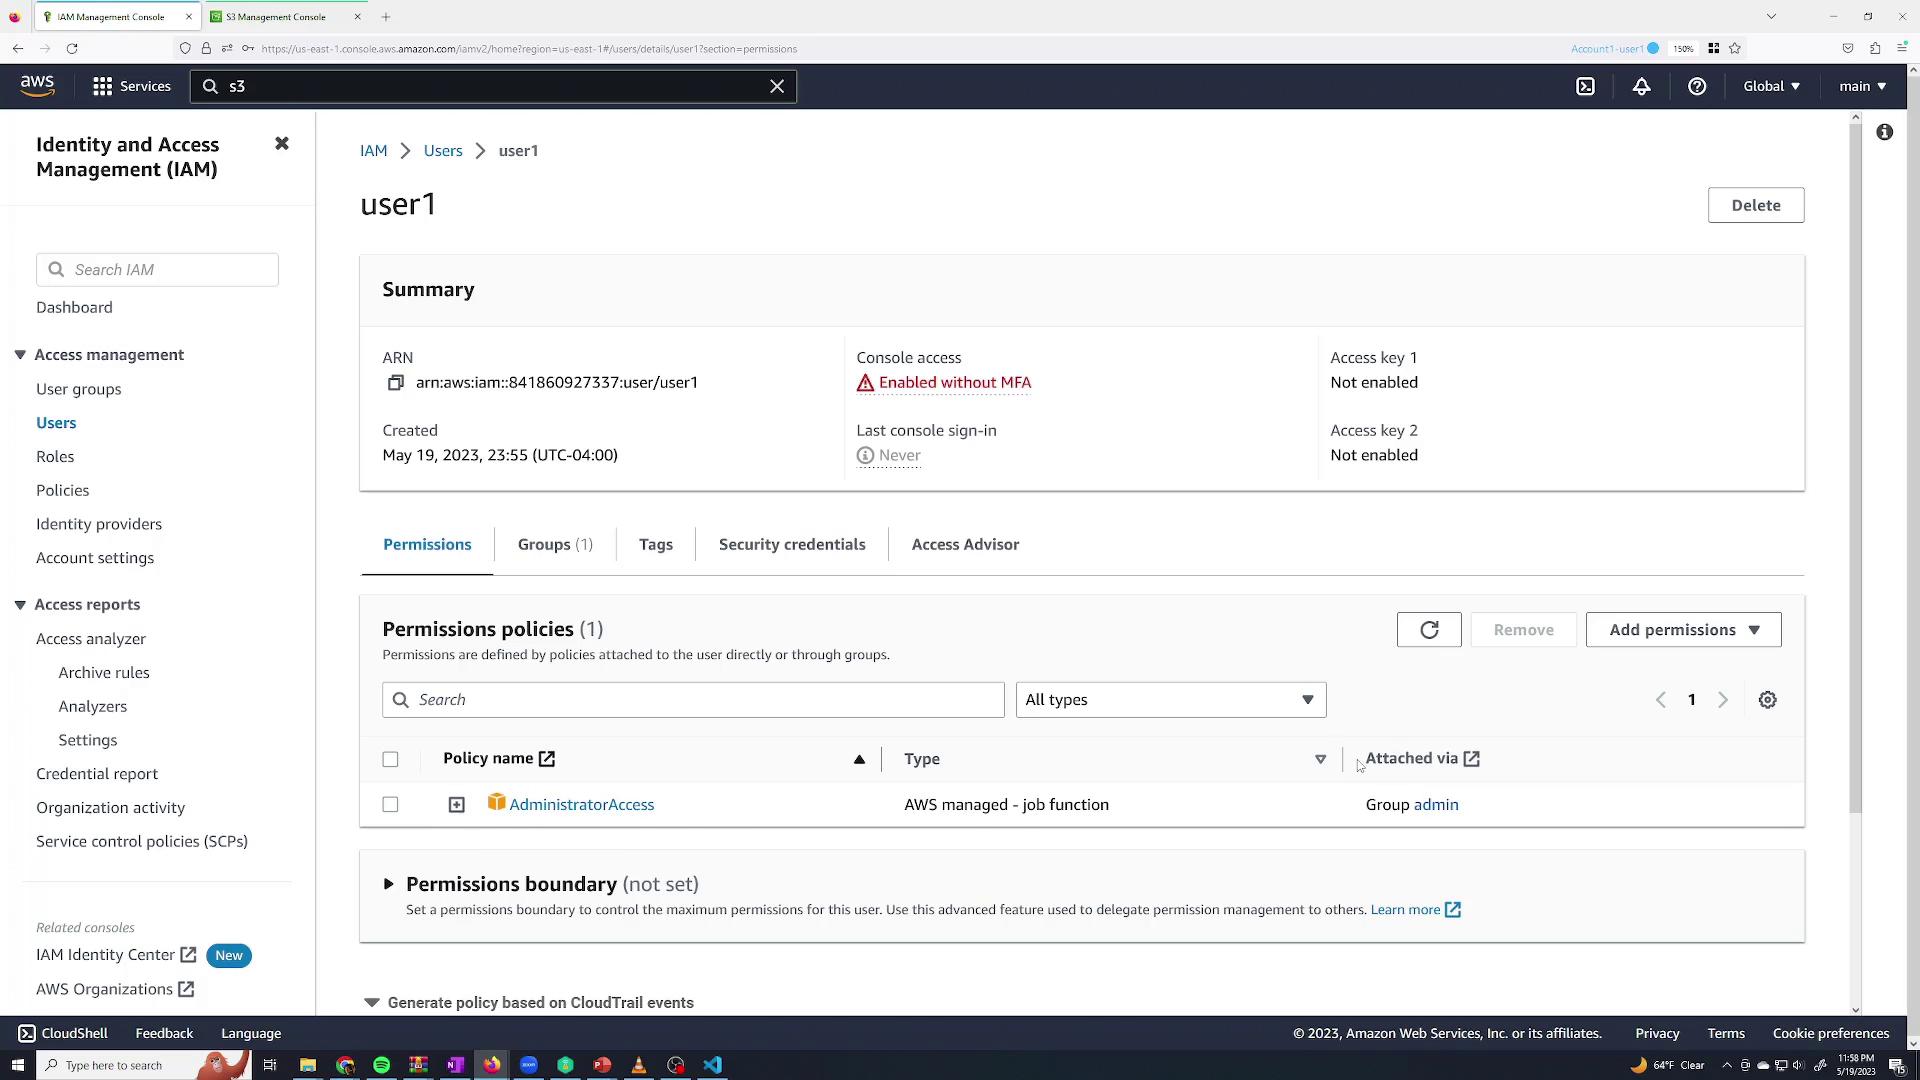
- Select the “Sanjeev Thiyagarajan” user.
- Go to the Permissions tab and click Add permissions.
- Create an inline policy.
- Copy permissions from another user.
- Add the user to a group.
- Attach AWS managed policies directly.

Using Groups to Manage Permissions
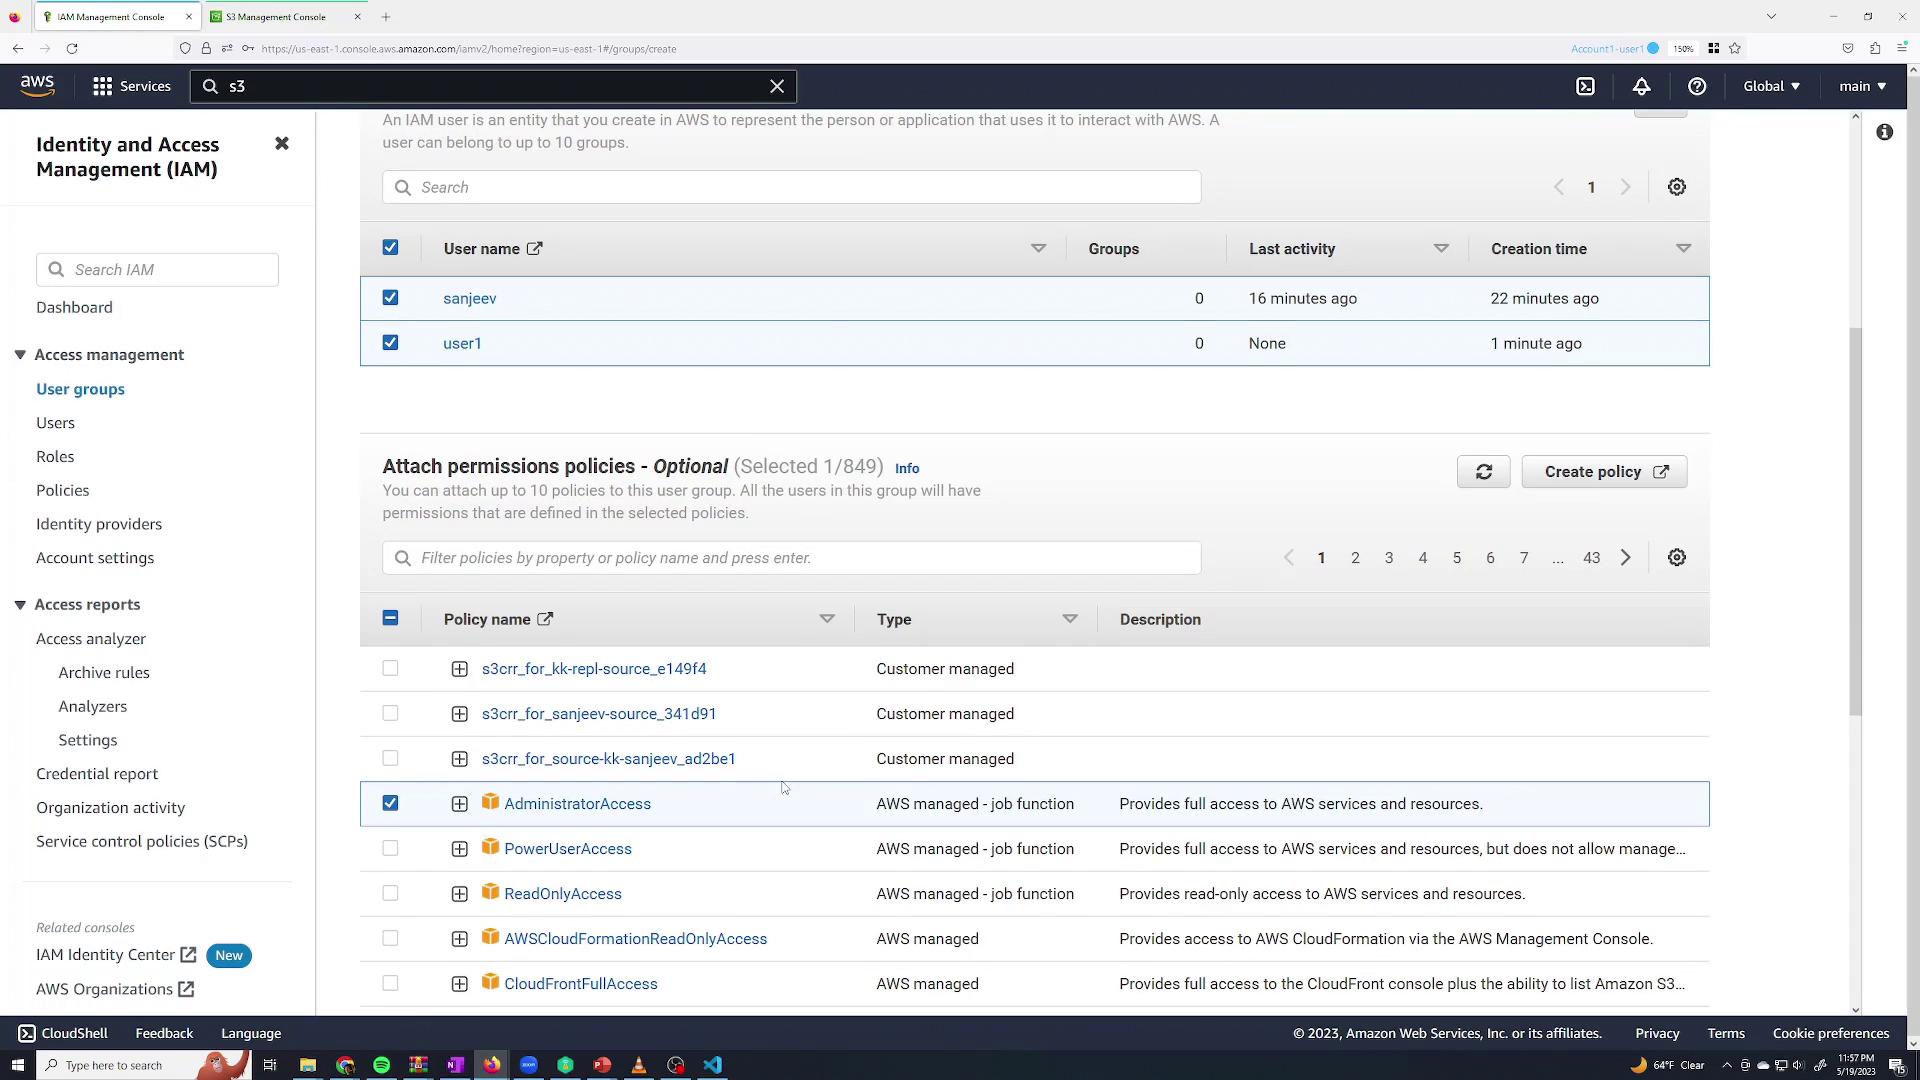
Managing permissions individually can be tedious, especially when onboarding multiple employees. IAM groups simplify this by allowing you to assign a set of policies to multiple users at once. For example, after revoking direct permissions from Sanjeev, you could:- Create a group named admin
- Add users (for instance, Sanjeev and a dummy user “user1”) to the group
- Attach the AdministratorAccess policy to the group
Creating and Assuming a Role
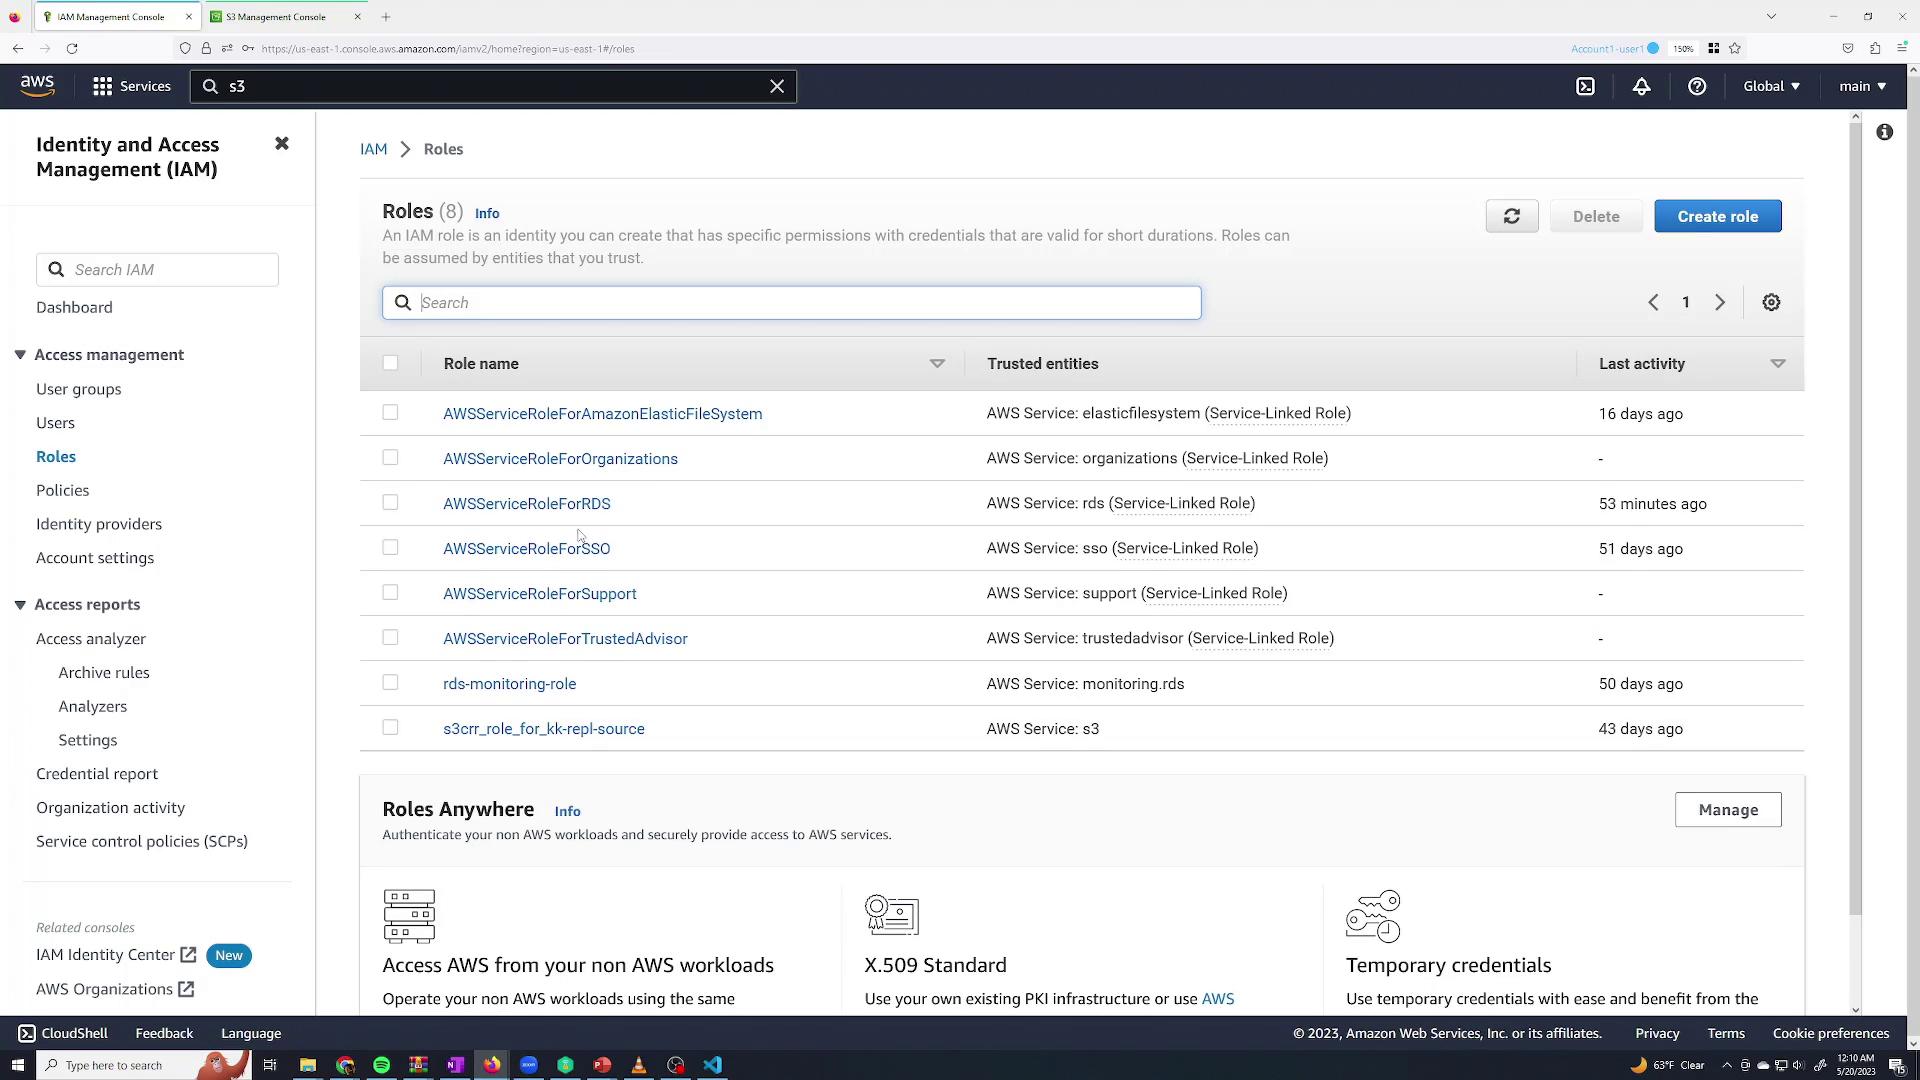
Roles in AWS IAM allow users or services to assume temporary permissions that differ from their default permissions. This is useful when a user occasionally needs elevated access—for example, full S3 access. To create a role with temporary S3 permissions:- Navigate to the Roles section in IAM and click Create Role.
- Select AWS account as the trusted entity if the role is to be assumed by an IAM user within your account.
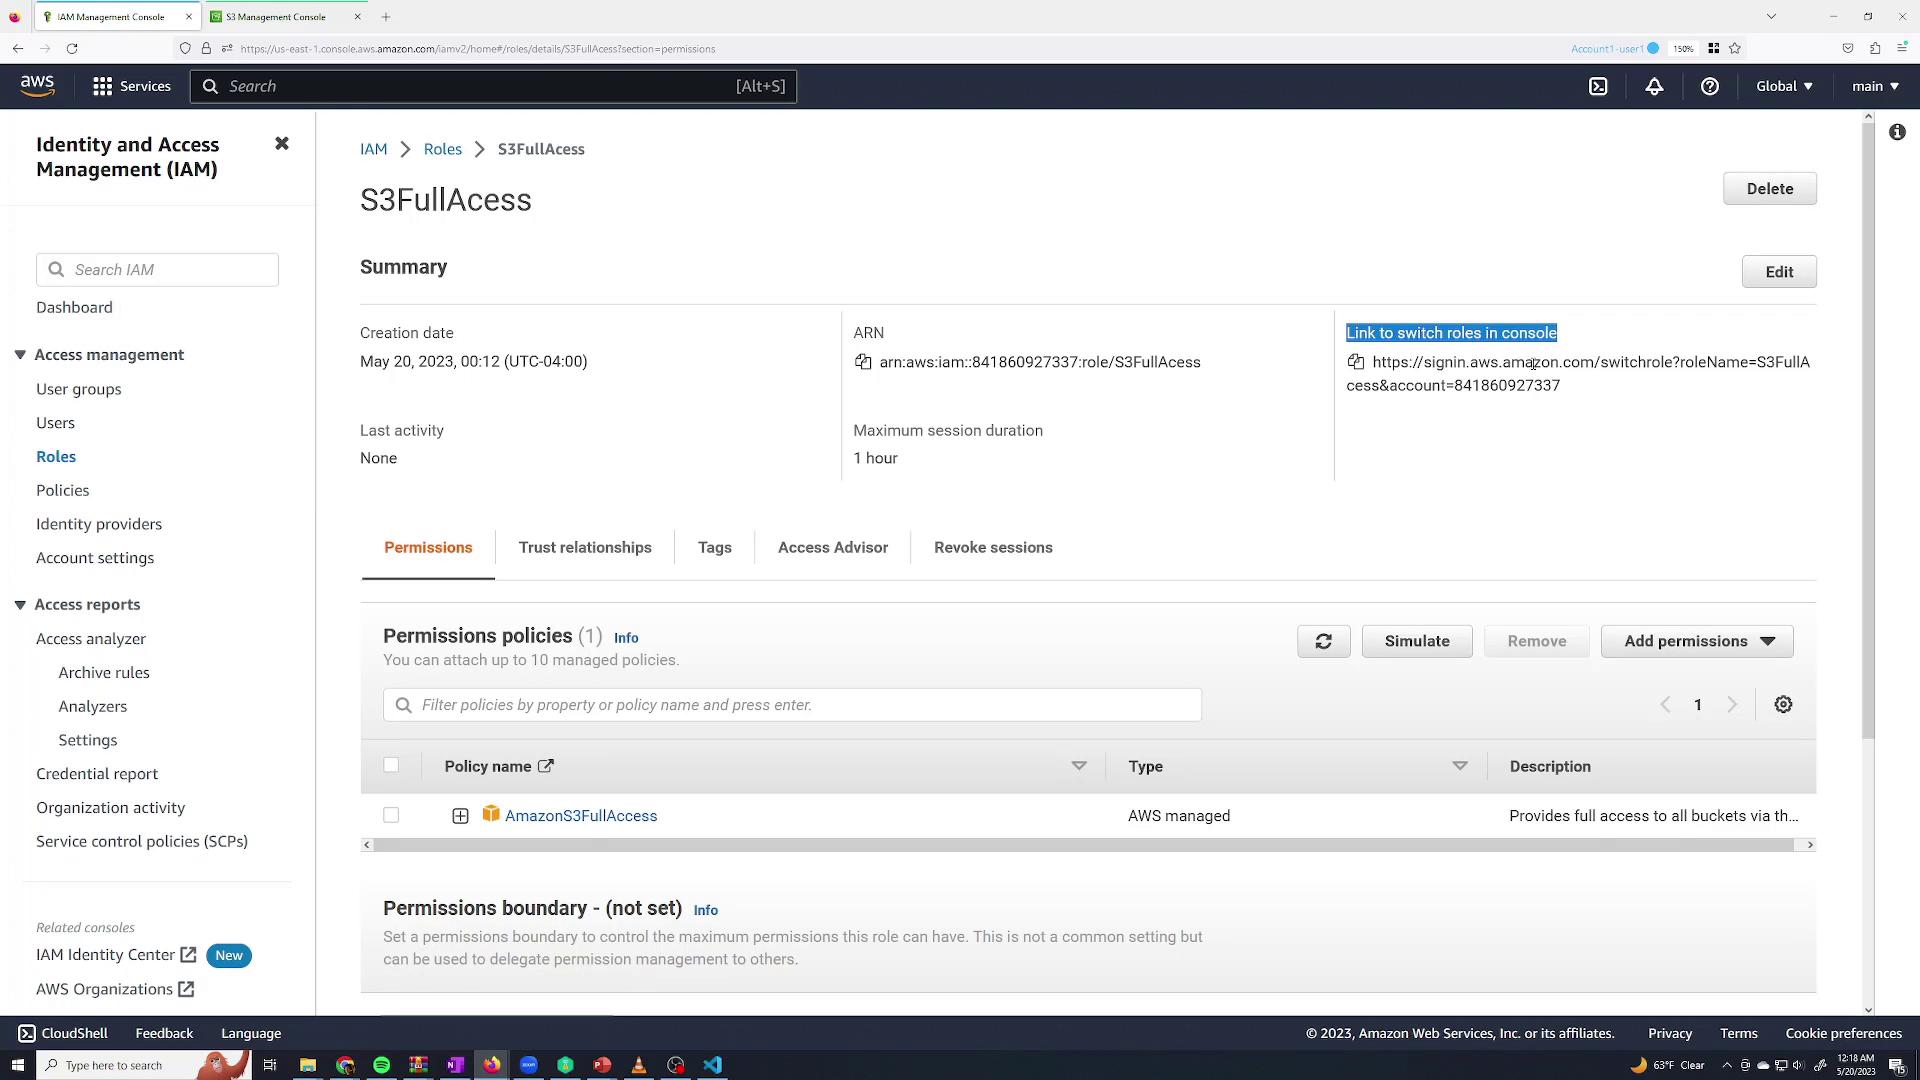
- Proceed by clicking Next and select the permission policy S3FullAccess (an AWS managed policy) to grant full Amazon S3 access. Reviewing this policy, you will see it permits S3 actions as shown below:
- Name the role, for example, S3FullAccess, and create it.
- Navigate to the Sanjeev user’s permissions.
- Click Add Inline Policy.
- For the service STS, allow the AssumeRole action only for the specific role’s Amazon Resource Name (ARN).
- In the Roles section, click on the S3FullAccess role and copy the Switch Role URL.
- In the Sanjeev session, paste the URL. The console will automatically populate the necessary details (account ID and role name), allowing you to specify a display name for the session (e.g., “S3 role”).
- Click Switch Role to assume the role.
Summary
In this lesson, we covered how to:- Create IAM users and provide them with console access.
- Grant permissions directly via policies.
- Use groups to manage permissions efficiently across multiple users.
- Create roles for temporary elevated access and control who may assume these roles.