AWS Solutions Architect Associate Certification
Services Storage
EBS Demo part 2
Welcome back to the second part of our EBS demo. In this lesson, you'll learn how to transfer an EBS volume between servers—first within the same availability zone and then across different availability zones.
Previously, we moved our EBS volume from Server One to Server Two seamlessly because both resided in the same availability zone. Since an EBS volume is zonal, it can be attached to any EC2 instance within its current zone. Now, we'll move the EBS volume to Server Three, which is located in a different availability zone (us-east-1b).
Pro Tip
Before moving volumes, always ensure that any active file systems are unmounted to avoid data corruption.
Unmounting the Volume
On the current server where the volume is in use, unmount it by executing:
sudo umount /ebsdemo
After unmounting, verify that no file systems are mounted by listing block devices:
lsblk
Expected output:
| NAME | MAJ:MIN | RM | SIZE | RO | TYPE | MOUNTPOINTS |
|---|---|---|---|---|---|---|
| xvda | 202:0 | 0 | 8G | 0 | disk | |
| ├─xvda1 | 202:1 | 0 | 8G | 0 | part | / |
| ├─xvda2 | 259:0 | 0 | 0 | 0 | part | |
| └─xvda128 | 259:1 | 0 | 10M | 0 | part | |
| xvdf | 202:80 | 0 | 10G | 0 | disk |
Verify the file system type on the volume:
sudo file -s /dev/xvdf
You should see output similar to:
/dev/xvdf: SGI XFS filesystem data (blksz 4096, inosz 512, v2 dirs)
Next, create a mount point and mount the volume to verify the data inside:
sudo mkdir /ebsdemo
sudo mount /dev/xvdf /ebsdemo
cd /ebsdemo
ls
cat demo.txt
The file "demo.txt" should display:
I made this on server
Finally, unmount the volume again:
cd ..
sudo umount /ebsdemo
Confirm that the volume is not mounted by checking:
df -k
Detaching and Moving the Volume
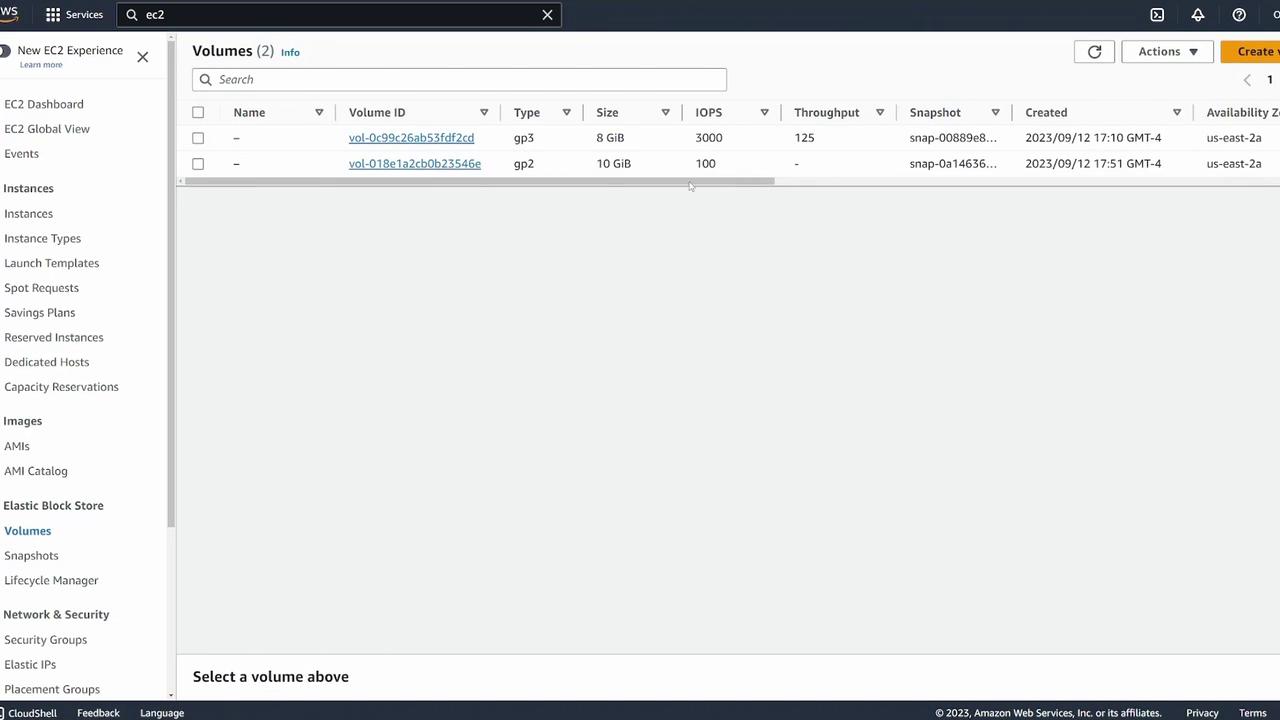
With the volume unmounted, log into your AWS console and navigate to the EBS Volumes section. Select the volume, and ensure it is detached or in the process of detaching. Wait until its status changes to "available." Refresh the page if necessary.
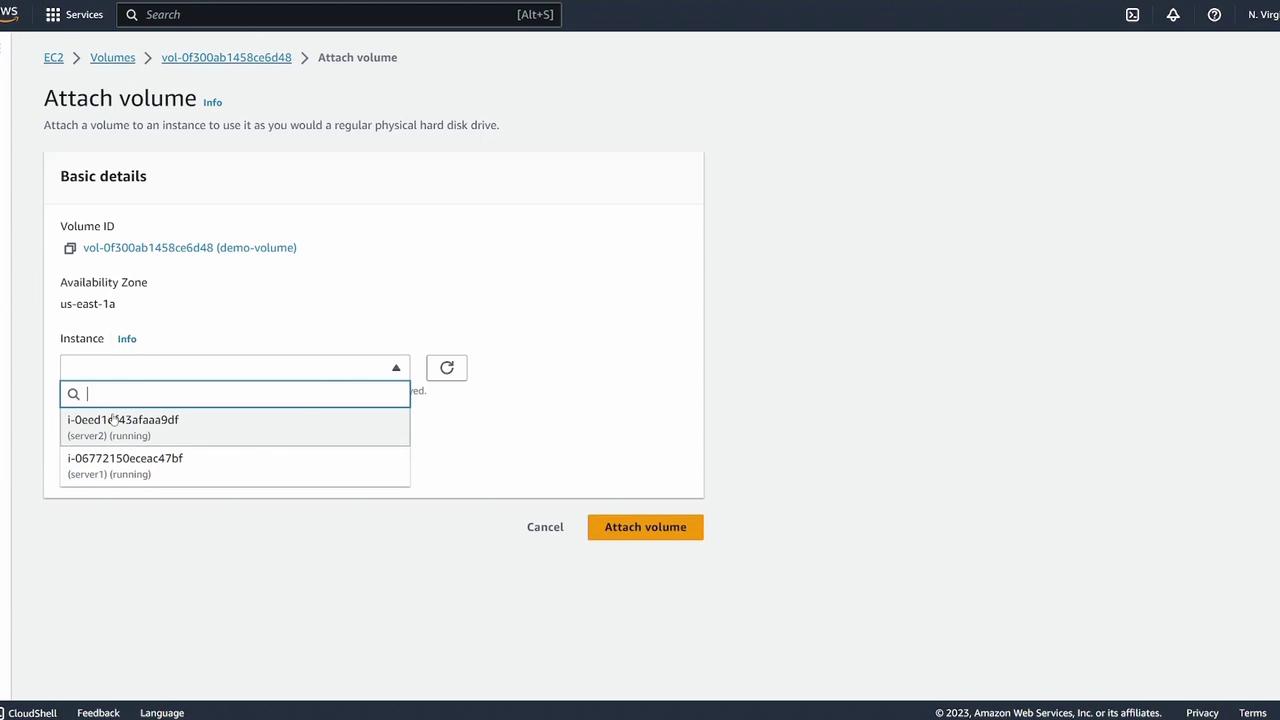
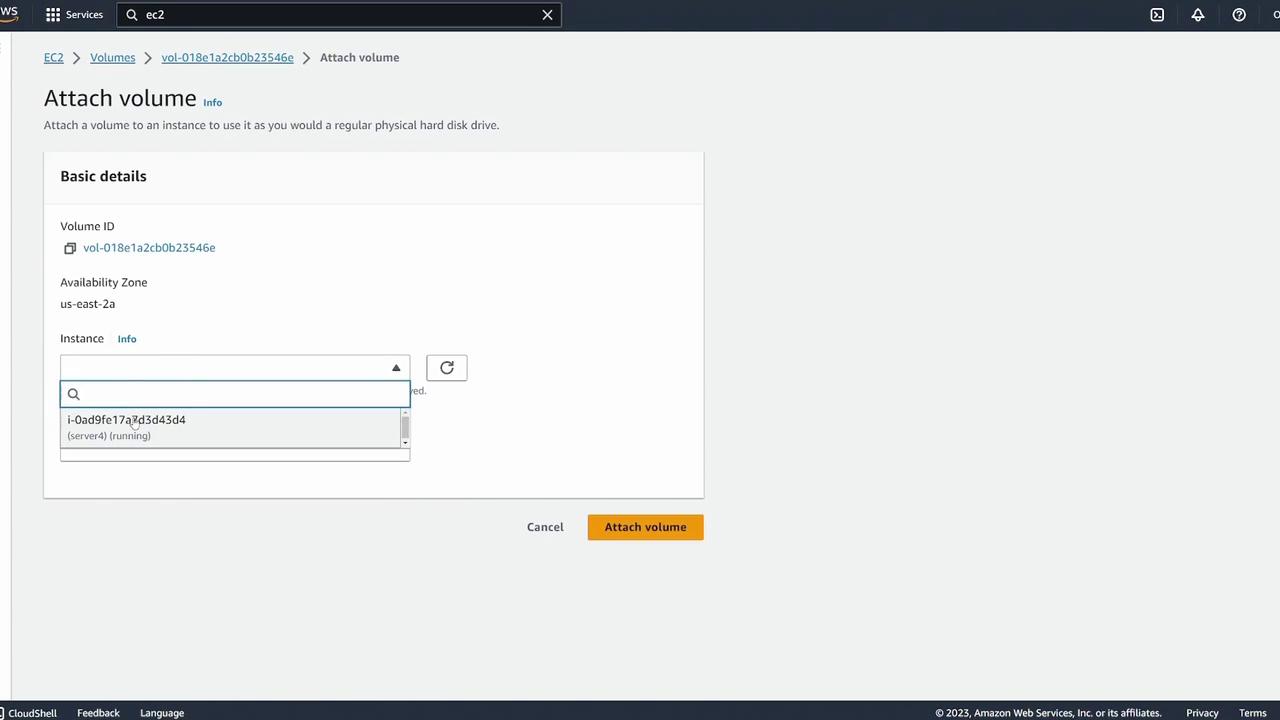
Next, click the "Attach volume" button to try attaching the volume to Server Three. Note that only servers in the same availability zone (Server One and Server Two) will appear in the instance selection dropdown.
Creating a Snapshot to Overcome Availability Zone Limitations
Because you cannot directly attach an EBS volume to an instance in a different availability zone, the solution is to create a snapshot of your volume. Follow these steps:
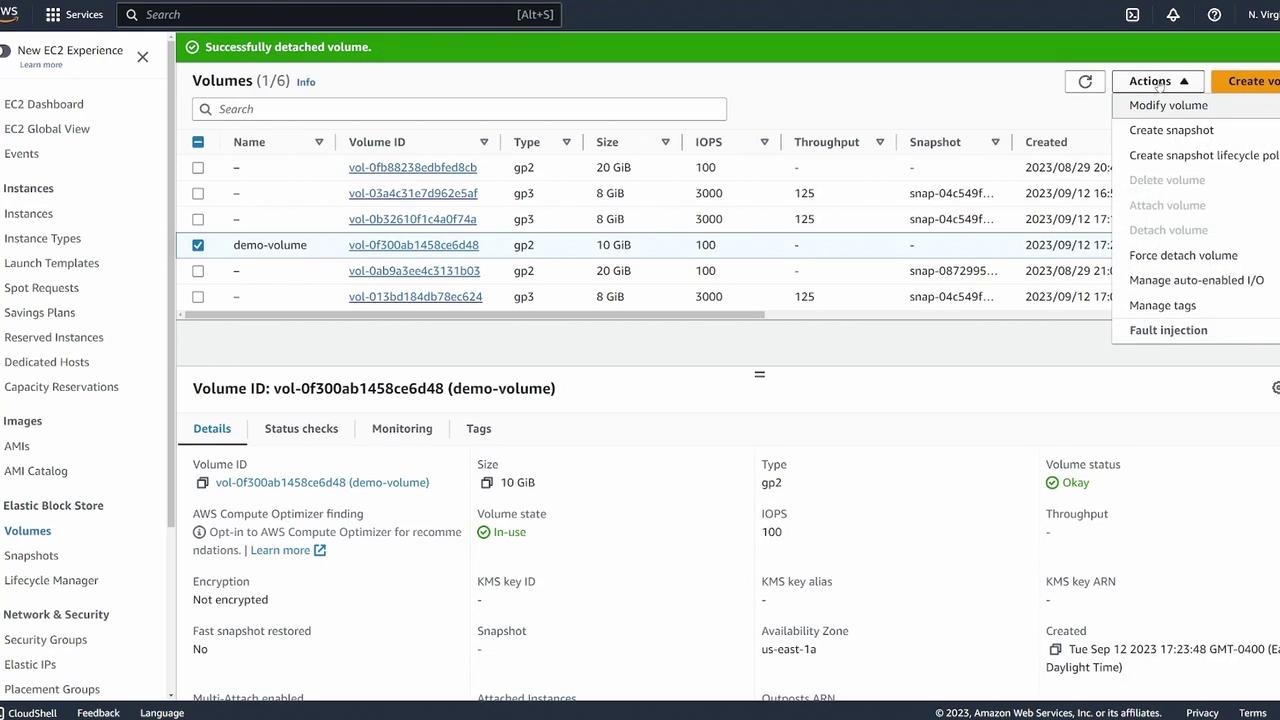
- Select the volume.
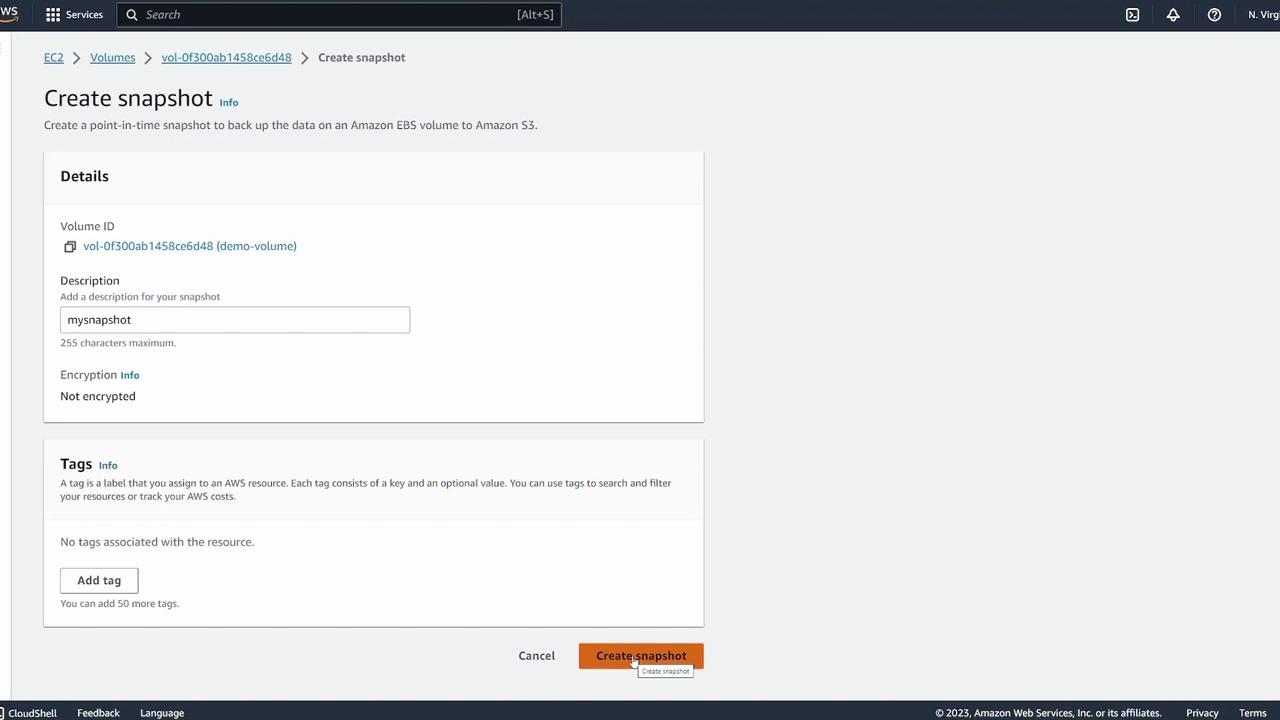
- Choose "Actions" > "Create snapshot."
- (Optional) Add a description (e.g., “my snapshot”) and confirm.
Creating a snapshot produces an exact copy of your volume's data.
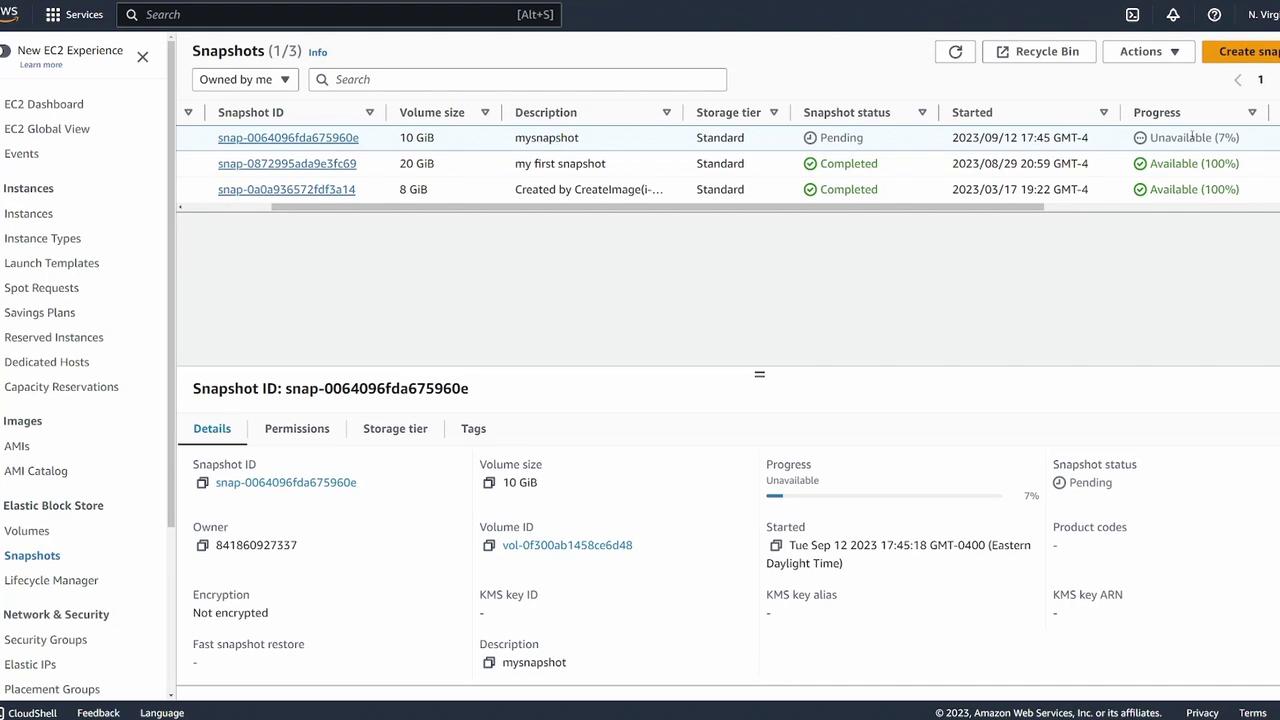
Monitor the snapshot’s progress in the Snapshots section. It may initially show a status like "pending" or a progress percentage until it turns "available."
Creating a New Volume in a Different Availability Zone
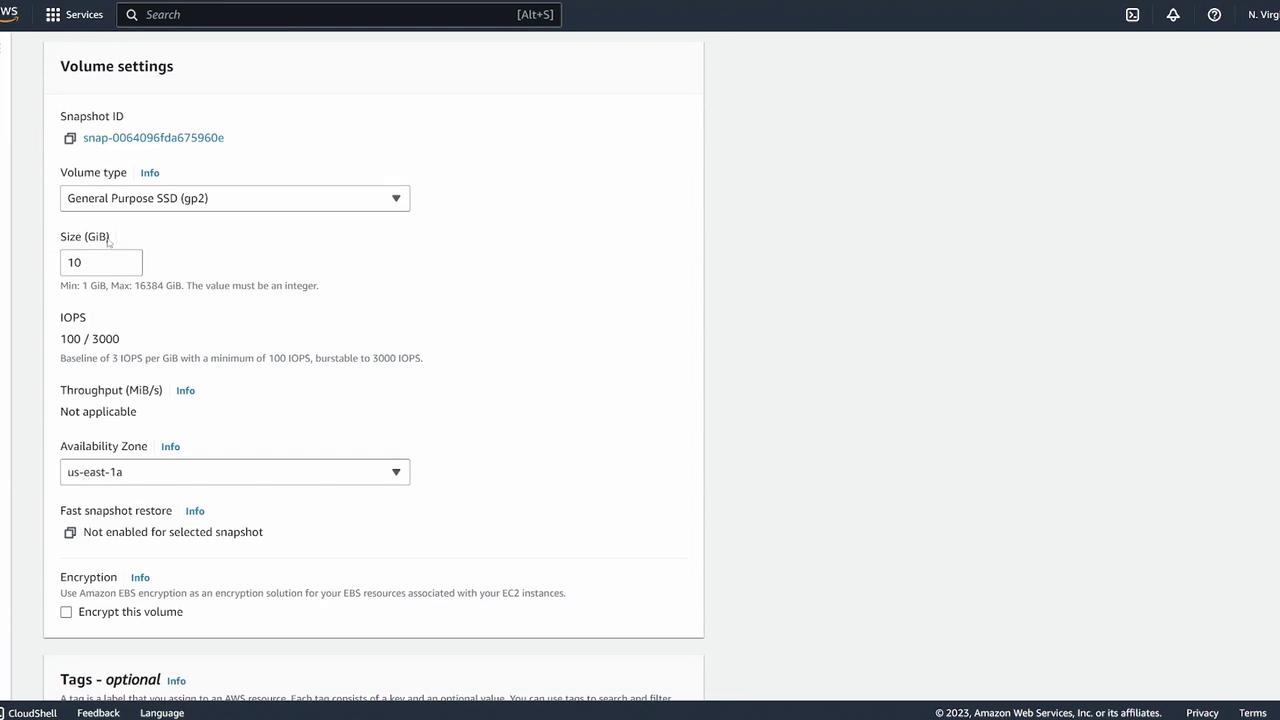
Once the snapshot is available, follow these steps to create a new volume in the target availability zone:
- Select the snapshot.
- From the "Actions" dropdown, choose "Create volume from snapshot."
- Change the availability zone to the target zone (e.g., US East 1B for Server Three). You can adjust volume type, size, and other settings as needed.
- (Optional) Add tags (for example, name the volume "EBS clone").
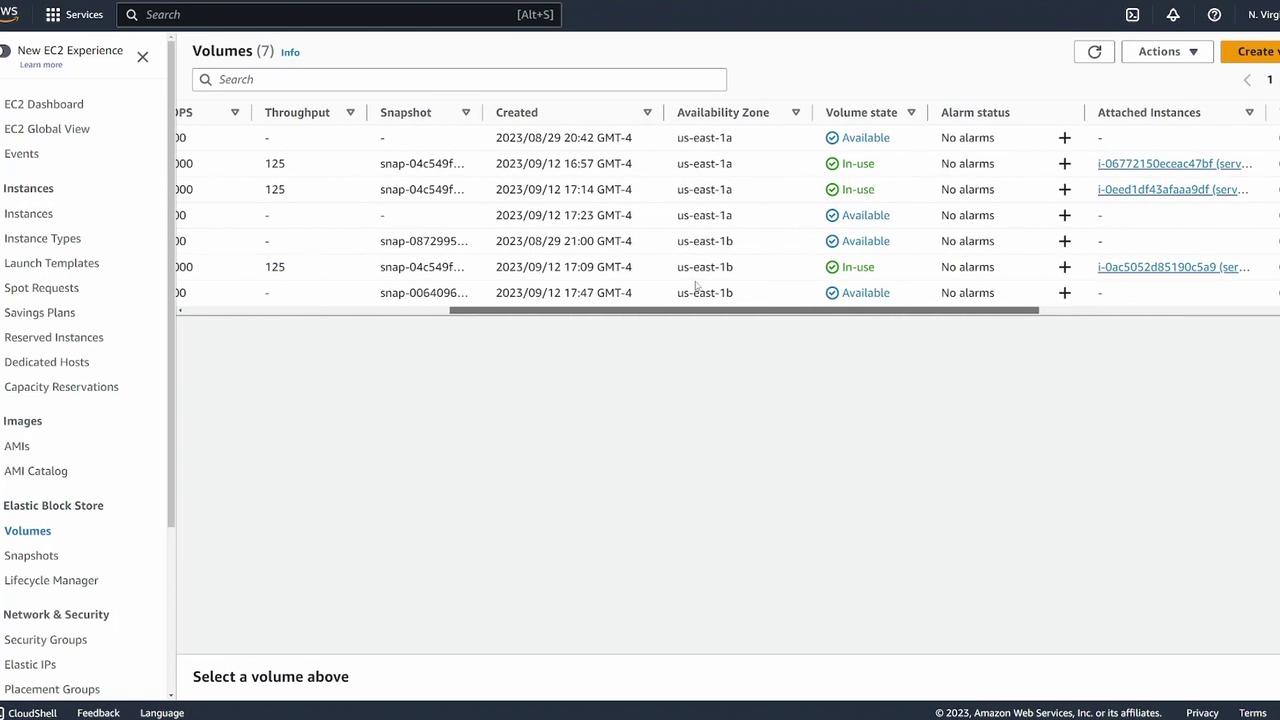
After creating the new volume, confirm in the Volumes section that the clone appears in the correct availability zone.
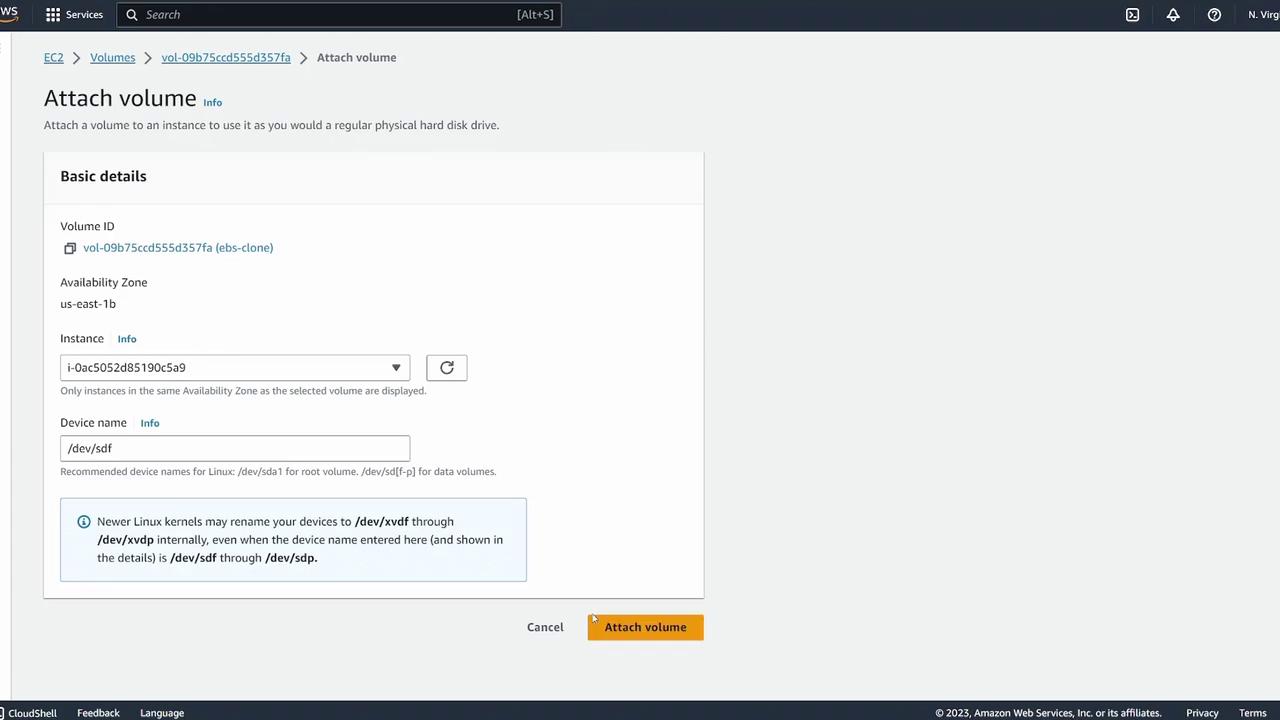
Now, attach the new volume to Server Three:
Verifying on Server Three
Log into Server Three via your terminal and run the following commands to verify that the block device is attached and to confirm the file system:
lsblk
Expected output should look similar to this:
| NAME | MAJ:MIN | RM | SIZE | RO | TYPE | MOUNTPOINTS |
|---|---|---|---|---|---|---|
| xvda | 202:0 | 0 | 8G | 0 | disk | |
| ├─xvda1 | 202:1 | 0 | 8G | 0 | part | / |
| ├─xvda127 | 259:0 | 0 | 1M | 0 | part | |
| └─xvda128 | 259:1 | 0 | 10M | 0 | part | |
| xvdf | 202:80 | 0 | 10G | 0 | disk |
Check the filesystem on the new volume:
sudo file -s /dev/xvdf
Expected output:
/dev/xvdf: SGI XFS filesystem data (blksz 4096, inosz 512, v2 dirs)
Then, create the mount point and mount the volume:
sudo mkdir /ebsdemo
sudo mount /dev/xvdf /ebsdemo
Change directory to the mount point and verify the transferred data:
cd /ebsdemo/
ls
cat demo.txt
The file "demo.txt" should display:
I made this on server
This confirms that the original volume's data has been successfully cloned and attached to Server Three in a different availability zone.
Moving Volumes Across Regions
If you need to migrate the volume to a completely different AWS region (for example, from Northern Virginia to Ohio), you cannot directly create a volume from a snapshot in another region. Instead, you must:
- Copy the snapshot from the original region to the desired region.
- Create a volume from the copied snapshot in the target region.
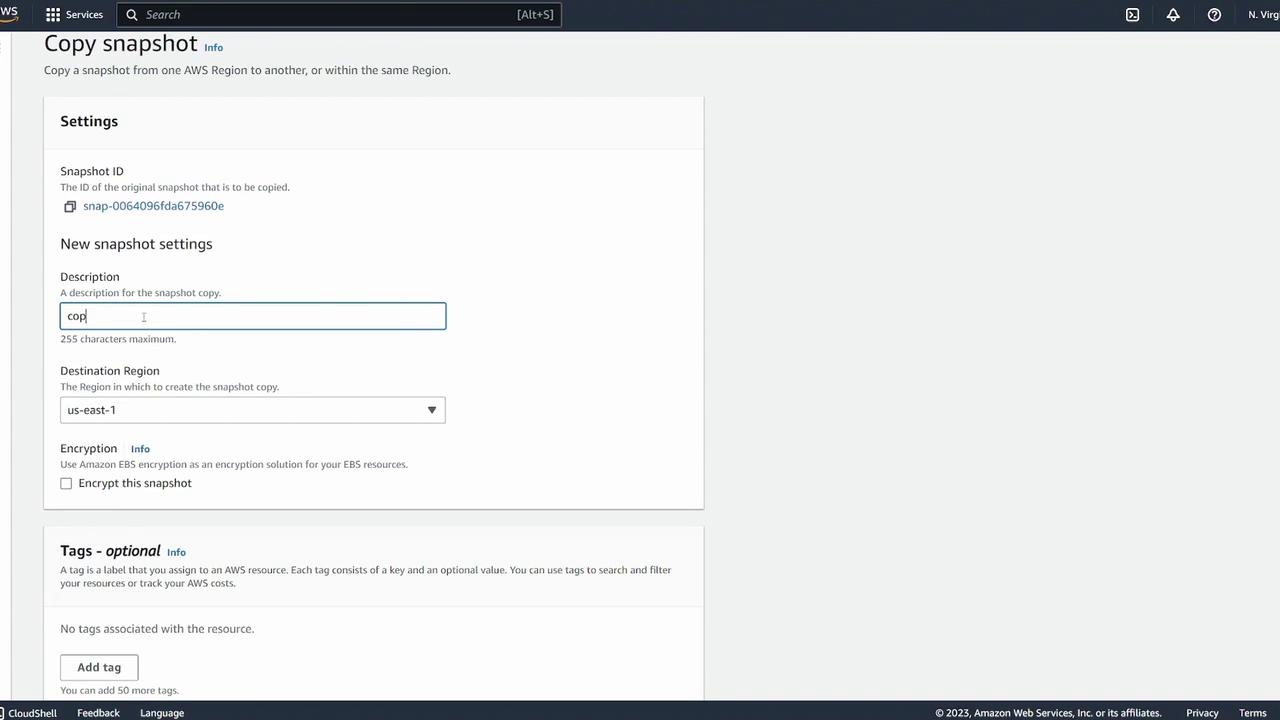
To copy the snapshot:
- Select the snapshot.
- Click "Actions" and select "Copy snapshot."
- Provide a description such as “copy of my snapshot.”
- Specify the destination region (e.g., US East 2 for Ohio).
Once the snapshot copy is complete, switch to the target region (e.g., us-east-2), locate the snapshot in the Snapshots section, and then click "Create volume from snapshot." Choose the correct availability zone (e.g., us-east-2a) for your EC2 instance. After creation, the new volume will be available.
Finally, attach the newly created volume to your target EC2 instance:
This completes the process of migrating an EBS volume across different availability zones and regions.
Happy configuring!
Watch Video
Watch video content
Practice Lab
Practice lab