This lesson explores Amazons Elastic File System and demonstrates setup and sharing between multiple EC2 instances for simultaneous read/write access.
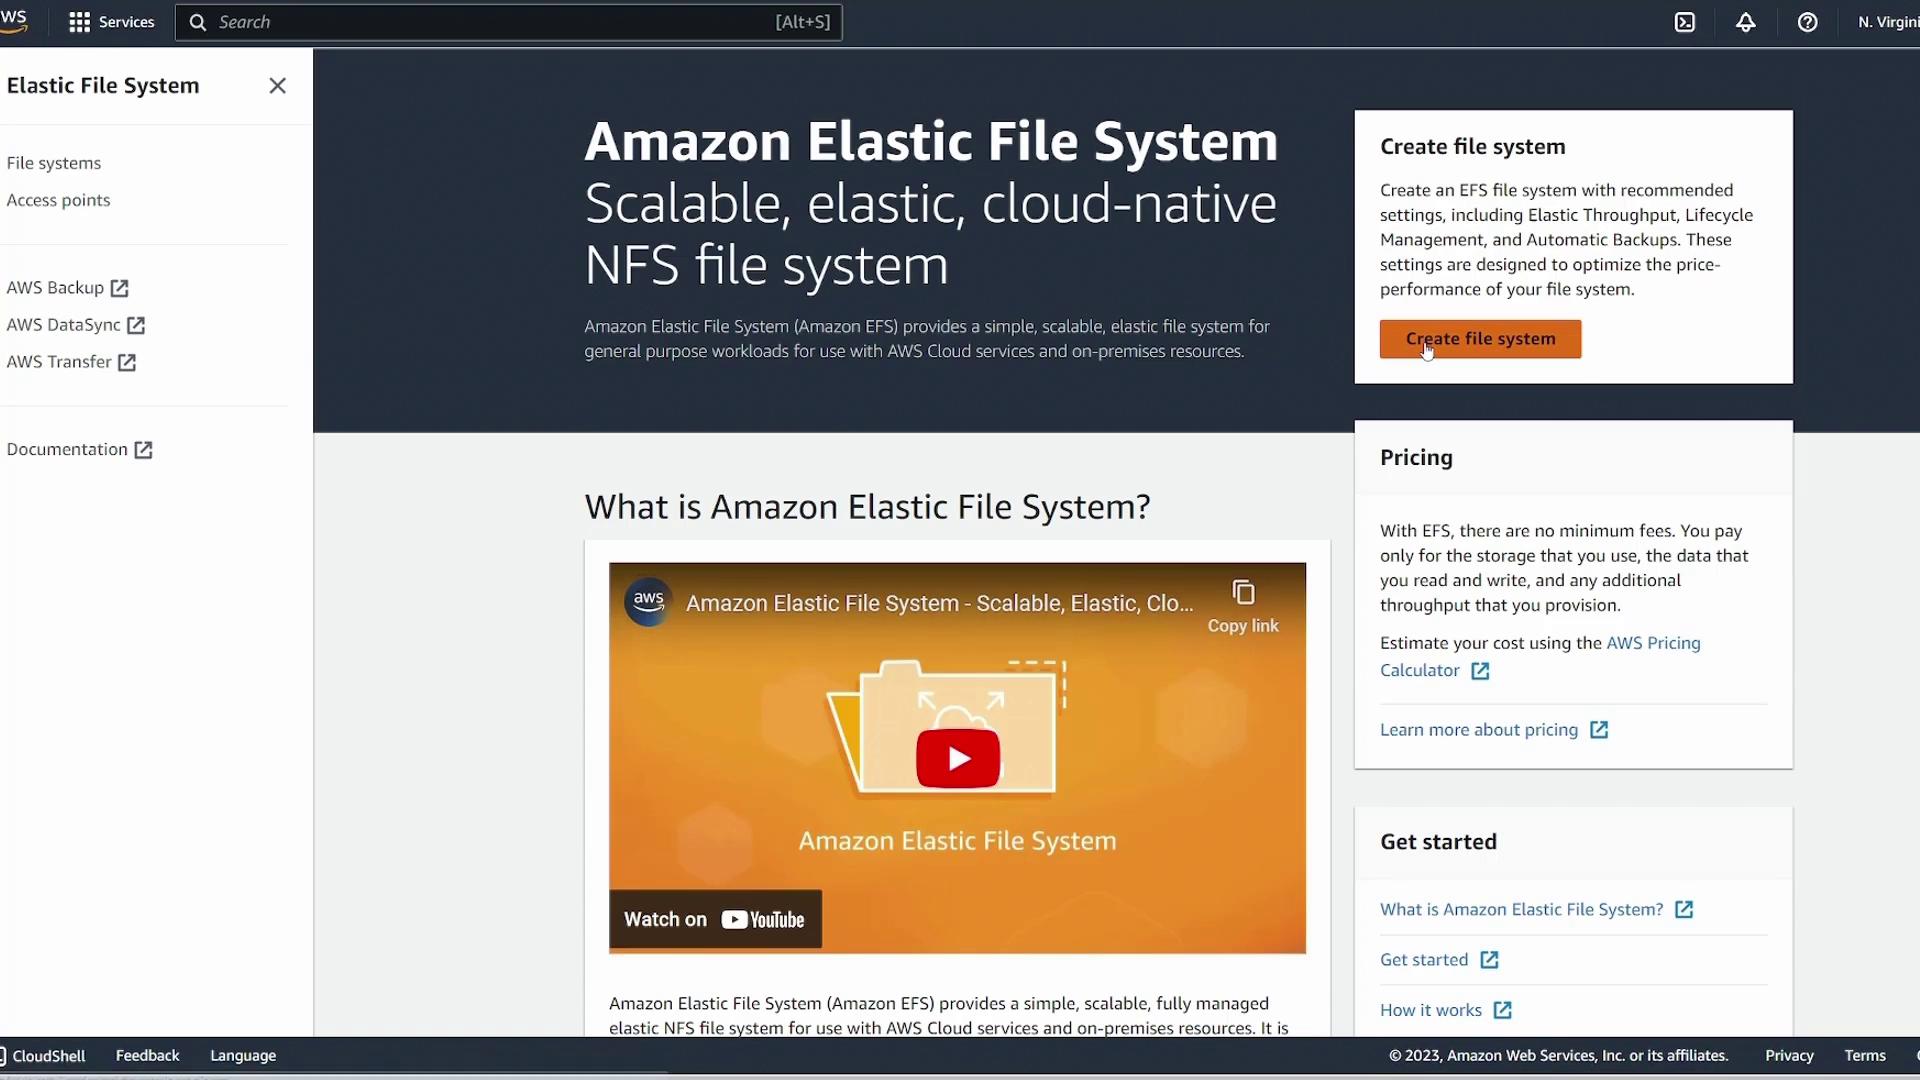
In this lesson, we explore Amazon’s Elastic File System (EFS) and demonstrate how to set up and share it between multiple EC2 instances. This guide covers the creation of an EFS file system, configuring it for your network, and mounting it on EC2 servers to enable simultaneous read/write access.
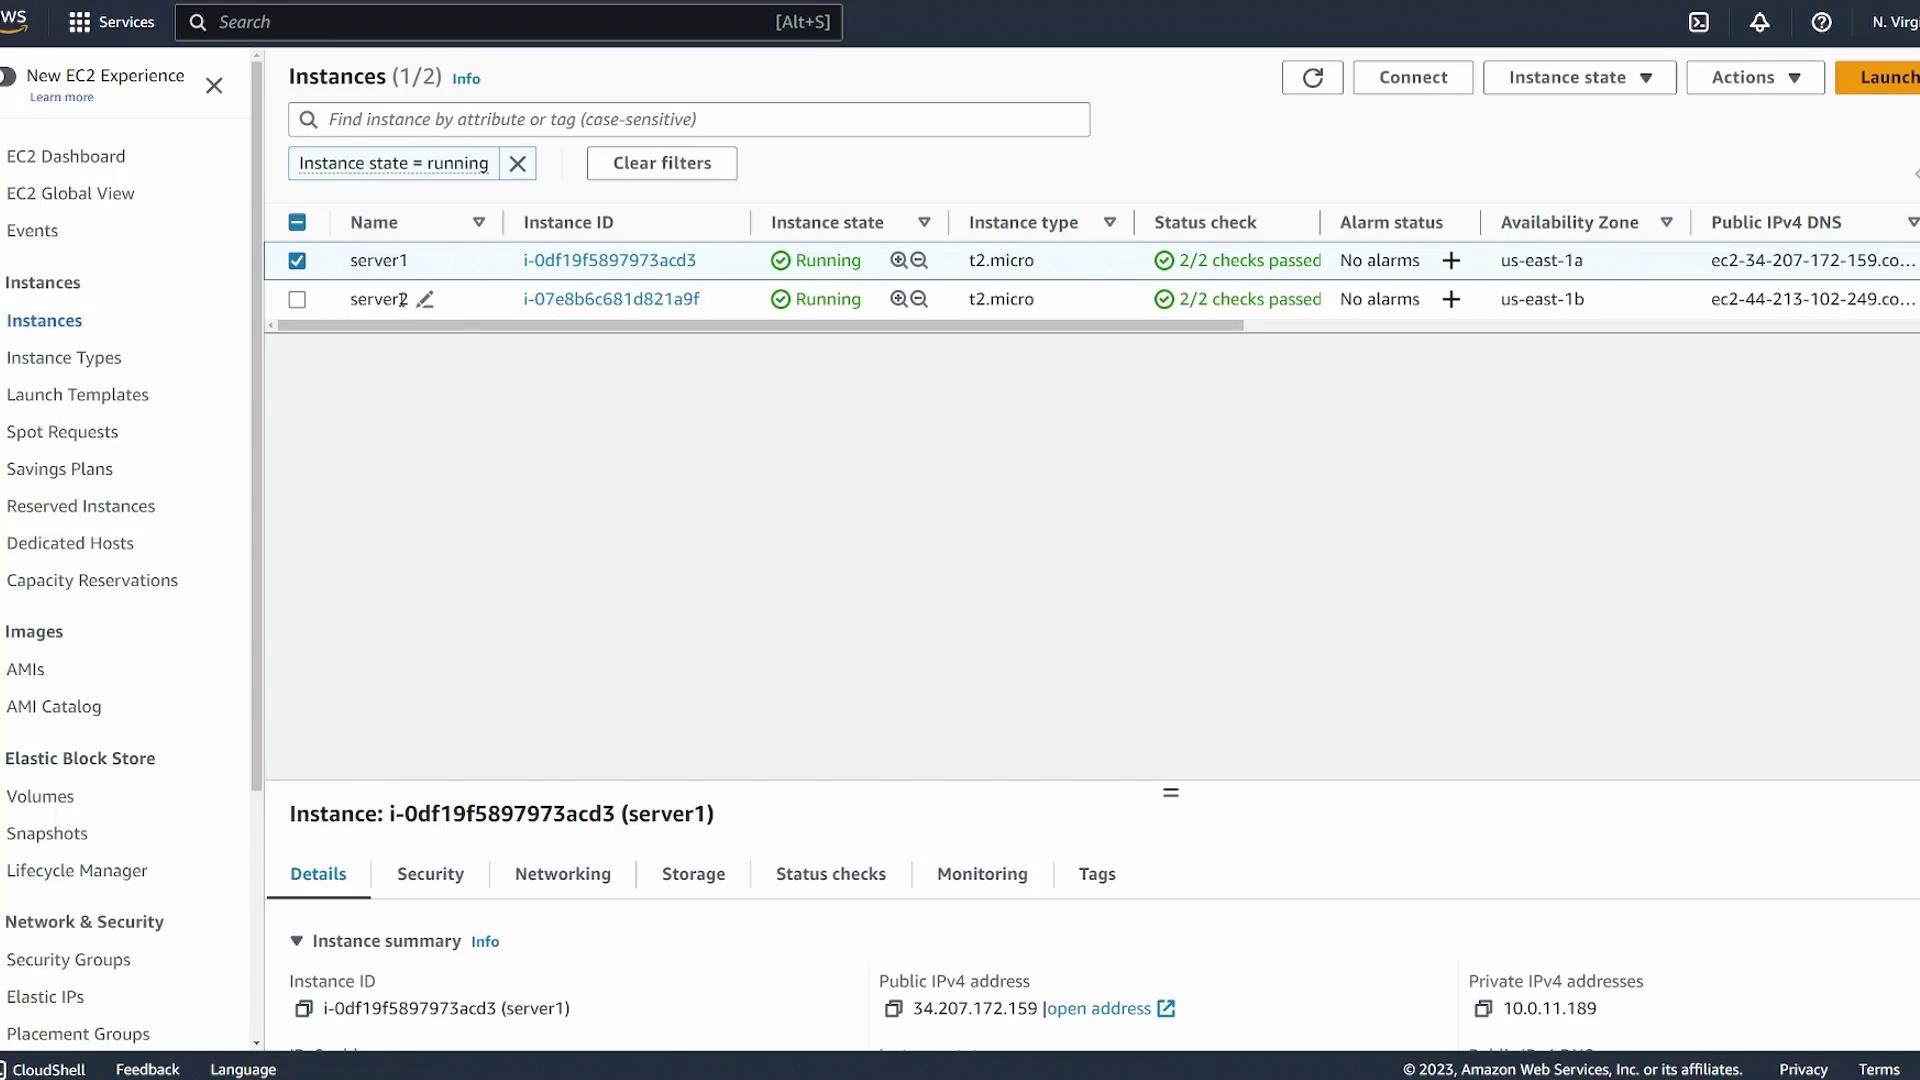
Our current setup consists of a simple VPC with two subnets across two availability zones (US East 1A and US East 1B). Each zone runs one t2.micro instance, ensuring redundancy and high availability.
The goal is to mount a single EFS file system on both servers so that they can share data seamlessly.
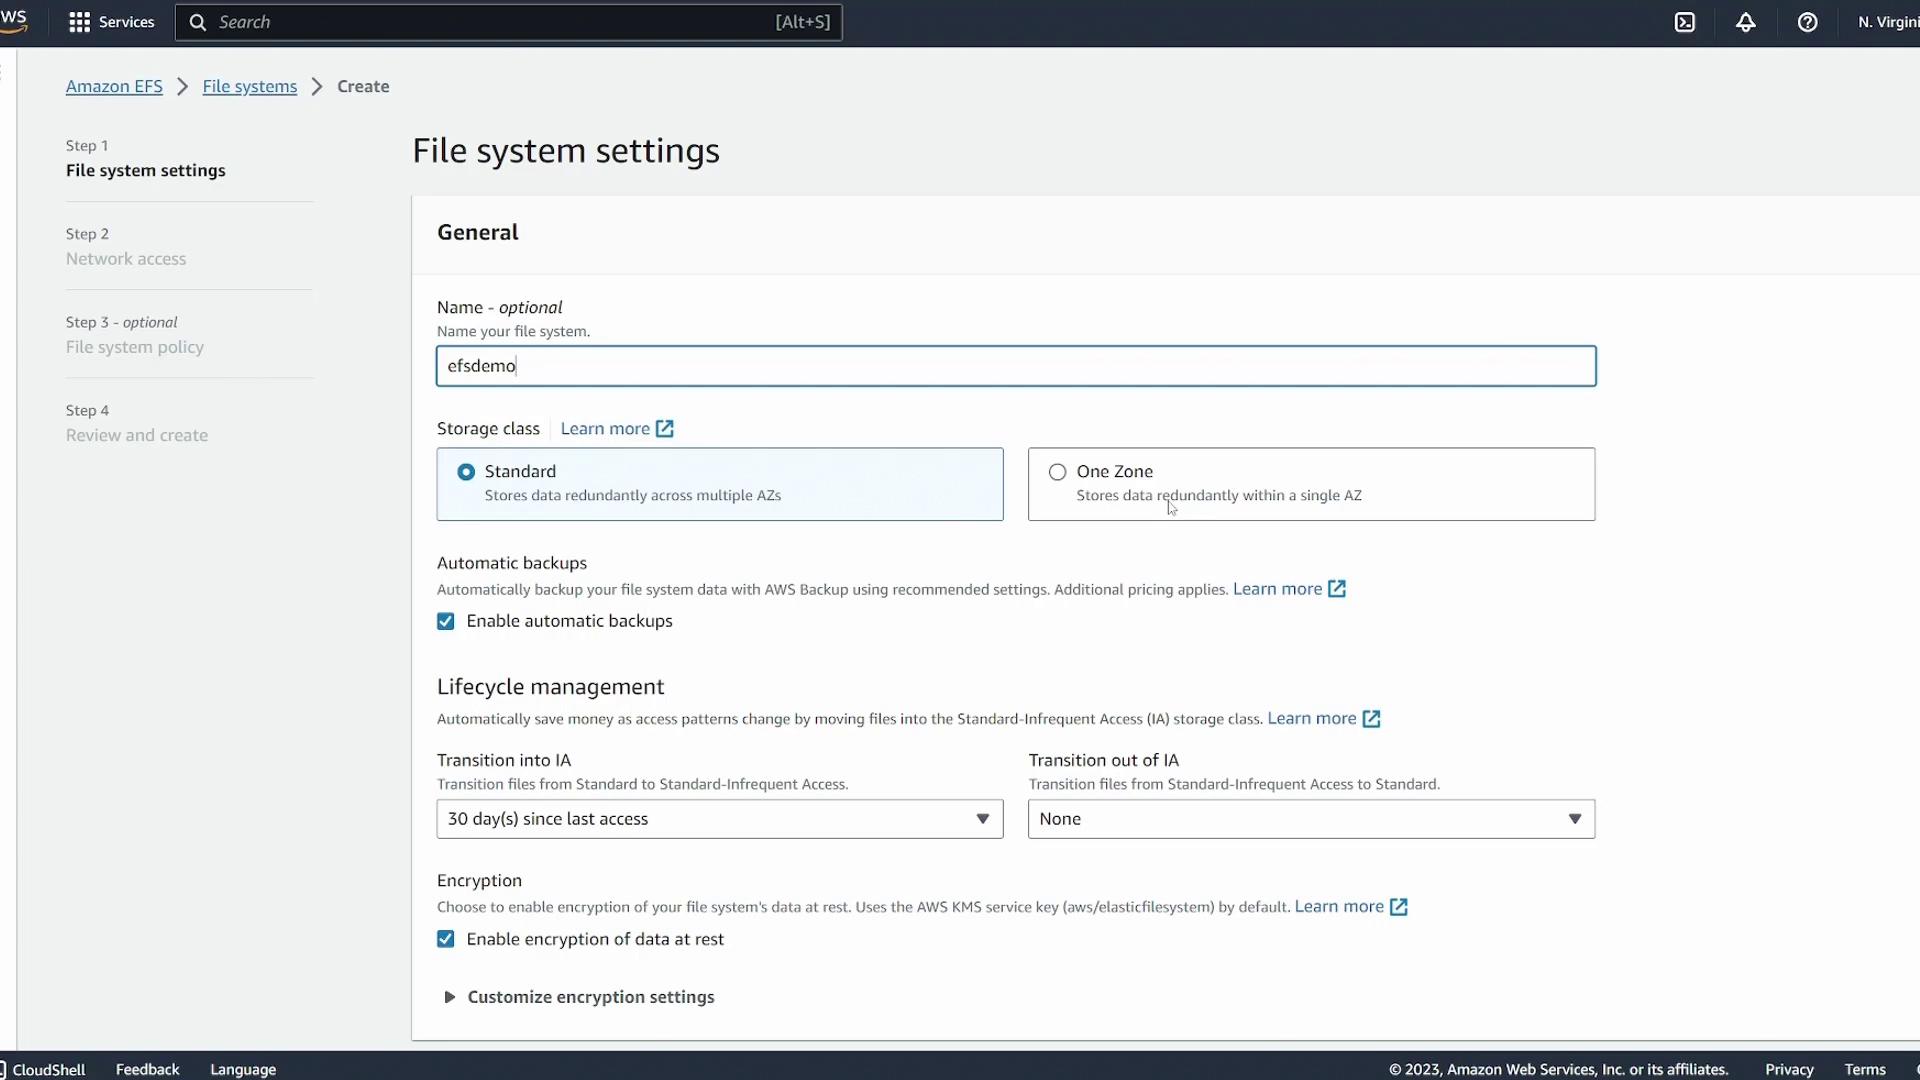
Select a storage class. Choose a multi-zone configuration for enhanced durability, or a single zone option if your workload allows data redundancy limited to one availability zone.
For instance, a single availability zone configuration keeps data redundant within that zone, which protects against individual instance failures but may risk data loss if the entire zone fails. Options for automatic backups and lifecycle management (such as moving files older than 30 days to cheaper storage tiers like S3 Standard-IA) are also available.
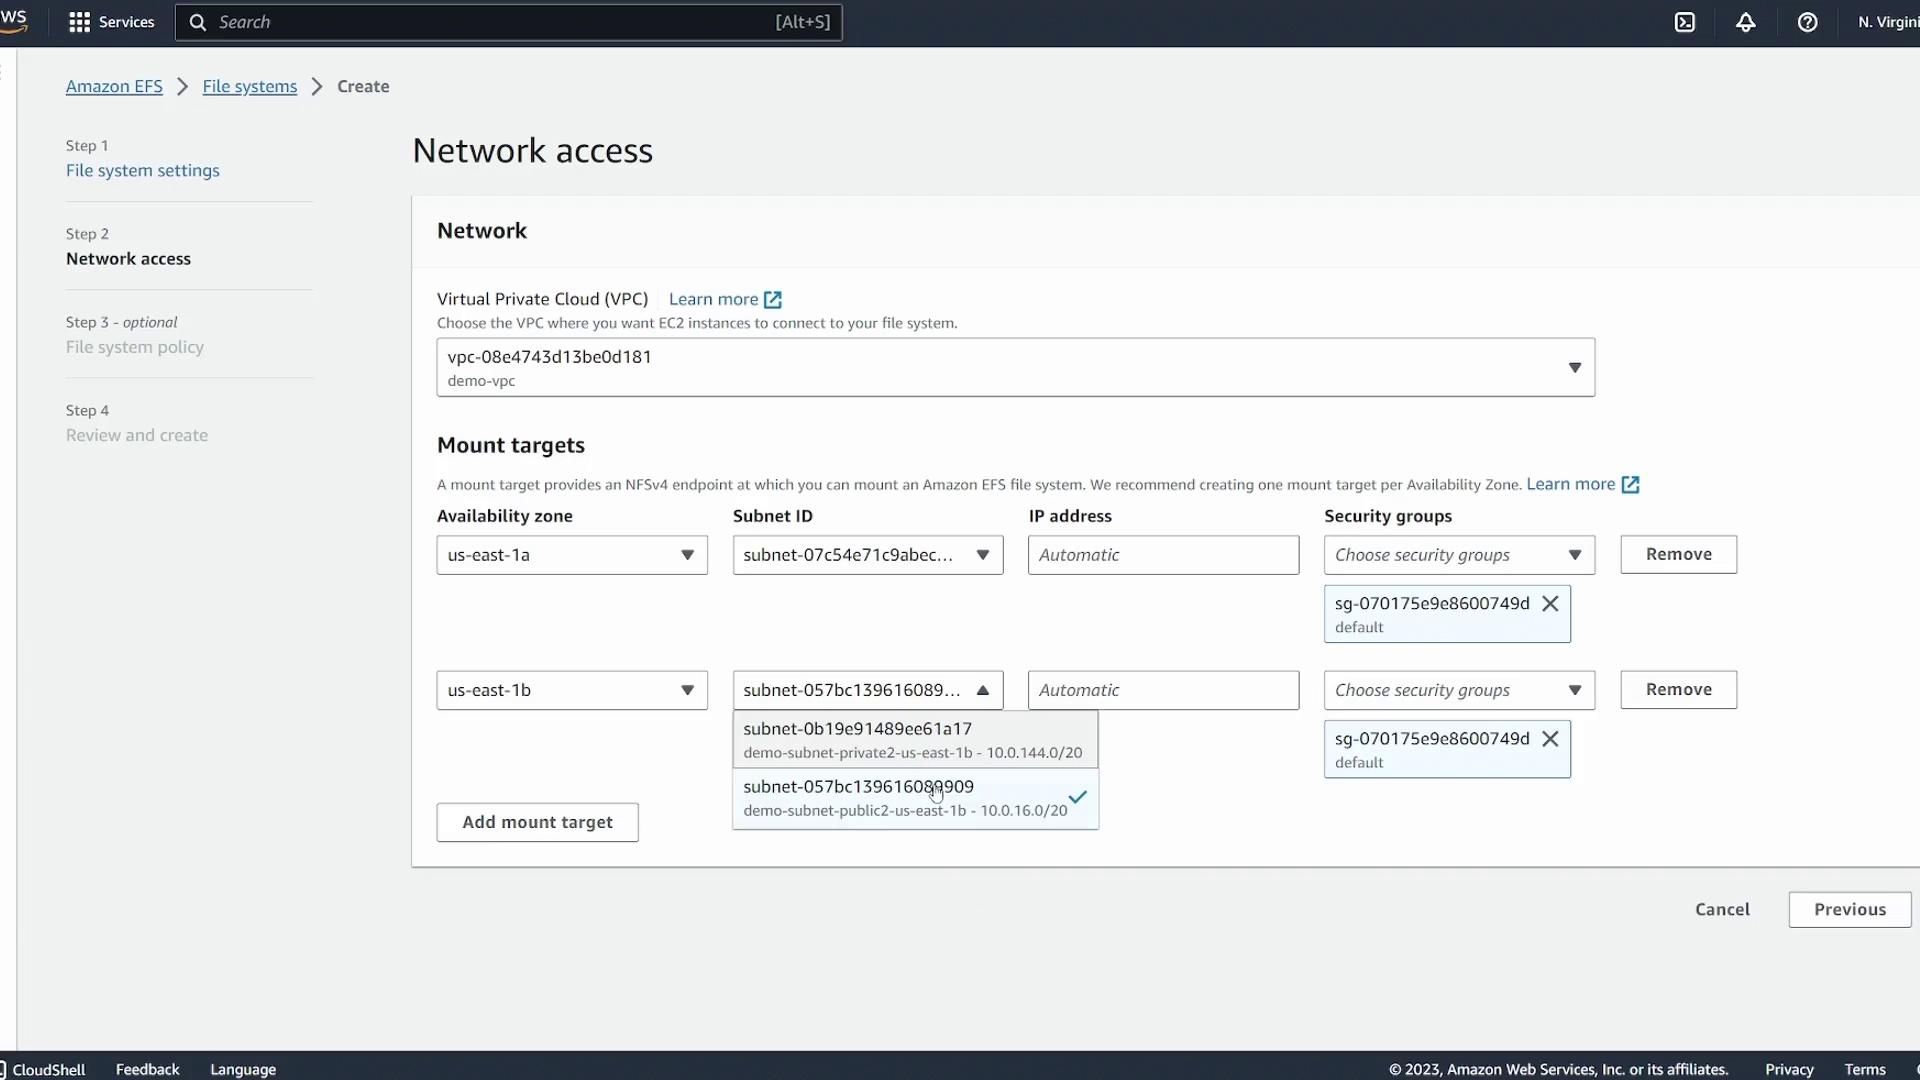
Choose the VPC used by your EC2 instances (in our demo, “demo VPC”).
AWS automatically creates mount targets in each availability zone within the selected VPC. Ensure every zone has a mount target to maintain availability.
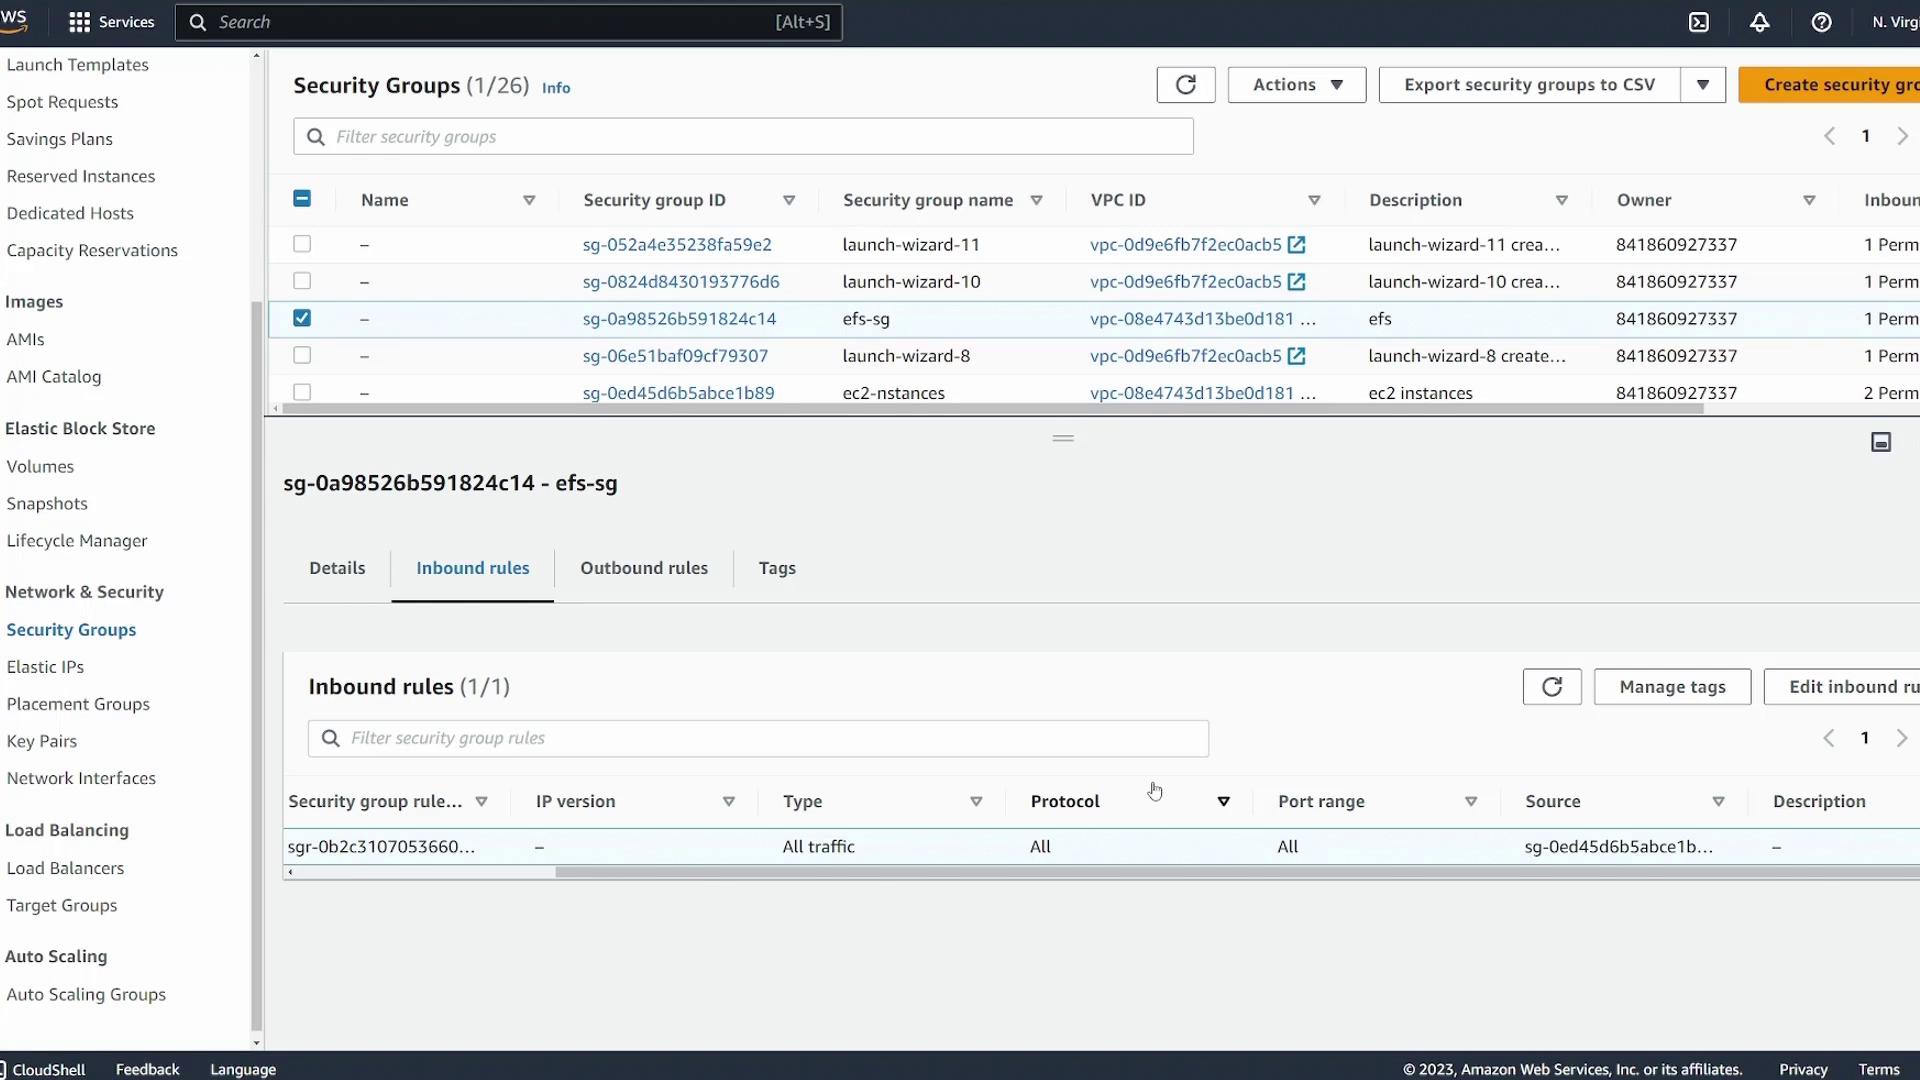
When specifying security groups, you can either create a custom group tailored for EFS traffic or use the security group attached to your EC2 instances if it already permits all necessary communication.
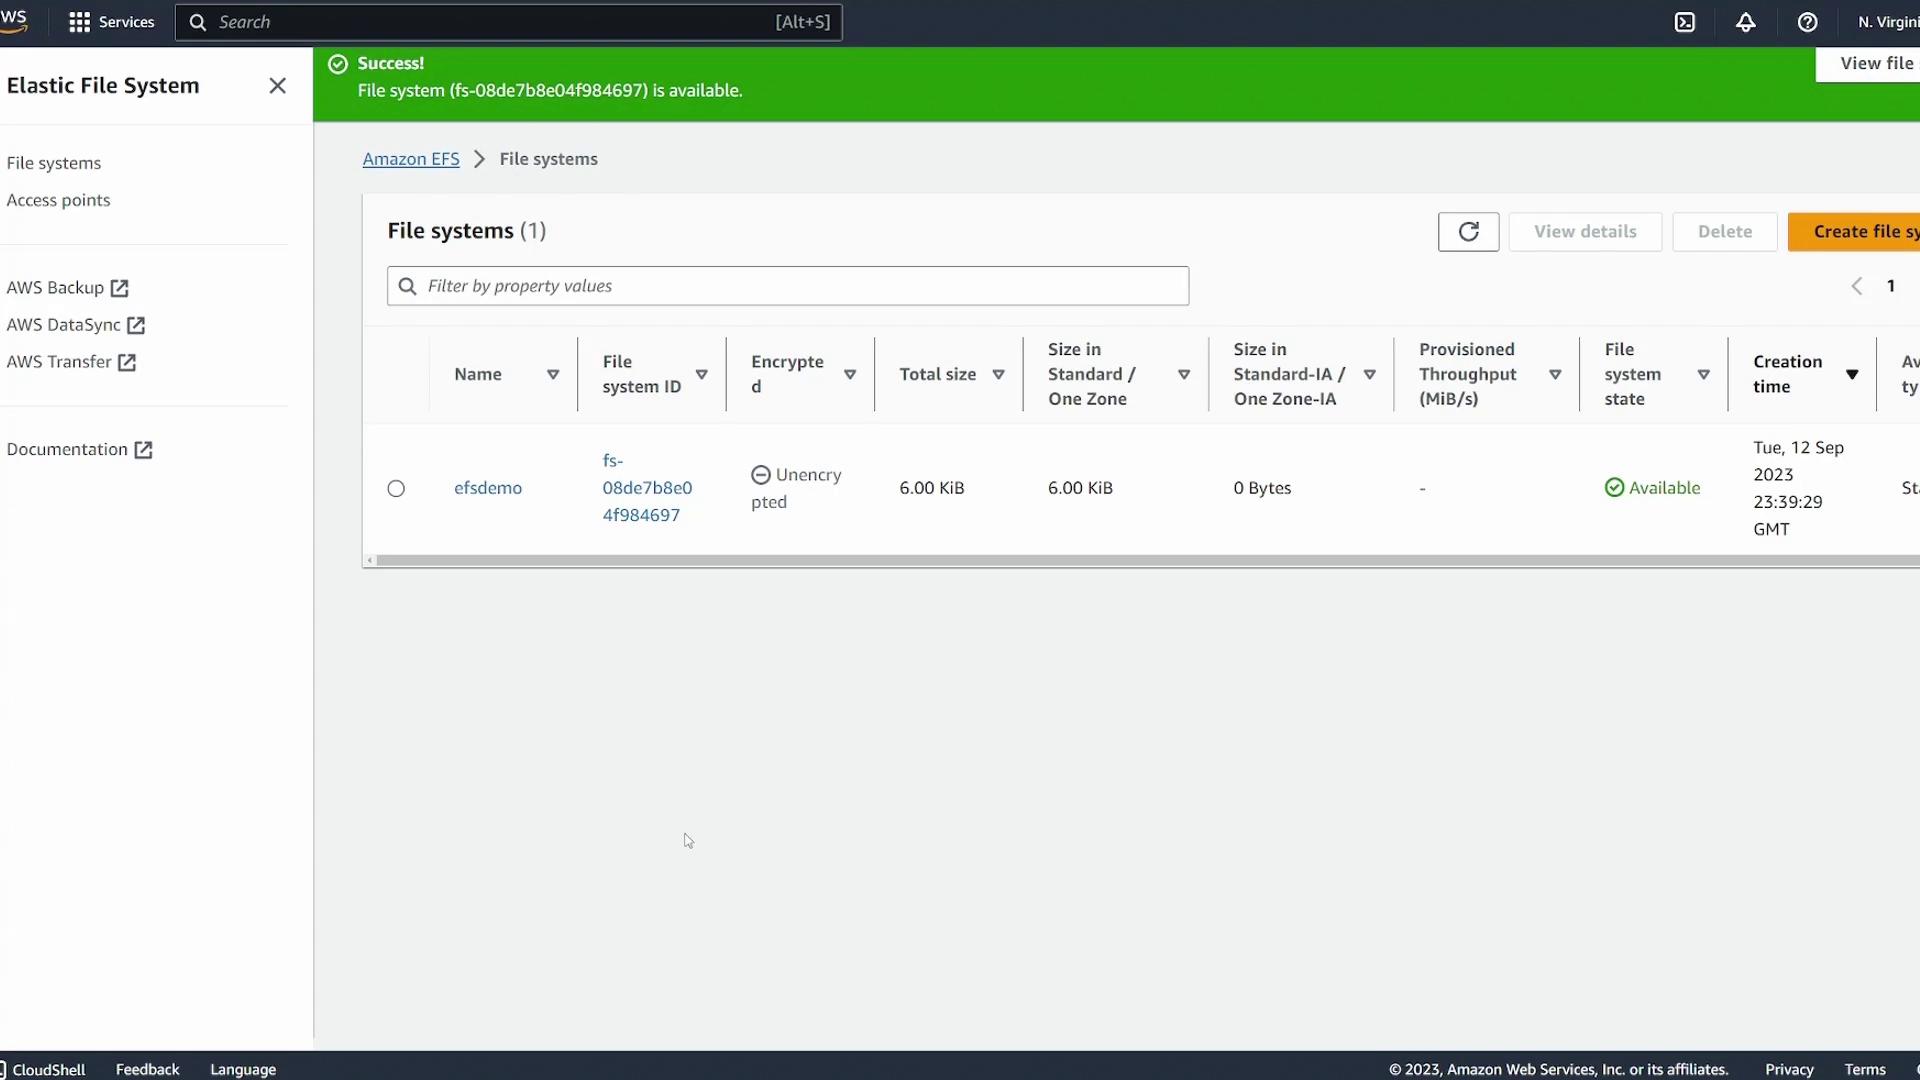
After reviewing the configurations, click Next, review your selections, and then Create. Wait a few minutes for AWS to provision the file system.
[ec2-user@server ~]$ df -kFilesystem 1K-blocks Used Available Use% Mounted on...fs-08de7b8e04f984697.efs.us-east-1.amazonaws.com:/ 9007199254739968 0 9007199254739968 0% /efsdemo
This manual mount is not persistent across reboots. To ensure the EFS mounts automatically after a reboot, add the appropriate entry to your /etc/fstab file following the AWS documentation.
To verify the shared access, perform the following tests:
On the first server, navigate to the mount directory and create a file:
[ec2-user@ip-10-0-11-189 ~]$ cd /efsdemo[ec2-user@ip-10-0-11-189 efsdemo]$ sudo vi file1
Insert the text:I made this on server1
On the second server, check the shared directory:
[ec2-user@ip-10-0-22-199 ~]$ cd /efsdemo/[ec2-user@ip-10-0-22-199 efsdemo]$ lsfile1[ec2-user@ip-10-0-22-199 efsdemo]$ cat file1I made this on server1
The appearance of the file on both servers confirms that the EFS file system is shared effectively. You can also create another file from the second server (e.g., “file2” with the content “I made this on server2”) and verify its presence on the first server.Below is a consolidated view of the commands executed on one server:
[ec2-user@ip-10-0-11-189 ~]$ sudo mkdir /efsdemo[ec2-user@ip-10-0-11-189 ~]$ sudo mount.efs fs-08de7b8e04f984697 /efsdemo[ec2-user@ip-10-0-11-189 ~]$ df -kFilesystem 1K-blocks Used Available Use% Mounted on...fs-08de7b8e04f984697.efs.us-east-1.amazonaws.com:/ 9007199254739968 0 9007199254739968 0% /efsdemo[ec2-user@ip-10-0-11-189 ~]$ cd /efsdemo[ec2-user@ip-10-0-11-189 efsdemo]$ sudo vi file1[ec2-user@ip-10-0-11-189 efsdemo]$ lsfile1 file2