Learn to create an Amazon S3 bucket, upload files, organize content, and manage security efficiently.
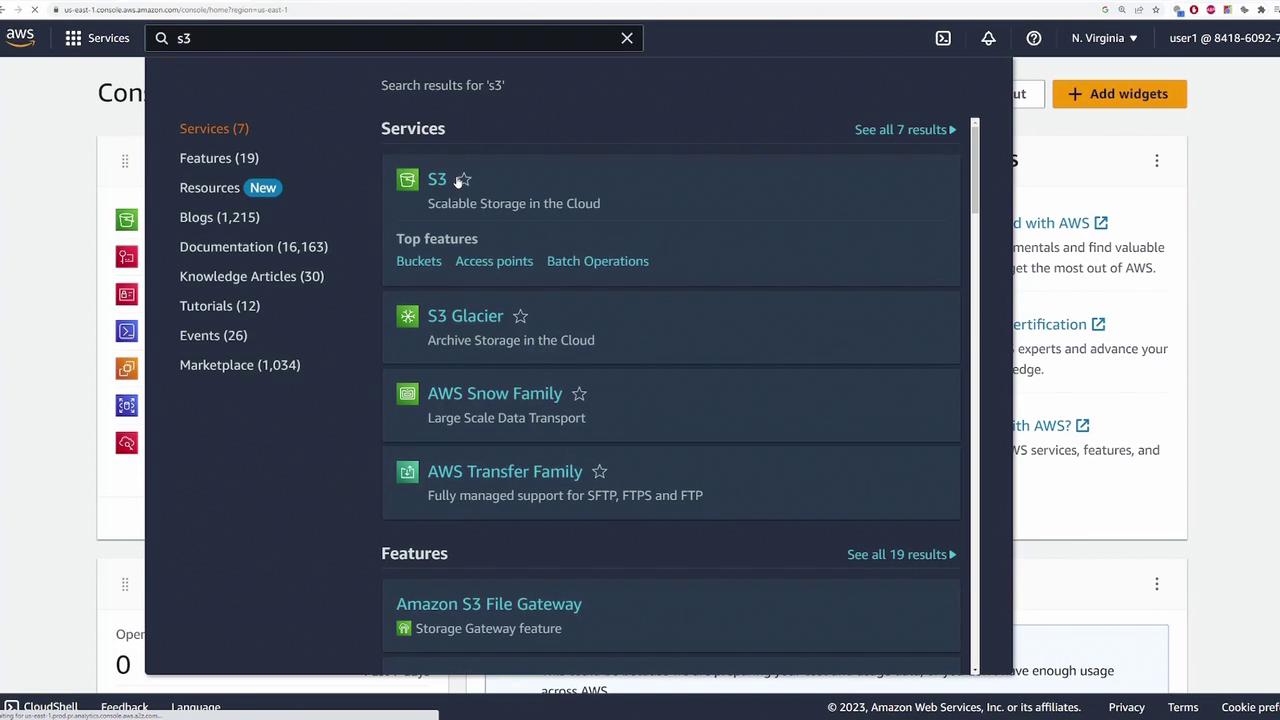
In this lesson, you will learn how to create your first Amazon S3 bucket and explore its key functionalities. This guide covers steps from accessing the AWS console to creating buckets, uploading files, organizing content, moving objects, and finally deleting buckets—all while ensuring your S3 operations remain secure and efficient.Start by opening the AWS console and searching for the S3 service.
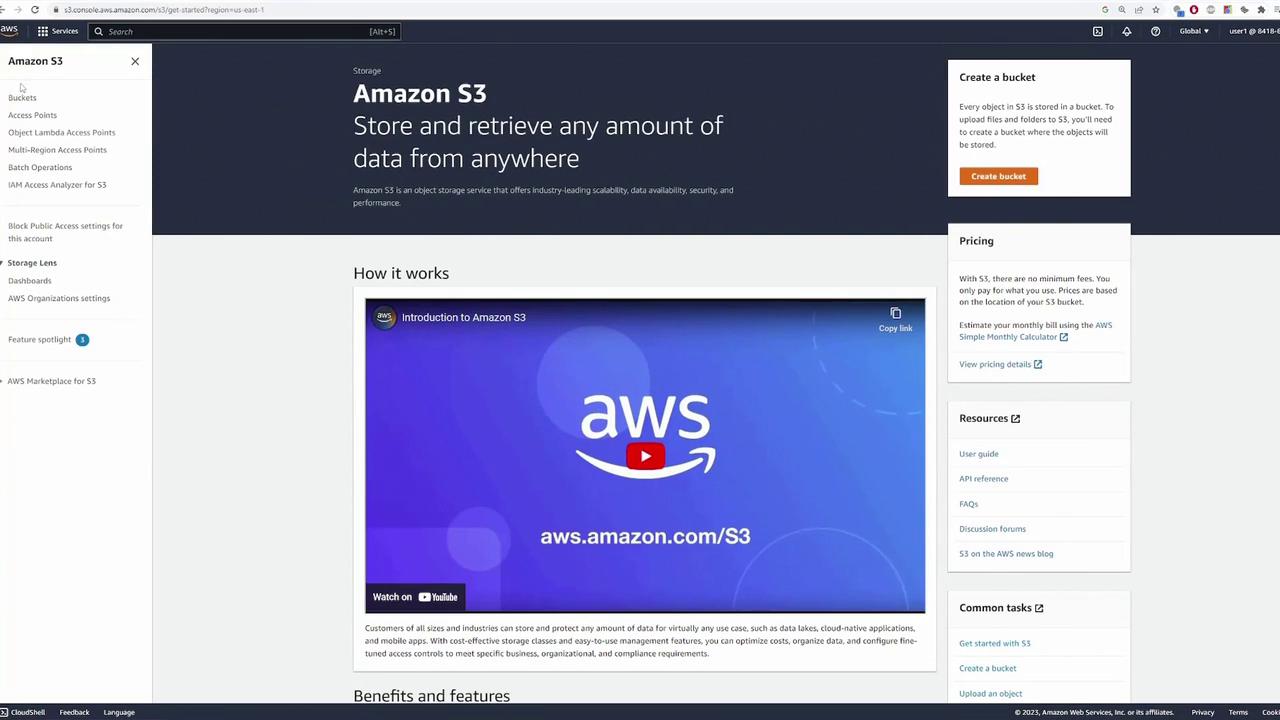
This search directs you to the S3 page. If no buckets have been created, you will see a prompt to create one. Otherwise, your existing buckets will be listed with an option to create a new bucket.
Before proceeding, notice the “global” indicator on the interface. Although S3 employs a global namespace, you still specify a bucket’s region during creation.
To begin, click on “Create bucket” and follow these steps:
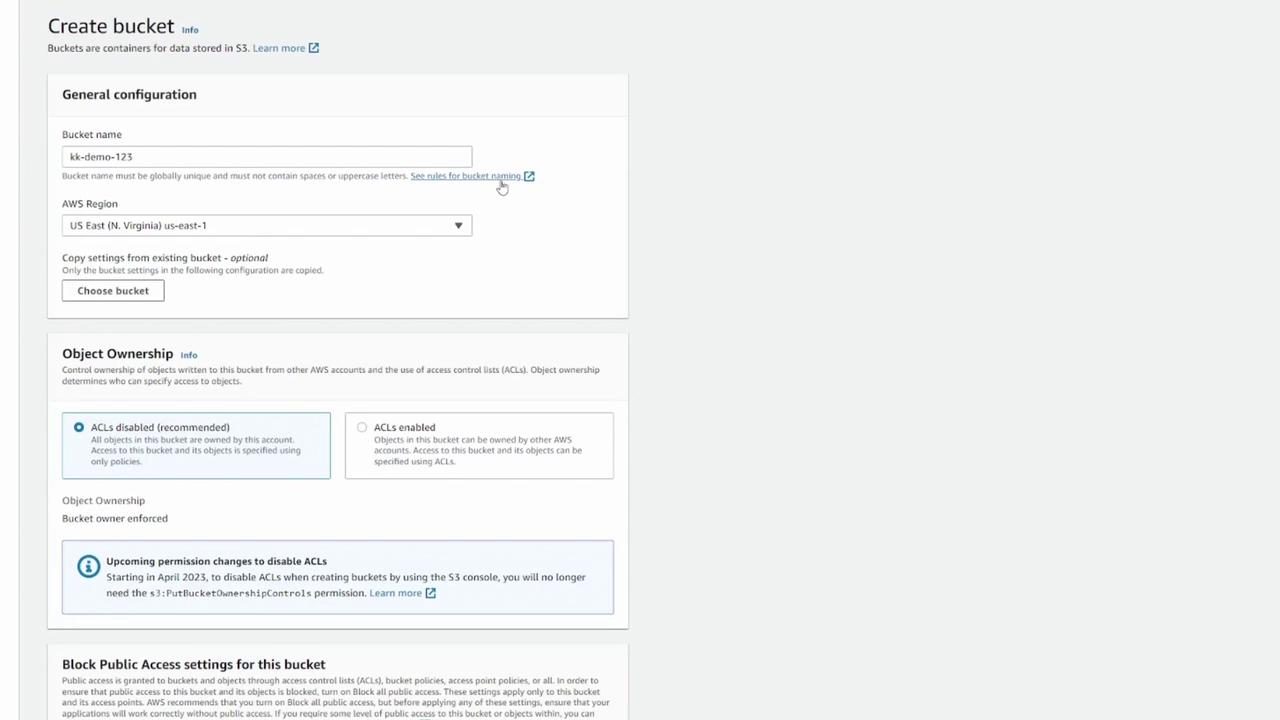
Bucket Naming:
Specify a globally unique bucket name. Avoid common names like “demo” that may already exist; instead, use unique identifiers such as “KodeKloud-demo-123.”
To understand the naming conventions, click the link provided next to the bucket name field.
Region Selection:
Choose the region where your bucket will reside (e.g., US East 1).
If you have existing buckets and wish to mirror their settings, you can copy the configuration.
Default Settings:
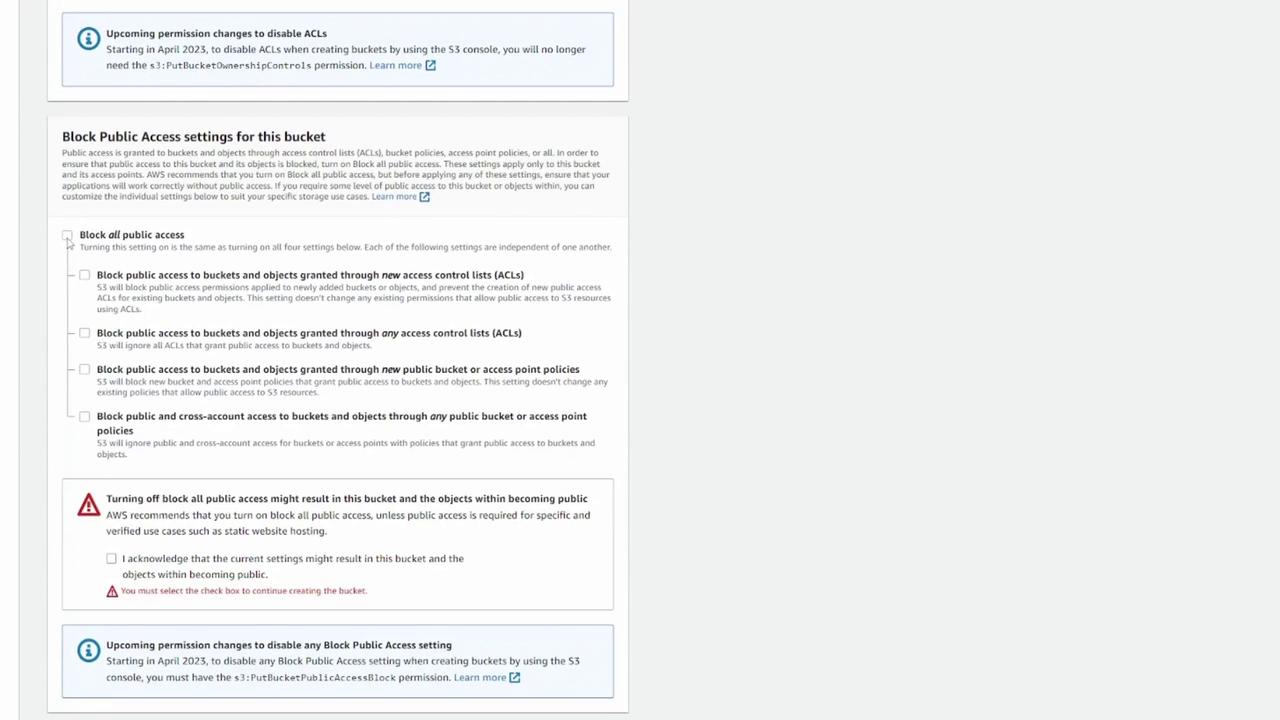
You can configure options including object ownership, block public access, versioning, encryption, and advanced settings like object lock. For this demonstration, use the default settings and keep block public access enabled to restrict access solely to you.
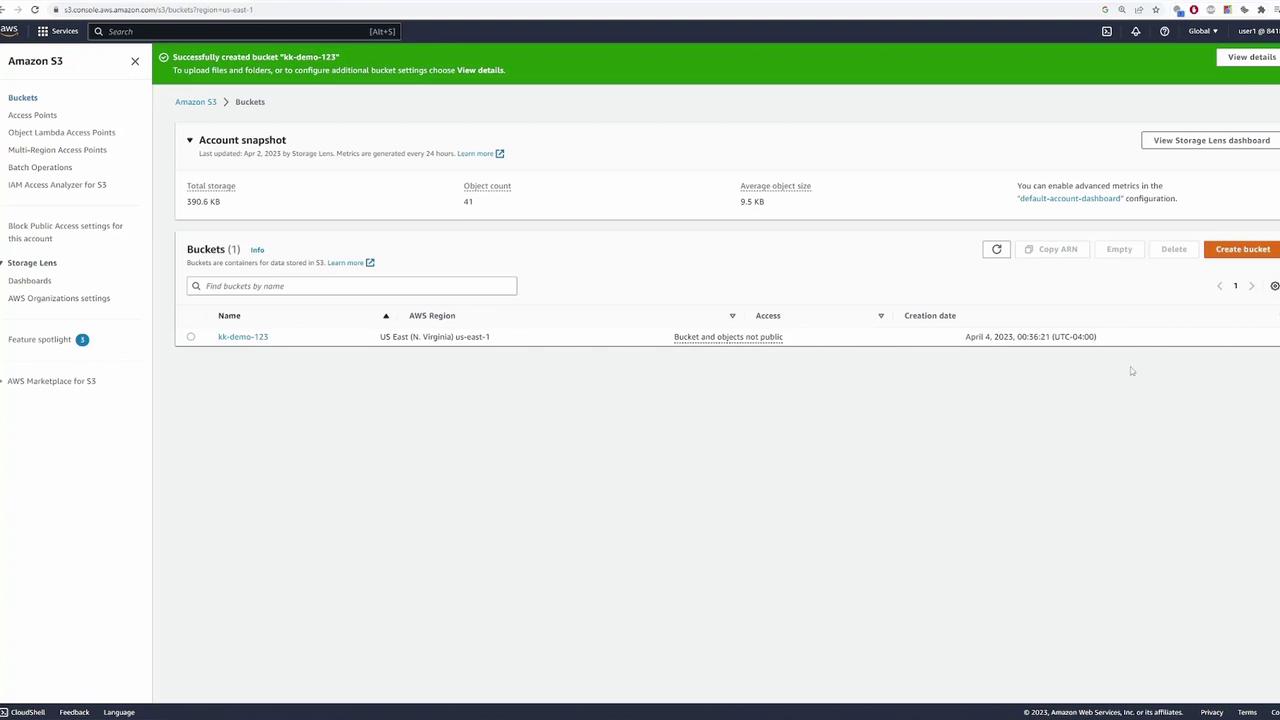
After configuring your options, click “Create bucket.” Your newly created bucket (for example, “kk-demo-123”) will now appear in your bucket list with details such as its region and creation date.
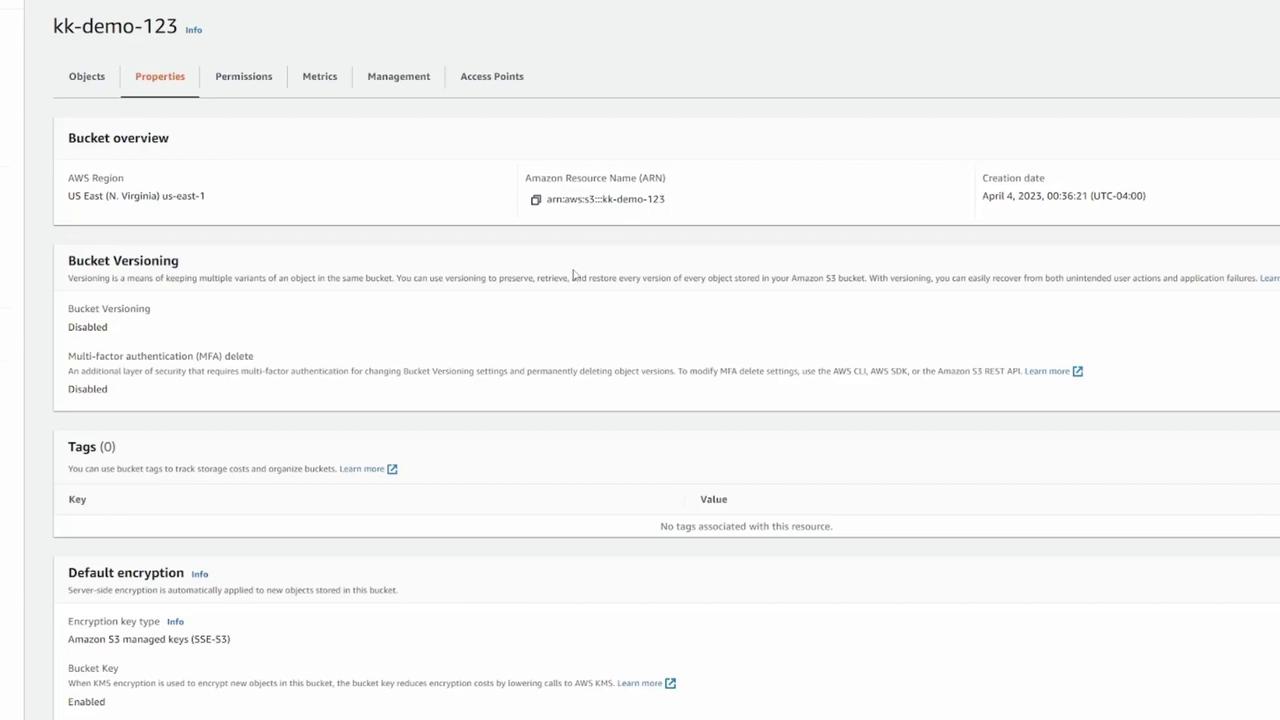
Select the bucket to view its contents and properties. The Objects page displays all uploaded files (initially empty), while the Properties page outlines configuration details such as region, ARN, versioning status, tags, encryption, server access logging, CloudTrail data events, event notifications, transfer acceleration, object lock, requester pays, and static website hosting.
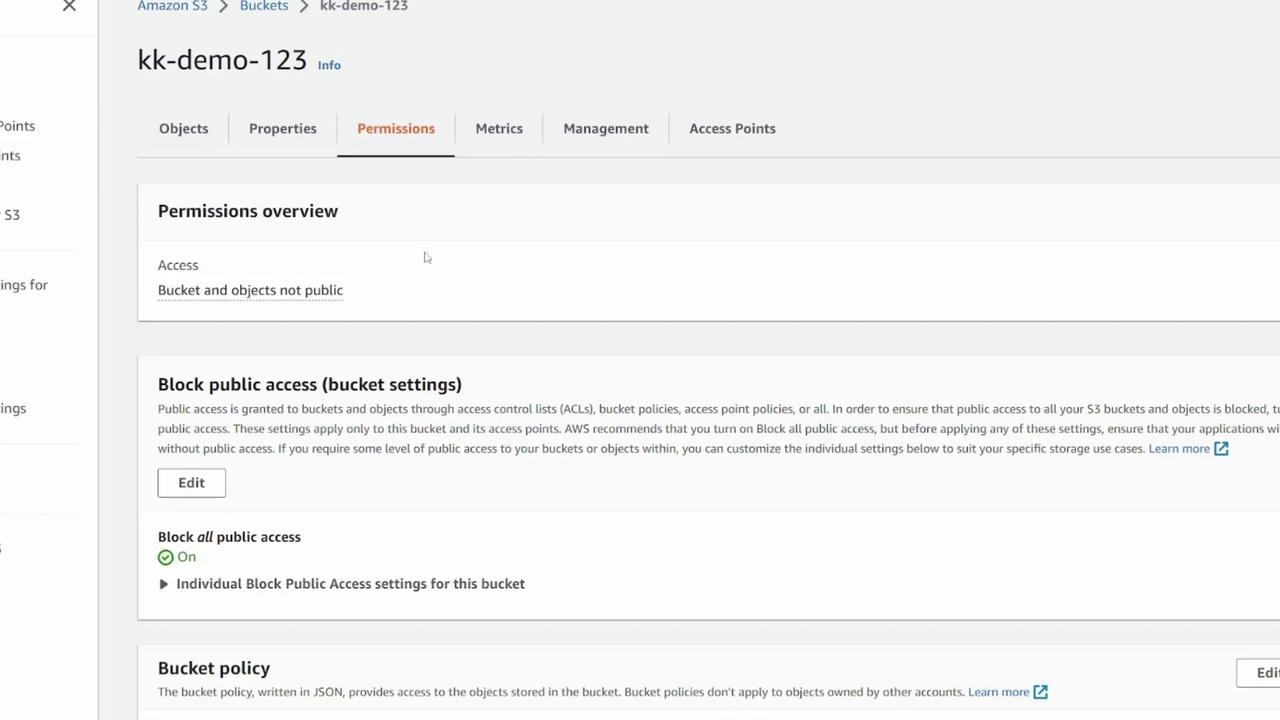
In the Permissions tab, manage access controls. By default, only you have access to the bucket and its content. You can update bucket policies and permissions to grant access to other users if necessary.
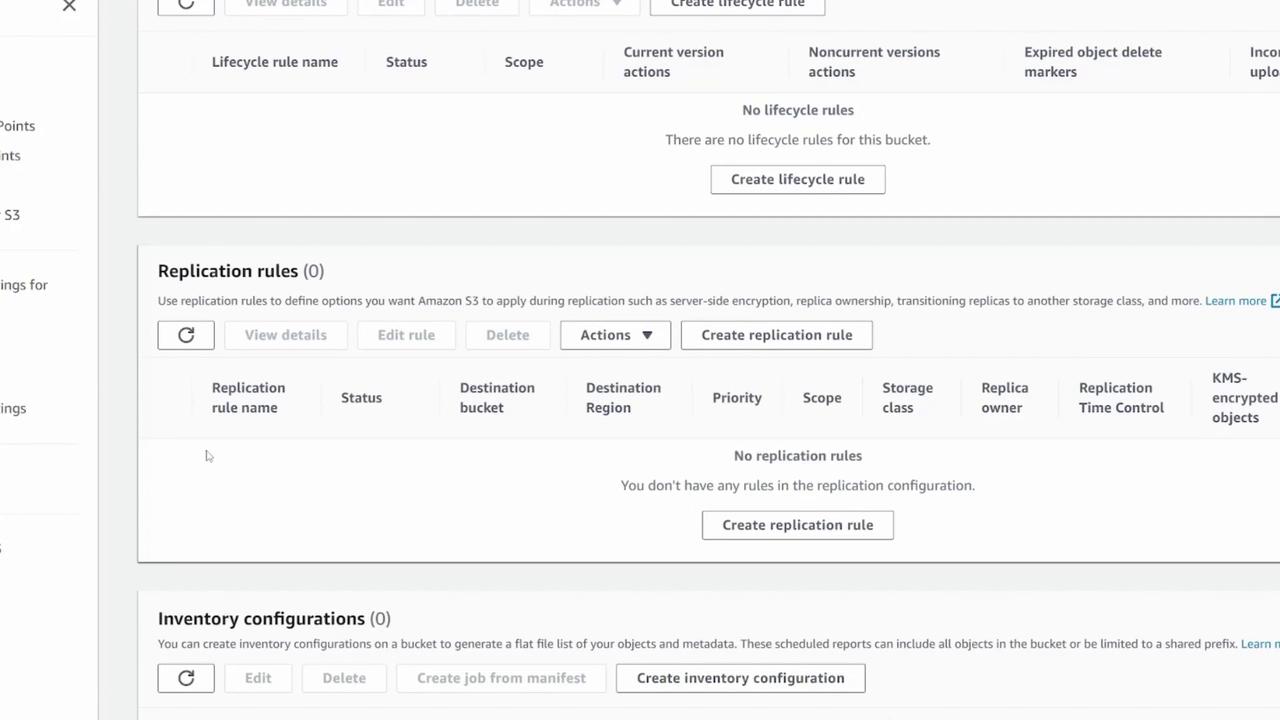
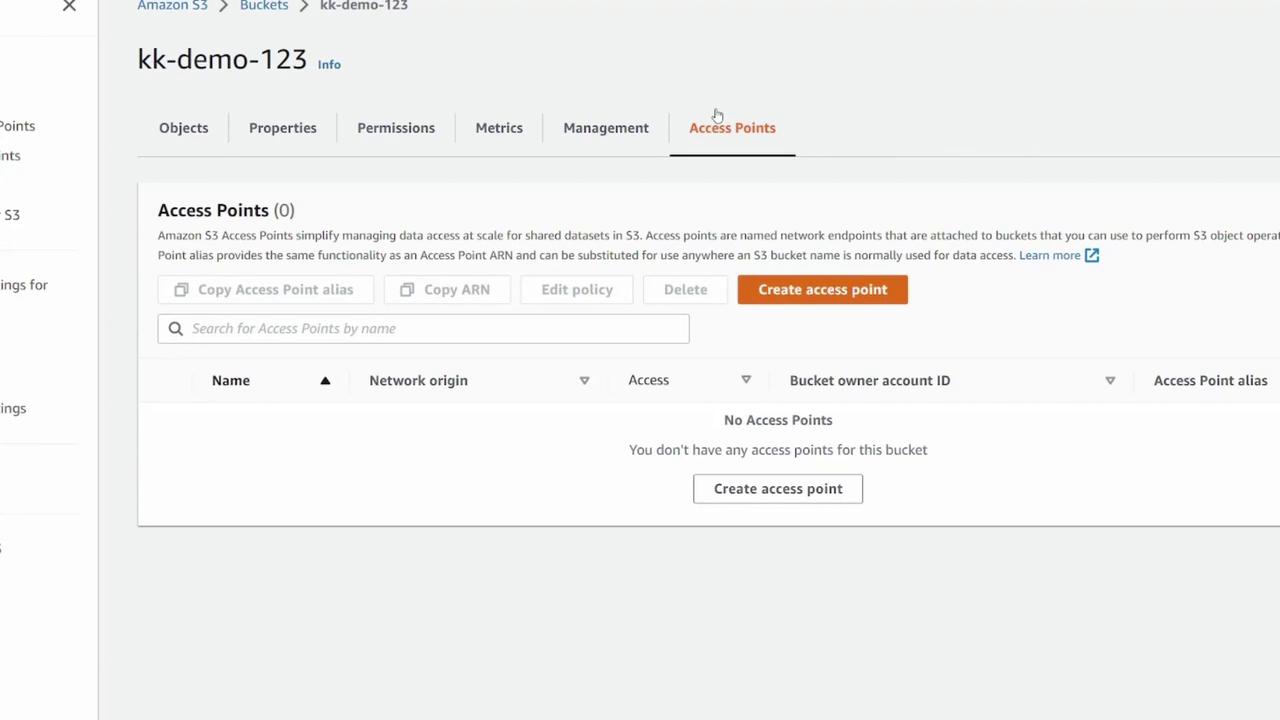
The Metrics section shows CloudWatch metrics (data size, object count) and the Management section enables you to set up lifecycle rules, replication configurations, inventory setups, and access points. These topics are explored in more detail in advanced lessons.
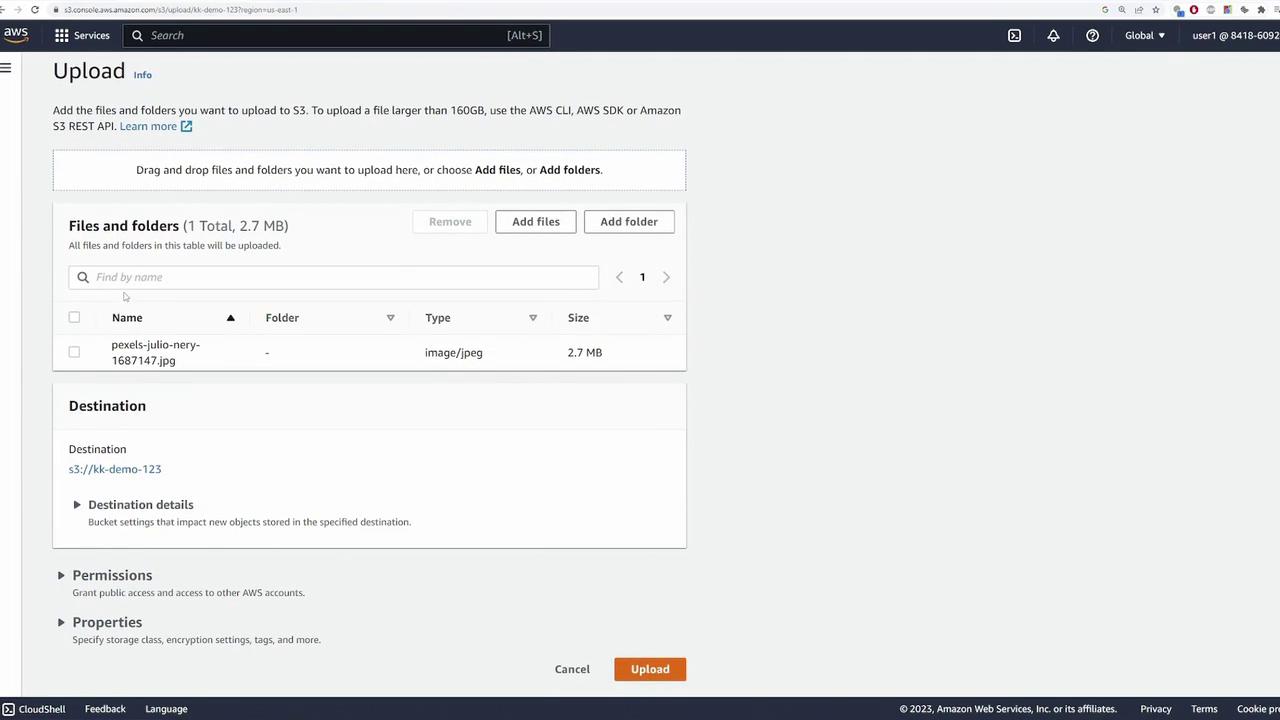
Navigate back to the Objects page and click “Upload.”
You can either add files, upload entire folders, or drag and drop files directly into the interface. In this example, drag and drop a photo file.
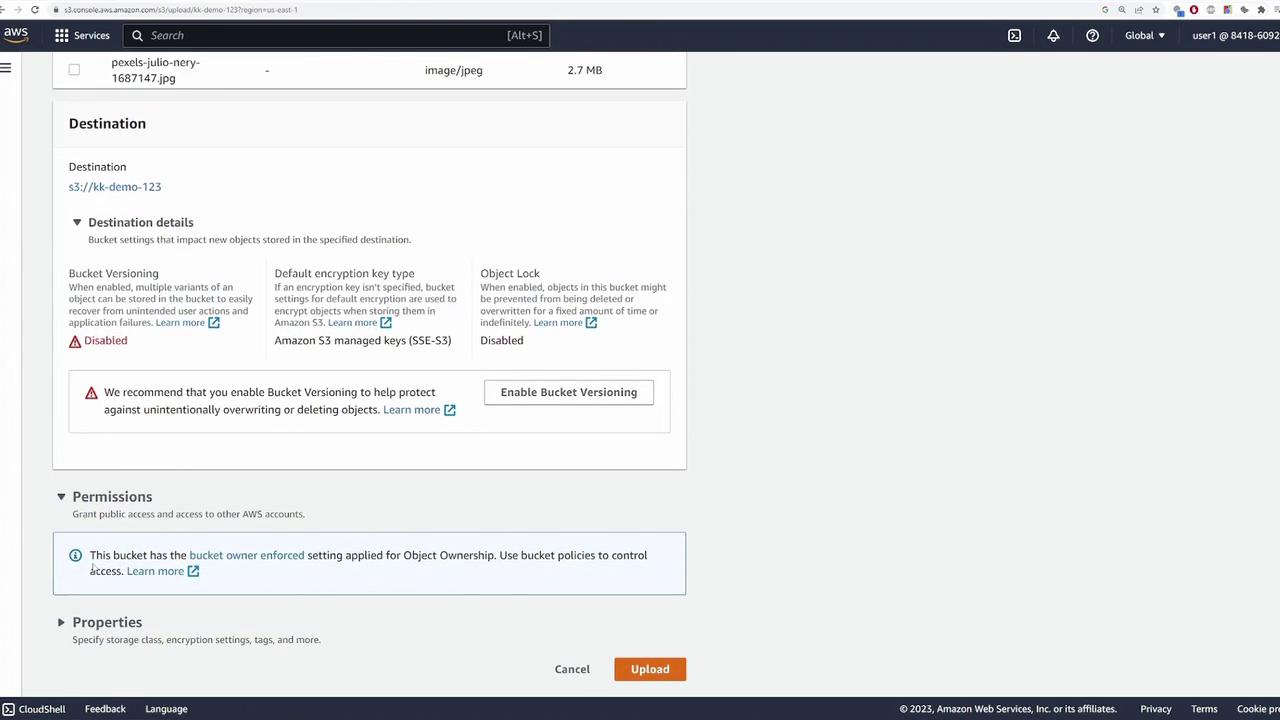
Review the file details, which typically include file type, size, and destination bucket. You can adjust object details or enable bucket versioning if needed. For this demonstration, retain the default bucket permissions and storage class settings.
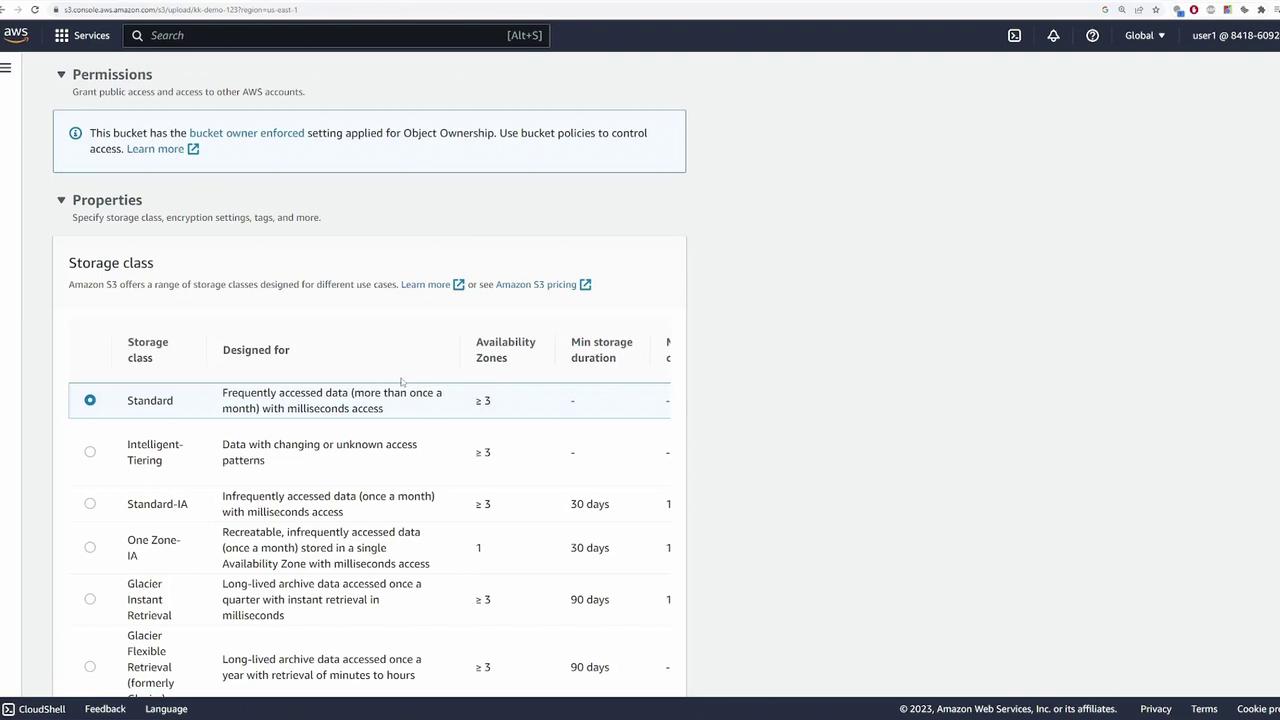
S3 offers various storage classes—Standard, Intelligent-Tiering, and Glacier—that help balance data access, resiliency, and cost. For now, use the default settings.
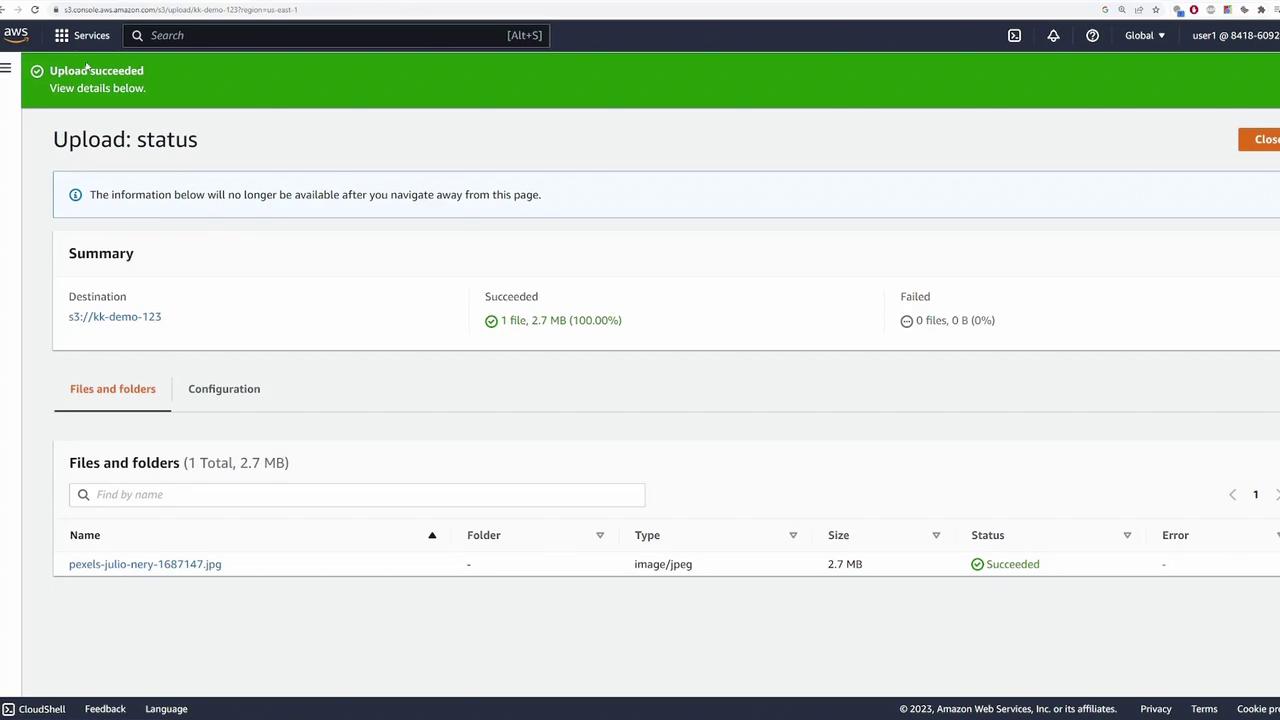
Click “Upload” to start the file transfer. When the upload completes, a green checkmark indicates success.
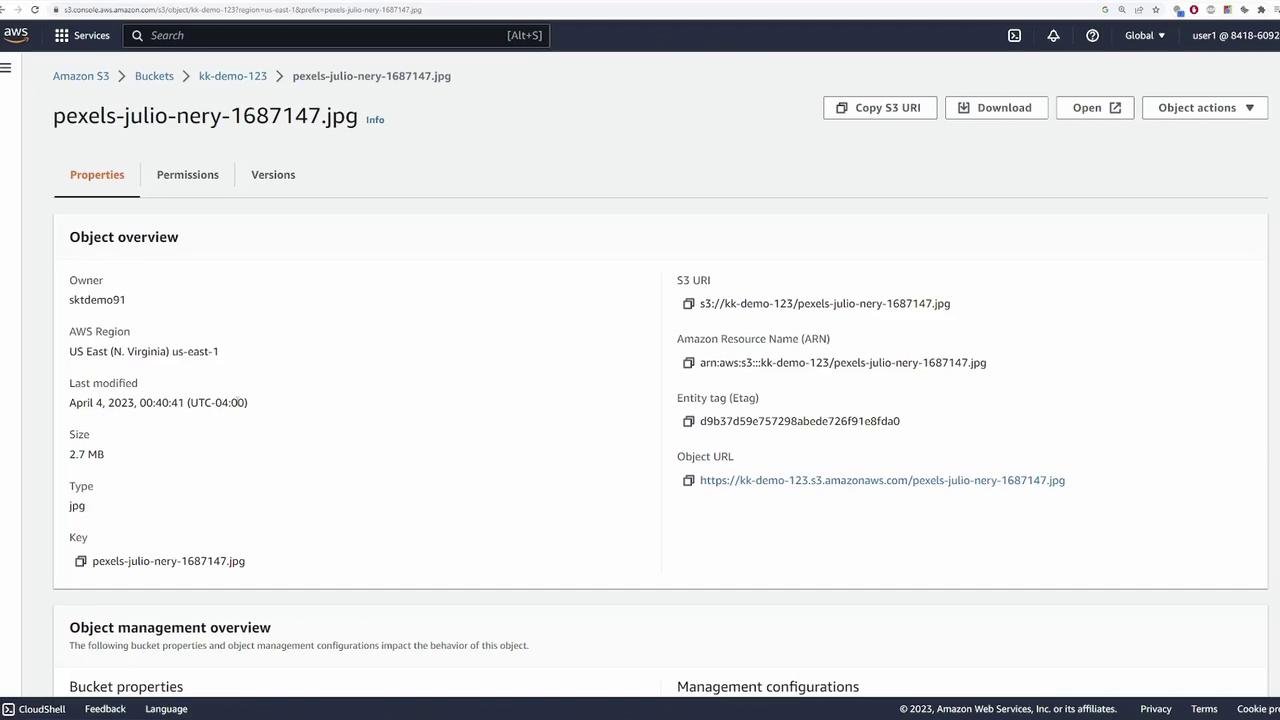
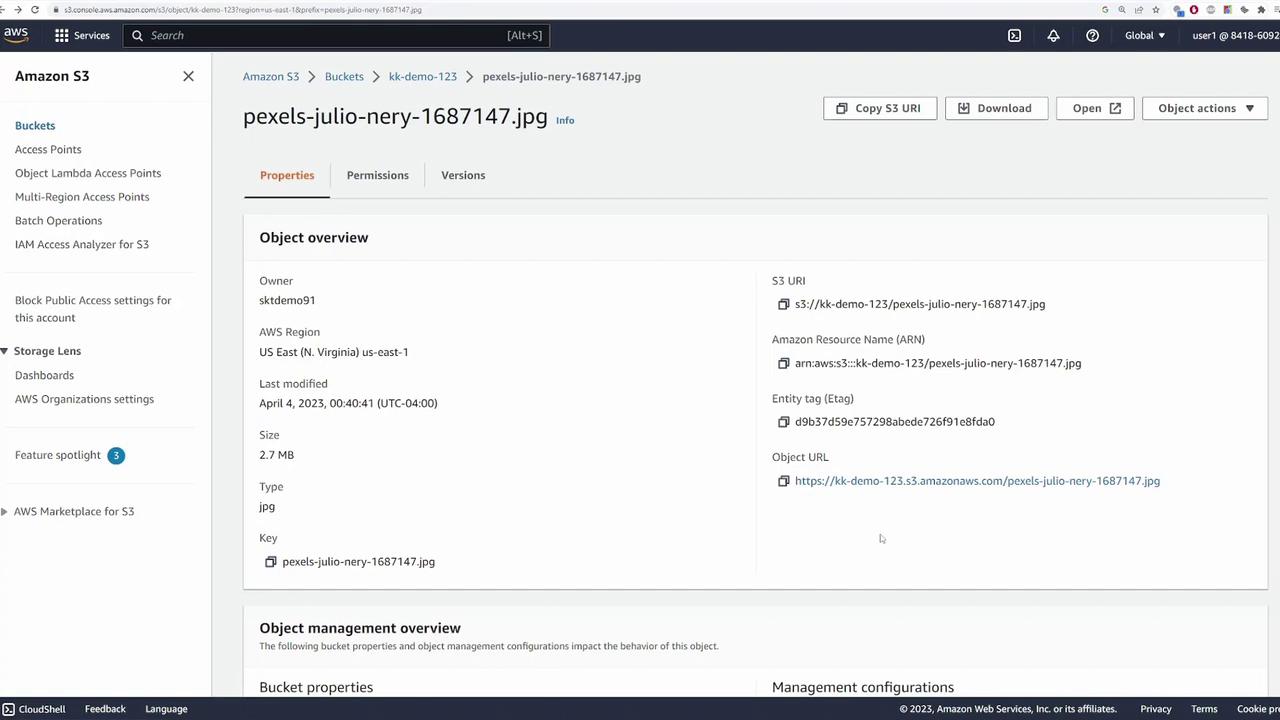
After closing the confirmation, the file appears in the Objects section of your bucket. Click the file to view details such as region, file size, last modified date, unique URI, ARN, entity tag, and access URL.
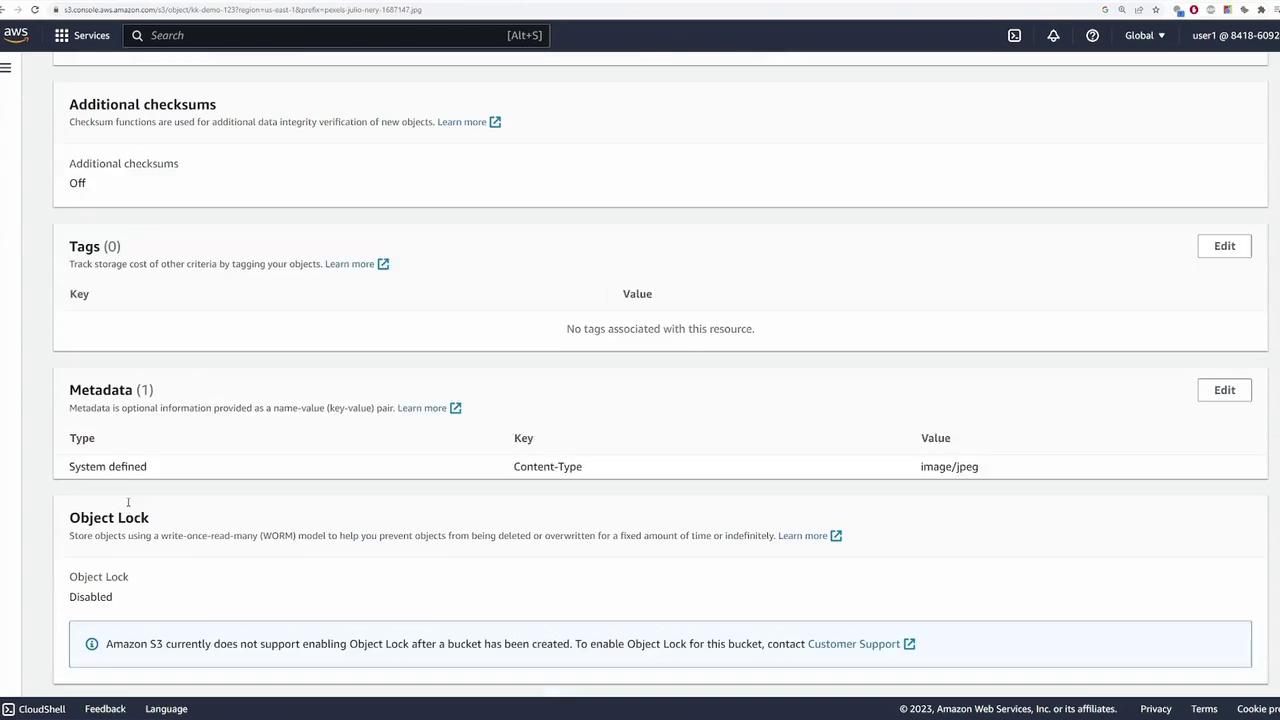
Scrolling further reveals settings like object lock, storage class, server-side encryption, checksum tags, and more. Note that these configurations can be applied on an individual object basis.
If you attempt to view the object using its public URL, you might get an “Access Denied” error because the file is not accessible to unauthenticated users.
When you click the “Open” button while authenticated, your session credentials allow you access to view the file.
By default, your S3 bucket and its objects are secured so that only the creator has access. Adjust these settings only if you intend to share the file publicly.
Although S3 does not support a traditional folder structure, it simulates folders by using object prefixes. Follow these steps to organize your files:
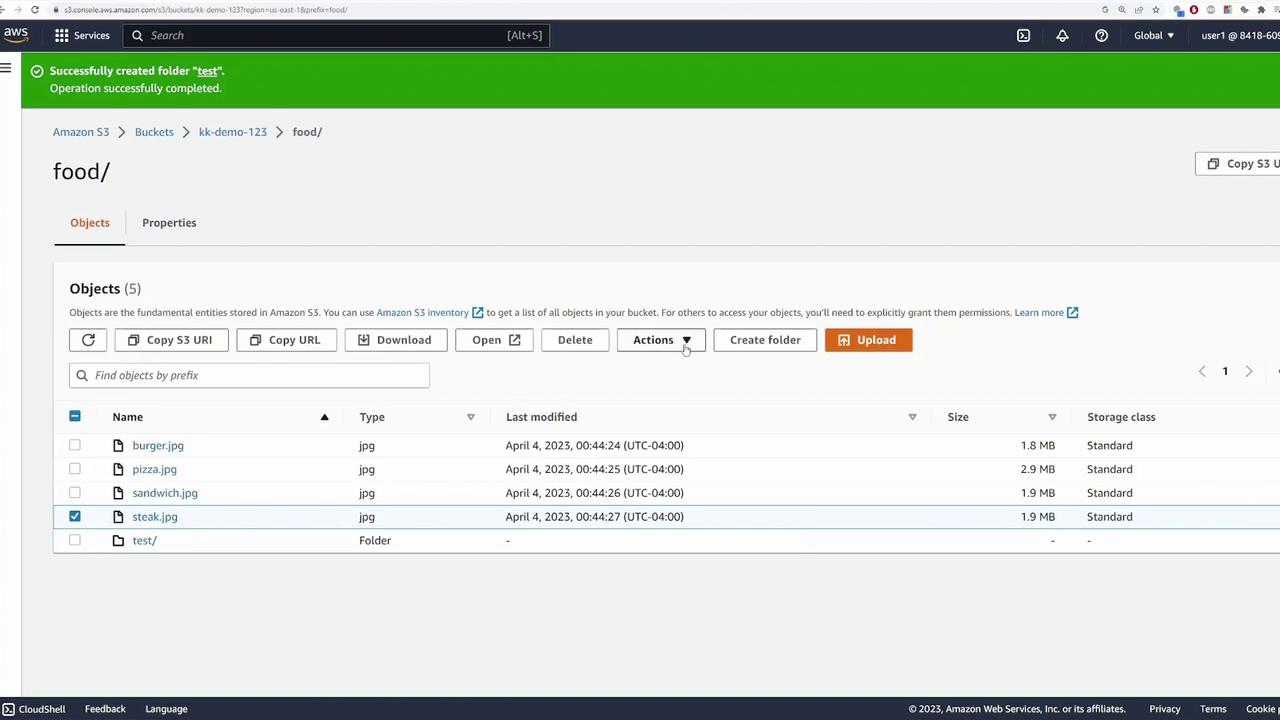
In your bucket, click “Create folder” and provide a name (e.g., “food”).
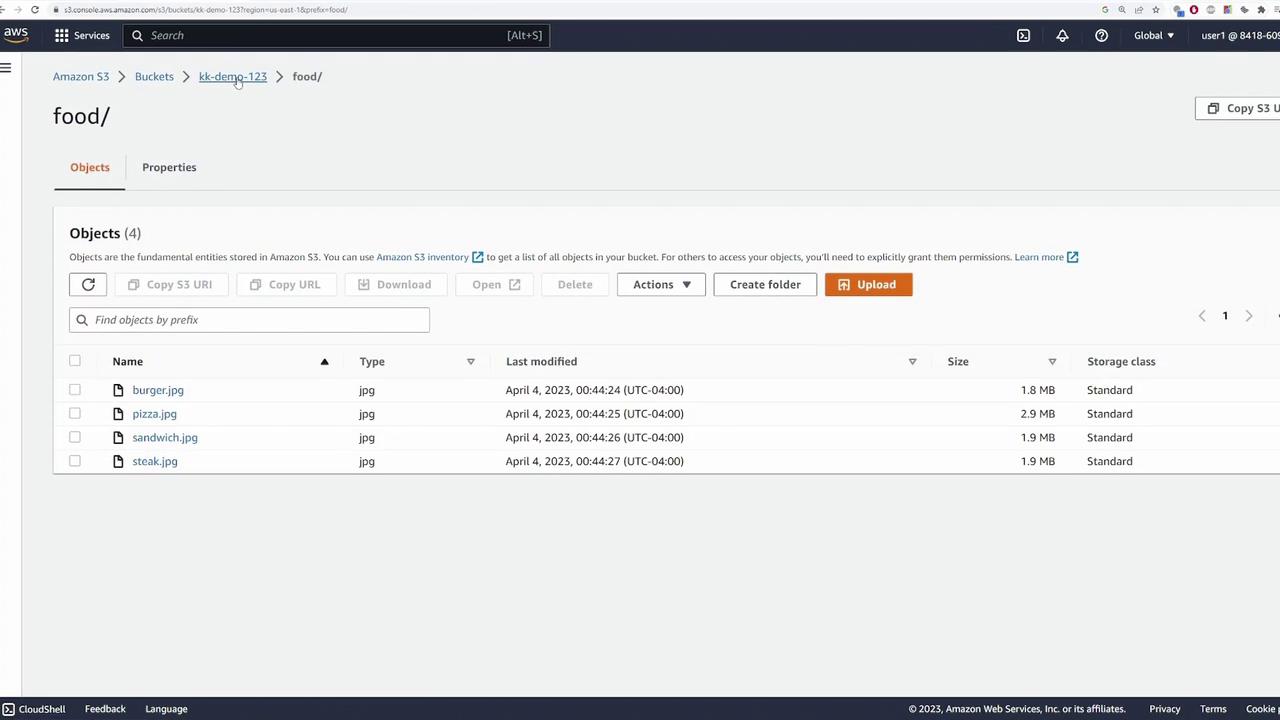
Open the folder and upload files, such as food-related images, using the same upload process and designating the folder as the destination.
If you inspect the URI or ARN of a file within the folder (for example, burger.jpg), you will see that the file name is prefixed with the folder name. This prefix system simulates folders in a flat file system.To view an object, simply select it and click “Open.” Remember, accessing it publicly may be blocked if proper permissions are not set.