What Is Purging?
Purging a repository means removing unwanted or sensitive files from its commit history. This process helps you:- Reclaim disk space
- Eliminate accidental commits
- Protect secrets from exposure
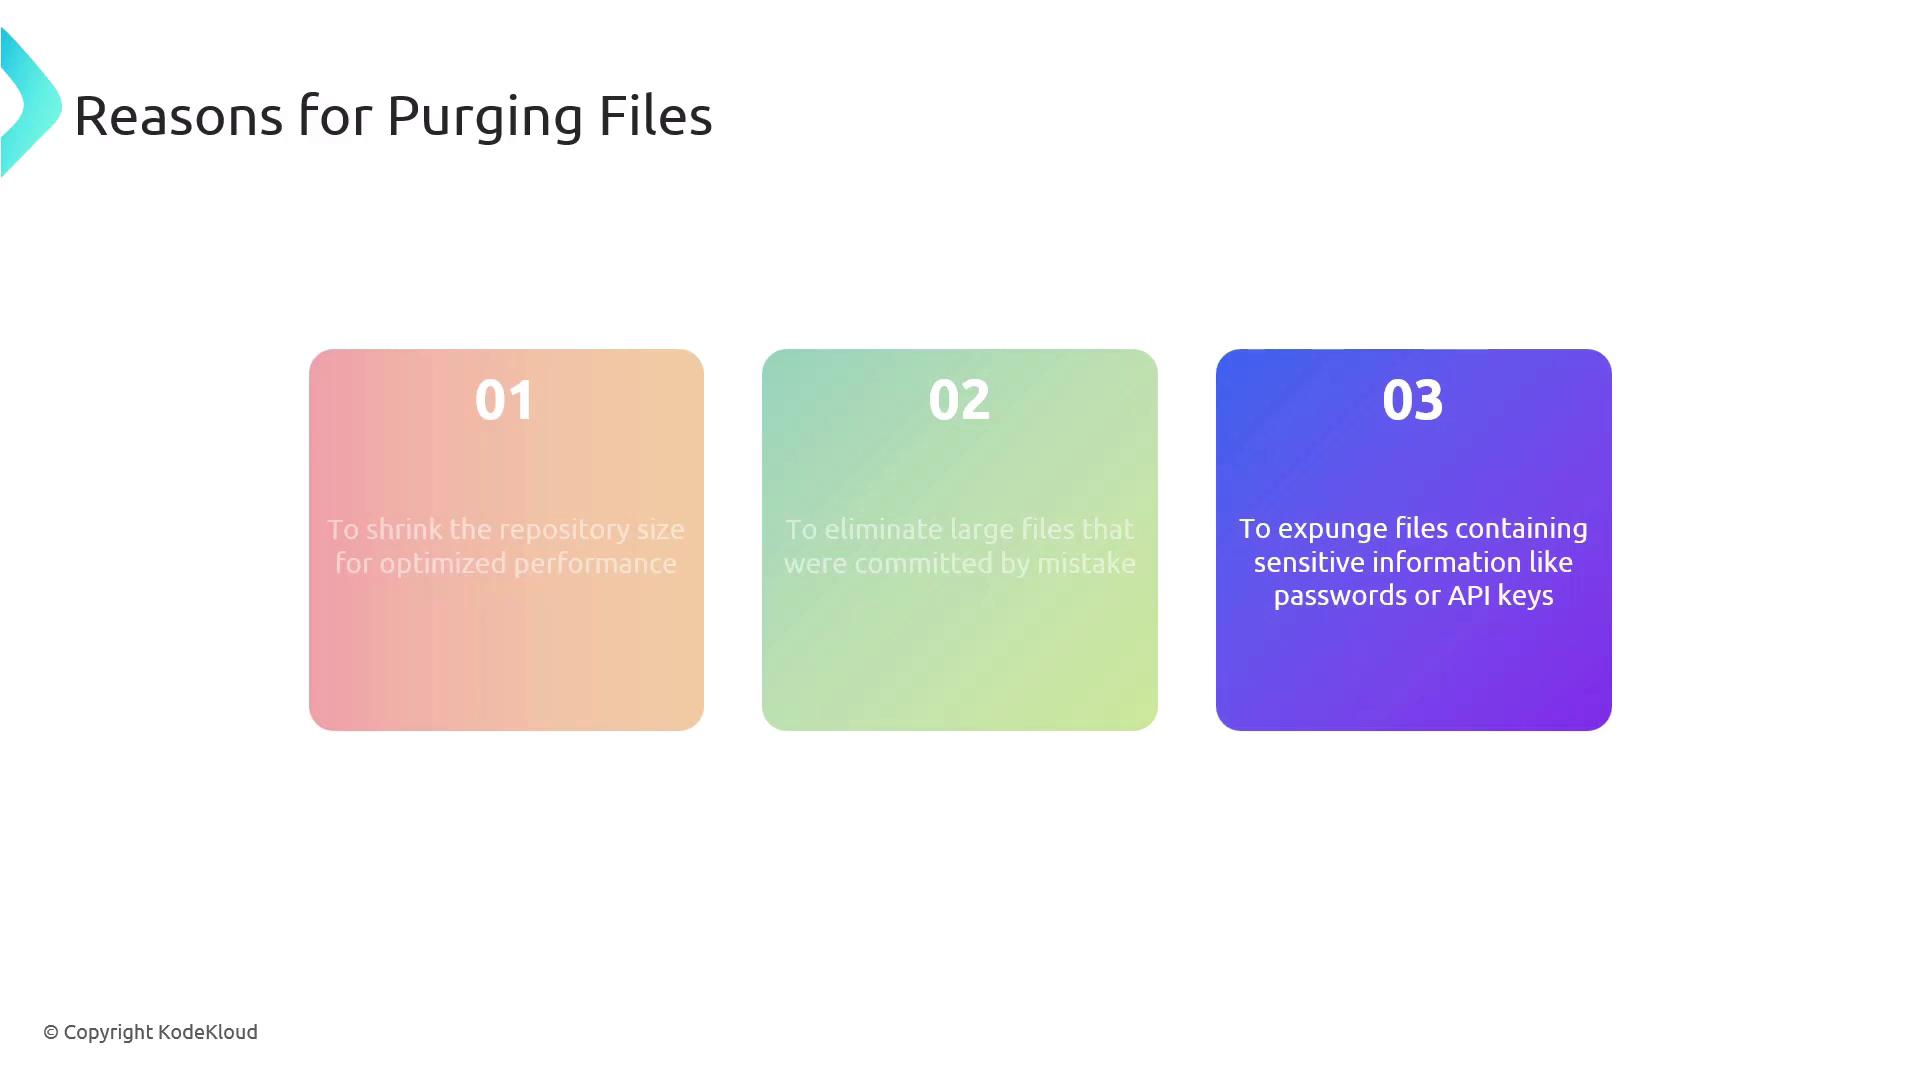
Why Purge Files?
By cleaning up your Git history, you can:- Optimize Performance: Smaller repos clone and checkout faster.
- Eliminate Mistakes: Remove large or accidental commits.
- Protect Secrets: Expunge API keys, passwords, and other sensitive data.
Always back up your repository before rewriting history. Purging is irreversible.
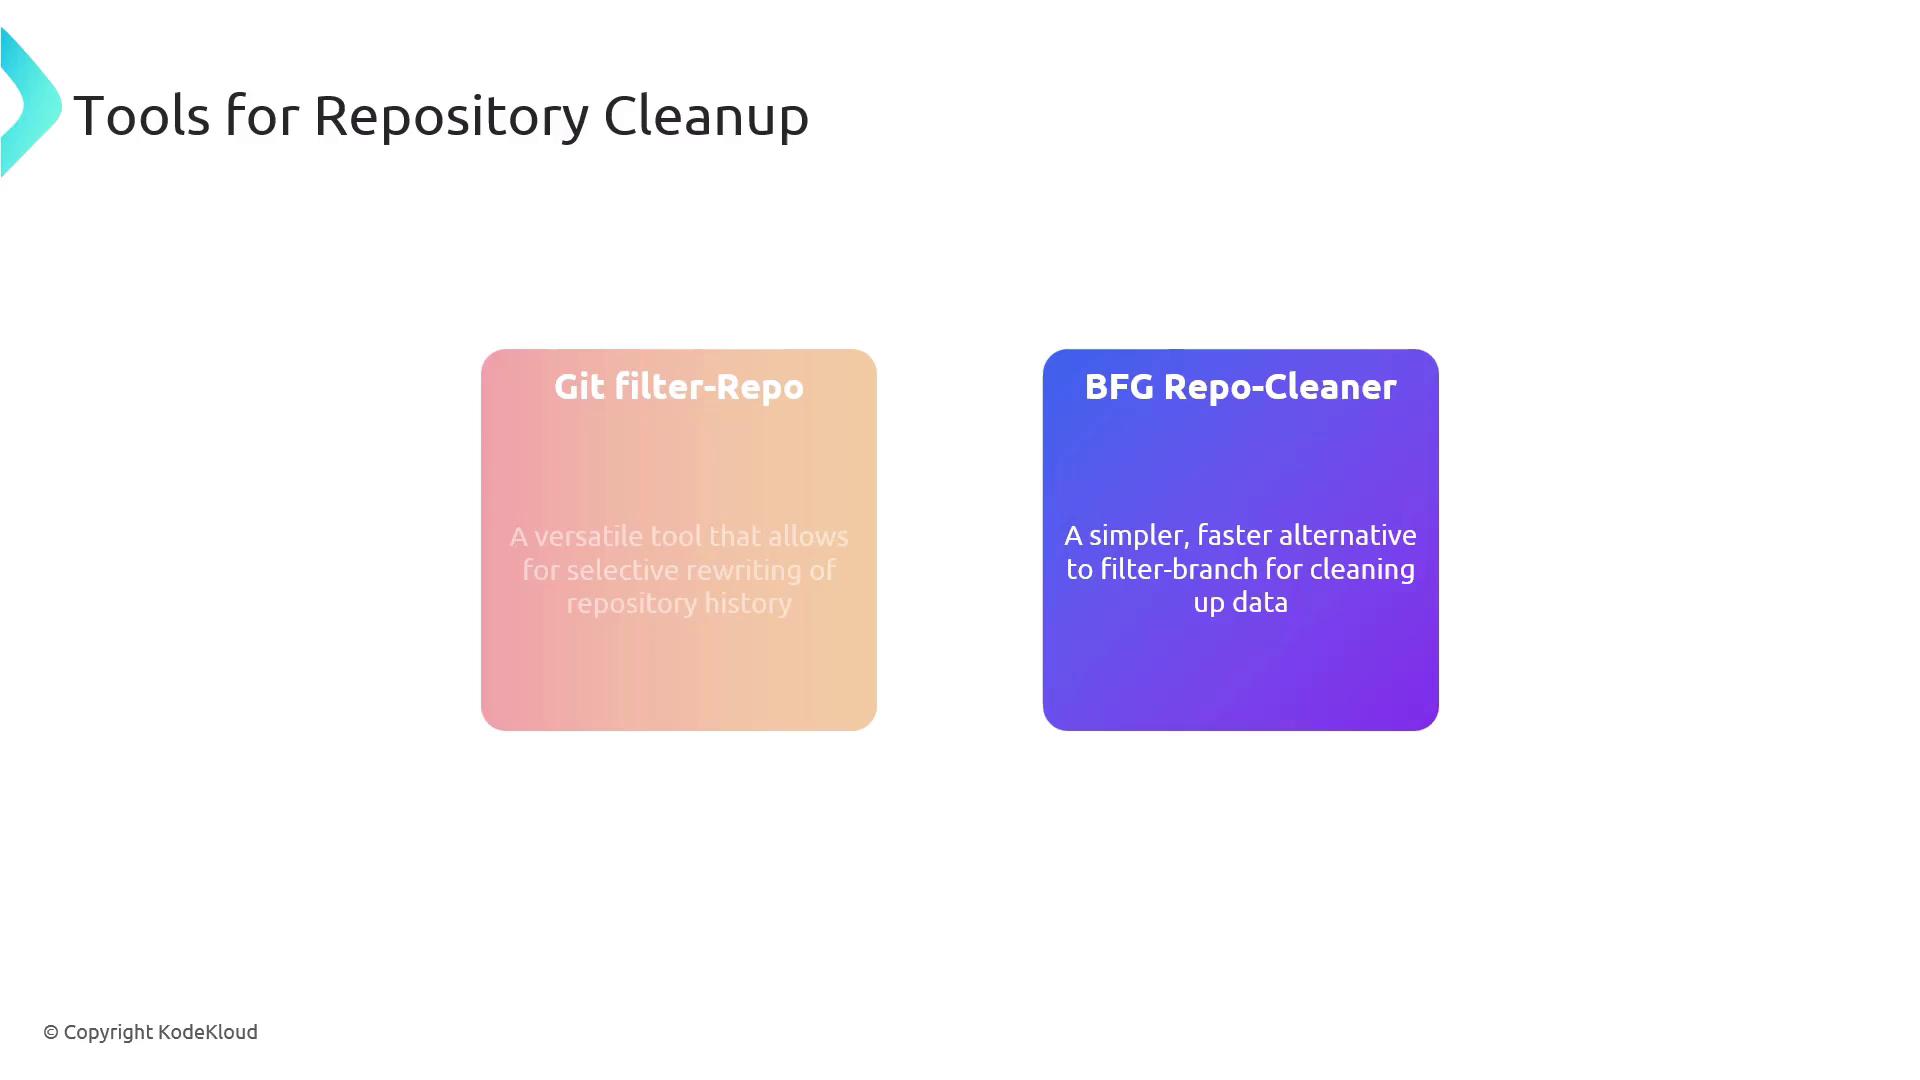
Repository Cleanup Tools
Here’s a quick comparison of the two leading Git history-rewriting tools:| Tool | Use Case | Documentation |
|---|---|---|
| Git filter-repo | Official, highly configurable, fine-grained | Git filter-repo |
| BFG Repo-Cleaner | Fast, simple syntax for common cleanup tasks | BFG Repo-Cleaner |
Practical Examples
1. Deleting Large or Unwanted Files
Remove a file namedarchive.tar.gz:
2. Removing Sensitive Content
First, list sensitive patterns inpasswords.txt (one per line):
Force-pushing rewritten history will overwrite the remote. Coordinate with your team to avoid conflicts.
Final Steps
After rewriting history, complete these actions:- Force-push the cleaned history
- Notify your team to reclone or reset their local copies:
Ensure everyone is on the same page to prevent divergent histories.