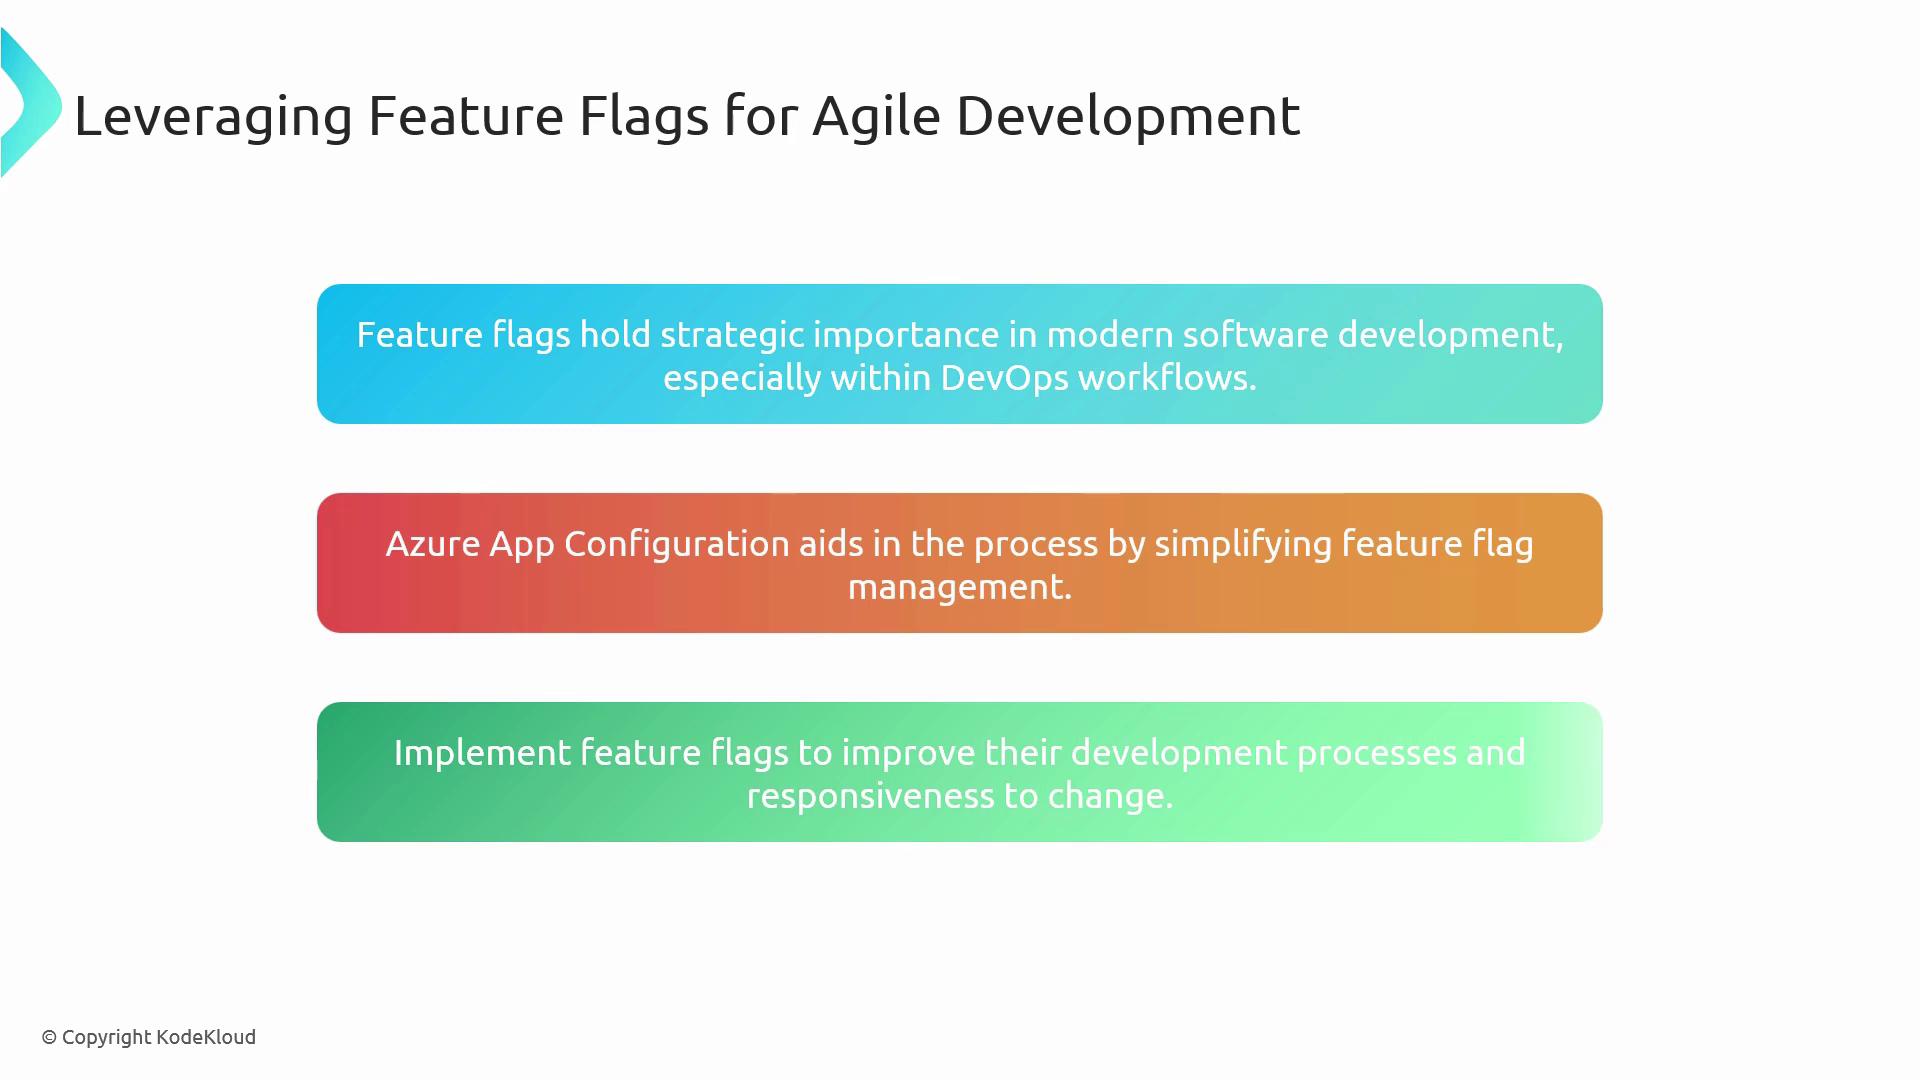
Why Use Feature Flags?
Feature flags empower teams to test in production, run A/B experiments, and rollback instantly if issues arise. The table below highlights key benefits:| Benefit | Description |
|---|---|
| Safer testing in production | Expose features to a limited audience before full rollout |
| A/B testing | Compare variations to determine the best performing version |
| Instant rollback | Disable a feature immediately—no code change or redeployment needed |
Azure App Configuration Overview
Azure App Configuration provides a centralized store for application settings and feature flags. Instead of embedding values in code, your app reads these settings at runtime, and changes propagate instantly.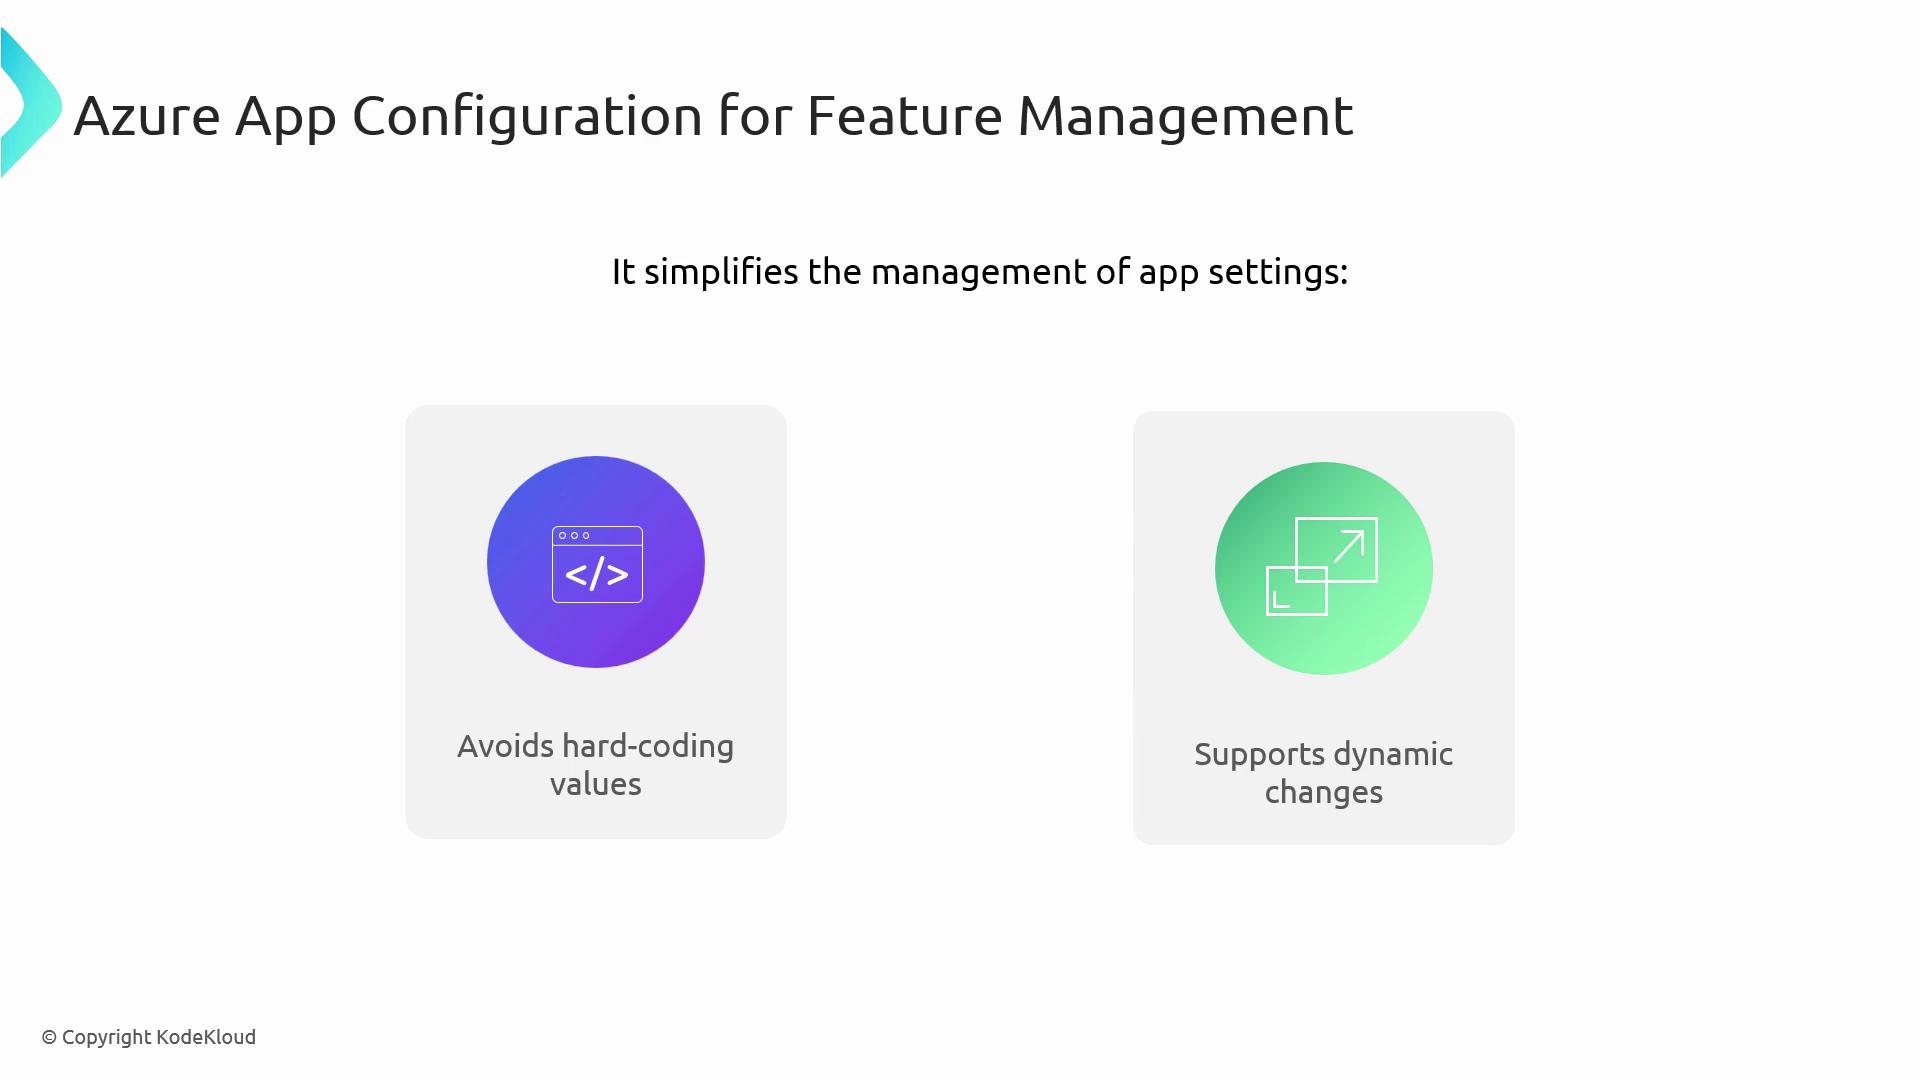
Integration with Azure DevOps
Treat your configuration as code by integrating Azure App Configuration with Azure DevOps pipelines. Automate updates, version control your settings, and streamline deployment workflows.
Core Concepts of Feature Management
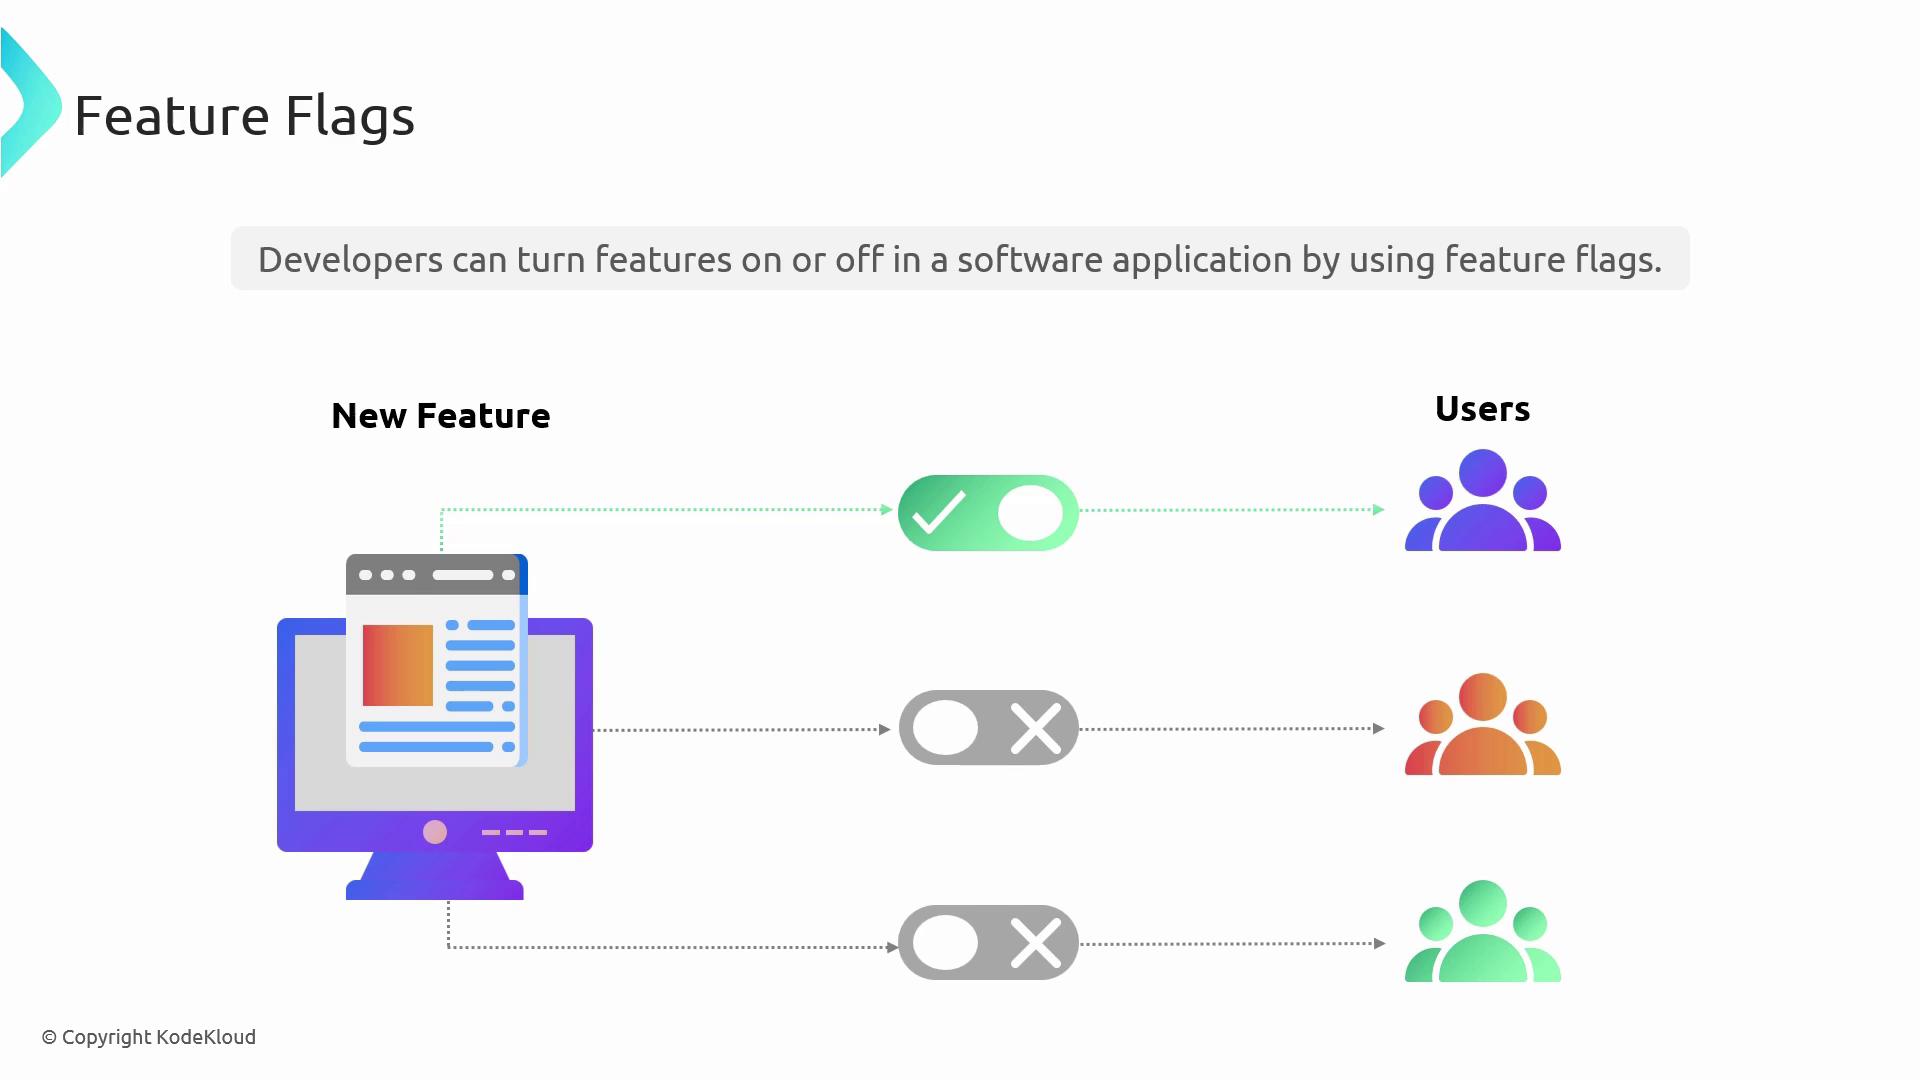
Decouple feature releases from application deployments. With dynamic feature flags, you can target users by environment, geography, or custom filters to roll out changes gradually.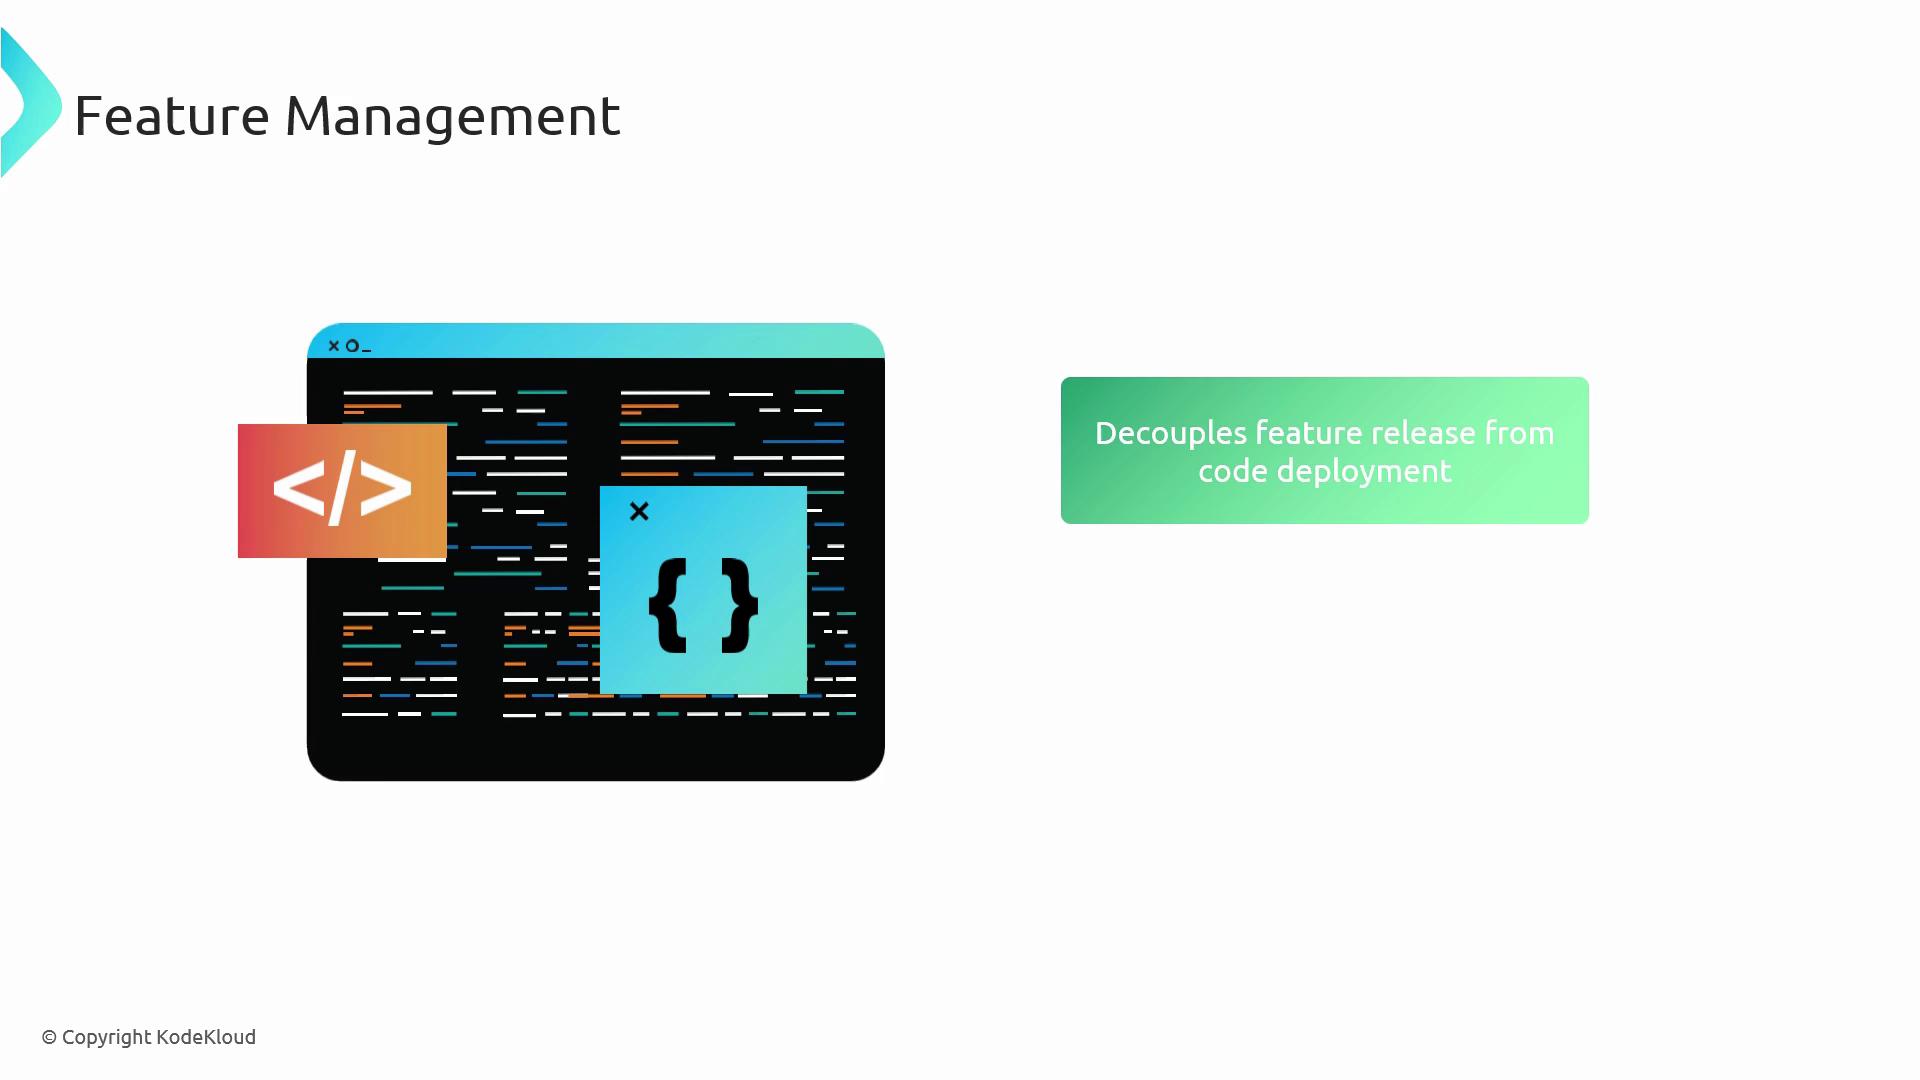
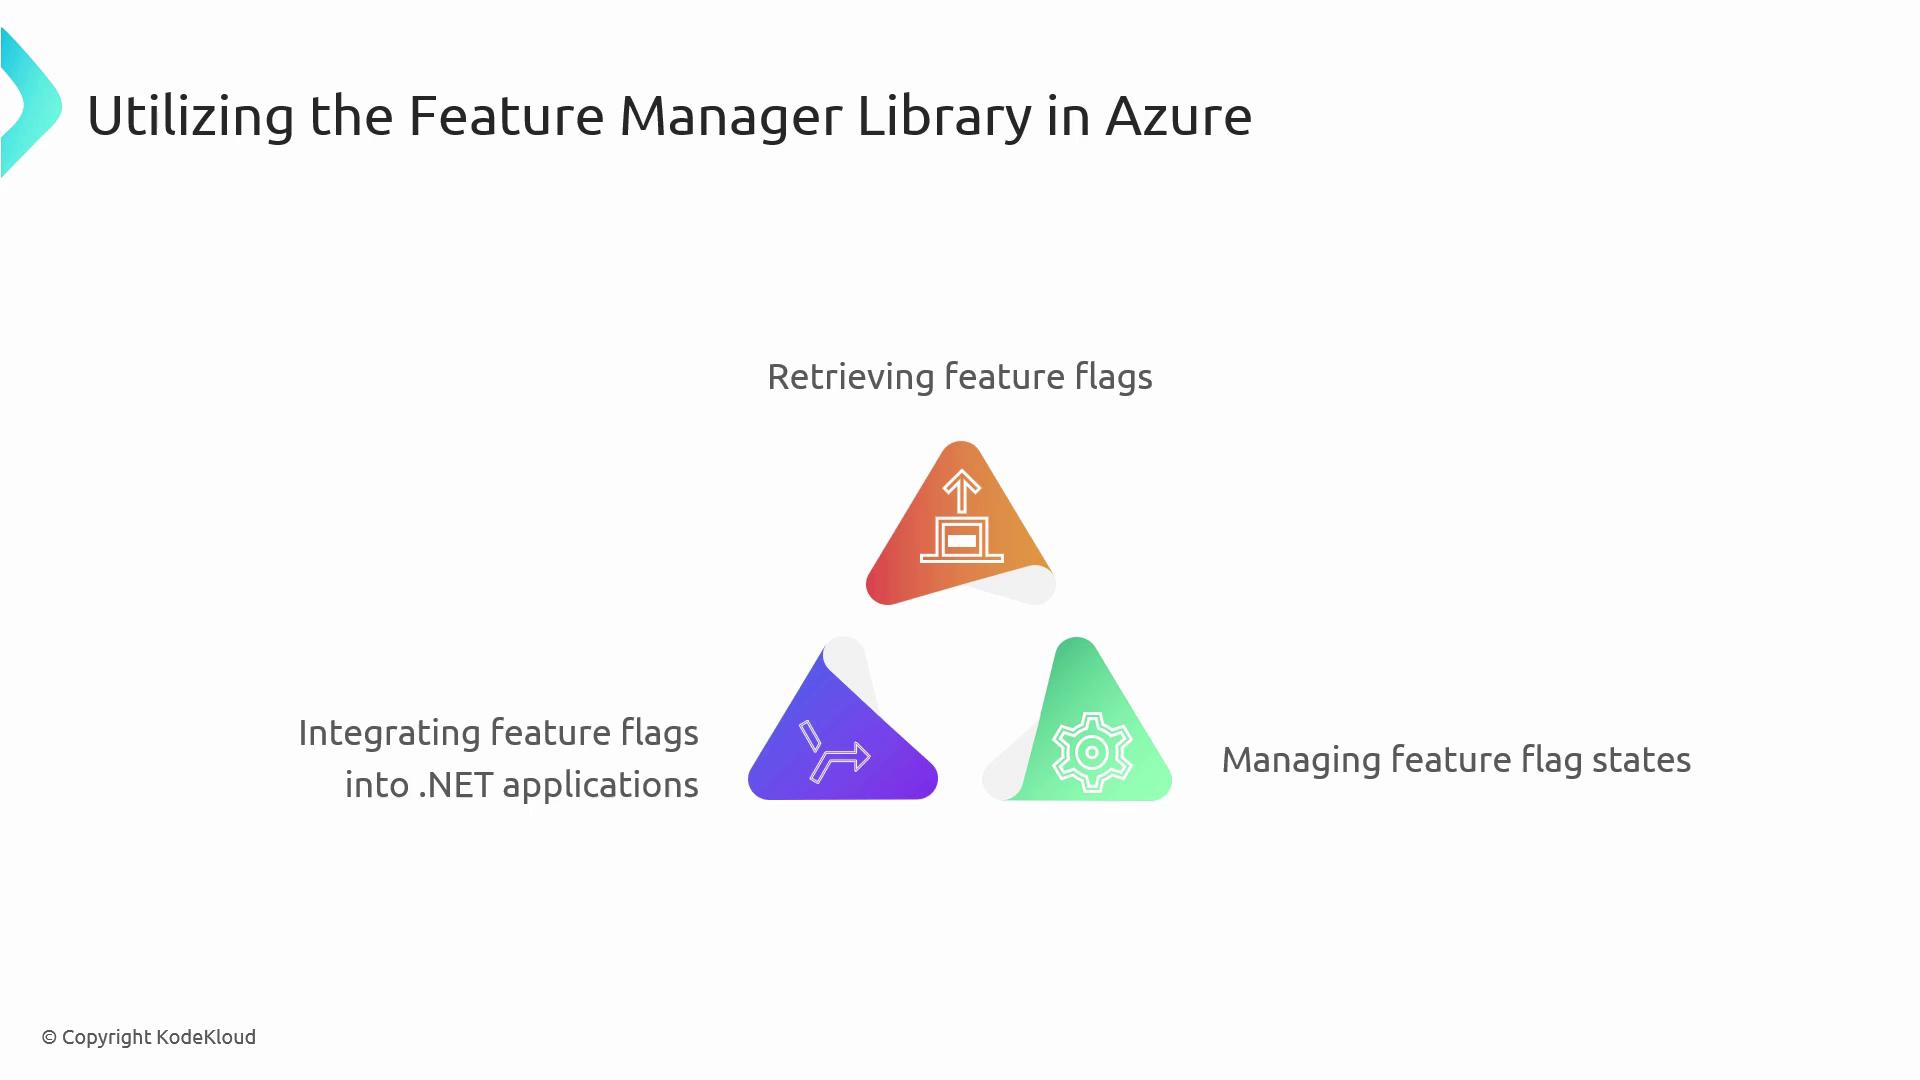
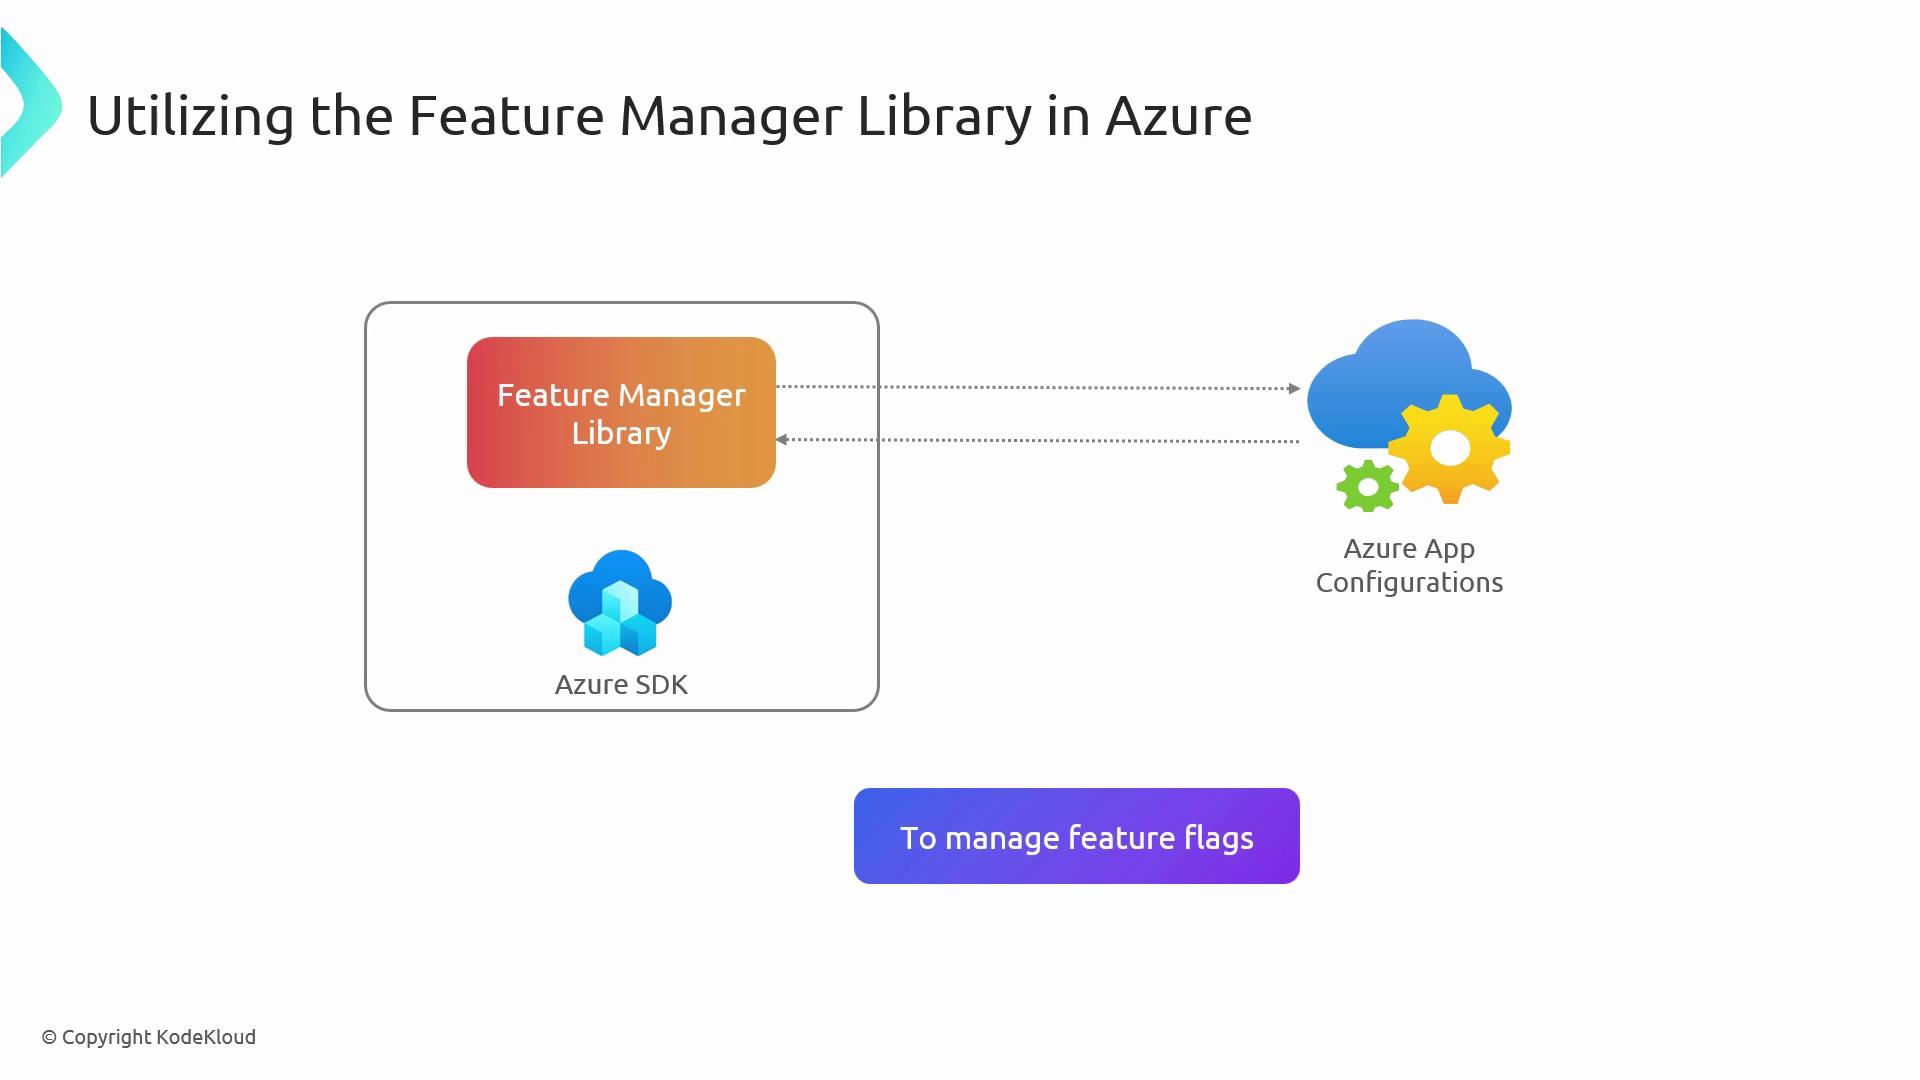
Feature Manager Library (Azure SDK)
The Feature Manager Library simplifies communication with Azure App Configuration. It handles flag retrieval, runtime evaluation, and integrates seamlessly into .NET applications.
- Retrieve feature flags and evaluate their status
- Control rollout rules and conditional filters
- Embed feature checks idiomatically in your code
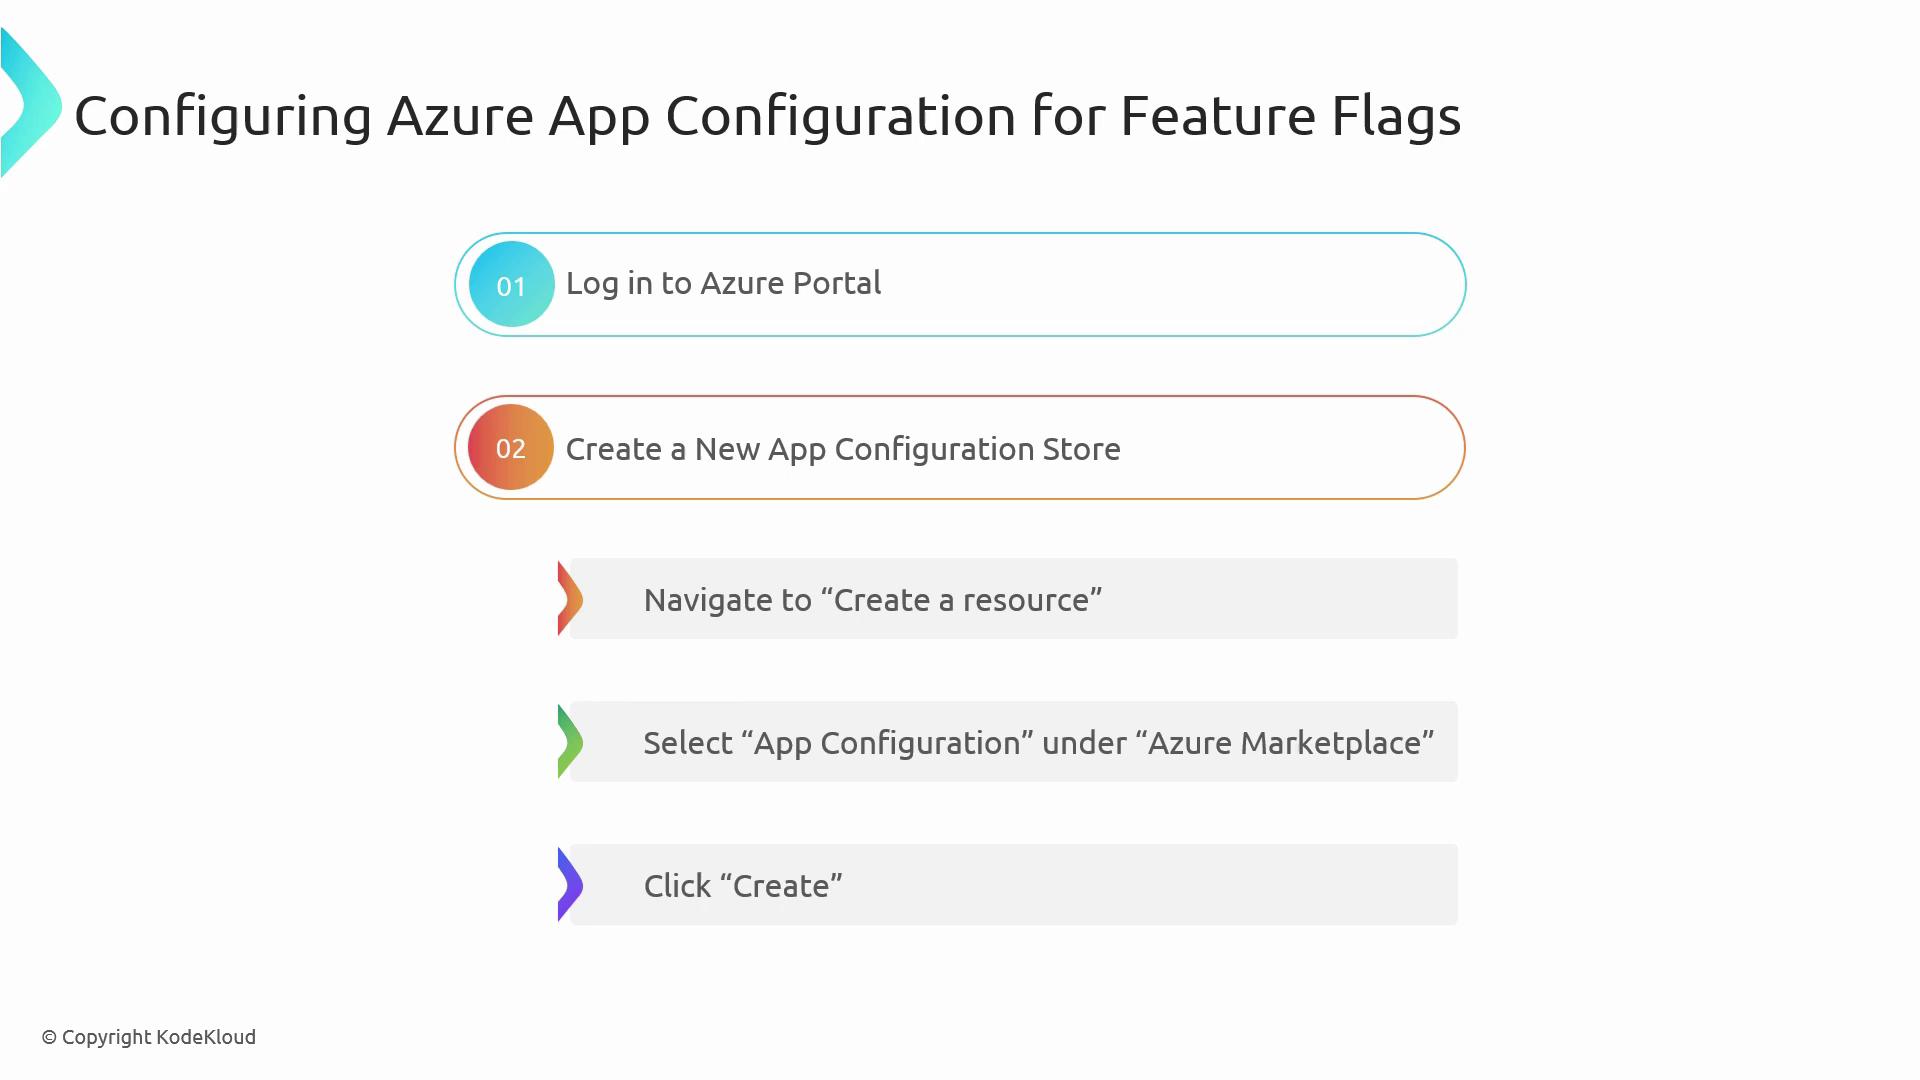
Setting Up Your Azure App Configuration Store
Follow these steps to spin up a configuration store and define your first feature flags:- Sign in to the Azure Portal and select Create a resource.
- Search for App Configuration and click Create.
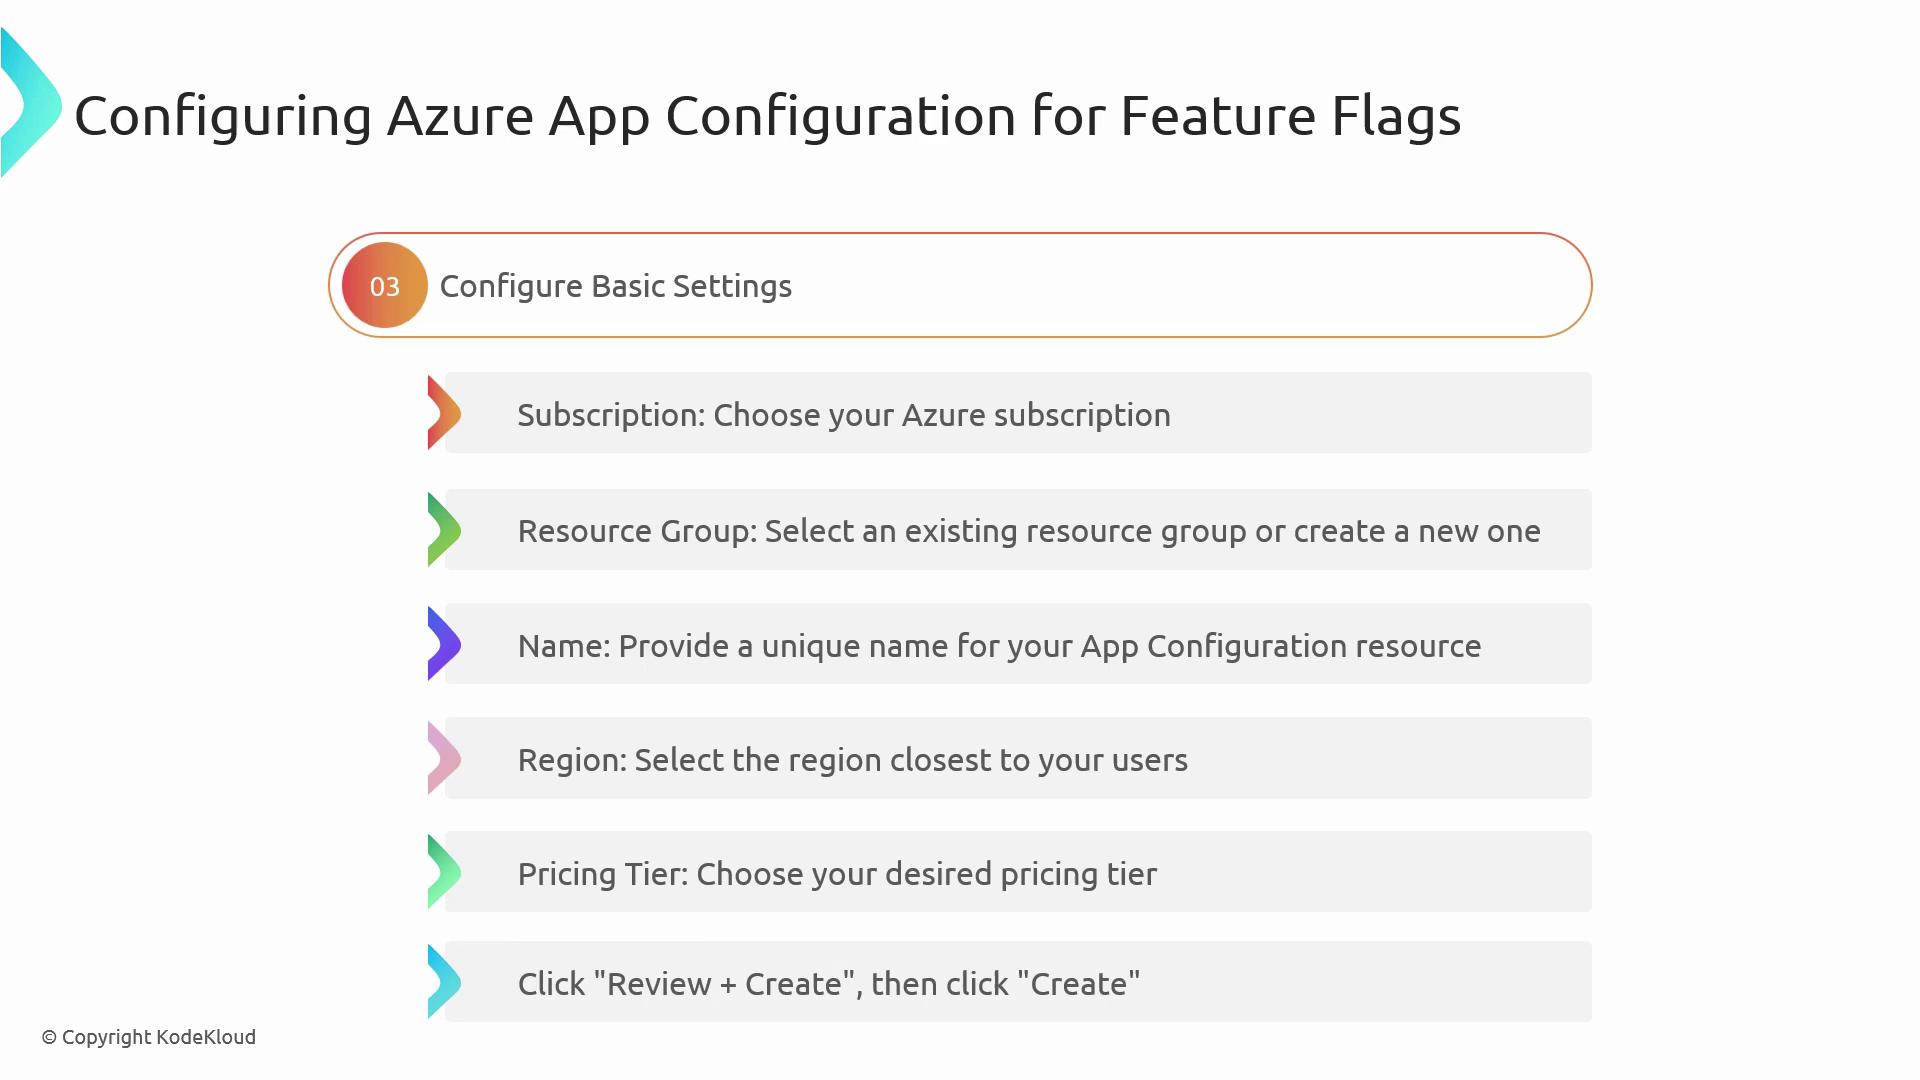
- Provide:
- Subscription & resource group
- A unique name
- Region (nearest your users)
- Pricing tier (Free tier available)
- Review and click Create.
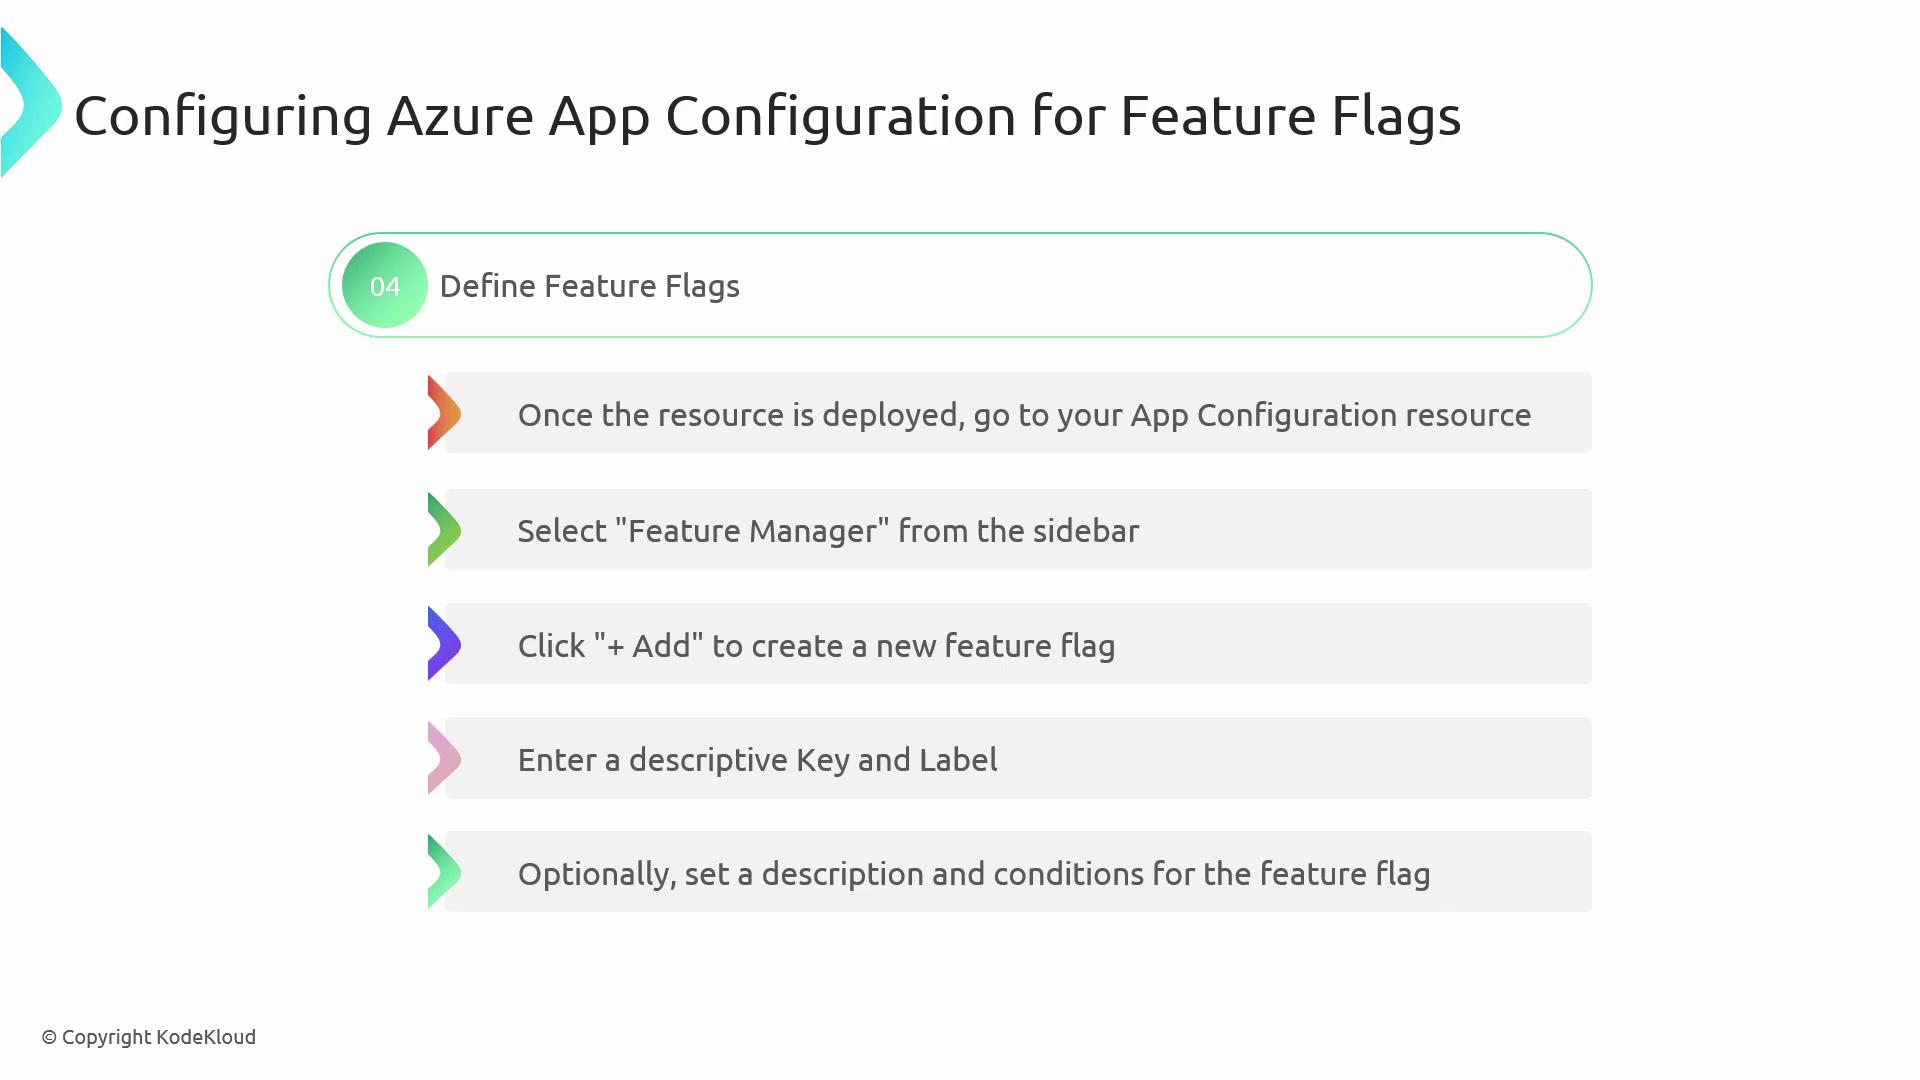
- Open your store, navigate to Feature Management, and click Add.
- Enter a feature key, optional label, description, and rollout conditions.
- To apply filters (e.g., user percentage, custom attributes), select Feature Manager in the sidebar and add your rules.
You can combine multiple filters—such as time windows, user targets, or custom conditions—to roll out features safely.
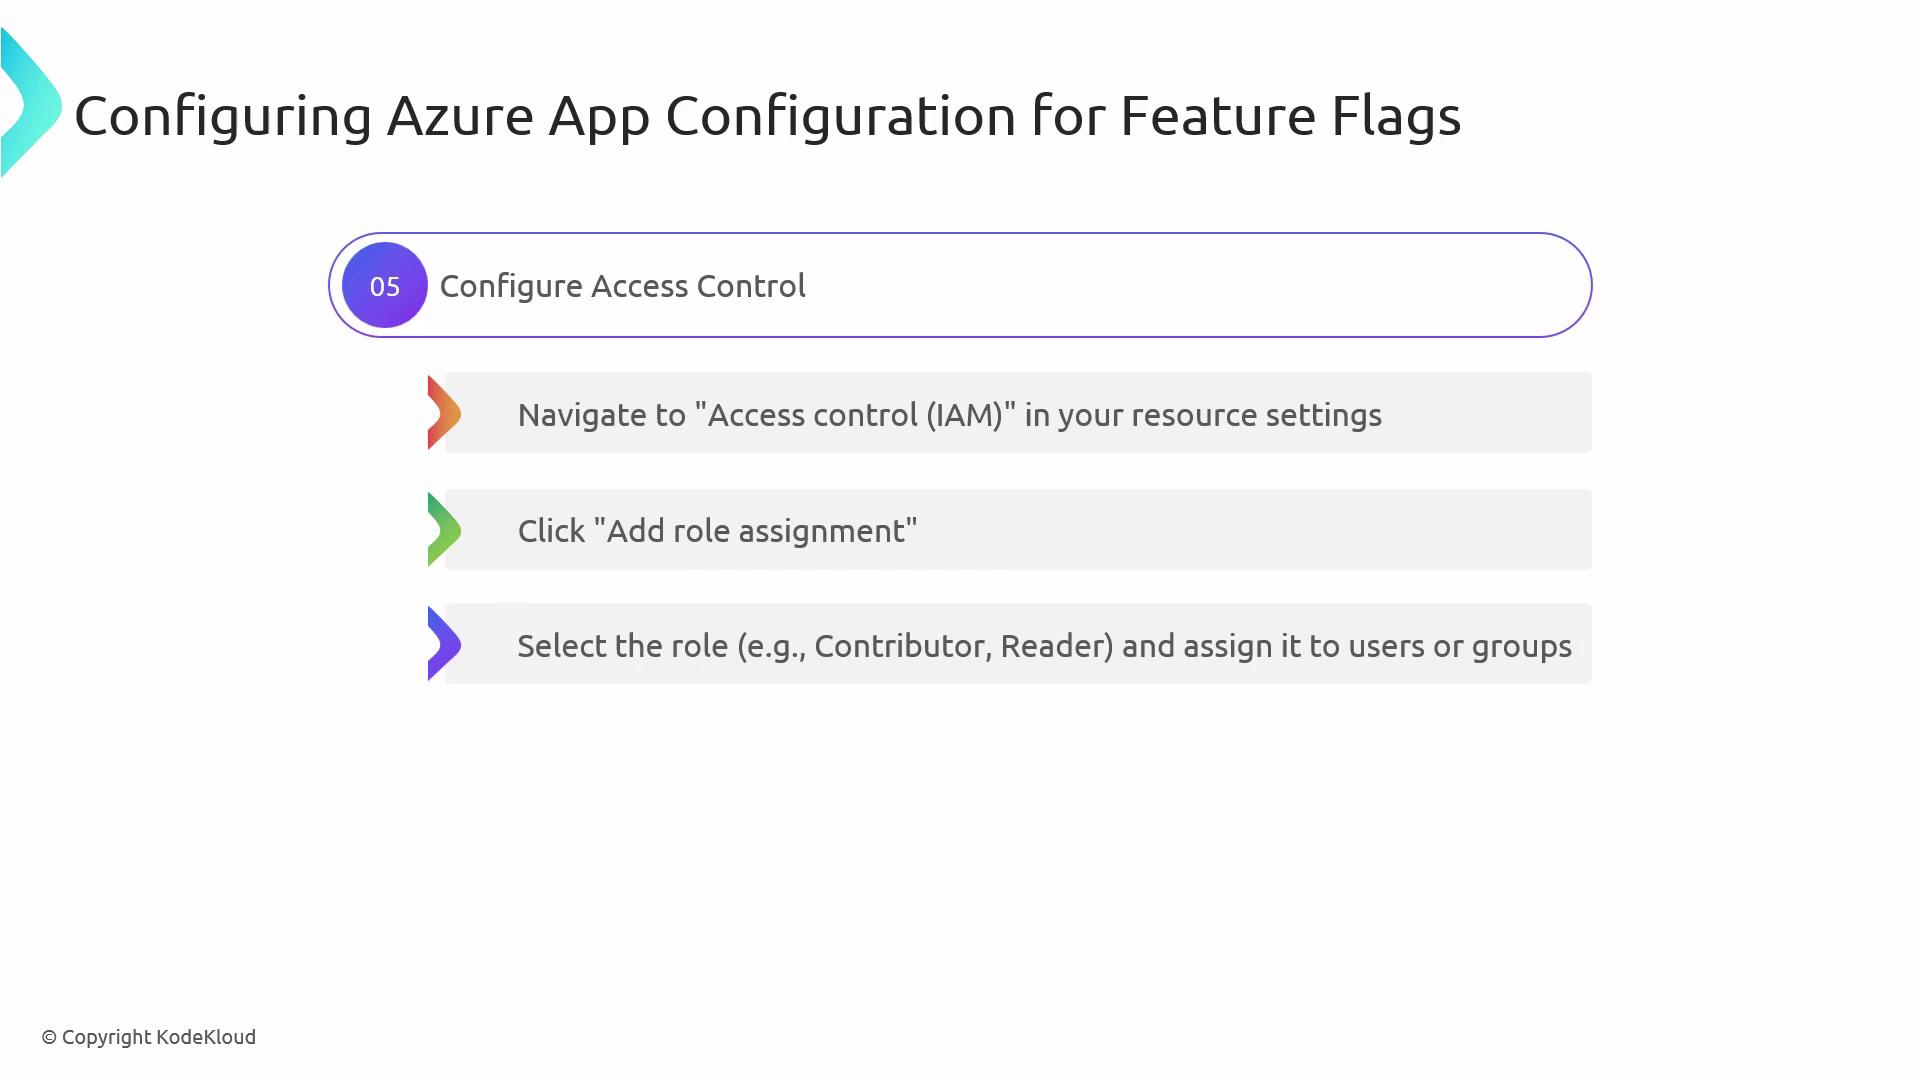
Configuring Access Control
Secure your configuration store with Azure RBAC:- Go to Access Control (IAM) in your resource.
- Click Add role assignment, choose roles like Contributor or Reader, and assign to users/groups.
- Optionally scope access at the label or key level.

Implementing Feature Flags in .NET Code
Install the NuGet packages and configure services: