Implementing Load Balancer Traffic Manager Releases and Web Apps
This article explores implementing Azure Load Balancer, Traffic Manager, and Web Apps for fast, reliable, and globally available web applications.
In this lesson, we’ll explore how to implement Azure Load Balancer, Traffic Manager, and Web Apps to deliver fast, reliable, and globally available web applications.
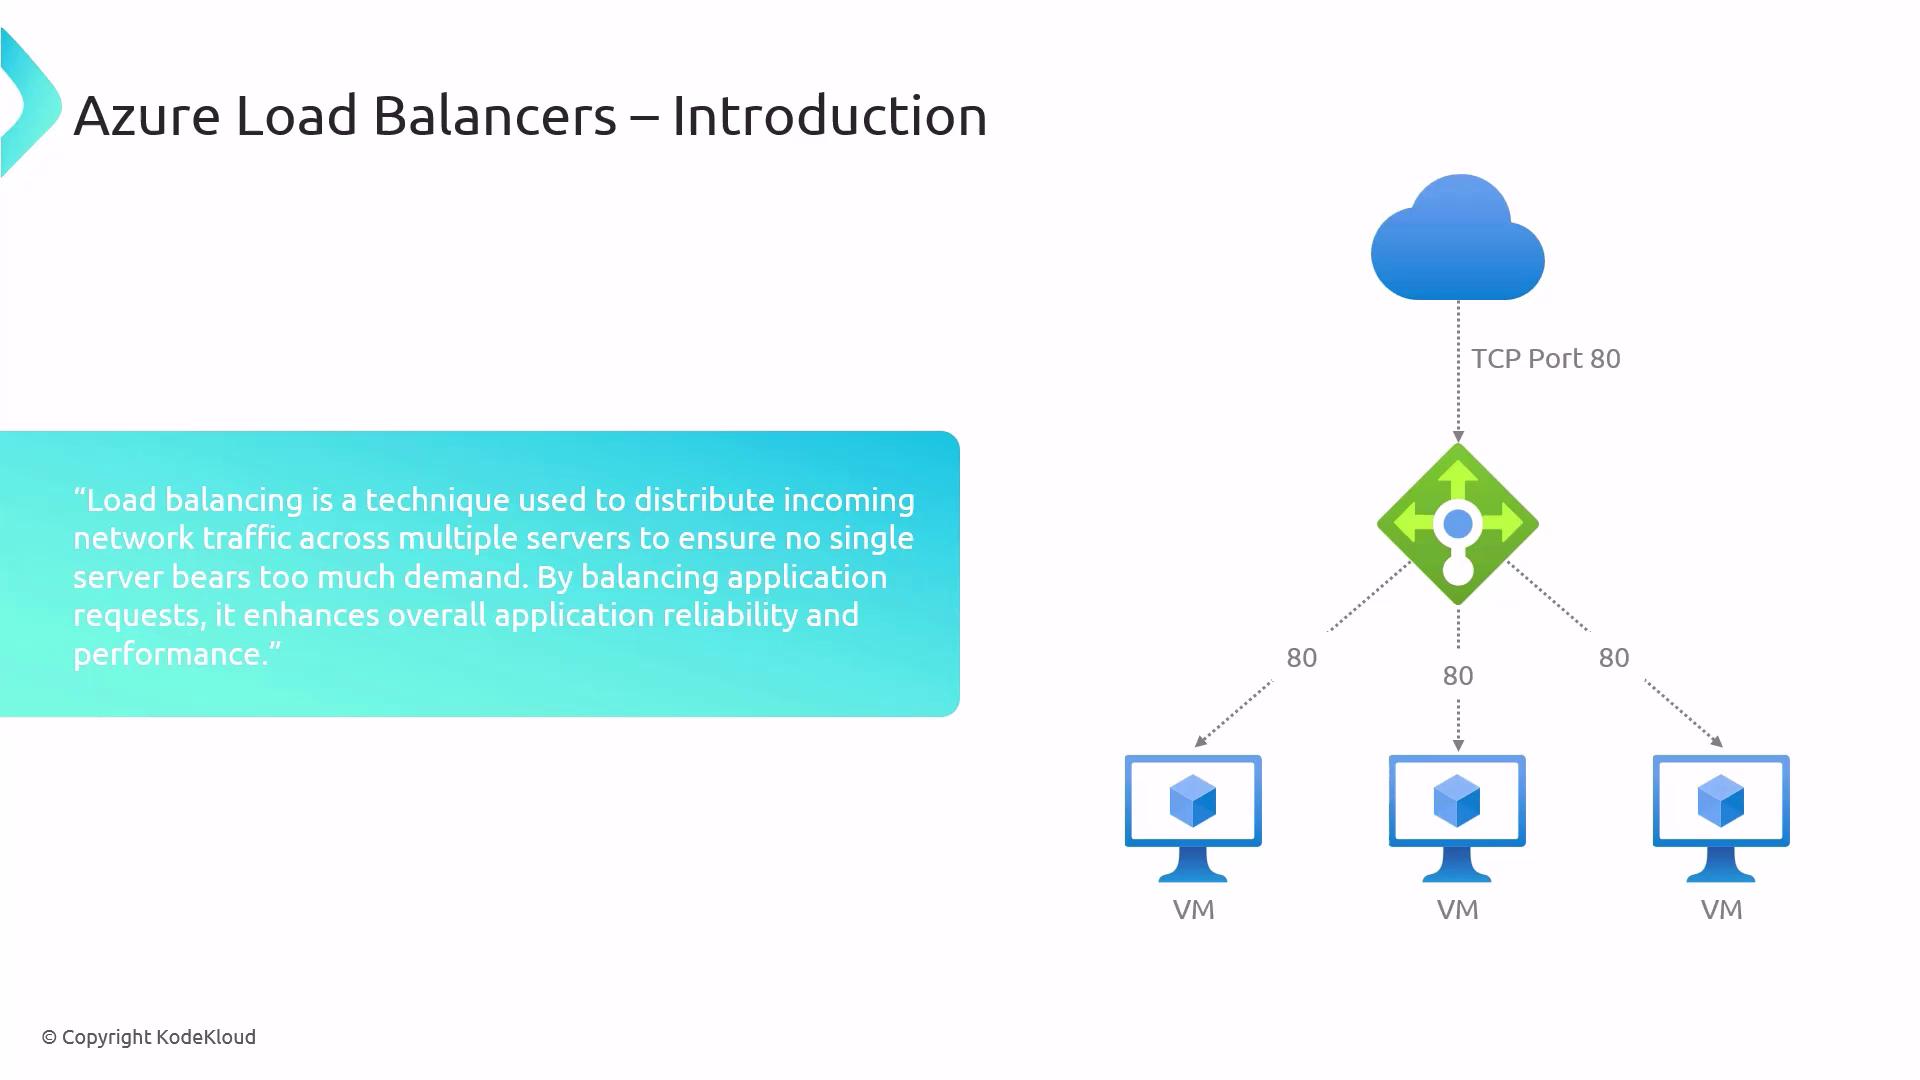
At its core, load balancing distributes network traffic evenly across multiple servers—much like having several checkout lines in a store to avoid long queues. Azure Load Balancer operates at Layer 4 (TCP/UDP) and can manage millions of requests per second.
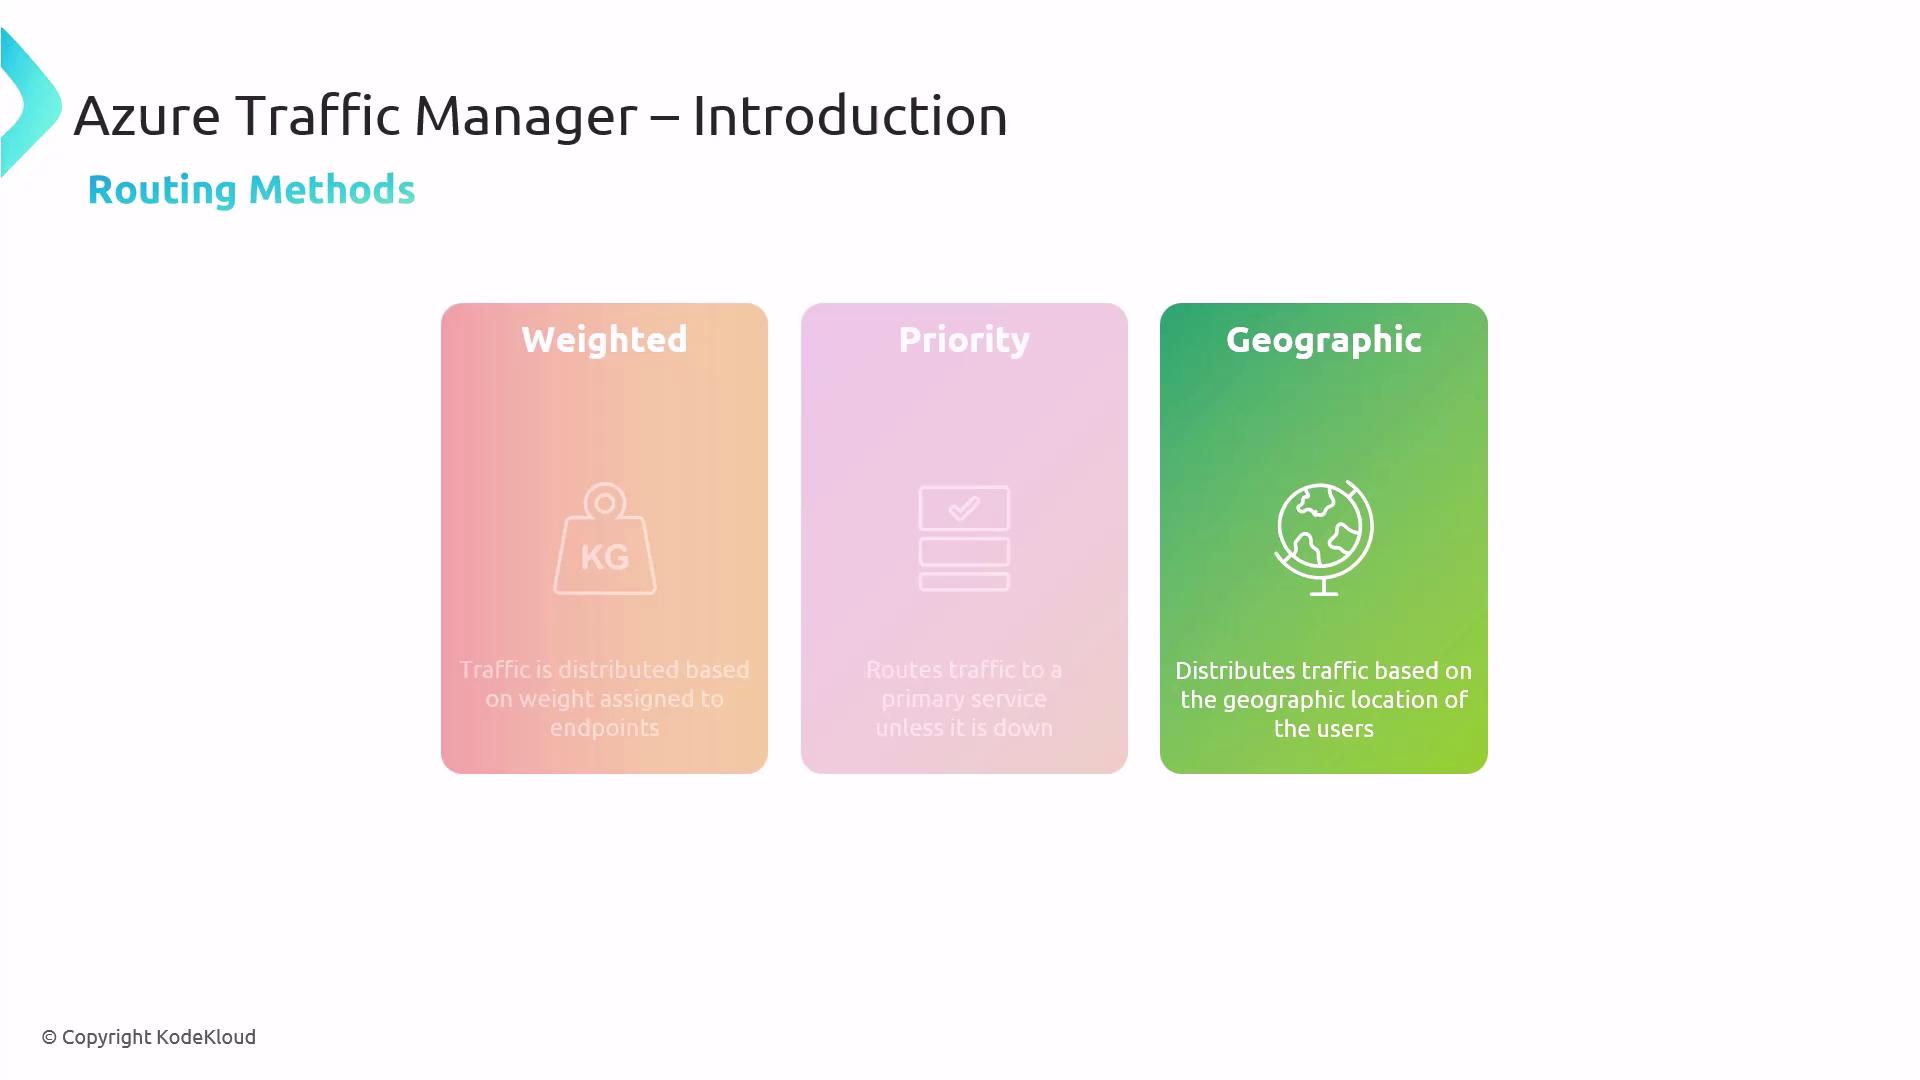
While Azure Load Balancer manages traffic within a region, Traffic Manager handles DNS-based load balancing across global endpoints. It routes client requests to the most appropriate endpoint based on your chosen method.
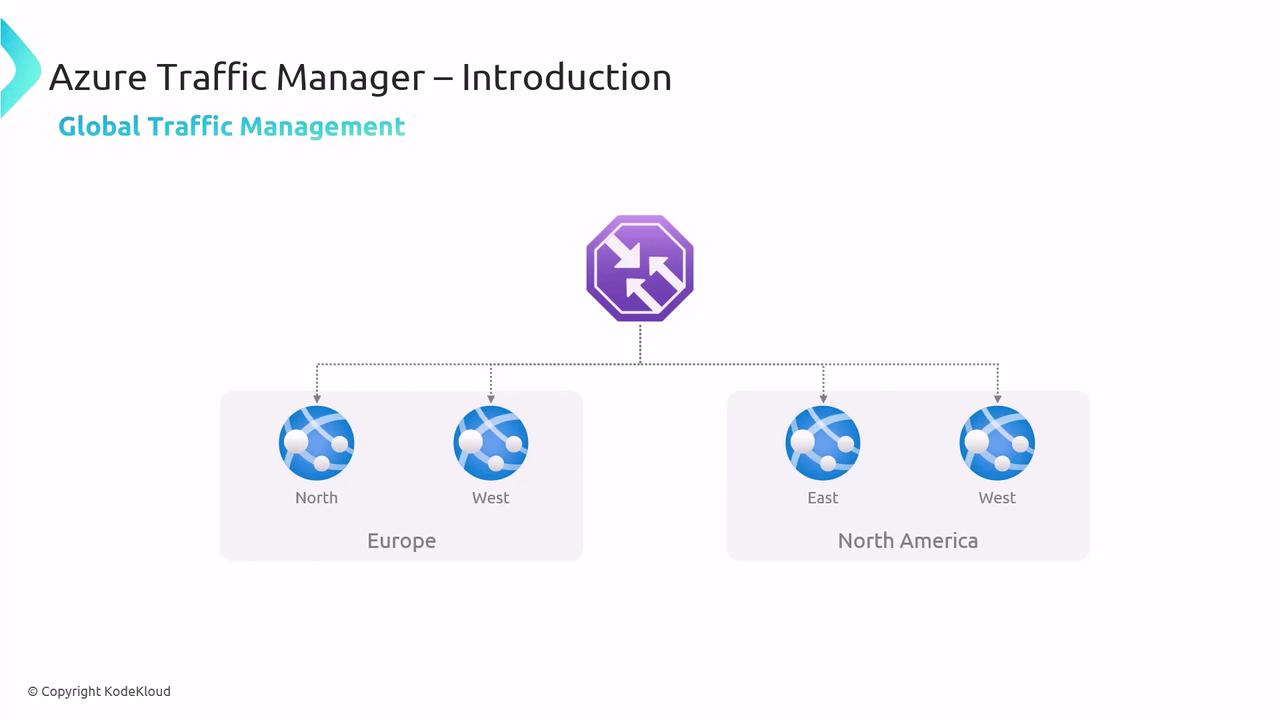
This diagram shows how Traffic Manager directs users from Europe and North America to their nearest data centers, reducing latency and improving availability.
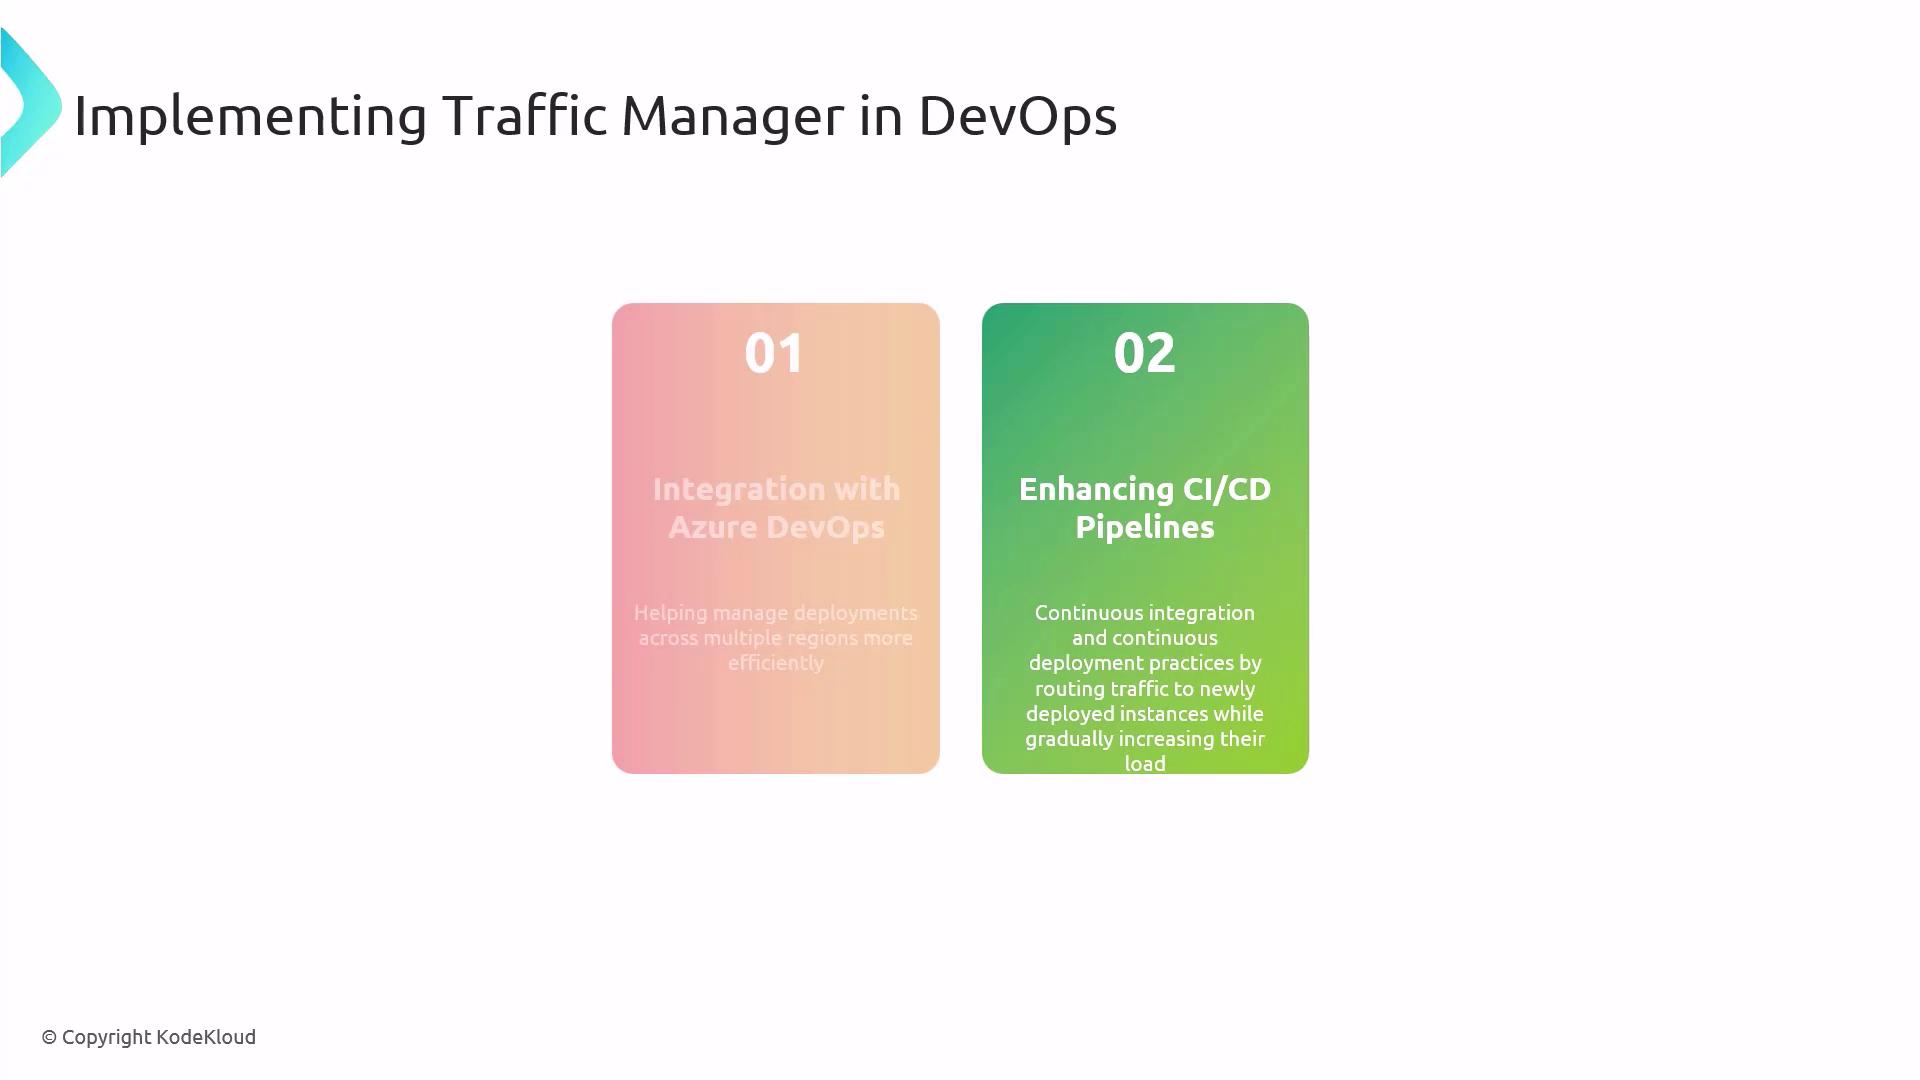
Traffic Manager integrates with Azure DevOps and CI/CD pipelines to support blue/green and canary deployments by gradually shifting traffic to new instances.
Azure Web Apps (part of Azure App Service) is a fully managed PaaS offering for hosting web applications, APIs, and mobile back ends without managing infrastructure.Key benefits:
Autoscaling: Dynamically adjusts to workload demands.
Managed platform updates: Azure handles OS and runtime patches.
Continuous deployment: Out-of-the-box integration with Git, GitHub, and Azure DevOps.