This guide explains how to automate deployment of a Node.js app to Azure App Service using GitHub Actions.
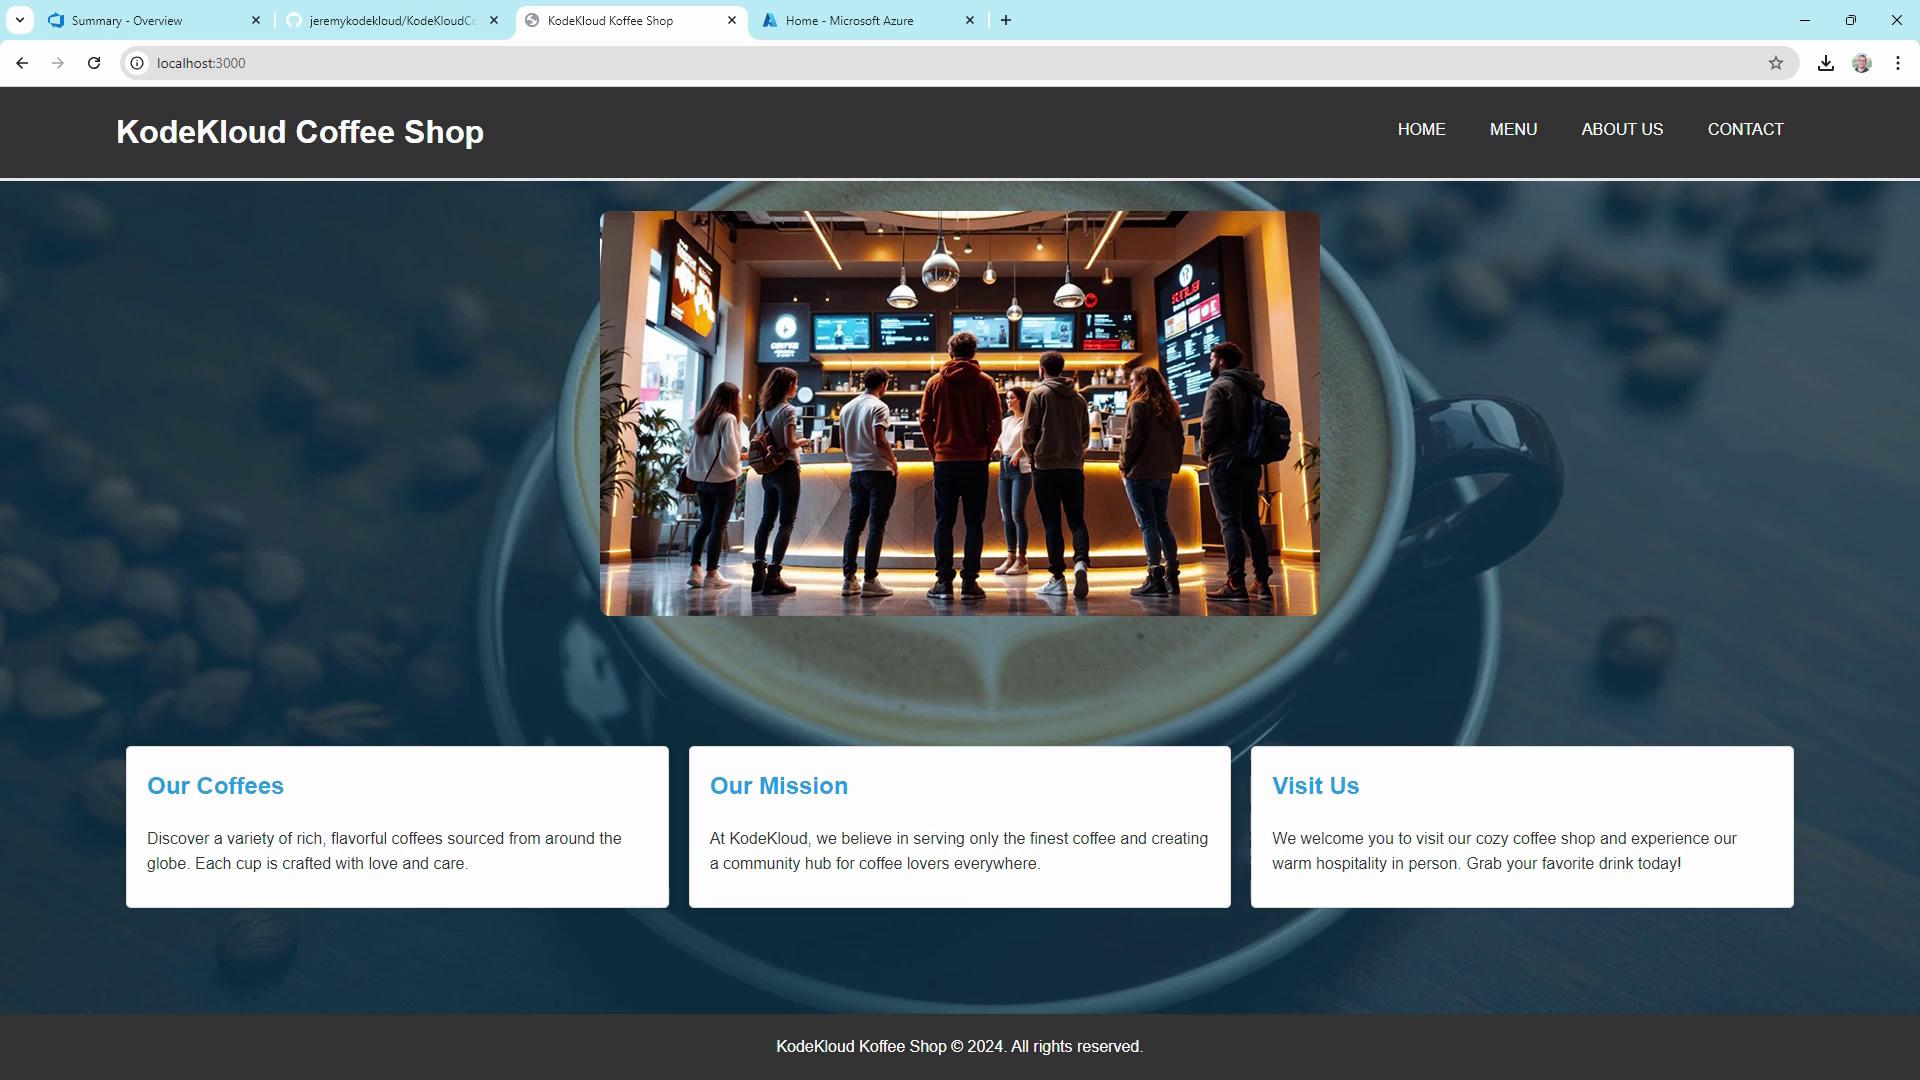
Automating your deployment pipeline is essential for delivering fast, reliable updates. In this guide, we’ll build a CI/CD workflow using GitHub Actions to deploy a Node.js app—the KodeKloud Coffee Shop website—to Azure App Service. This end-to-end example covers:
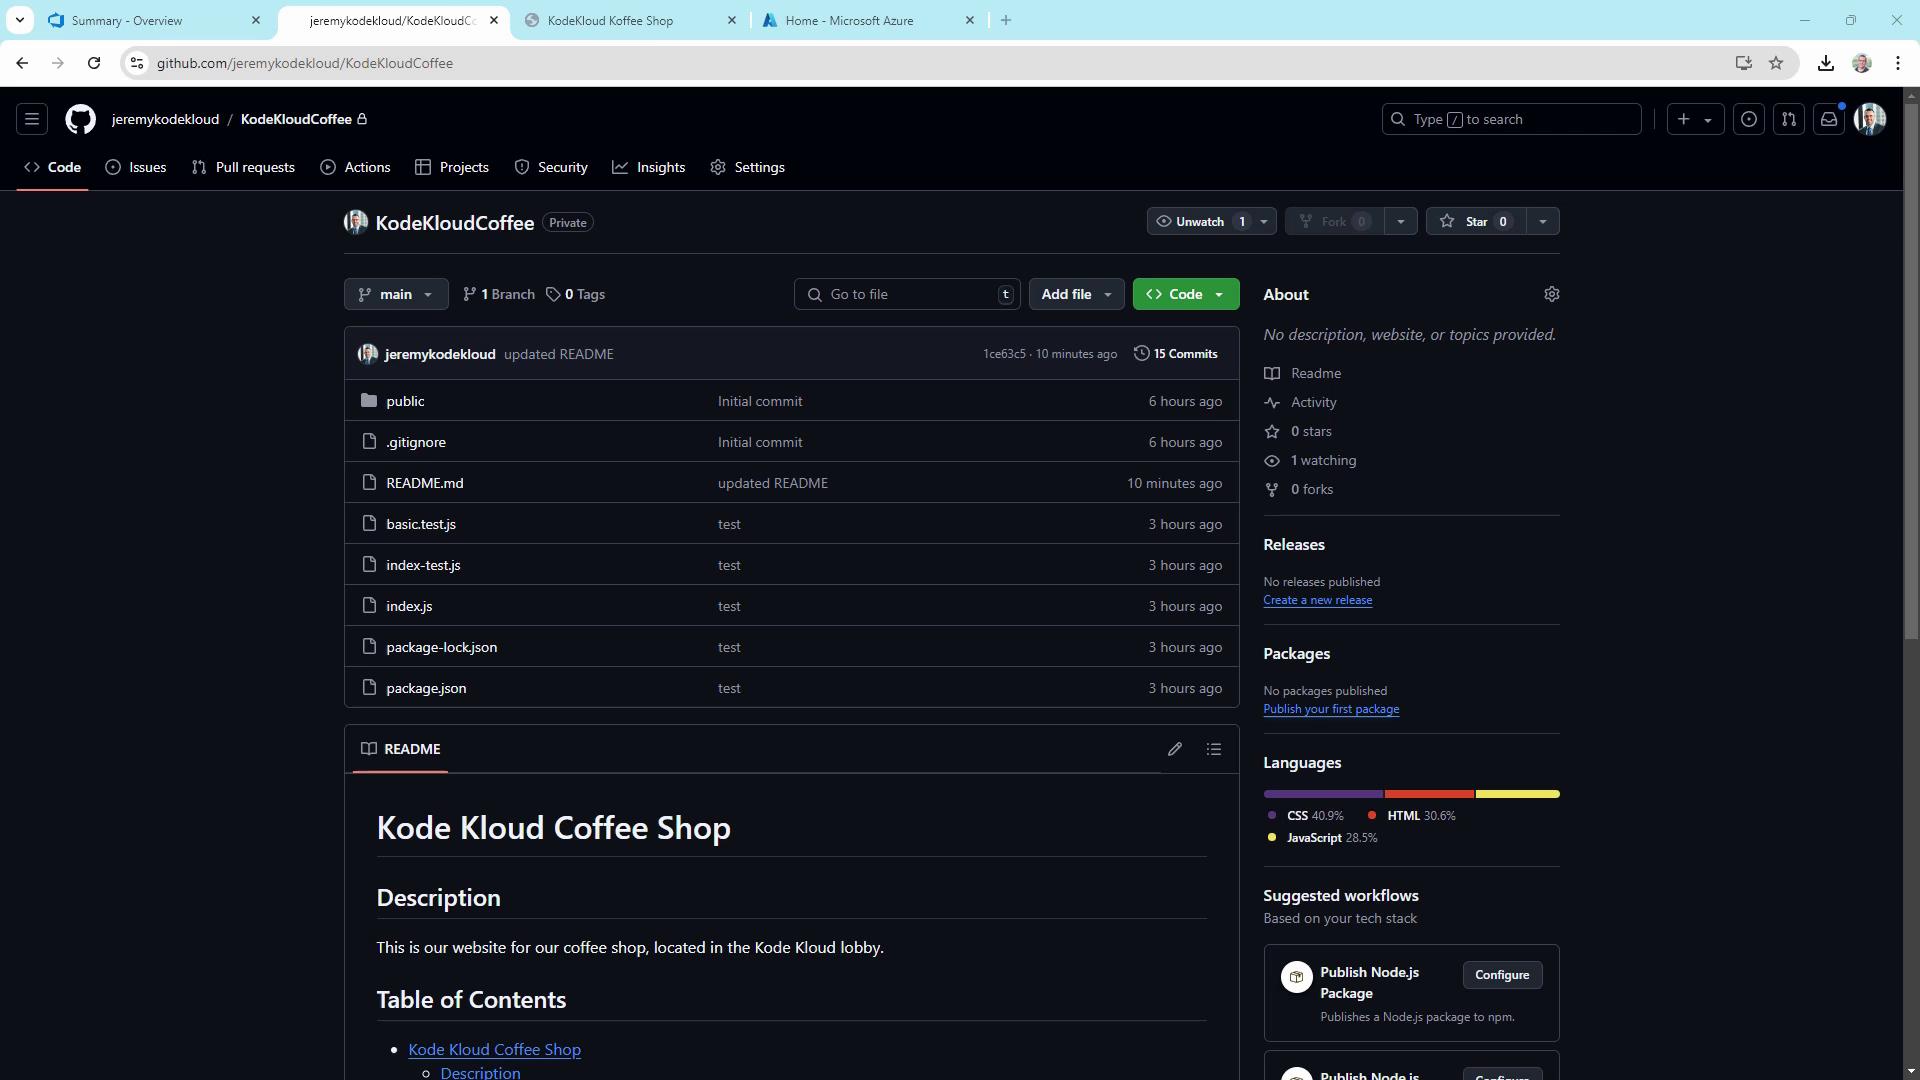
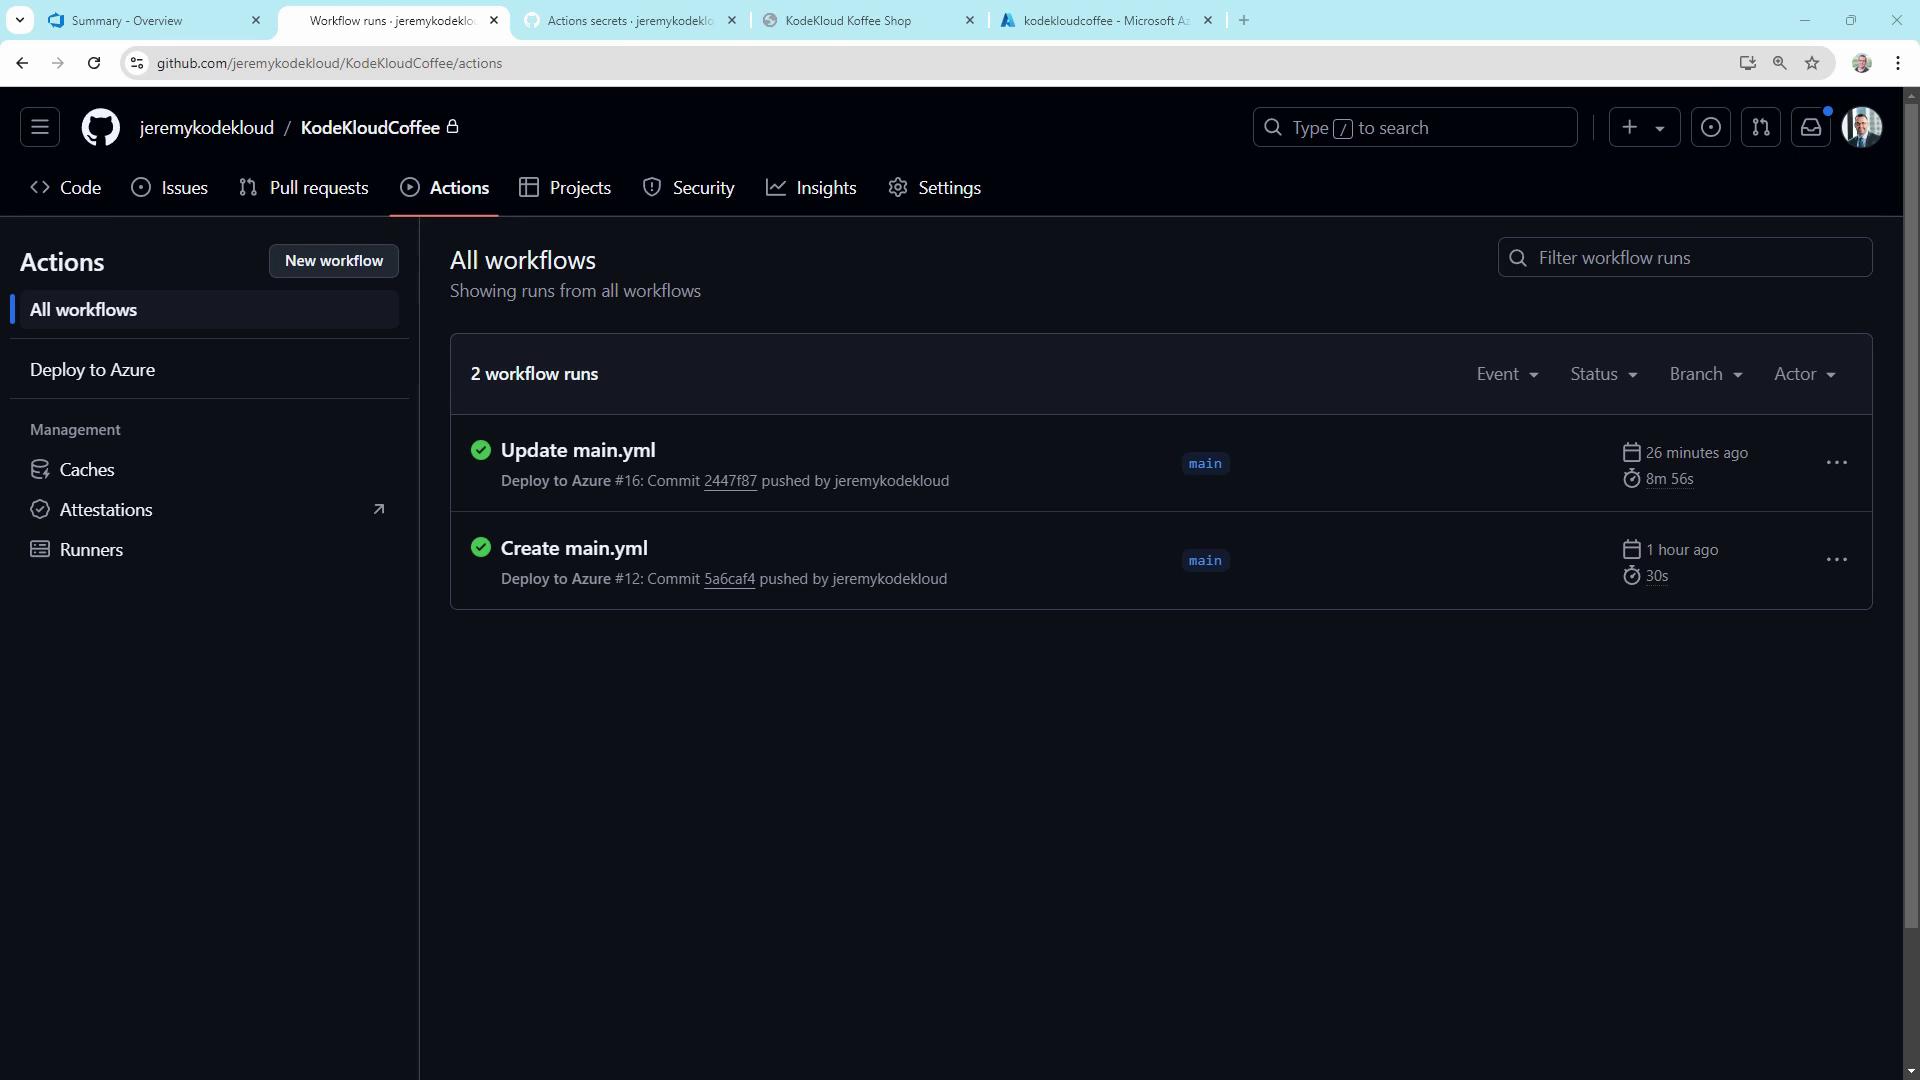
Workflows live in the .github/workflows folder. They can compile code, run tests, build artifacts, and deploy—all triggered by GitHub events or manual dispatch.Here’s our sample repo structure for KodeKloudCoffee:
You can start from scratch or pick a template in the Actions UI:
Defined multi-trigger GitHub Actions workflow with push and workflow_dispatch.
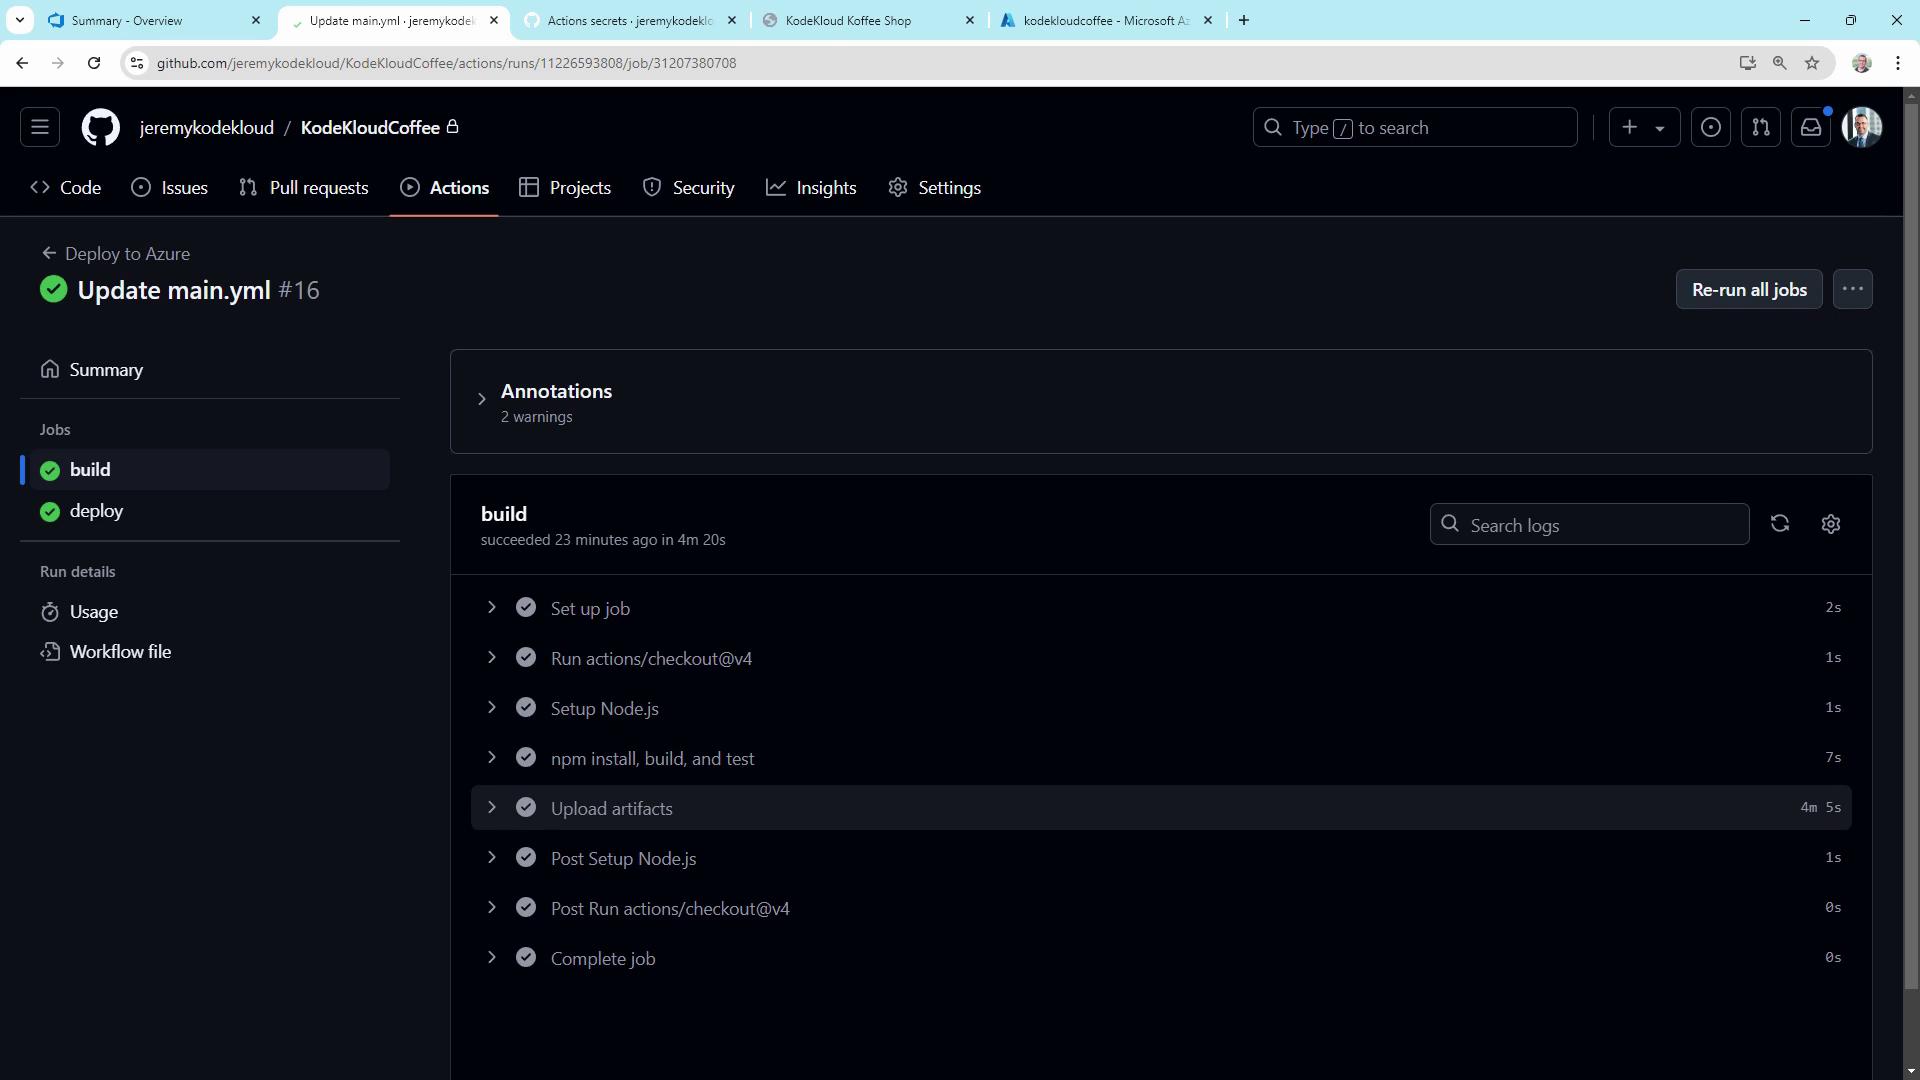
Separated build and deploy jobs for clarity and efficiency.
Cached dependencies, ran tests, and uploaded build artifacts.
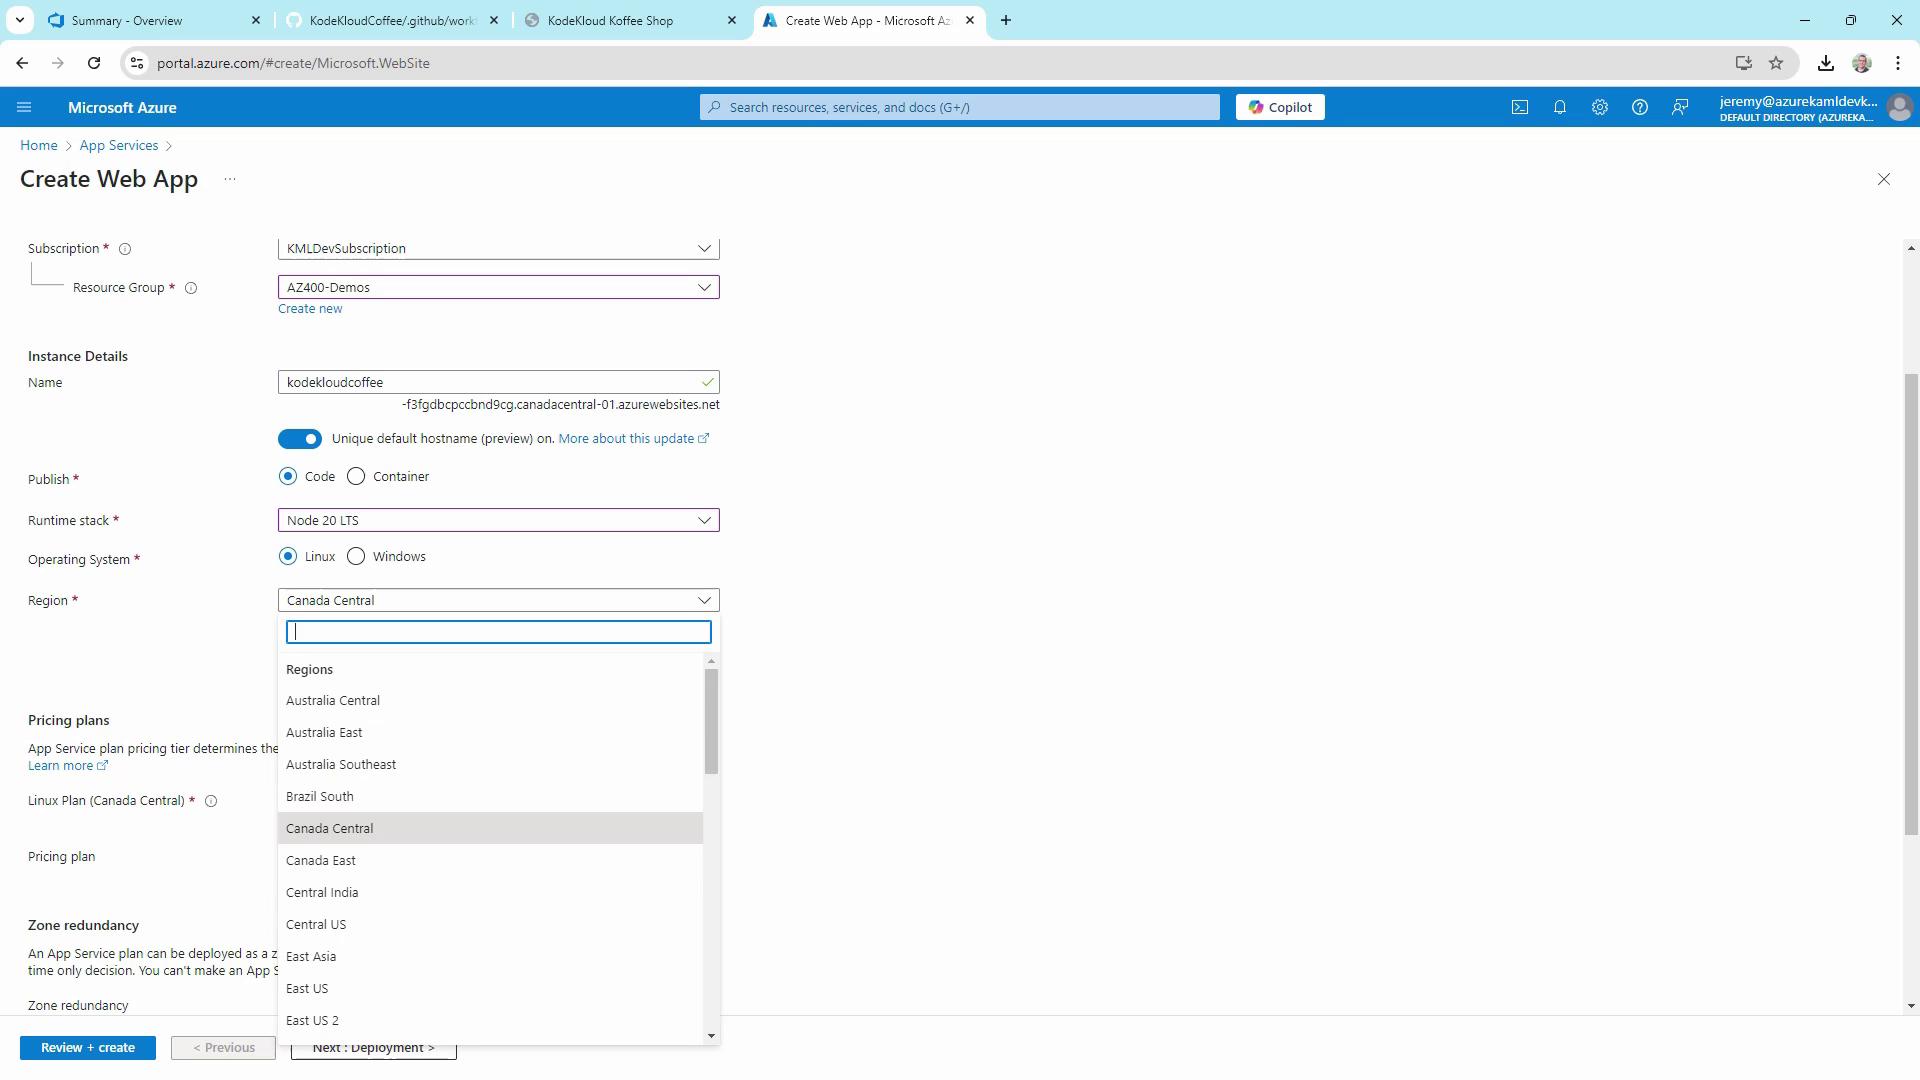
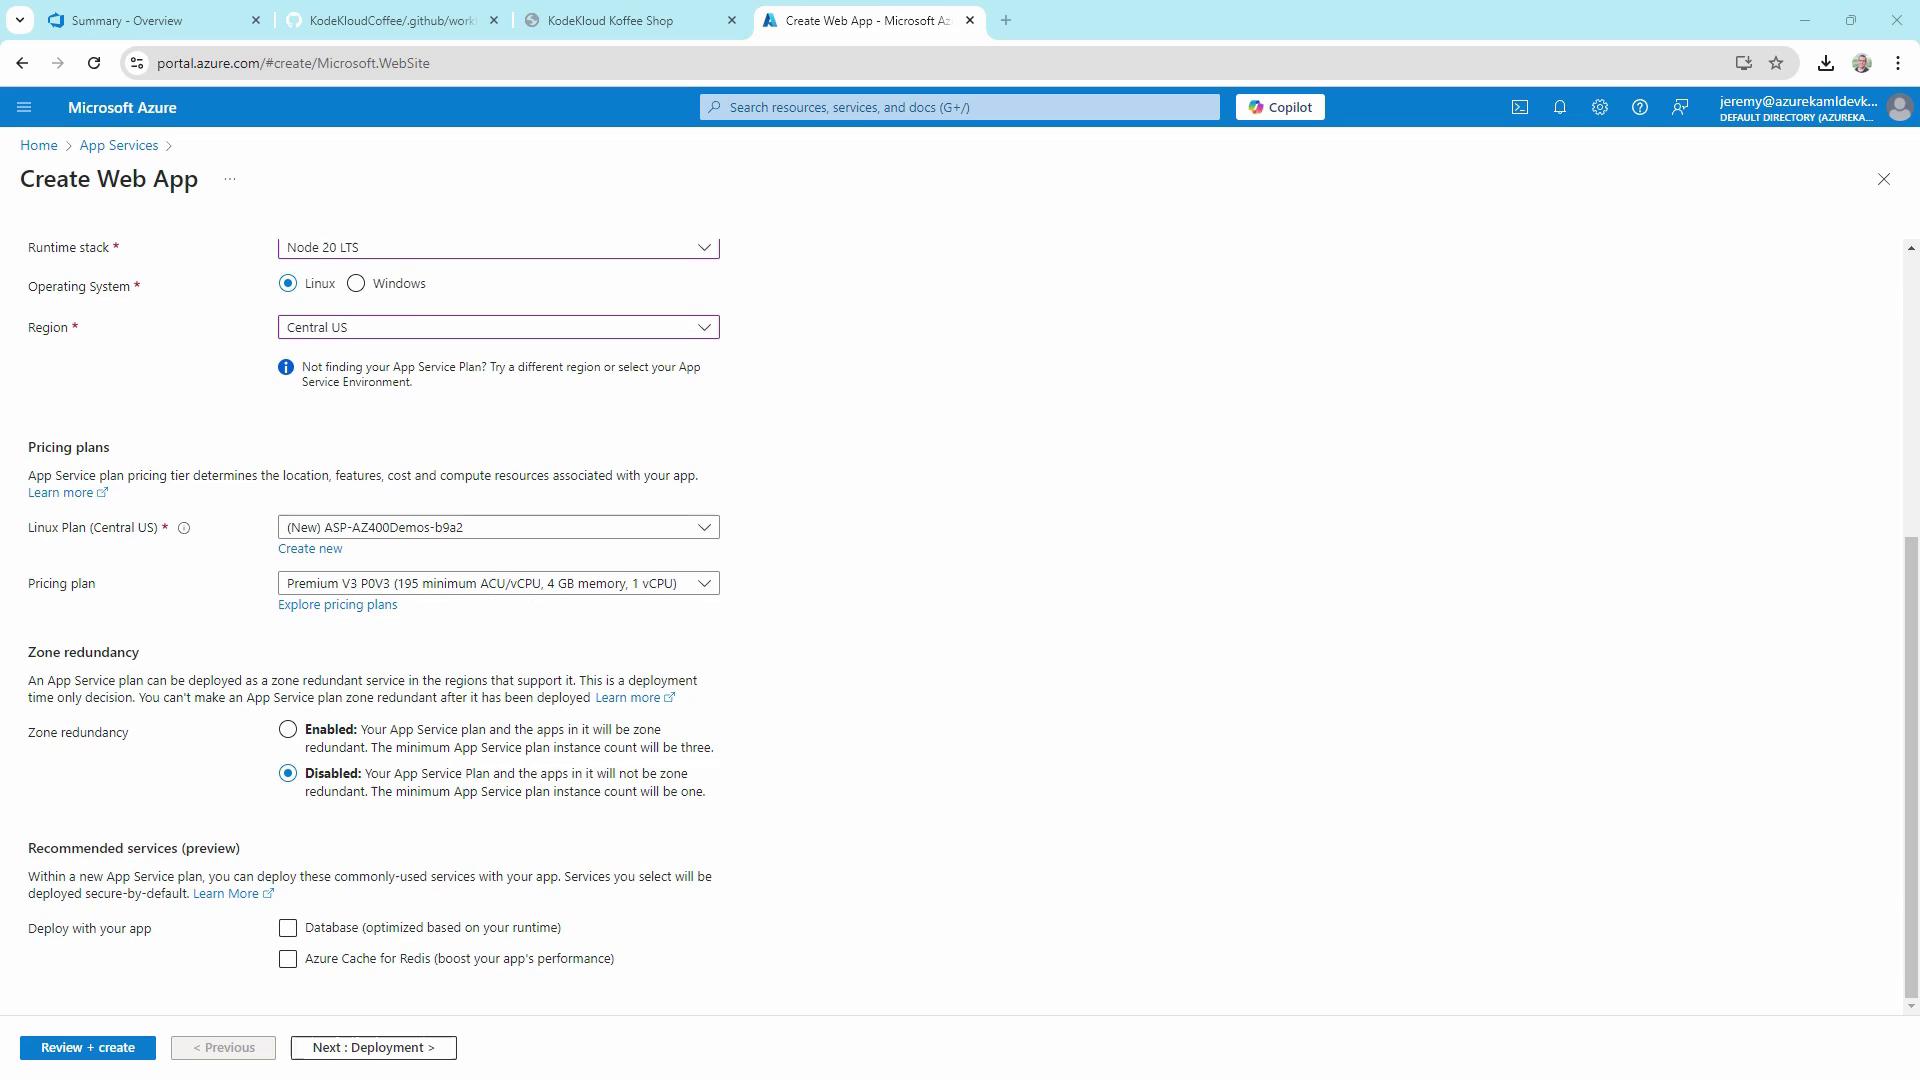
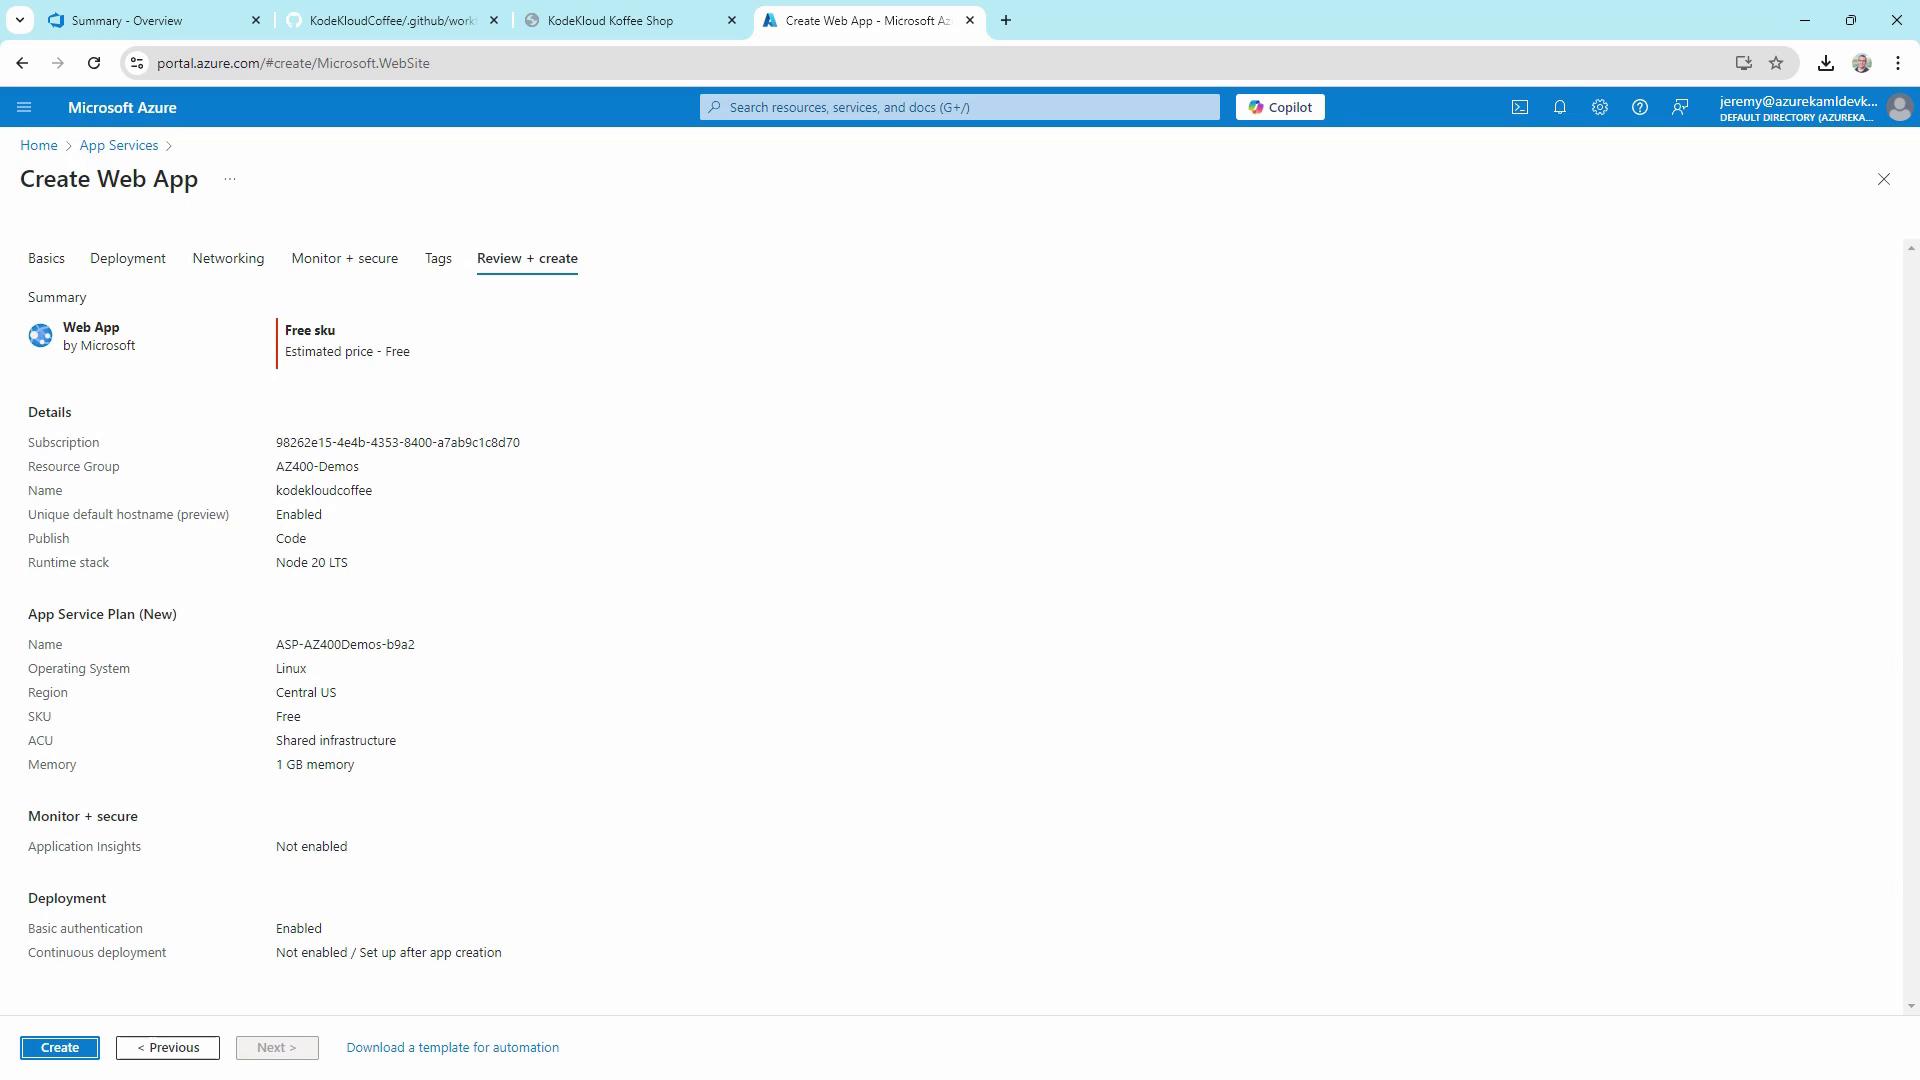
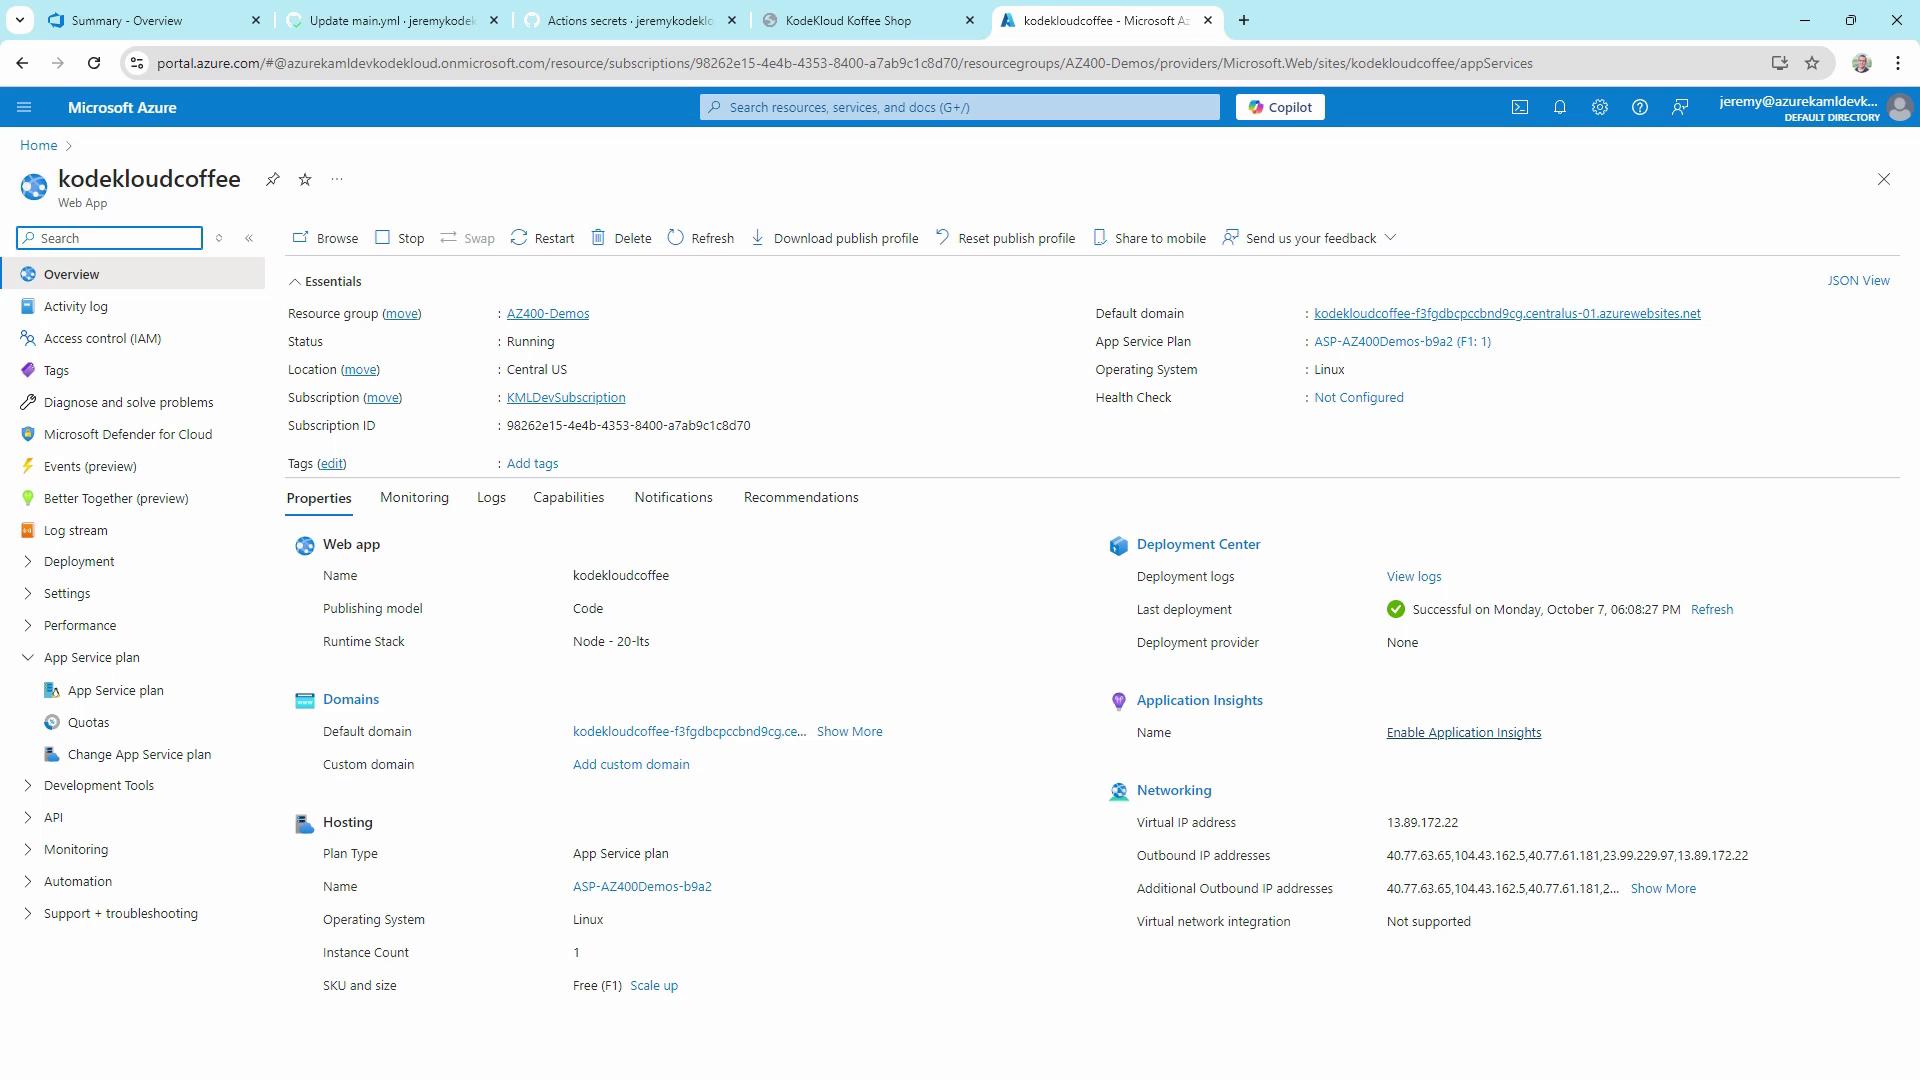
Deployed to Azure App Service using azure/webapps-deploy and a publish profile stored in GitHub Secrets.
This CI/CD pipeline demonstrates the fundamentals of GitHub Actions and Azure deployment, paving the way for advanced practices like infrastructure as code, staging environments, and multi-stage releases.