In this article, we’ll explore how to design and configure build agent infrastructure in Azure DevOps. You’ll learn the differences between hosted and self-hosted agents, see how to launch agents on Windows, Linux, Docker, and macOS, and review best practices for scaling and customization.Documentation Index
Fetch the complete documentation index at: https://notes.kodekloud.com/llms.txt
Use this file to discover all available pages before exploring further.
Hosted vs. Self-Hosted Agents
Build agents in Azure Pipelines fall into two categories:| Feature | Hosted Agents | Self-Hosted Agents |
|---|---|---|
| Management | Microsoft-maintained | You manage VMs, servers or containers |
| Supported platforms | Windows, Linux, macOS | Any OS you provision |
| Customization | Preinstalled tools, limited tweak | Full control over tool versions & images |
| Scaling & cost | Auto-scaled, pay-per-minute | Optimize infrastructure & licensing |
Viewing Agent Pools
Navigate in Azure DevOps to Organization settings → Agent pools to see all your pools and agents: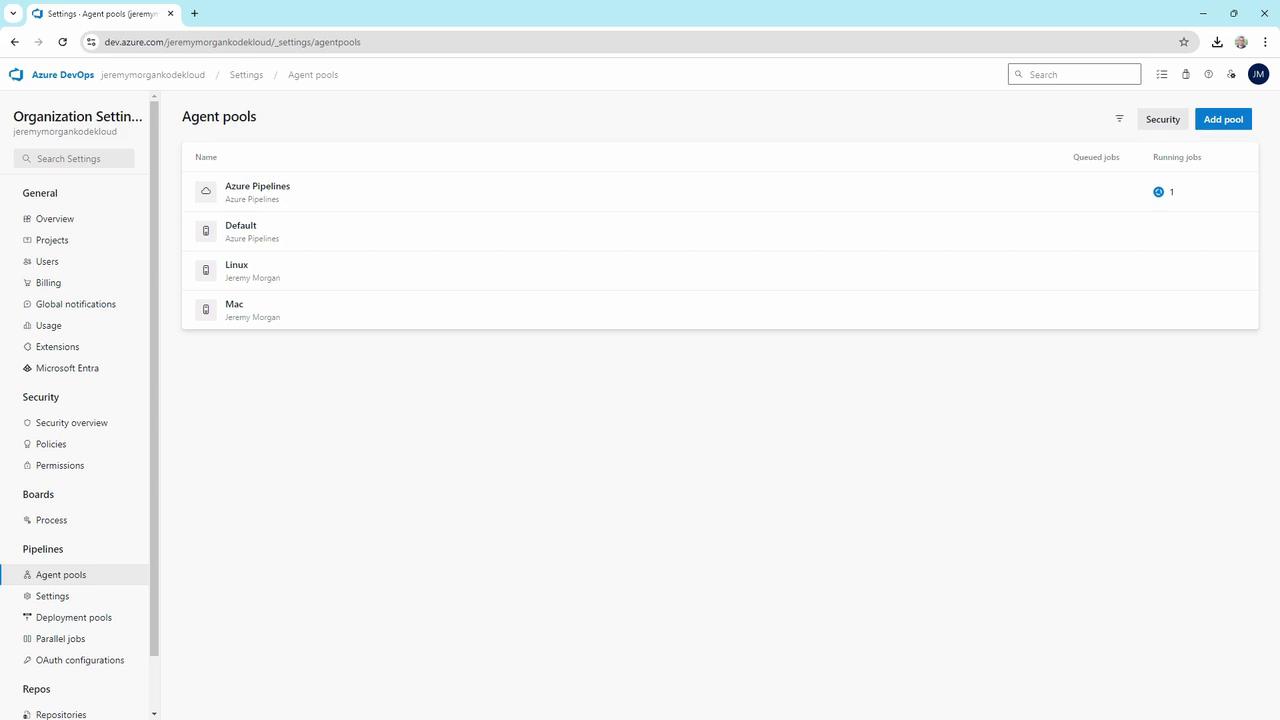
Hosted Agents
The Azure Pipelines pool contains Microsoft-hosted agents:
- Always online and listening
- Supports Windows, Linux, and macOS jobs
- No infrastructure maintenance required
Setting Up Self-Hosted Agents
Self-hosted agents run on machines you control—physical servers, cloud VMs, or containers. Below are step-by-step examples for Windows, Docker, Linux (WSL & standalone), and macOS.1. Windows Self-Hosted Agent
In the Default pool, you might see two offline Windows agents: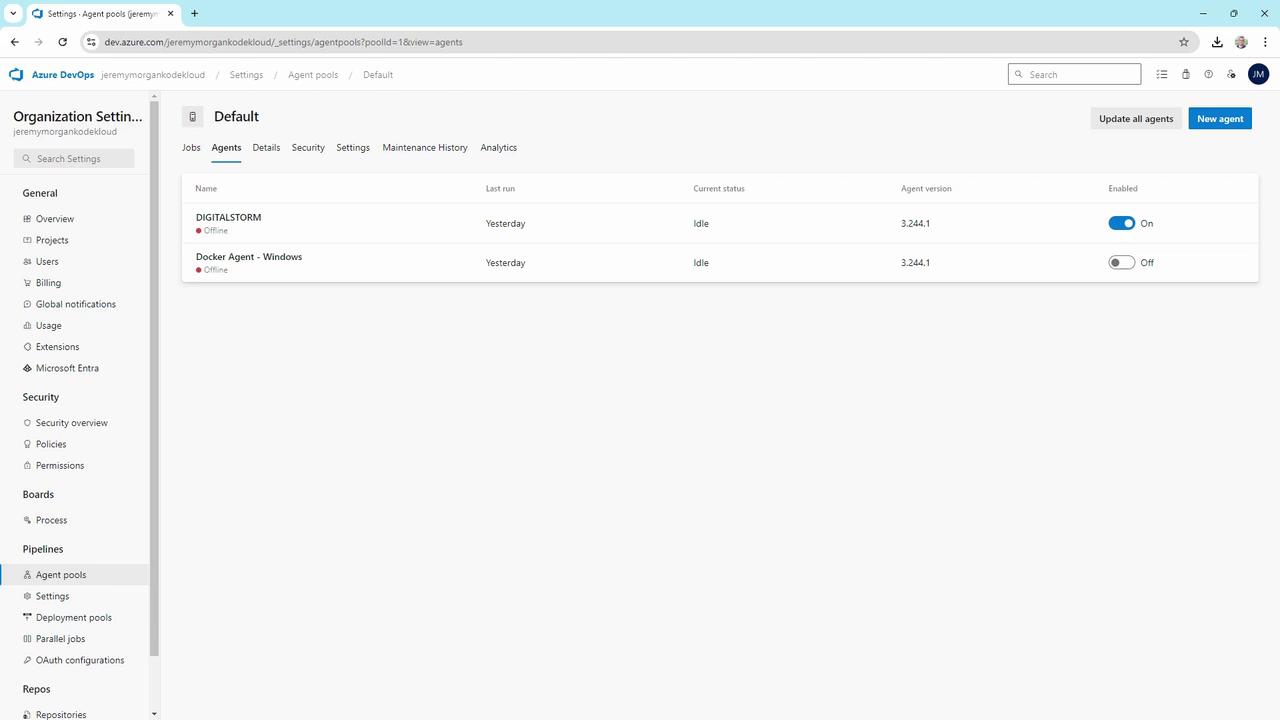
Keep your
AZP_TOKEN secure. Never commit it to source control or share publicly.2. Docker-Based Agent
Containerize your agent for easier scaling and reproducibility:3. Linux Agents
In the Linux pool you may have agents for WSL or standalone servers: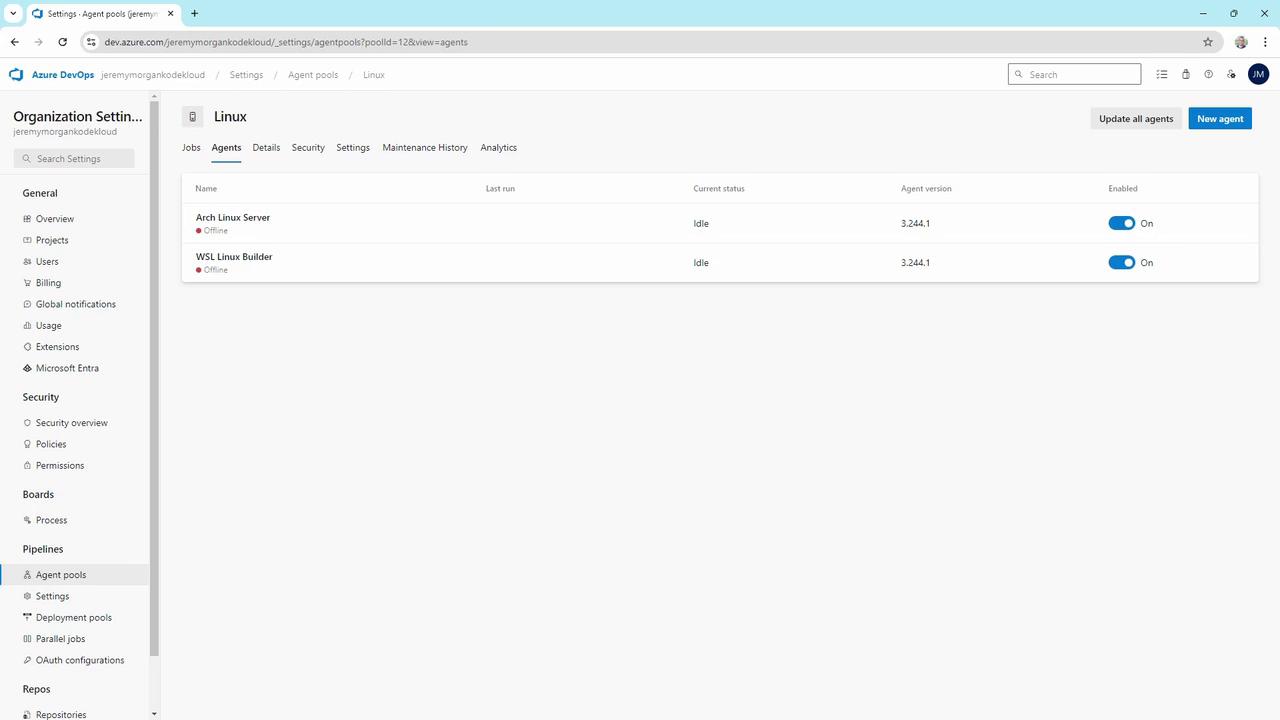
WSL Agent
On Windows with WSL installed:Standalone Linux Server
On a dedicated Linux VM (e.g., Arch, Ubuntu):4. macOS Agent
SSH into your Mac build host and start the agent:Containerized agents simplify upgrades and scaling. Consider using Kubernetes to auto-scale your Docker-based agents.
Choosing the Right Infrastructure
When architecting your agent setup, evaluate:- Target OS: Windows, Linux, macOS
- Management overhead: Hosted zero-touch vs. self-hosted control
- Customization needs: Specific SDKs, Docker images, hardware
- Scaling strategy: Manual scaling, Kubernetes, or VM auto-scaling