Containerizing your self-hosted Azure Pipelines agent on Windows provides:
Scalability : Scale agents up or down on demandConsistency : Bundle all dependencies to avoid “works on my machine” issuesIsolation : Keep each build environment separatePortability : Move containers across hosts with minimal effort
In this guide, you’ll build a basic Windows container agent, then enhance it with the .NET SDK and Visual Studio Build Tools for ASP.NET Core builds.
Prerequisites
Docker Desktop for Windows (install guide )
Docker switched to Windows containers (Docker icon → Switch to Windows containers )
Azure DevOps organization, project, and a Personal Access Token (PAT)
1. Create a Basic Container Agent 1.1 Initialize Folder & Dockerfile Open PowerShell:
mkdir "C:\azp-agent-in-docker" cd "C:\azp-agent-in-docker"
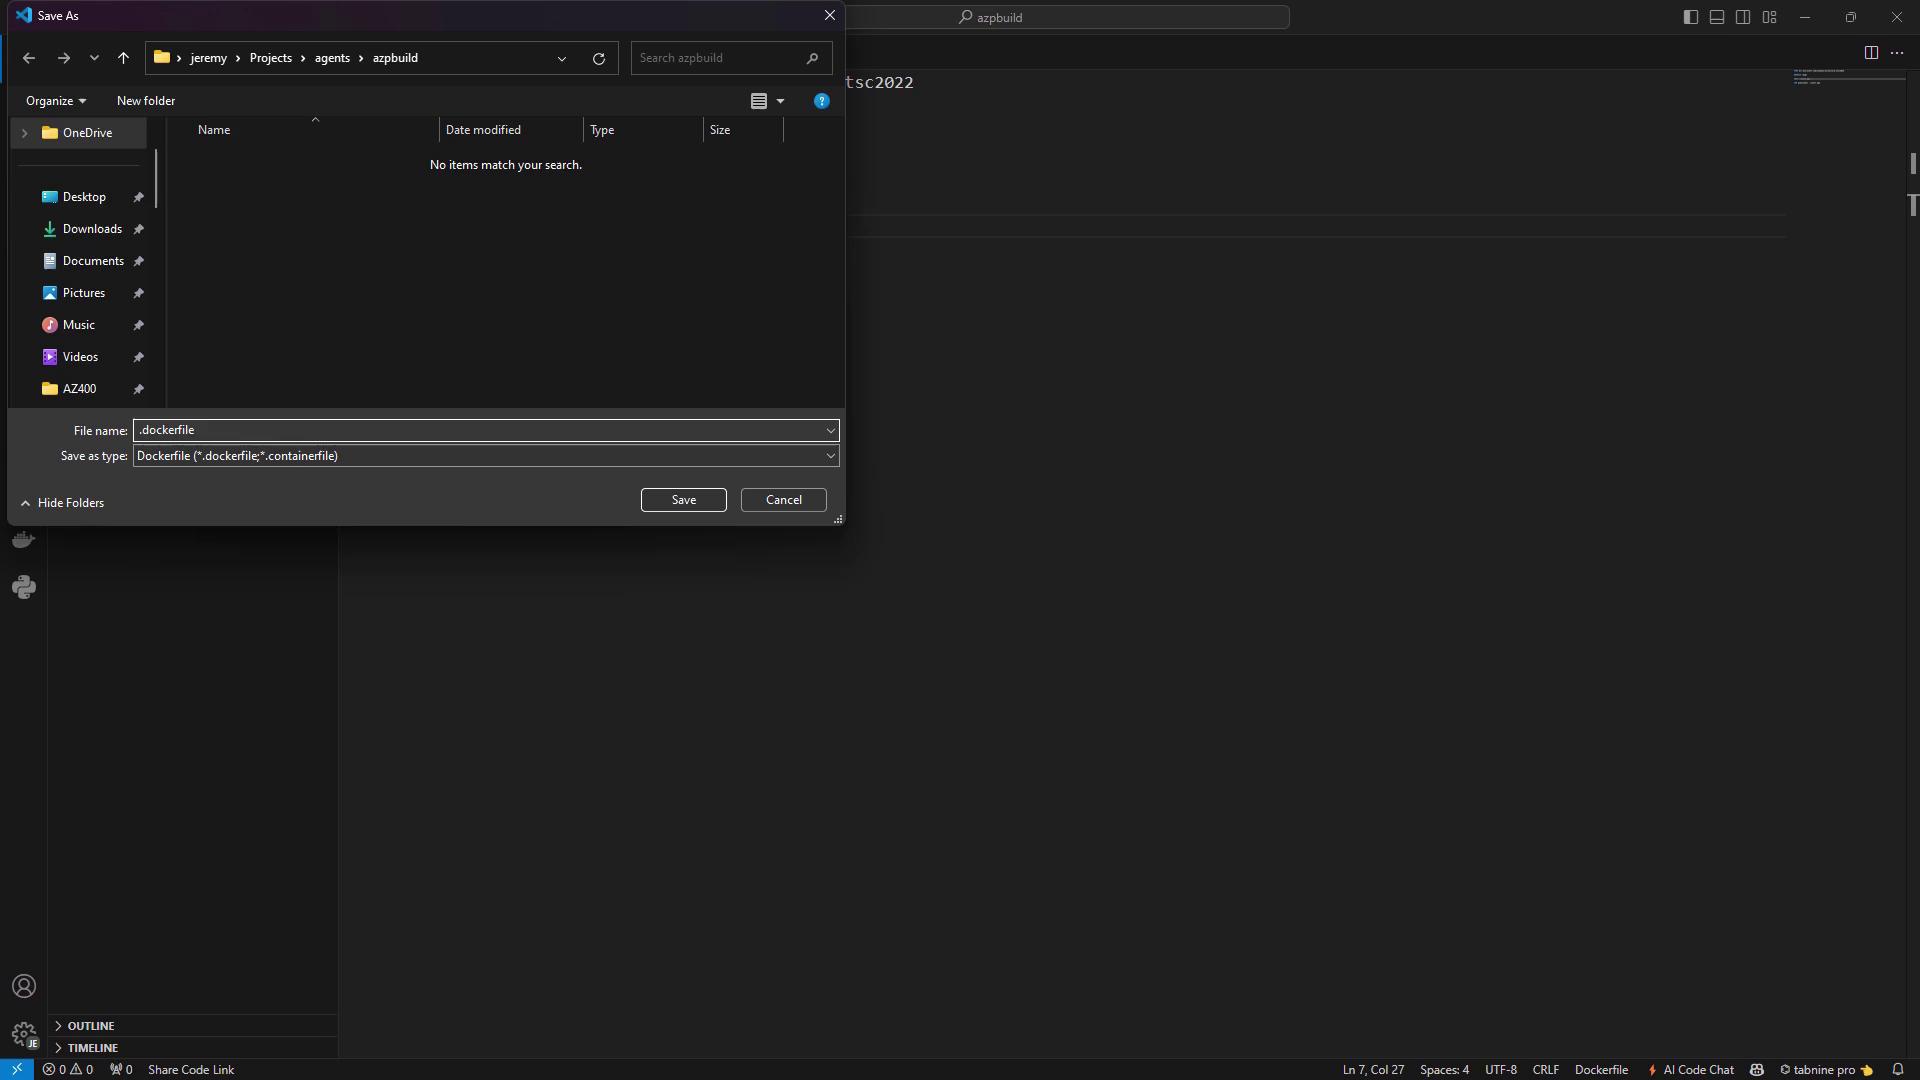
Create azpagentwindows.dockerfile :
FROM mcr.microsoft.com/windows/servercore:ltsc2022 WORKDIR /azp COPY ./start.ps1 ./ CMD [ "powershell" , ". \\ start.ps1" ]
1.2 Add the start.ps1 Script Place this next to your Dockerfile. It downloads, configures, and runs the agent:
param () function Print-Header ( $header ) { Write-Host " `n $( $header ) : `n " - ForegroundColor Cyan } if ( -not $ env: AZP_URL ) { Write-Error "Missing AZP_URL" exit 1 } if ( -not ( $ env: AZP_TOKEN -or $ env: AZP_TOKEN_FILE )) { Write-Error "Missing AZP_TOKEN or AZP_TOKEN_FILE" exit 1 } if ( $ env: AZP_TOKEN_FILE ) { $ env: AZP_TOKEN = Get-Content - Path $ env: AZP_TOKEN_FILE Remove-Item Env:AZP_TOKEN_FILE } if ( $ env: AZP_WORK -and -not ( Test-Path $ env: AZP_WORK )) { New-Item - ItemType Directory - Path $ env: AZP_WORK | Out-Null } New-Item - ItemType Directory - Path "azp\agent" | Out-Null $ env: VSO_AGENT_IGNORE = "AZP_TOKEN,AZP_TOKEN_FILE" Set-Location agent Print - Header "1. Determining Azure Pipelines agent" $auth = [ Convert ]::ToBase64String([ Text.Encoding ]::ASCII.GetBytes( "PAT: $( $ env: AZP_TOKEN ) " )) $pkg = Invoke-RestMethod - Headers @ { Authorization = "Basic $auth " } ` " $( $ env: AZP_URL ) /_apis/distributedtask/packages/agent" $download = $pkg [ 0 ].value.downloadUrl Print - Header "2. Downloading and installing agent" ( New-Object System.Net.WebClient).DownloadFile( $download , "agent.zip" ) Expand-Archive - Path "agent.zip" - DestinationPath "azp\agent" Print - Header "3. Configuring agent" & ".\azp\agent\config.cmd" ` -- unattended ` -- agent " ${if ($env:AZP_AGENT_NAME) { $env:AZP_AGENT_NAME } else { hostname }}" ` -- url " $( $ env: AZP_URL ) " ` -- auth PAT -- token " $( $ env: AZP_TOKEN ) " ` -- pool " ${ env: AZP_POOL} " Print - Header "4. Running agent" & ".\azp\agent\run.cmd"
For better security, mount your PAT via AZP_TOKEN_FILE instead of passing it directly.
1.3 Build and Run the Container docker build ` -- tag azp - agent:windows ` -- file .\azpagentwindows.dockerfile . docker run - d ` -- name azp - agent - windows ` - e AZP_URL = "https://dev.azure.com/YourOrg" ` - e AZP_TOKEN = "YOUR_PAT" ` - e AZP_POOL = "Default" ` - e AZP_AGENT_NAME = "Docker Agent - Windows" ` azp - agent:windows
You should see startup logs:
1. Determining Azure Pipelines agent 2. Downloading and installing agent 3. Configuring agent 4. Running agent Listening for Jobs
2. Verify the Agent in Azure DevOps Navigate to Project settings → Agent pools → Default → Agents . Confirm Docker Agent - Windows is listed.
3. Test with a Simple Pipeline Create azure-pipelines.yml :
trigger : - master pool : name : Default steps : - script : echo Hello, world! displayName : 'Run a one-line script' - script : | echo Add other tasks to build, test, and deploy. displayName : 'Run a multi-line script'
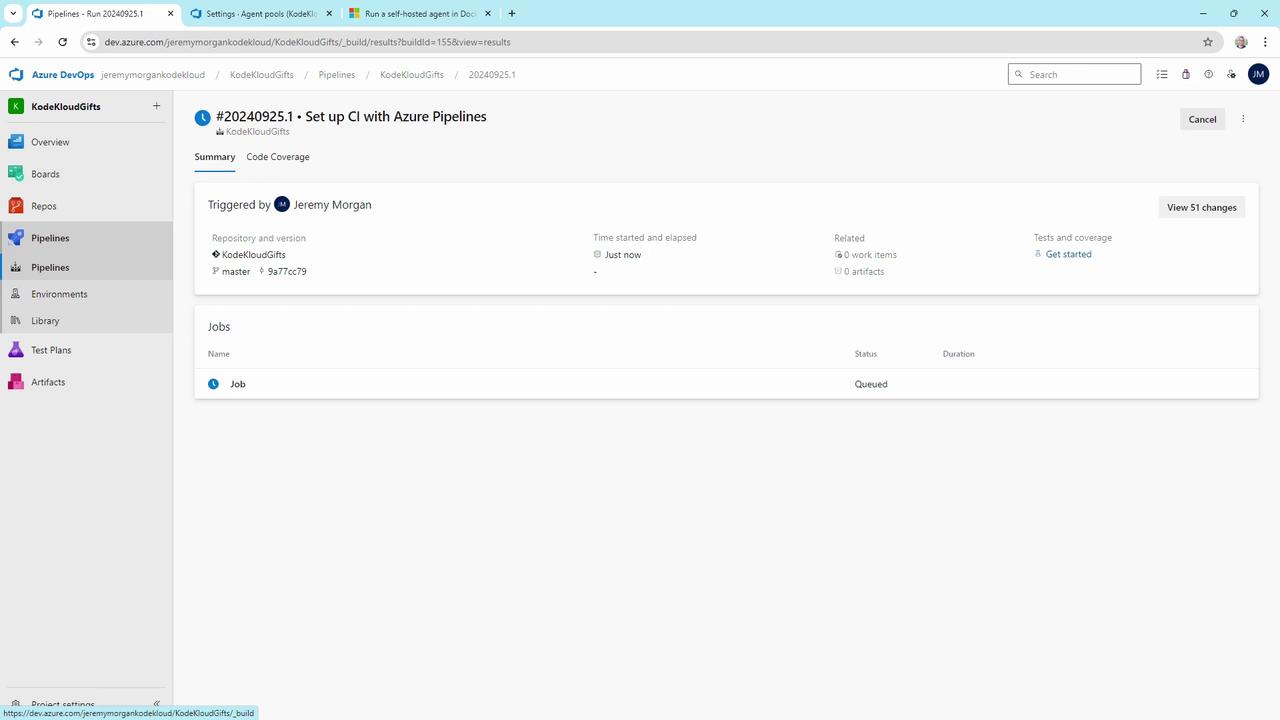
Push to your repo, grant permissions, and verify the container agent executes the job.
4. Limitation: .NET Builds on Server Core A plain Server Core image shows queued .NET pipelines:
The Server Core base lacks MSBuild, .NET SDK, and build tools. It reports zero capabilities and cannot pick up .NET jobs.
Switch to the .NET SDK image and install Visual Studio Build Tools:
FROM mcr.microsoft.com/dotnet/sdk:8.0-windowsservercore-ltsc2022 WORKDIR /azp ENV BUILD_PATH= "C: \\ BuildTools" ` DOTNET_PATH= "C: \\ Program Files \\ dotnet" ` MSBUILD_SDKS_PATH= "C: \\ Program Files \\ dotnet \\ sdk \\ 8.0.402" SHELL [ "powershell" , "-Command" ] RUN Invoke-WebRequest -UseBasicParsing ` -Uri https://aka.ms/vs/17/release/vs_buildtools.exe ` -OutFile vs_buildtools.exe; ` . \v s_buildtools.exe --quiet --wait --norestart --nocache ` --installPath C: \B uildTools ` --add Microsoft.VisualStudio.Workload.MSBuildTools ` --add Microsoft.VisualStudio.Workload.NetCoreBuildTools ` --add Microsoft.VisualStudio.Workload.WebBuildTools ` --add Microsoft.VisualStudio.Workload.NetWeb ` --add Microsoft.NetCore.Component.SDK RUN setx /M PATH "%PATH%;C: \B uildTools;C: \P rogram Files \d otnet;sdk \8 .0.402" SHELL [ "cmd" , "/S" , "/C" ] COPY ./start.ps1 ./ CMD [ "powershell" , ". \\ start.ps1" ]
Rebuild and redeploy:
docker build -- tag azp - agent:windows -- file .\azpagentwindows.dockerfile . docker rm azp - agent - windows docker run - d -- name azp - agent - windows ` - e AZP_URL = "https://dev.azure.com/YourOrg" ` - e AZP_TOKEN = "YOUR_PAT" ` - e AZP_POOL = "Default" ` - e AZP_AGENT_NAME = "Docker Agent - Windows" ` azp - agent:windows
Look for Scanning for tool capabilities in the logs to confirm MSBuild and .NET SDK detection.
6. Build an ASP.NET Core Application Use this pipeline to restore, build, and test an ASP.NET Core solution:
trigger : - master pool : name : Default variables : solution : '**/*.sln' buildPlatform : 'Any CPU' buildConfiguration : 'Release' steps : - task : NuGetToolInstaller@1 - task : NuGetCommand@2 inputs : restoreSolution : '$(solution)' - task : VSBuild@1 inputs : solution : '$(solution)' msbuildArguments : '/p:DeployOnBuild=true /p:WebPublishMethod=Package /p:PackageAsSingleFile=true /p:SkipInvalidConfigurations=true' platform : '$(buildPlatform)' configuration : '$(buildConfiguration)' - task : VSTest@2 inputs : platform : '$(buildPlatform)' configuration : '$(buildConfiguration)'
Your enhanced container agent will now restore packages, compile the solution, and run tests just like a full self-hosted agent.
Base Image Comparison Base Image Purpose mcr.microsoft.com/windows/servercore:ltsc2022 Minimal Windows Server Core agent image mcr.microsoft.com/dotnet/sdk:8.0-windowsservercore-ltsc2022 .NET SDK + containerized build tools
Conclusion Containerized Windows agents deliver portability, consistency, and scalability for Azure DevOps pipelines. By basing your image on the .NET SDK, adding Visual Studio Build Tools, and updating PATH, you unlock MSBuild and SDK capabilities for seamless ASP.NET Core builds.
Links and References