AZ-400: Designing and Implementing Microsoft DevOps Solutions

Design and Implement Pipelines

Using Build Trigger Rules

In this lesson, you will learn how to implement and optimize trigger rules in Azure Pipelines using a real-world example. We will work with a Blazor WebAssembly application hosted in Azure Repos with an existing Azure Pipeline. By the end of this lesson, you will understand how to employ various trigger types to automate your continuous integration and deployment process effectively.


Basic Pipeline and Trigger Types

Azure Pipelines offer three primary trigger types that help automate your build process:

  1. Continuous Integration (CI) triggers: Automatically run the pipeline when code changes are pushed to the repository.
  2. Scheduled triggers: Run builds at predetermined times—for example, nightly builds or weekly performance tests.
  3. Pull Request (PR) triggers: Validate changes before merging them into the main branch.

Below is a straightforward example of an Azure Pipeline YAML configuration that triggers a build on changes pushed to the master branch:

trigger:
  - master

pool:
  vmImage: ubuntu-latest

variables:
  buildConfiguration: 'Release'

steps:
  - script: dotnet build --configuration $(buildConfiguration)
    displayName: 'dotnet build $(buildConfiguration)'

This pipeline runs whenever any changes are pushed to the master branch, ensuring continuous integration of the latest code.


Enhancing the Pipeline with Advanced Trigger Rules

For more advanced scenarios, you can restrict when your pipeline runs. The configuration below triggers builds only when changes are pushed to the master branch or any branch starting with "feature/". It further refines the trigger by monitoring only changes in the Properties folder while ignoring Markdown file updates:

trigger:
  branches:
    include:
      - master
      - feature/*
  paths:
    include:
      - 'Properties/**'
    exclude:
      - '**/*.md'
    
pool:
  vmImage: ubuntu-latest

Note

If changes occur outside of the Properties folder or involve only Markdown files, the pipeline will not run. This strategy helps avoid unnecessary builds during documentation updates.

To test this configuration:

  1. Scenario 1: Push a change on the master branch that does not alter any file in the Properties folder—no new build is triggered.
  2. Scenario 2: Modify a configuration setting (like adjusting a port number in your launch settings) that is located in the Properties folder, then commit and push. This update will trigger the pipeline.

Below is an example of the updated launchsettings.json:

{
  "$schema": "http://json.schemastore.org/launchsettings.json",
  "iisSettings": {
    "windowsAuthentication": false,
    "anonymousAuthentication": true,
    "iisExpress": {
      "applicationUrl": "http://localhost:58347",
      "sslPort": 44367
    }
  },
  "profiles": {
    "http": {
      "commandName": "Project",
      "dotnetRunMessages": true,
      "launchBrowser": true,
      "inspectUri": "{wsProtocol}://{url.hostname}:{url.port}/_framework/debug/ws-proxy?browser={browserInspectUri}",
      "applicationUrl": "http://localhost:5047",
      "environmentVariables": {
        "ASPNETCORE_ENVIRONMENT": "Development"
      }
    },
    "https": {
      "commandName": "Project",
      "dotnetRunMessages": true,
      "launchBrowser": true,
      "inspectUri": "{wsProtocol}://{url.hostname}:{url.port}/_framework/debug/ws-proxy?browser={browserInspectUri}",
      "applicationUrl": "https://localhost:7143;http://localhost:5047"
    }
  }
}

After saving and pushing this change (with a commit message like "changing properties"), the pipeline will execute due to the modifications in the monitored folder.


Configuring Pull Request (PR) Triggers

Ensuring code quality before integrating changes is crucial for Blazor apps. You can set up a PR trigger to run the pipeline whenever a pull request targets the master branch and include only source code modifications (excluding changes to Markdown documentation):

trigger:
  branches:
    include:
      - master
      - feature/*
  paths:
    exclude:
      - '**/*.md'

pr:
  branches:
    include:
      - master
  paths:
    include:
      - '*'

pool:
  vmImage: ubuntu-latest

variables:
  buildConfiguration: 'Release'

steps:
  - script: dotnet build --configuration $(buildConfiguration)
    displayName: 'dotnet build $(buildConfiguration)'

In this configuration:

  • CI builds occur for pushes to the master or feature branches (excluding Markdown-only changes).
  • PR builds run when a pull request targets the master branch, ensuring that only source-code changes trigger validations.

Example: Creating a Feature Branch and Triggering Builds

  1. Create a feature branch:
    Open your terminal and execute the following commands:

    C:\Users\jeremy\repos\WeatherApp>git pull
    Already up to date.
    C:\Users\jeremy\repos\WeatherApp>git checkout -b feature/my-new-feature
    
  2. Update the source file:
    Edit a file (for example, Program.cs) by adding a comment or making a minor change:

    using Microsoft.AspNetCore.Components.Web;
    using Microsoft.AspNetCore.Components.WebAssembly.Hosting;
    using WeatherApp;
    
    // Initialize the WebAssembly host builder
    var builder = WebAssemblyHostBuilder.CreateDefault(args);
    builder.RootComponents.Add<App>("#app");
    builder.RootComponents.Add<HeadOutlet>("head::after");
    
    builder.Services.AddScoped(sp => new HttpClient { BaseAddress = new Uri(builder.HostEnvironment.BaseAddress) });
    
    await builder.Build().RunAsync();
    
  3. Commit and push your changes:

    C:\Users\jeremy\repos\WeatherApp>git add .
    C:\Users\jeremy\repos\WeatherApp>git commit -m "small change"
    [feature/my-new-feature 165ebfb] small change
    1 file changed, 1 insertion(+)
    C:\Users\jeremy\repos\WeatherApp>git push --set-upstream origin feature/my-new-feature
    

The pipeline will be triggered for the feature branch according to the specified settings. When you later create a pull request to merge this feature branch into master, the PR trigger will validate your changes. After merging, an additional build will be queued for the master branch, ensuring a robust integration process.


Scheduled Triggers for Nightly Builds

Scheduled triggers are another powerful feature that enables you to run builds at set times, irrespective of code changes. The example below sets up a nightly build at 2 a.m. UTC:

pr:
  branches:
    include:
      - master
  paths:
    include:
      - '**'
schedules:
  - cron: "0 2 * * *"
    displayName: Nightly build
    branches:
      include:
        - master
    always: true

pool:
  vmImage: ubuntu-latest

variables:
  buildConfiguration: 'Release'

steps:
  - script: dotnet build --configuration $(buildConfiguration)
    displayName: 'dotnet build $(buildConfiguration)'

This configuration is particularly effective in detecting issues caused by external dependency changes or library updates—even if there have been no modifications in your source code.


Tag Triggers for Releases

For release management, you can configure your pipeline to trigger builds when a new release tag is pushed. The following configuration triggers a build when a tag starting with "v" is pushed, provided there are changes in specific directories (like src or tests):

trigger:
  tags:
    include:
      - v*
  paths:
    include:
      - src/**
      - tests/**

pool:
  vmImage: ubuntu-latest

variables:
  buildConfiguration: 'Release'

steps:
  - script: dotnet build --configuration $(buildConfiguration)
    displayName: 'dotnet build $(buildConfiguration)'

If you push a tag, such as "v1.0.0", and there are changes in your source or test code, the pipeline will run to build your release.


Triggering Pipelines Based on Other Pipeline Completions

In more complex scenarios, you can trigger one pipeline based on the completion of another. For instance, if you have a dedicated pipeline for your Blazor API, you can configure your Blazor WebAssembly app pipeline to trigger after the API pipeline completes. This ensures that your application always builds against the latest API changes:

trigger:
  tags:
  paths:
    include:
      - 'src/**'
      - 'tests/**'
resources:
  pipelines:
    - pipeline: BlazorAPI
      source: BlazorAPISource
      trigger:
        branches:
          - master

pool:
  vmImage: ubuntu-latest

variables:
  buildConfiguration: 'Release'

steps:
  - script: dotnet build --configuration $(buildConfiguration)
    displayName: 'dotnet build $(buildConfiguration)'

This configuration ensures that every time the Blazor API pipeline completes (or when there is a push to the master branch), the Blazor WebAssembly app pipeline is triggered, maintaining consistent integration between your components.


Conclusion

There are many strategies to leverage trigger rules for a more efficient and secure CI/CD pipeline. By using triggers for commit pushes, pull requests, scheduled builds, release tagging, and cross-pipeline dependencies, you can significantly improve your development workflow. Mastering these techniques is beneficial not only for industry certification exams like AZ-400: Designing and Implementing Microsoft DevOps Solutions but also for real-world DevOps practices in complex applications such as your Blazor project.

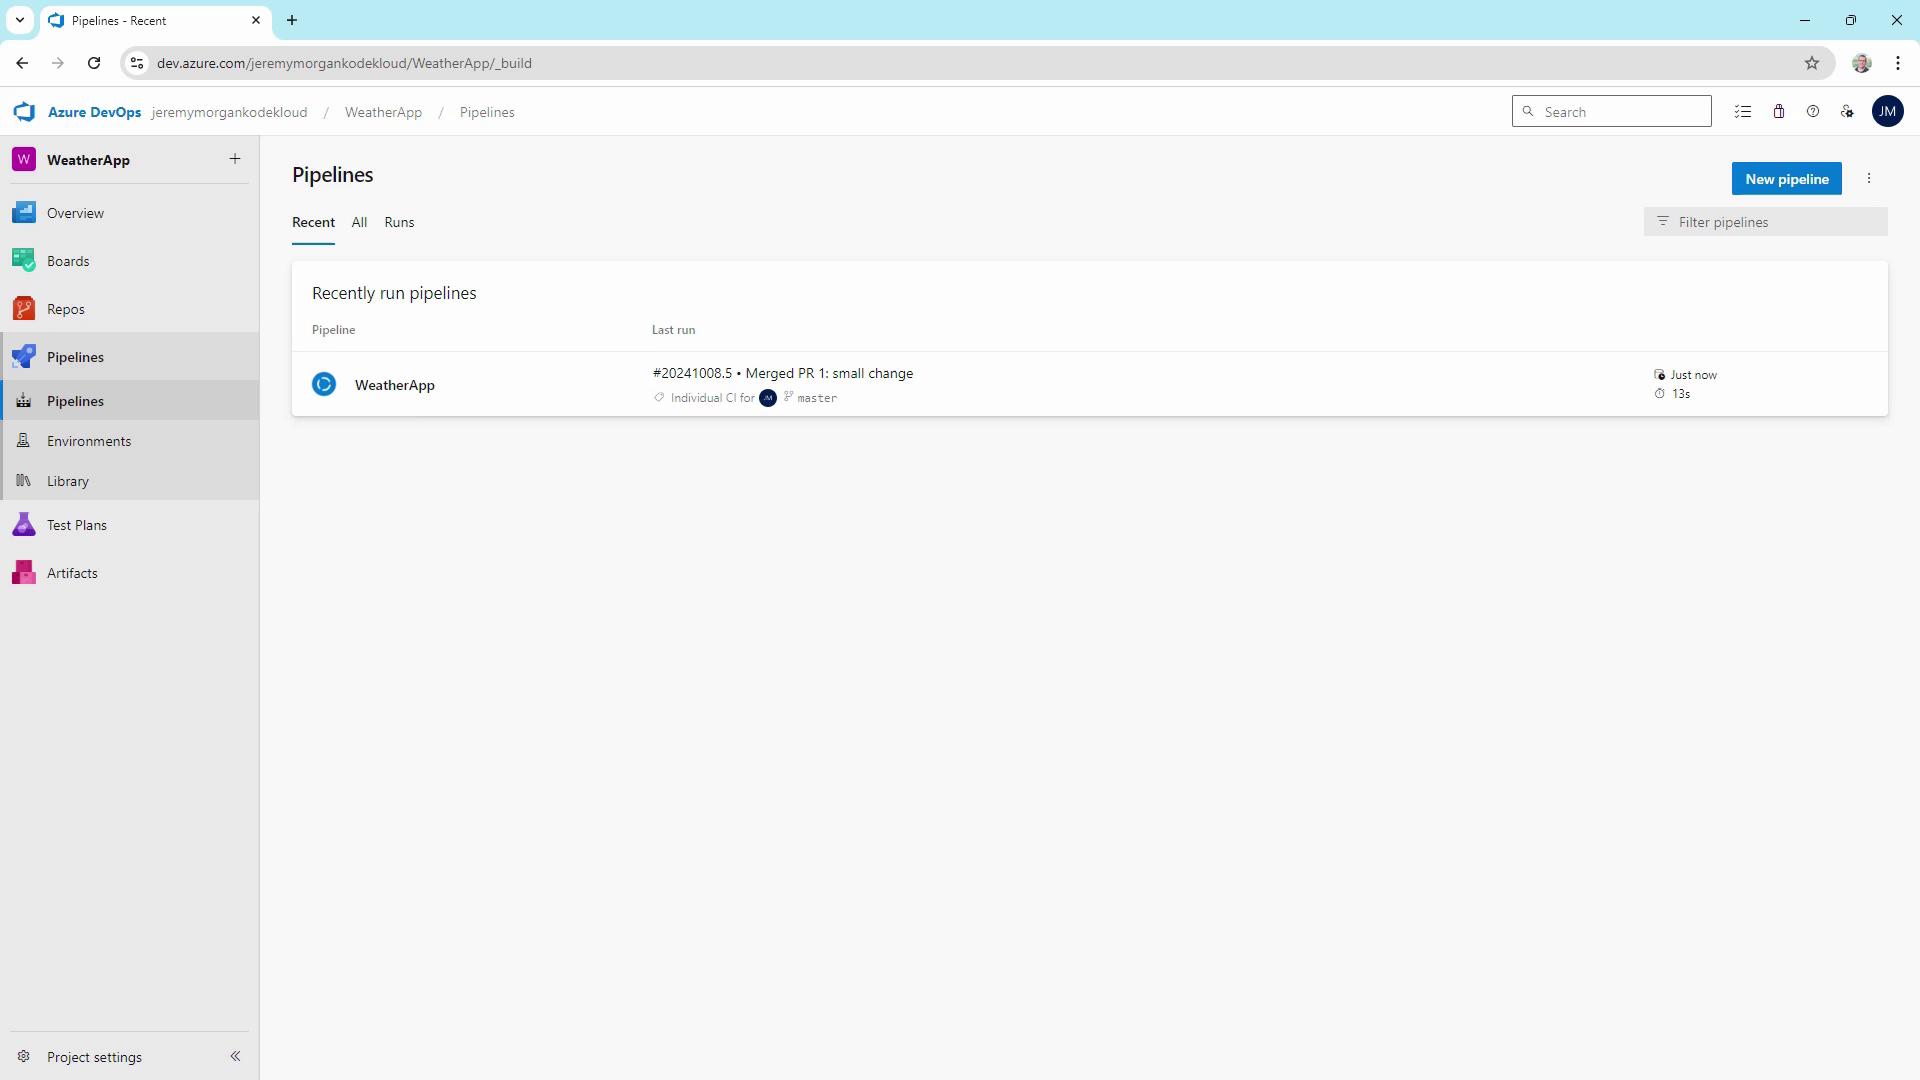
Azure DevOps Pipelines provide clear build status updates during pull request validations, ensuring that merged changes trigger the appropriate build processes.

The image shows an Azure DevOps Pipelines interface for a project named "WeatherApp," displaying a recently run pipeline with a merged pull request.

Thank you for reading this lesson. Happy building, and see you in the next article!

Watch Video

Watch video content

Previous
Building a Linux Self Hosted Build Agent with WSL