What Is YAML?
YAML (YAML Ain’t Markup Language) is a lightweight, human-readable format for configuration files and data exchange. Since 2001, YAML has powered many DevOps tools—Kubernetes resources, for instance, are declared in YAML. Its syntax emphasizes readability and simplicity, making it ideal for defining complex pipeline logic.Simple Azure Pipelines Example
Benefits of YAML Pipelines
- Version Control: Keep your pipeline definitions alongside application code.
- Reusability: Share pipeline snippets across multiple repositories.
- Flexibility: Customize each stage, job, and step to fit team needs.
- Collaboration: Your entire team can review and update the pipeline file.
Basic YAML Syntax
Before building pipelines, master these core YAML rules:- Indentation: Use spaces only (no tabs) to denote hierarchy.
- Key-Value Pairs: Written as
key: value. - Lists: Each item starts with
-. - Mappings: Nest key-value pairs under parent keys.
- Multiline Strings:
- Literal block (
|): preserves newlines. - Folded block (
>): folds newlines into spaces.
- Literal block (
Always validate your YAML with an online linter or
yamllint to catch indentation and formatting errors before committing.Example: Dictionaries, Lists, and Variables
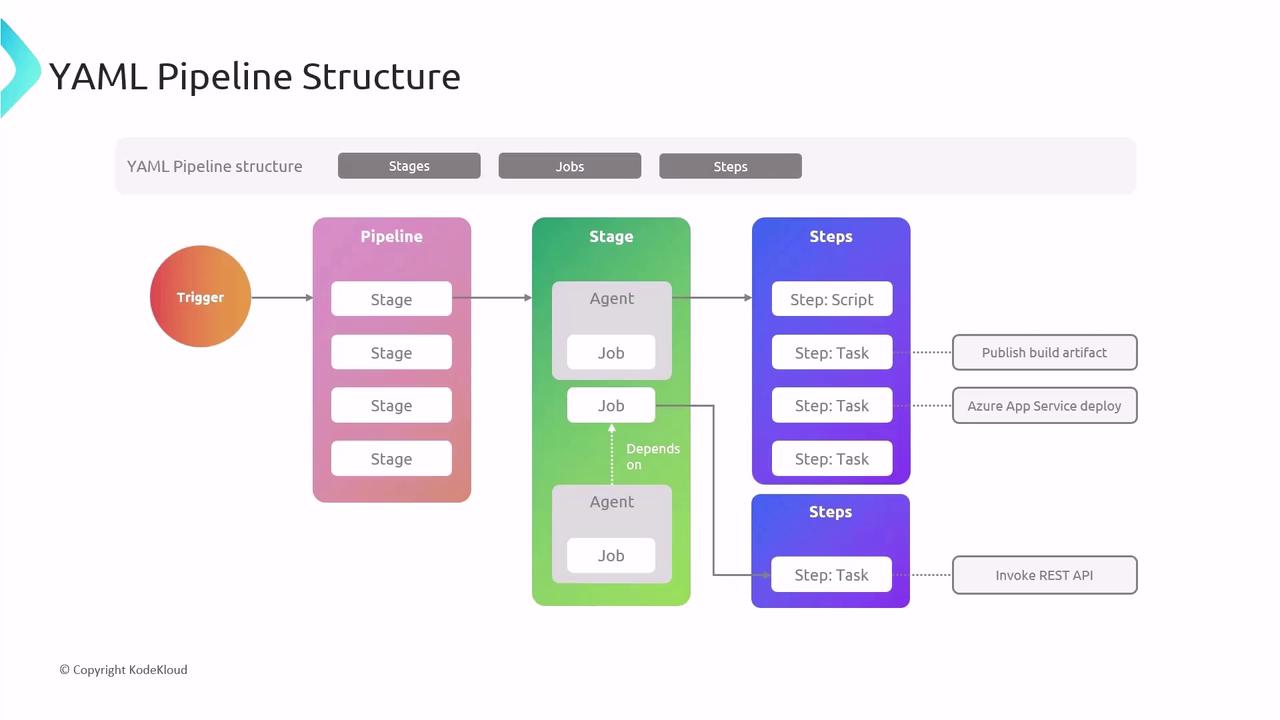
Core Pipeline Concepts
- Stages: Logical sections (e.g., Build, Test, Deploy).
- Jobs: Units of work that run in parallel or sequentially.
- Steps: Individual tasks or scripts executed in a job.
Minimal Pipeline Example
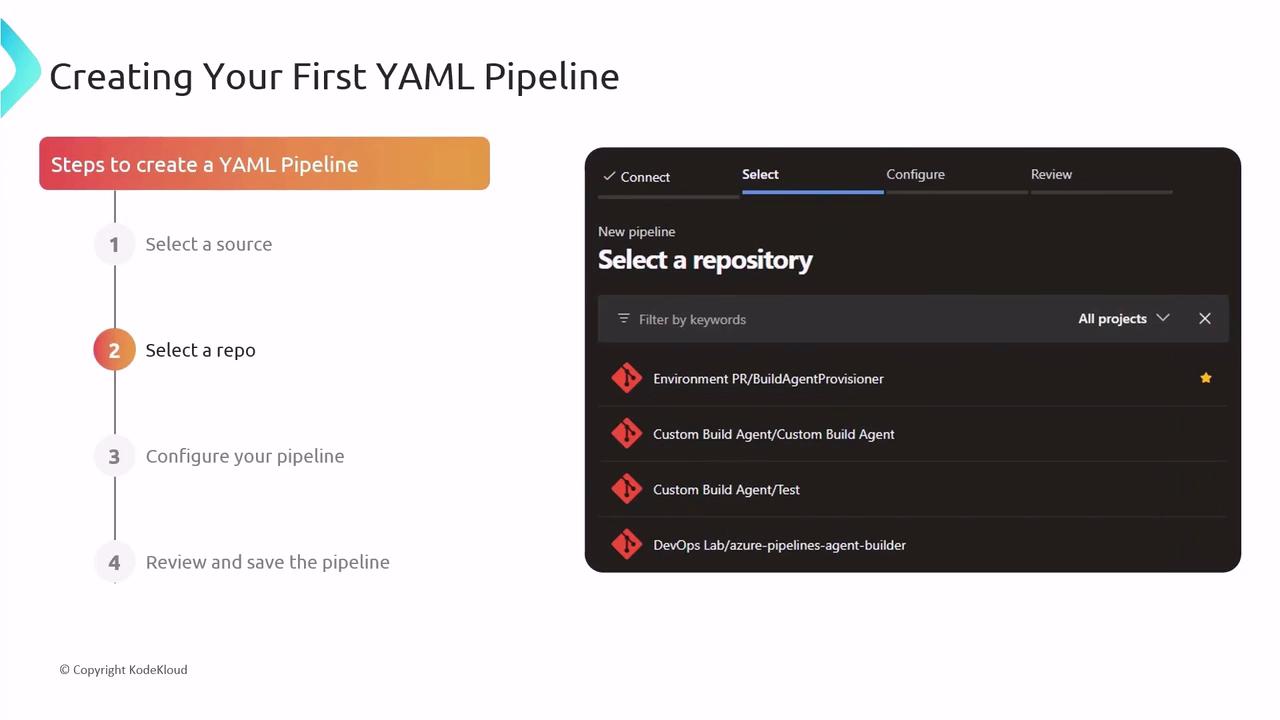
Creating Your First YAML Pipeline
- Select your code repository (GitHub, Azure Repos, Bitbucket, etc.).
- In Azure DevOps, choose Pipelines → Create Pipeline.
- Let the wizard scaffold a starter YAML file.
- Review, customize, and commit the YAML—your pipeline runs on every push.
Automating with Triggers
Azure Pipelines supports multiple trigger types:| Trigger Type | Description |
|---|---|
| CI Triggers | Build when code is pushed to a branch |
| PR Triggers | Validate pull requests before merge |
| Scheduled Triggers | Run pipelines at defined intervals |
Continuous Deployment
Automate deployments by defining environments and stages:- Create stages for Testing, Staging, and Production.
- Add deployment jobs targeting each environment.
- Chain stages so a successful build or approval triggers the next stage.
Advanced Features
Leverage these techniques for more sophisticated pipelines:- Multi-stage Pipelines: Combine build, test, and deploy in one YAML.
- Templates: Share and reuse common steps across multiple pipelines.
- Conditions & Dependencies: Control execution with
dependsOn,condition, and runtime expressions.

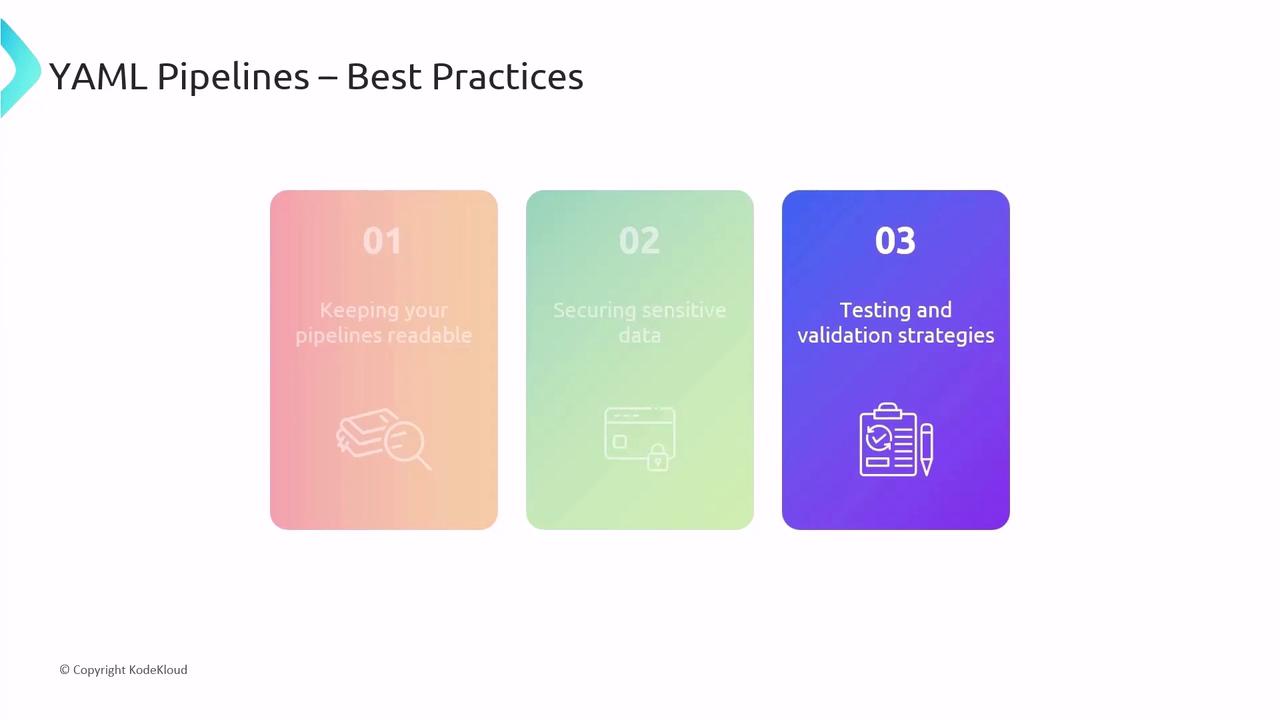
Best Practices
- Keep YAML files tidy with clear comments and consistent indentation.
- Store secrets securely using Azure Key Vault or pipeline variables.
- Test pipeline changes in a feature branch before merging to
main.
Never commit plain-text credentials or secrets in your YAML. Always use secured variables and secret scopes.