This guide explains how to use GitLabs rollback feature to revert to a previous successful deployment, ensuring minimal downtime and restoring stability.
In this guide, you’ll learn how to use GitLab’s rollback feature to revert your environment to a previously successful release. Rollbacks are essential when a new deployment introduces regressions—such as a frozen UI—allowing you to restore stability with minimal downtime.
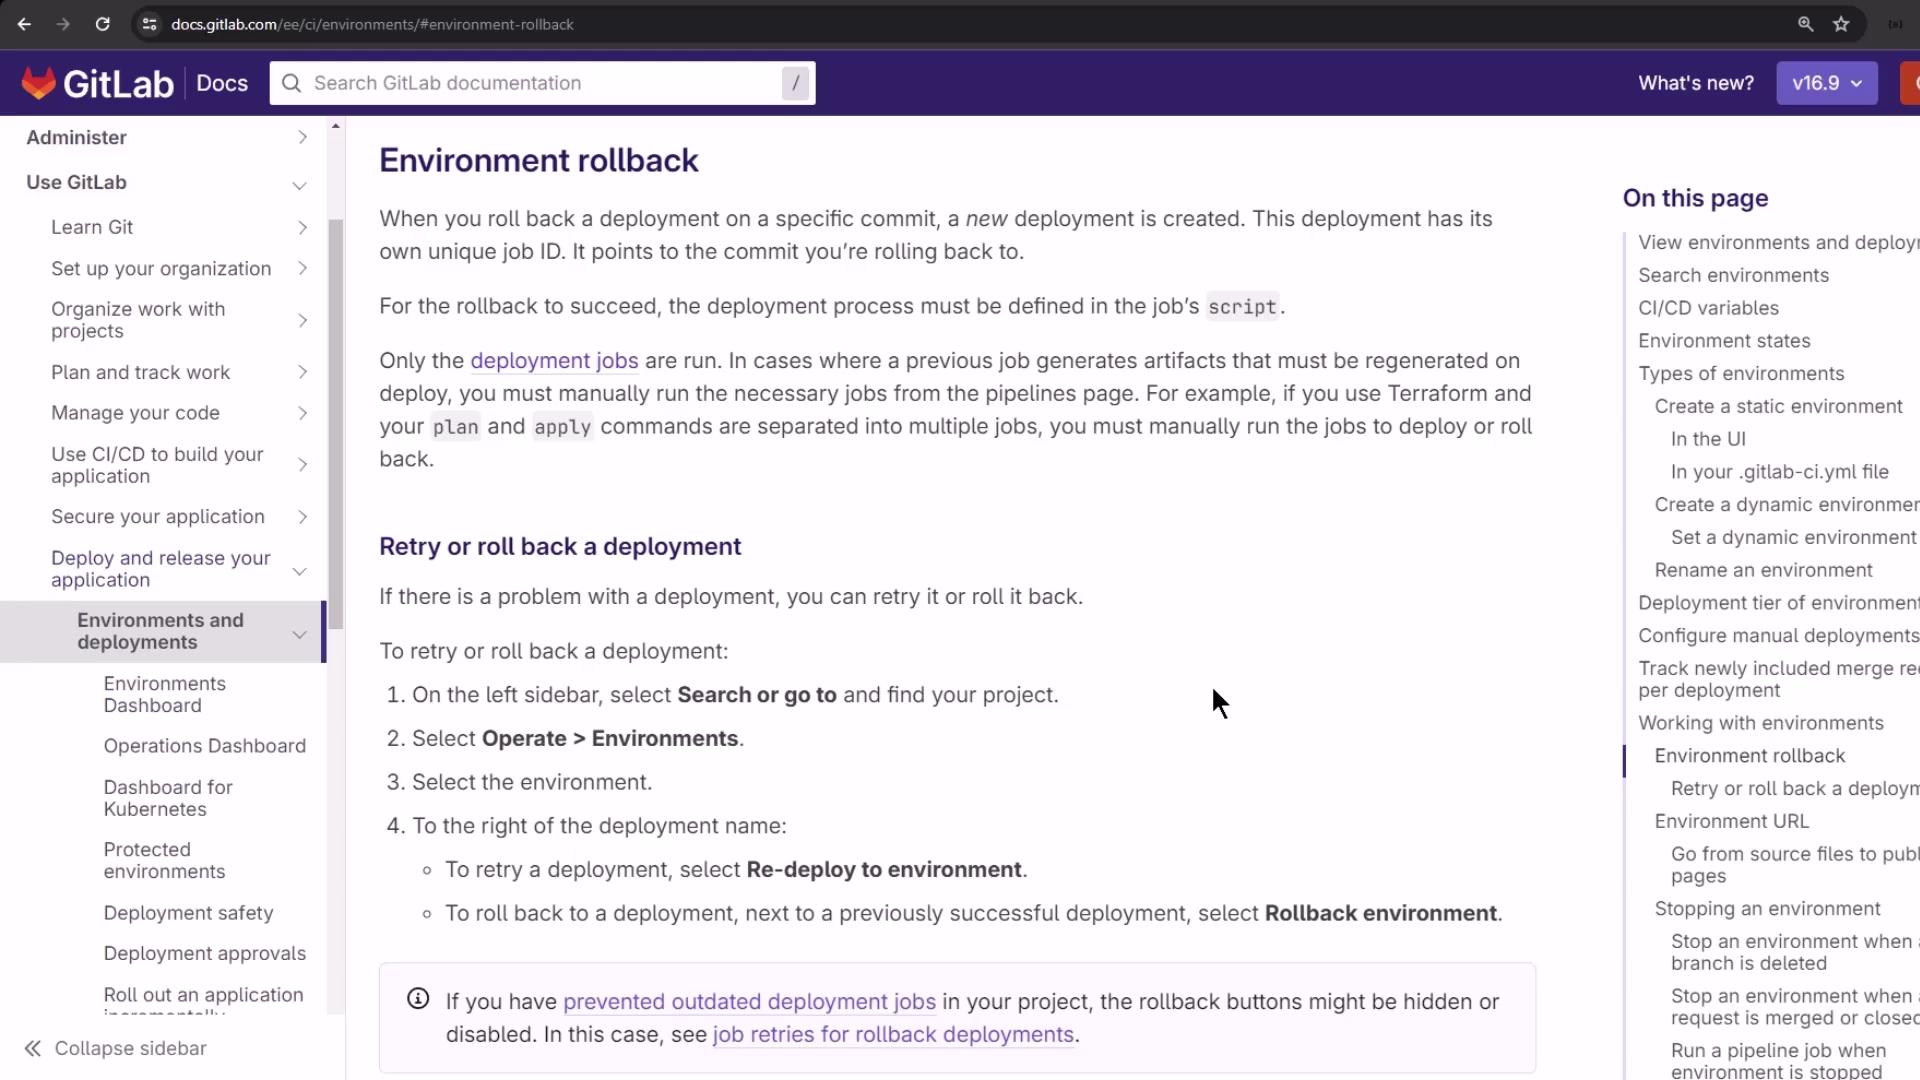
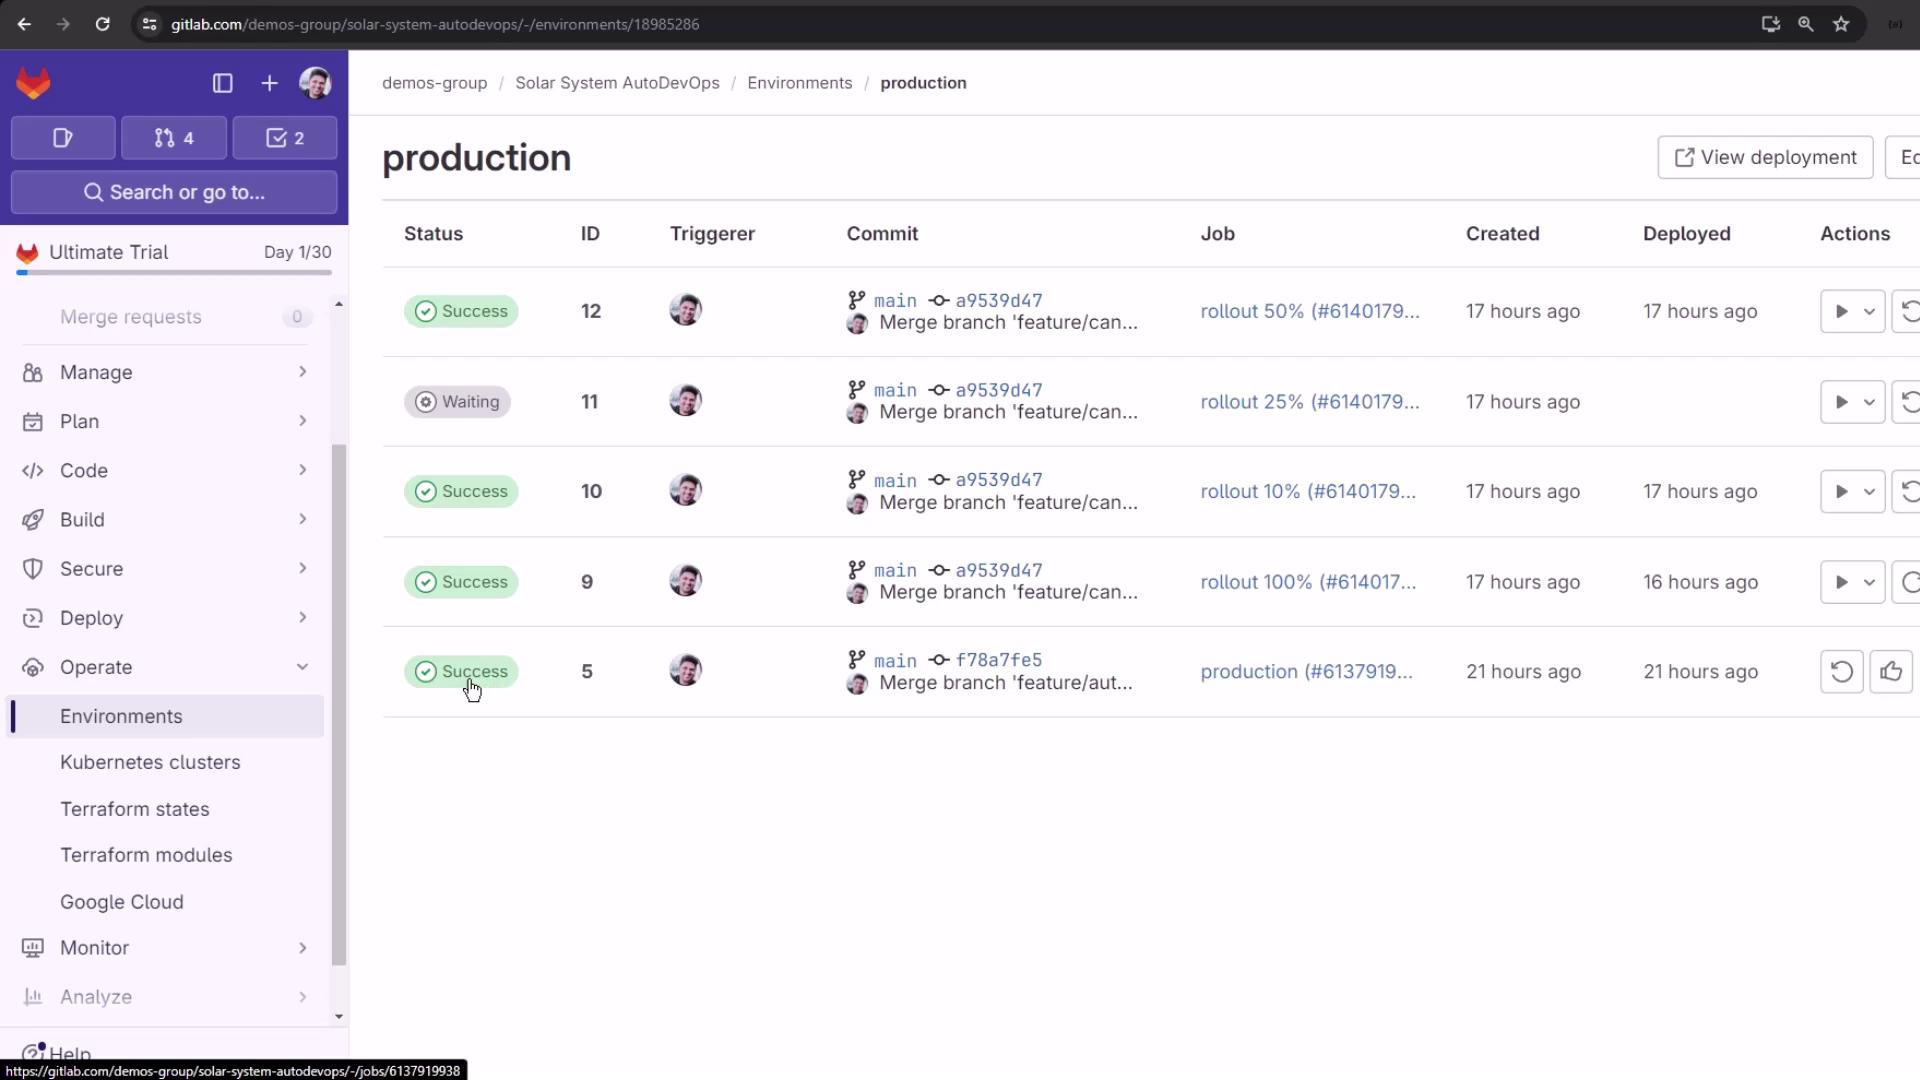
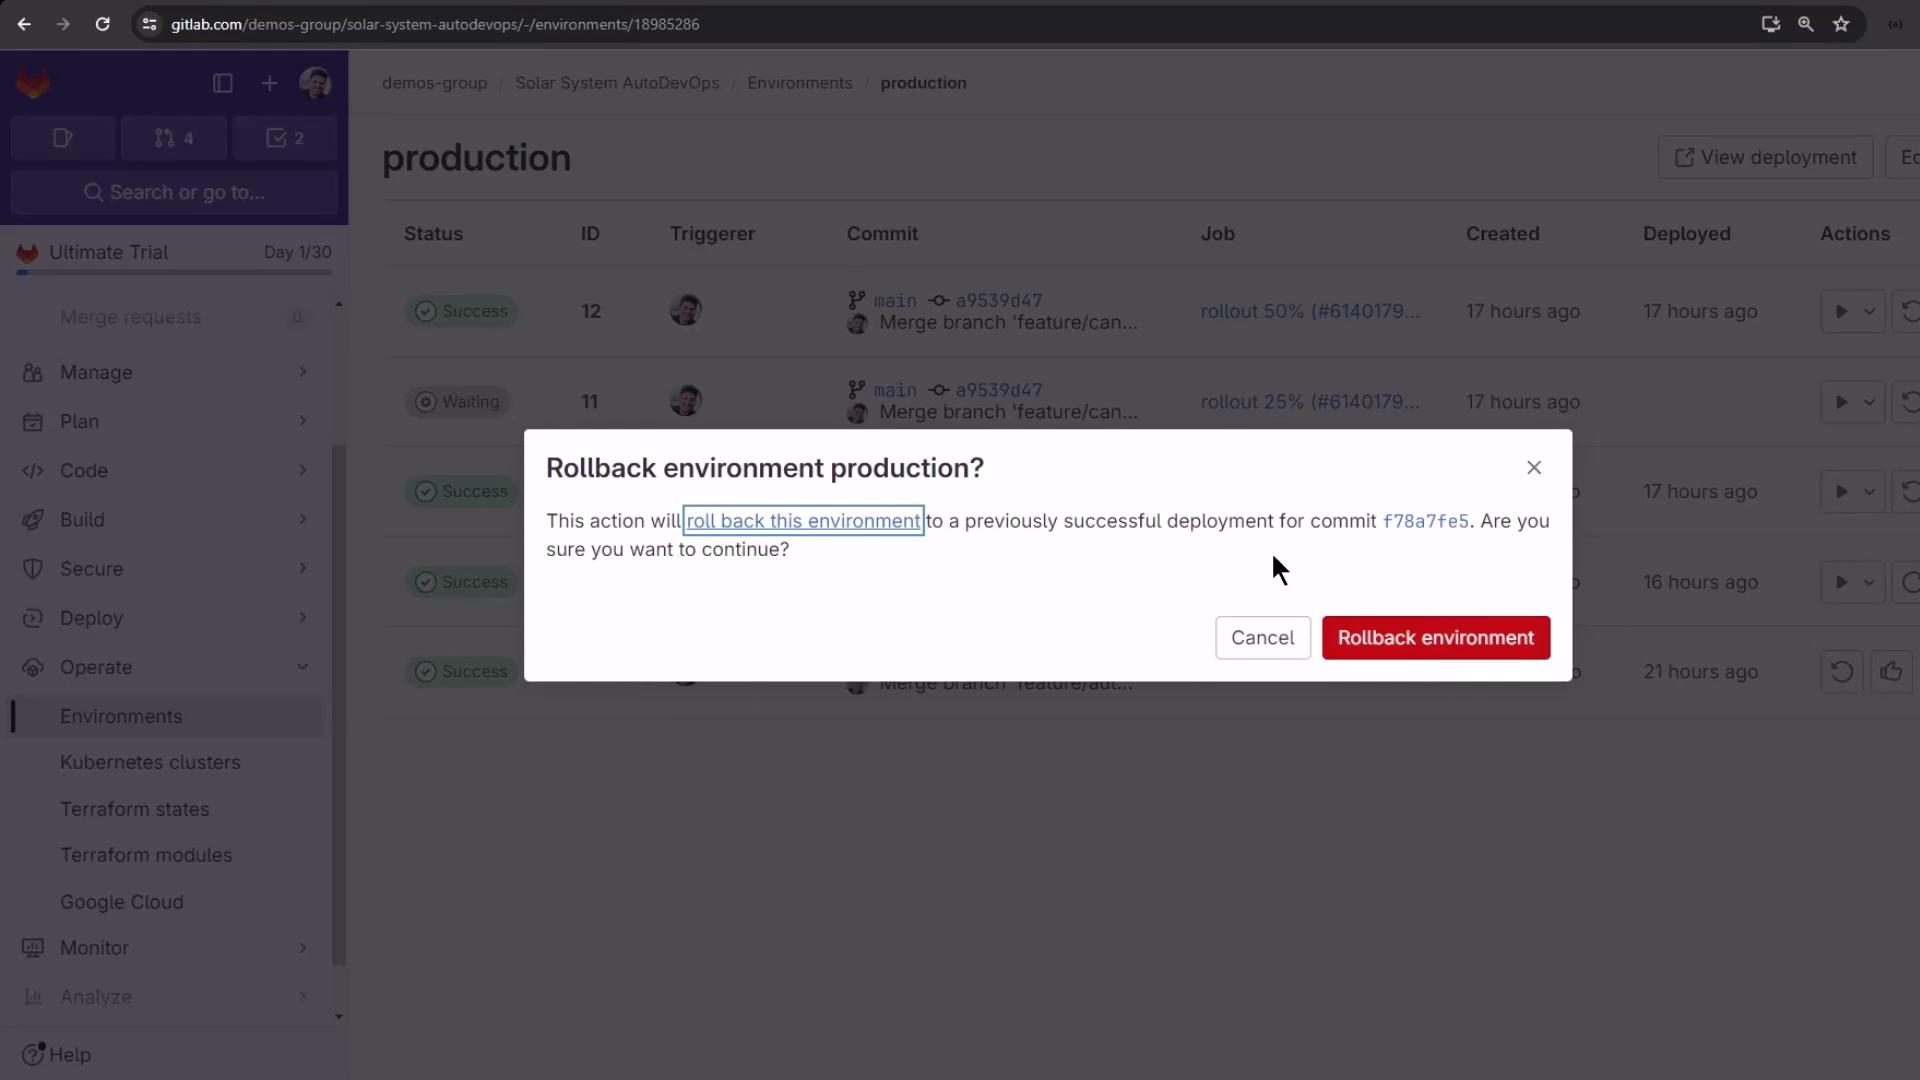
GitLab’s Environment Rollback creates a new deployment job for a selected, successful commit. Note that only the deploy stage runs; any artifacts from earlier stages (build, test) must be regenerated manually before triggering the rollback.
Once confirmed, GitLab launches a new pipeline containing only the deploy job. Other stages (build, test) are skipped, so regenerate any required artifacts first.
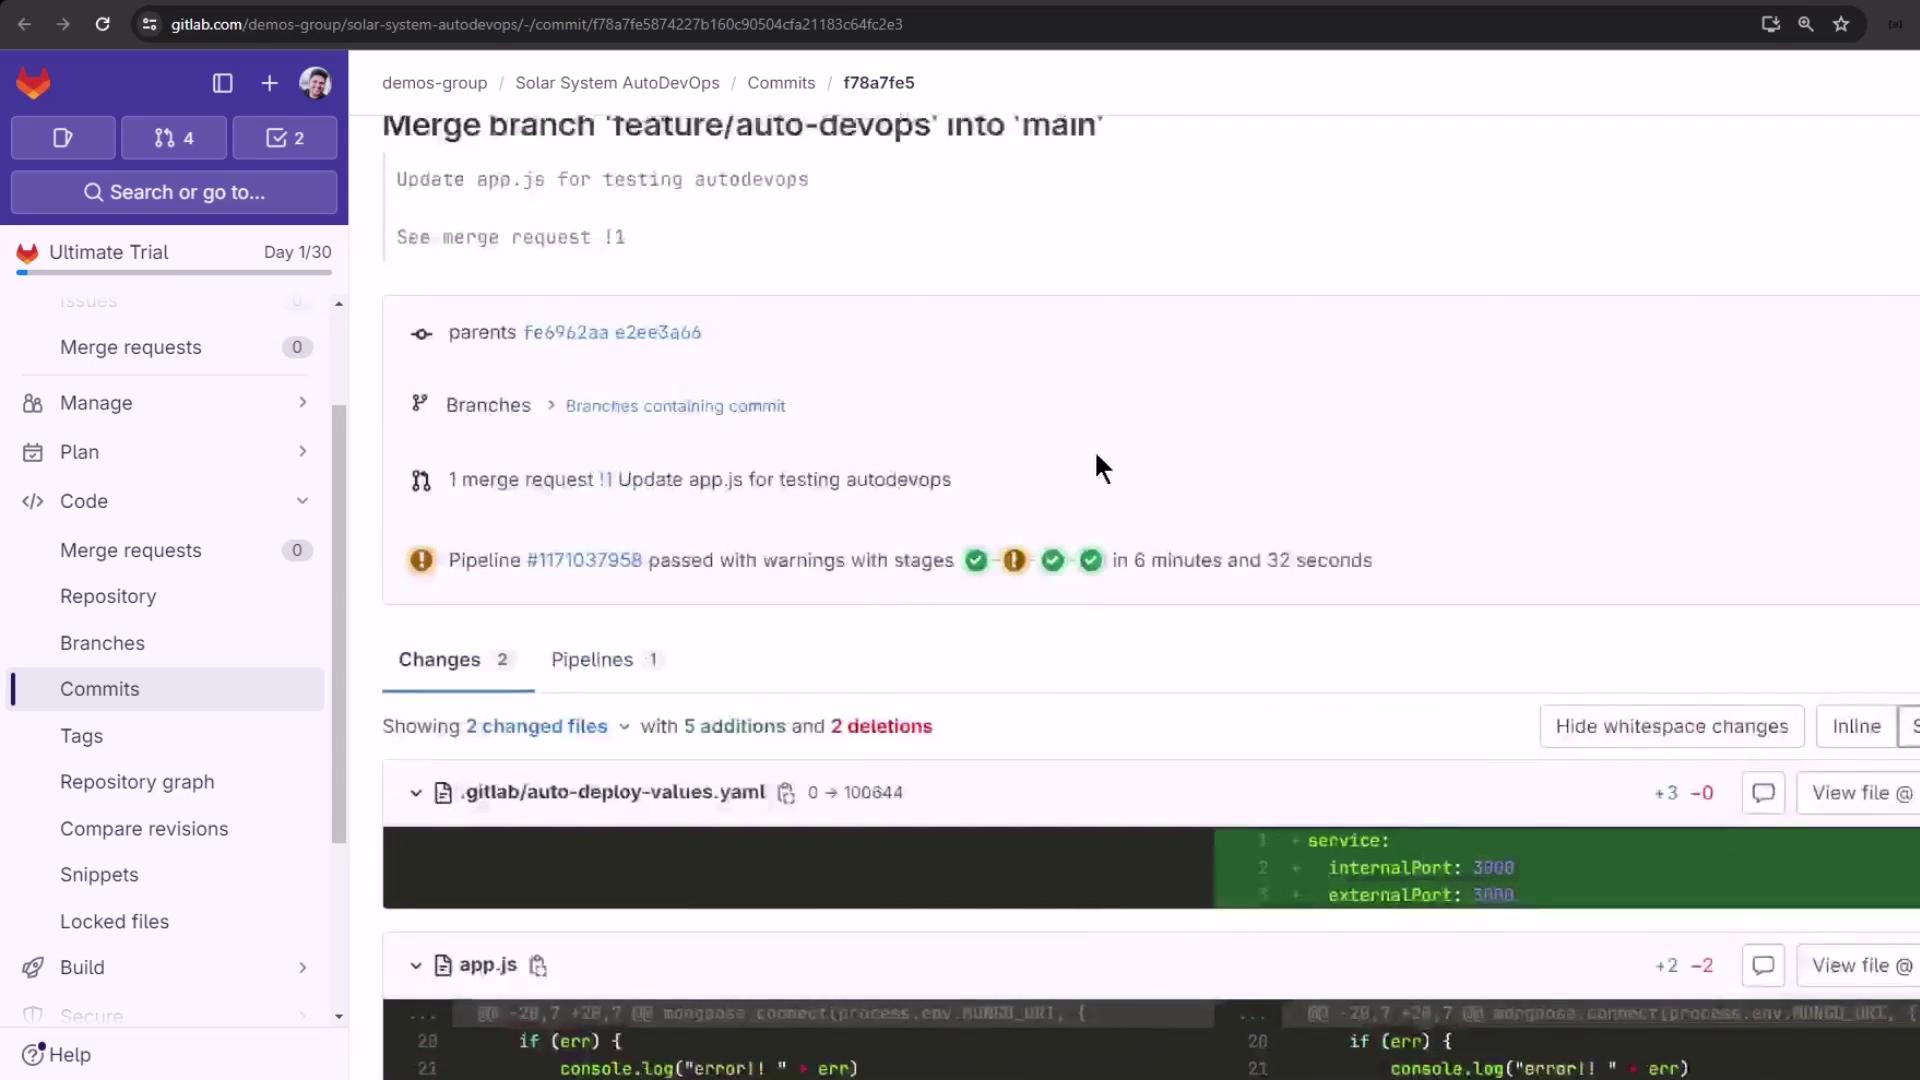
Rollback pipelines do not rebuild artifacts. If your deployment depends on generated files, re-run those pipeline stages or upload artifacts manually before approving the rollback job.
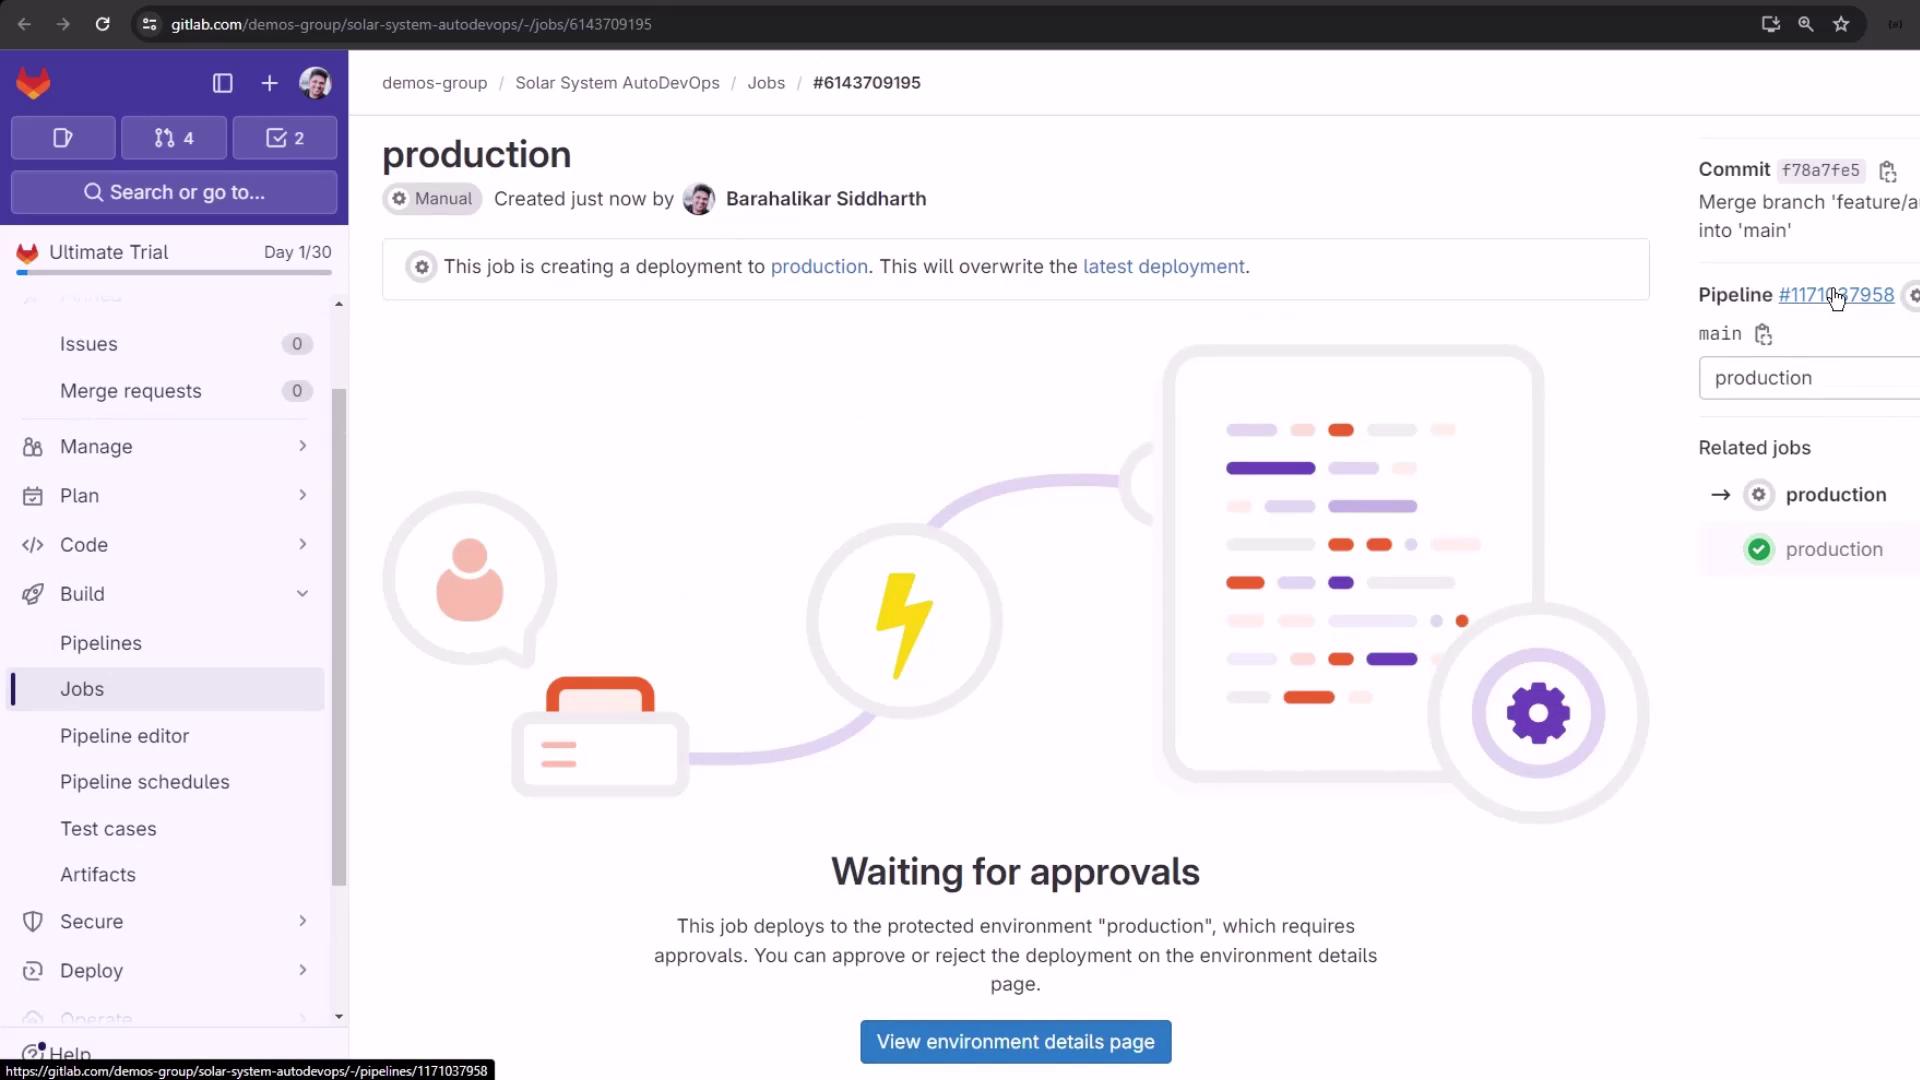
Approve and run the deploy job in the GitLab UI:
Copy
Ask AI
# Approval is manual; no further jobs (build/test) will run.
Before initiating the rollback, inspect existing pods:
Copy
Ask AI
kubectl -n production get pods# Example output:# production-84c4bd9684-2q8pt 1/1 Running 0 17h# production-84c4bd9684-6pklc 1/1 Running 0 17h# ... (additional pods)
GitLab’s Auto Deploy logs will confirm chart validation, secret replacement, and deployment steps:
Copy
Ask AI
$ auto-deploy create_secret$ auto-deploy deployWARNING: Kubernetes configuration file is group-readable. This is insecure.Validating chart version...Fetching previously deployed chart version... v2.80.1Fetching deploying chart version... v2.80.1The current chart is compatible with the previously deployed chartsecret "production-secret" deletedsecret/production-secret replacedDeploying new stable release...WARNING: Kubernetes configuration file is world-readable. This is insecure.
During the rollback, you’ll see old pods terminate and new ones start:
Copy
Ask AI
kubectl -n production get pods# Terminating old release:# production-84c4bd9684-2q8pt 1/1 Terminating 0 17h# ...# Running new release:# production-df6d64c-4gql7 1/1 Running 0 25s# production-df6d64c-5xmtj 1/1 Running 0 15s# ...
When all old pods are gone and new pods are Running, the rollback is complete.
Visit your application’s URL to verify the previous UI is back online—confirm dynamic content and animations (e.g., the solar system demo) have returned.