In this guide, you’ll learn how to configure and optimize a CI/CD pipeline on a self-hosted GitLab Runner using the Shell executor. We’ll walk through:
Defining a basic pipeline .
Selecting your self-managed runner with tags.
Troubleshooting shell-profile issues.
Installing Node.js on the runner VM.
Caching npm dependencies between runs.
Customizing the runner’s cache directory .
1. Basic Pipeline Configuration Begin by creating a simple .gitlab-ci.yml that runs unit tests against your Node.js project. This example sets up environment variables, uses stages, and caches node_modules to speed up subsequent runs.
workflow : name : Shell Executor Demo variables : MONGO_URI : 'mongodb+srv://supercluster.d83jj.mongodb.net/superData' MONGO_USERNAME : superuser MONGO_PASSWORD : SuperPassword stages : - test unit_test : stage : test cache : policy : pull-push key : files : - package-lock.json prefix : node-modules paths : - node_modules before_script : - npm install script : - npm test
Section Purpose variablesSecure strings for database connection stagesDefines workflow steps (only test here) cacheSpeeds up npm install by reusing modules before_scriptPre-test setup commands scriptActual test command
2. Selecting the Self-Managed Runner To ensure jobs land on your Shell executor, add the same tags you used during runner registration:
unit_test : tags : - nodejs - linux - local stage : test cache : policy : pull-push key : files : - package-lock.json prefix : node-modules paths : - node_modules before_script : - npm install script : - npm test
Runner tags must match exactly (case-sensitive). Review Settings > CI/CD > Runners in your project to confirm tag names.
Your project’s CI/CD settings should display your tagged runner:
After committing these changes, GitLab will automatically trigger a new pipeline.
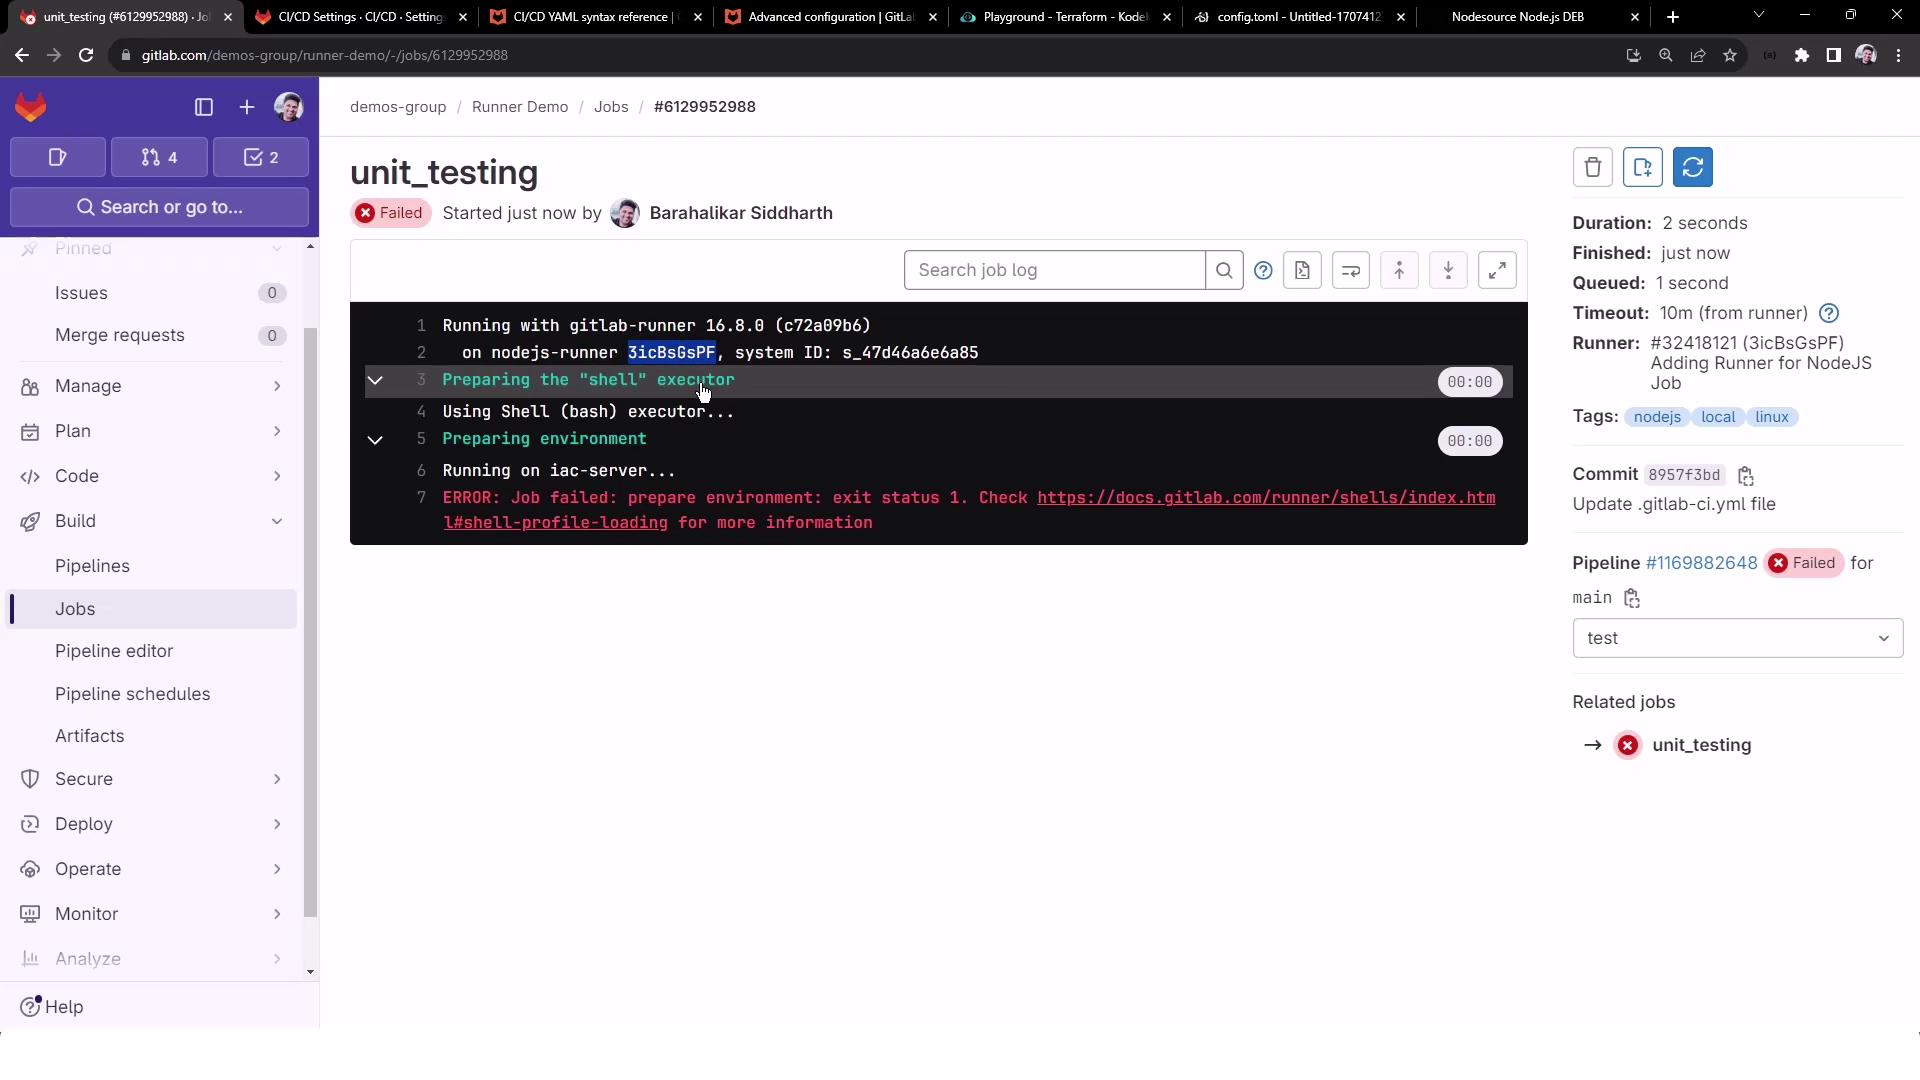
3. Troubleshooting Shell-Executor Profiles If the job fails during prepare environment , you might see:
Preparing environment Running on iac-server... ERROR: Job failed: prepare environment: exit status 1. Check https://docs.gitlab.com/runner/shells/index.html#shell-profile-loading
This usually means your shell’s logout or profile scripts are clearing the console. On the runner VM, edit ~/.bash_logout:
# ~/.bash_logout: executed when a login shell exits # if [ "$SHLVL" -eq '1' ]; then # [ -x /usr/bin/clear_console ] && /usr/bin/clear_console -q # fi
Comment out any clear_console lines, commit the update, and rerun the pipeline.
Modifying shell profiles on production runners can affect all jobs. Always back up files before editing.
4. Installing Node.js on the Runner Since the Shell executor uses your VM’s environment, you must install Node.js globally:
sudo apt-get update && sudo apt-get install -y ca-certificates curl gnupg # Add NodeSource repository (replace 'nodistro' with your distro codename, e.g., 'jammy') curl -fsSL https://deb.nodesource.com/gpgkey/nodesource-repo.gpg.key \ | sudo gpg --dearmor -o /etc/apt/keyrings/nodesource.gpg NODE_MAJOR = 20 echo "deb [signed-by=/etc/apt/keyrings/nodesource.gpg] \ https://deb.nodesource.com/node_${ NODE_MAJOR }.x nodistro main" \ | sudo tee /etc/apt/sources.list.d/nodesource.list sudo apt-get update && sudo apt-get install -y nodejs
Verify:
node -v # e.g., v20.x.x npm -v # e.g., 9.x.x
Rerun your pipeline—npm install and npm test should now succeed.
5. Caching Dependencies for Faster Builds Your pipeline’s cache settings will automatically save node_modules on success:
Saving cache for successful job Creating cache node-modules-<hash>-protected... node_modules: found 5735 matching files Created cache locally
Inspect the runner’s cache directory:
cd /home/gitlab-runner/cache/ < project-pat h > /node-modules- < has h > -protected unzip cache.zip ls node_modules
On future runs, the cache is restored:
Restoring cache Successfully extracted cache $ npm install up to date in 1s
Cache Phase Description pull-push Downloads & uploads cache for every job run key Uniquely identifies cache based on package-lock paths Directories to cache (e.g., node_modules)
6. Customizing the Runner’s Cache Directory By default, caches live under GitLab Runner’s home folder. To change it, update /etc/gitlab-runner/config.toml:
[[ runners ]] name = "nodejs-runner" url = "https://gitlab.com" id = 32418121 token = "glrt-..." executor = "shell" cache_dir = "/home/gitlab-runner/builds" # custom path [ runners . cache ] MaxUploadedArchiveSize = 0
Restart the service:
sudo gitlab-runner restart
Subsequent cache archives will appear under your new cache_dir:
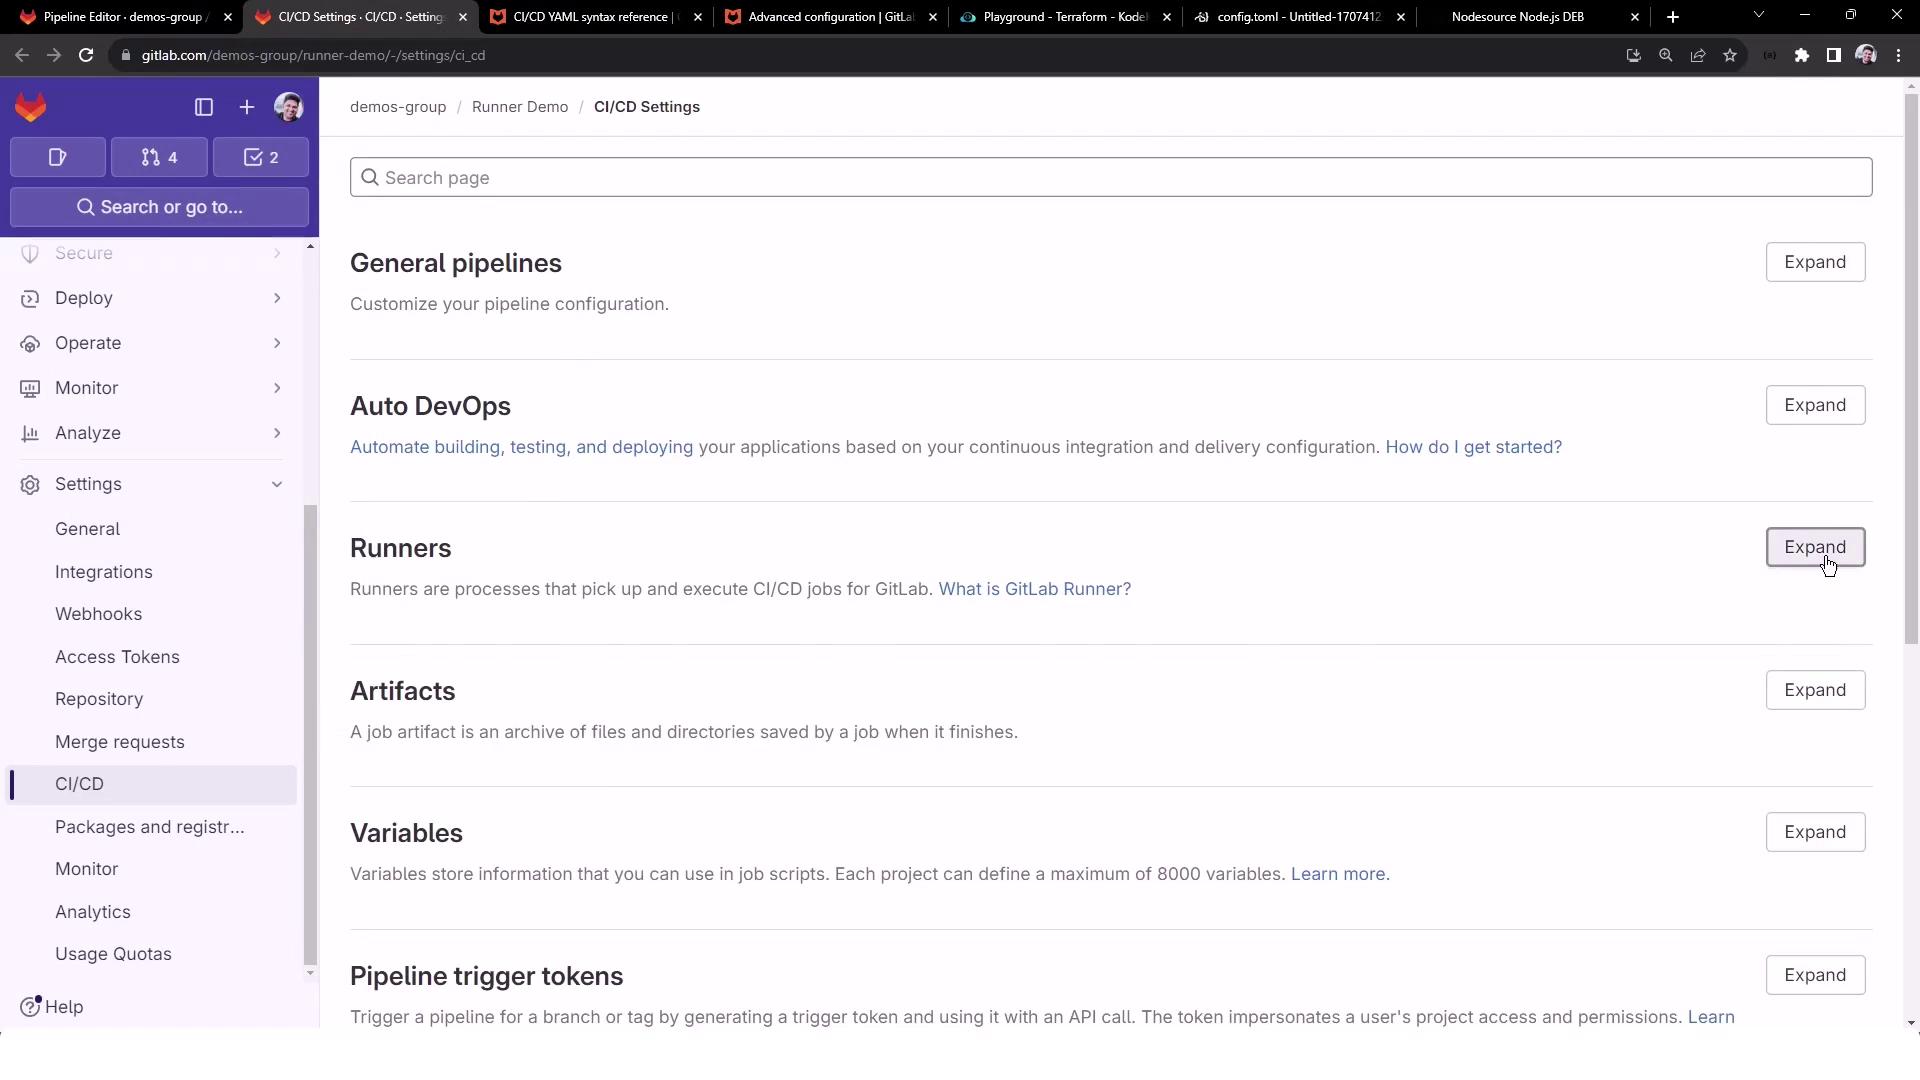
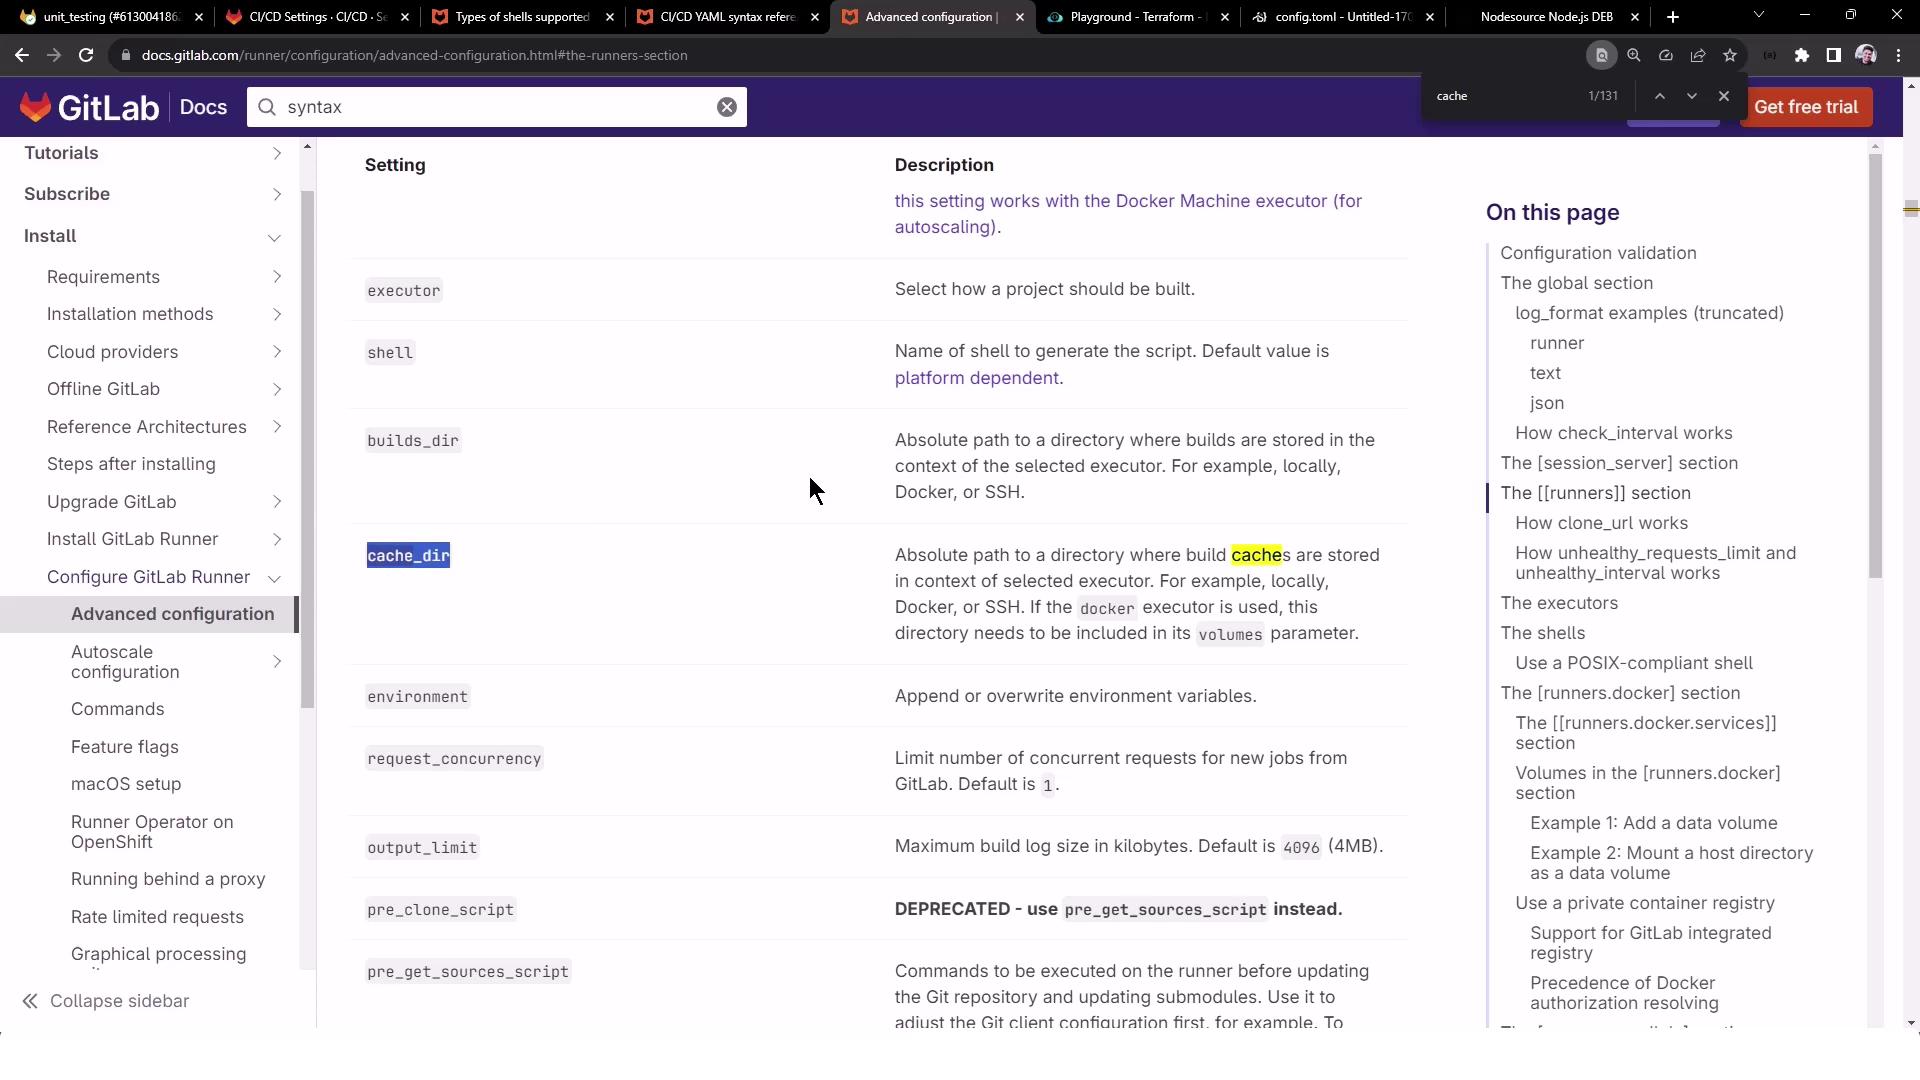
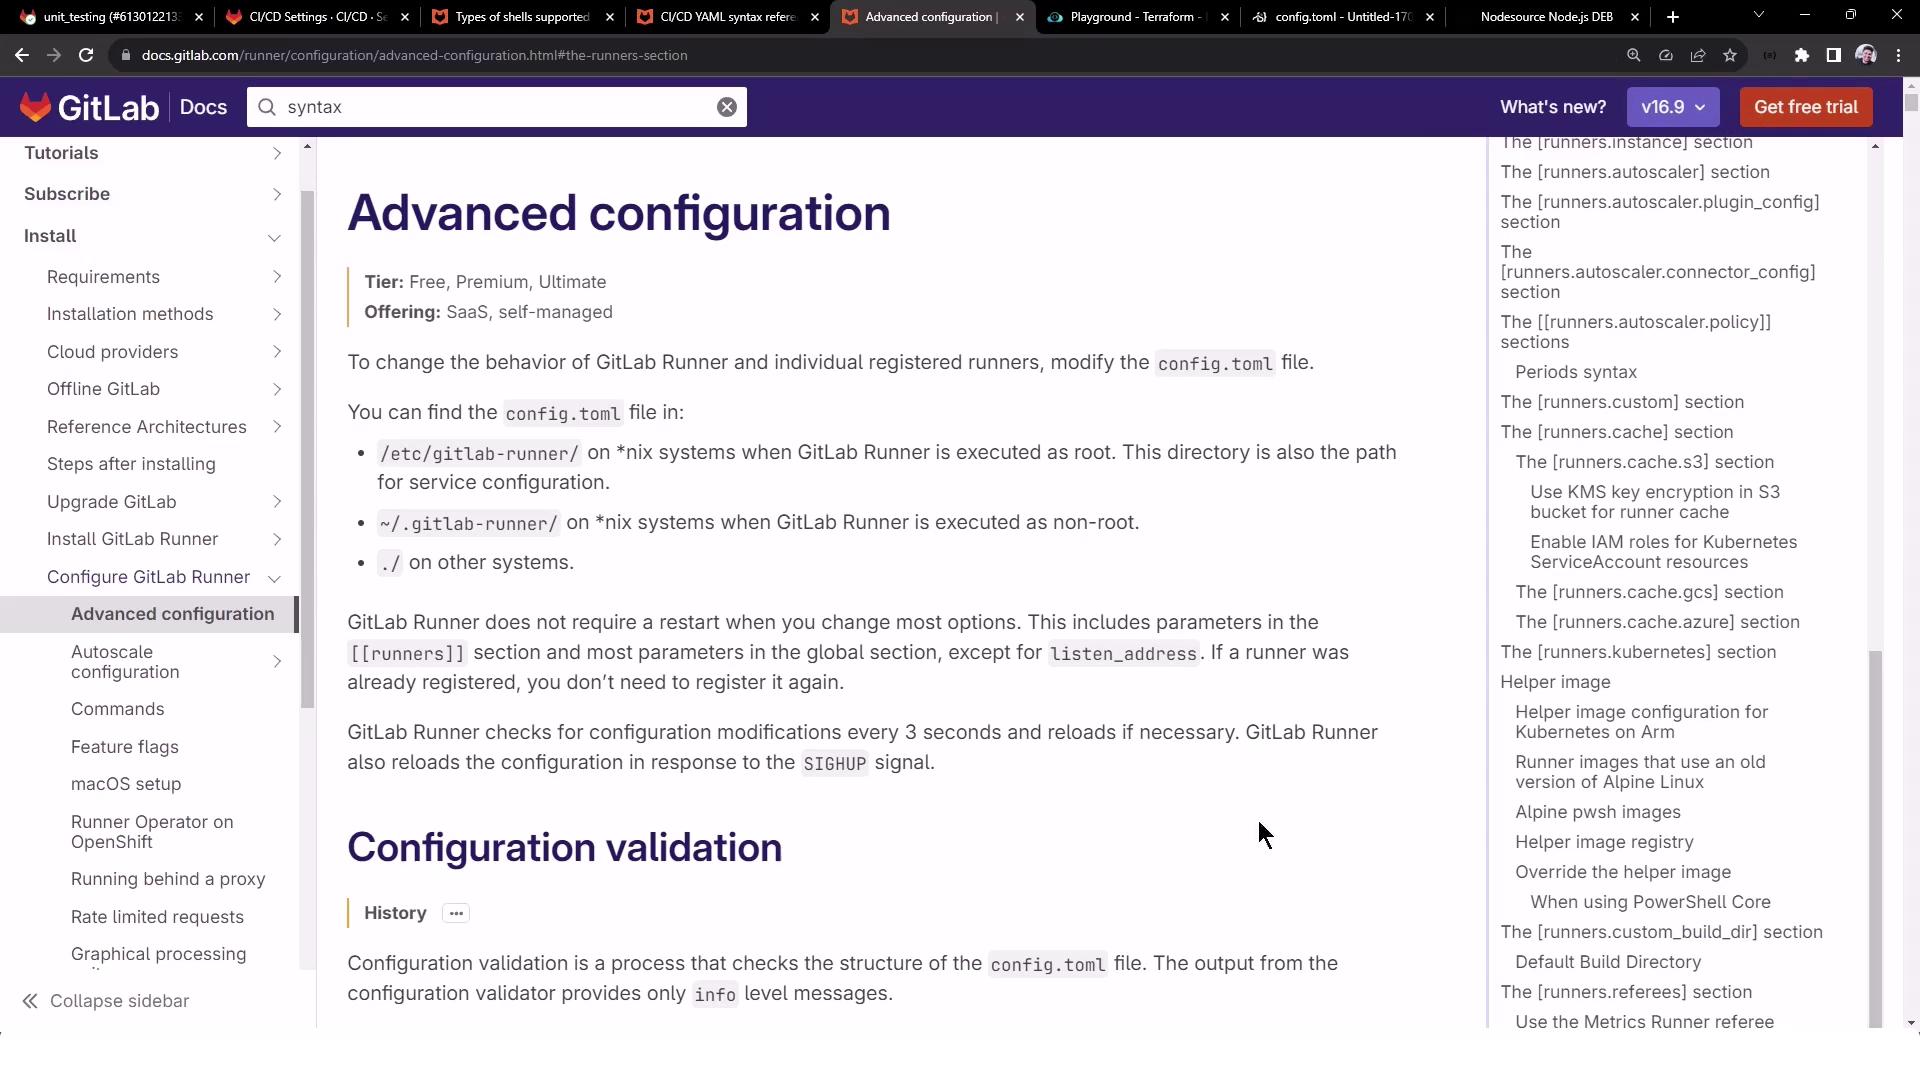
For a deep dive into advanced runner settings, consult the official docs:
Links and References