GitLab’s shared hosted runners spin up fresh VMs on Linux, Windows, macOS, or GPU-enabled instances with zero configuration.
- Fully customizable execution environments (OS, tools, libraries).
- Dedicated capacity with no queue delays.
- Horizontal scaling for parallel workflows.
- Geographic placement for low latency and data residency.
- Enforced security and compliance controls.

Runner Scopes
You can register self-managed runners at three levels:| Scope | Availability | Use Case | Registration Location |
|---|---|---|---|
| Shared runner | All groups and projects | General-purpose CI/CD workloads | Admin Area > CI/CD > Runners |
| Group runner | All projects in a specific group | Team-based resource sharing | Group Settings > CI/CD > Runners |
| Project runner | A single project | Project-specific pipelines | Project Settings > CI/CD > Runners |
Project-Level Runner Setup
To register a runner for one project:- Navigate to Settings > CI/CD in your project.
- Under Runners, optionally disable any existing shared runners.
- Click Expand next to Set up a specific Runner manually, then select New project runner.
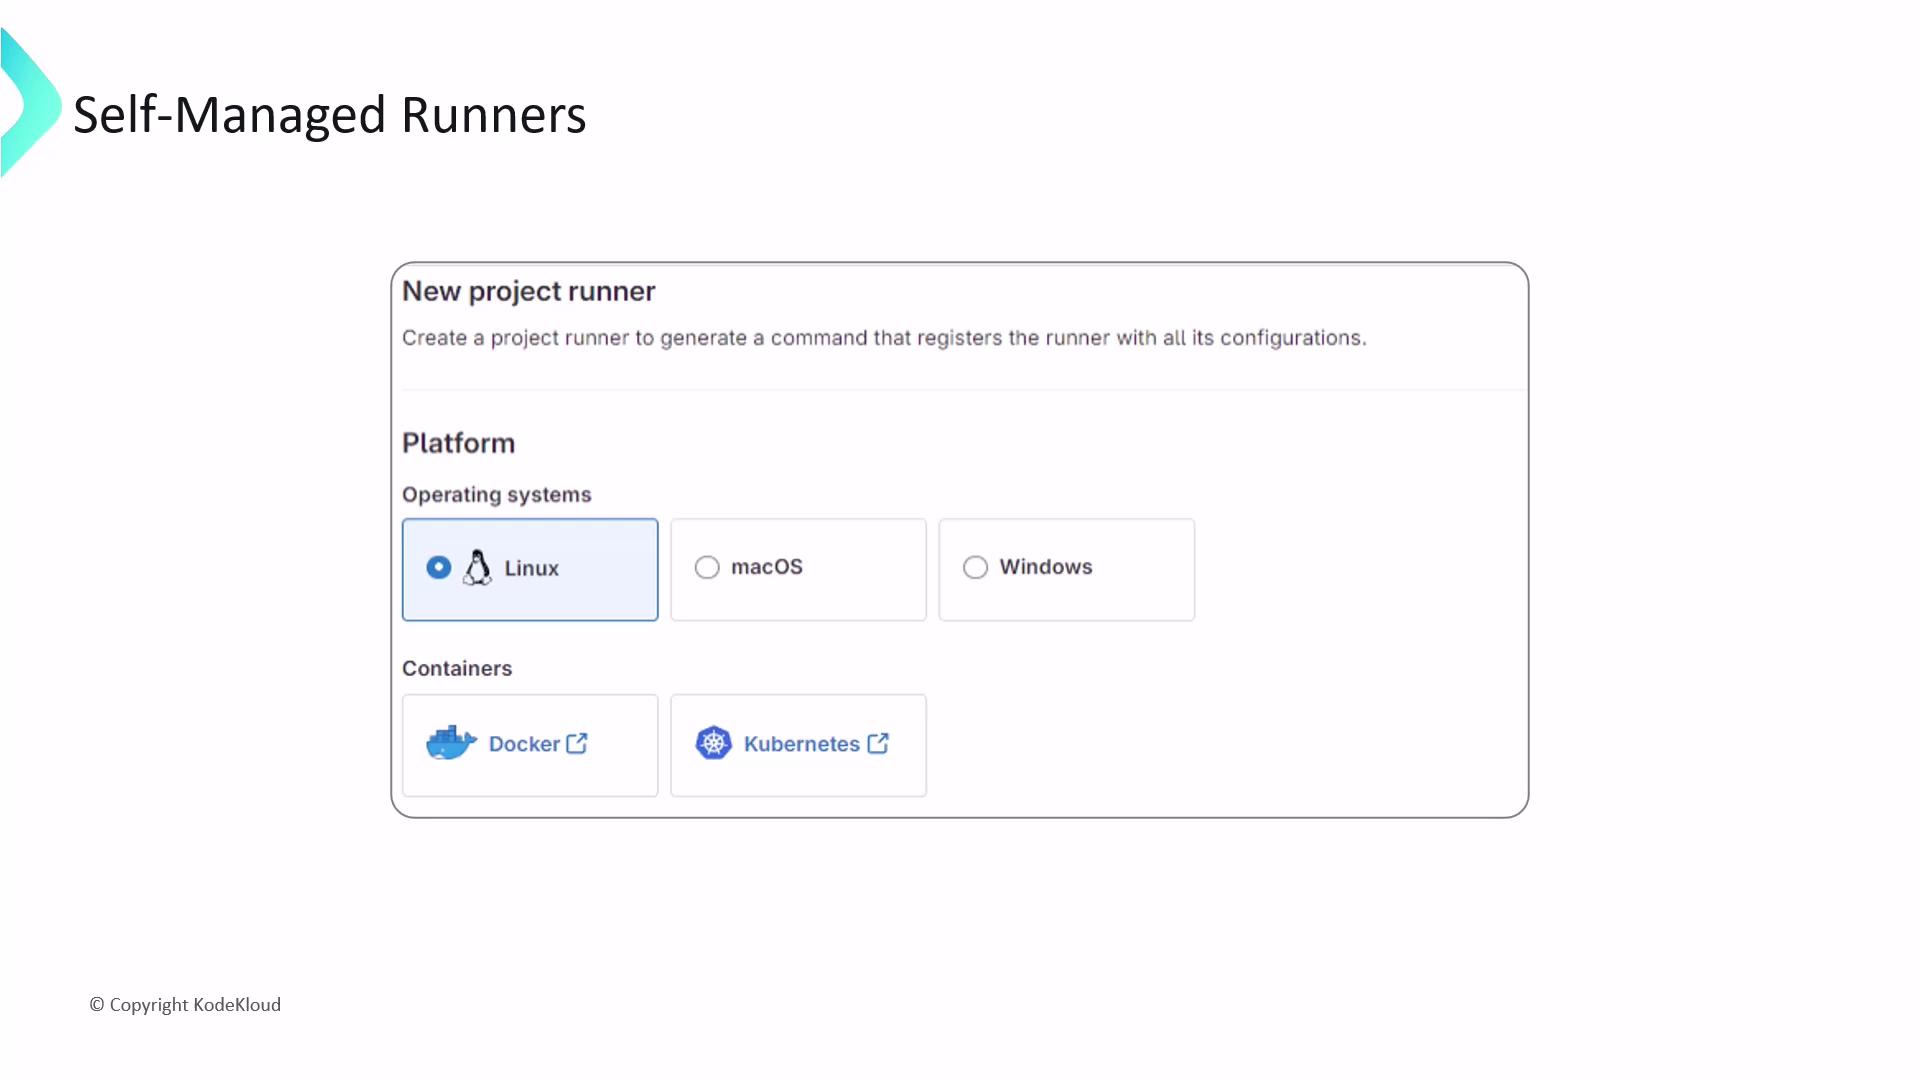
- Choose OS and architecture (Linux, Windows, macOS).
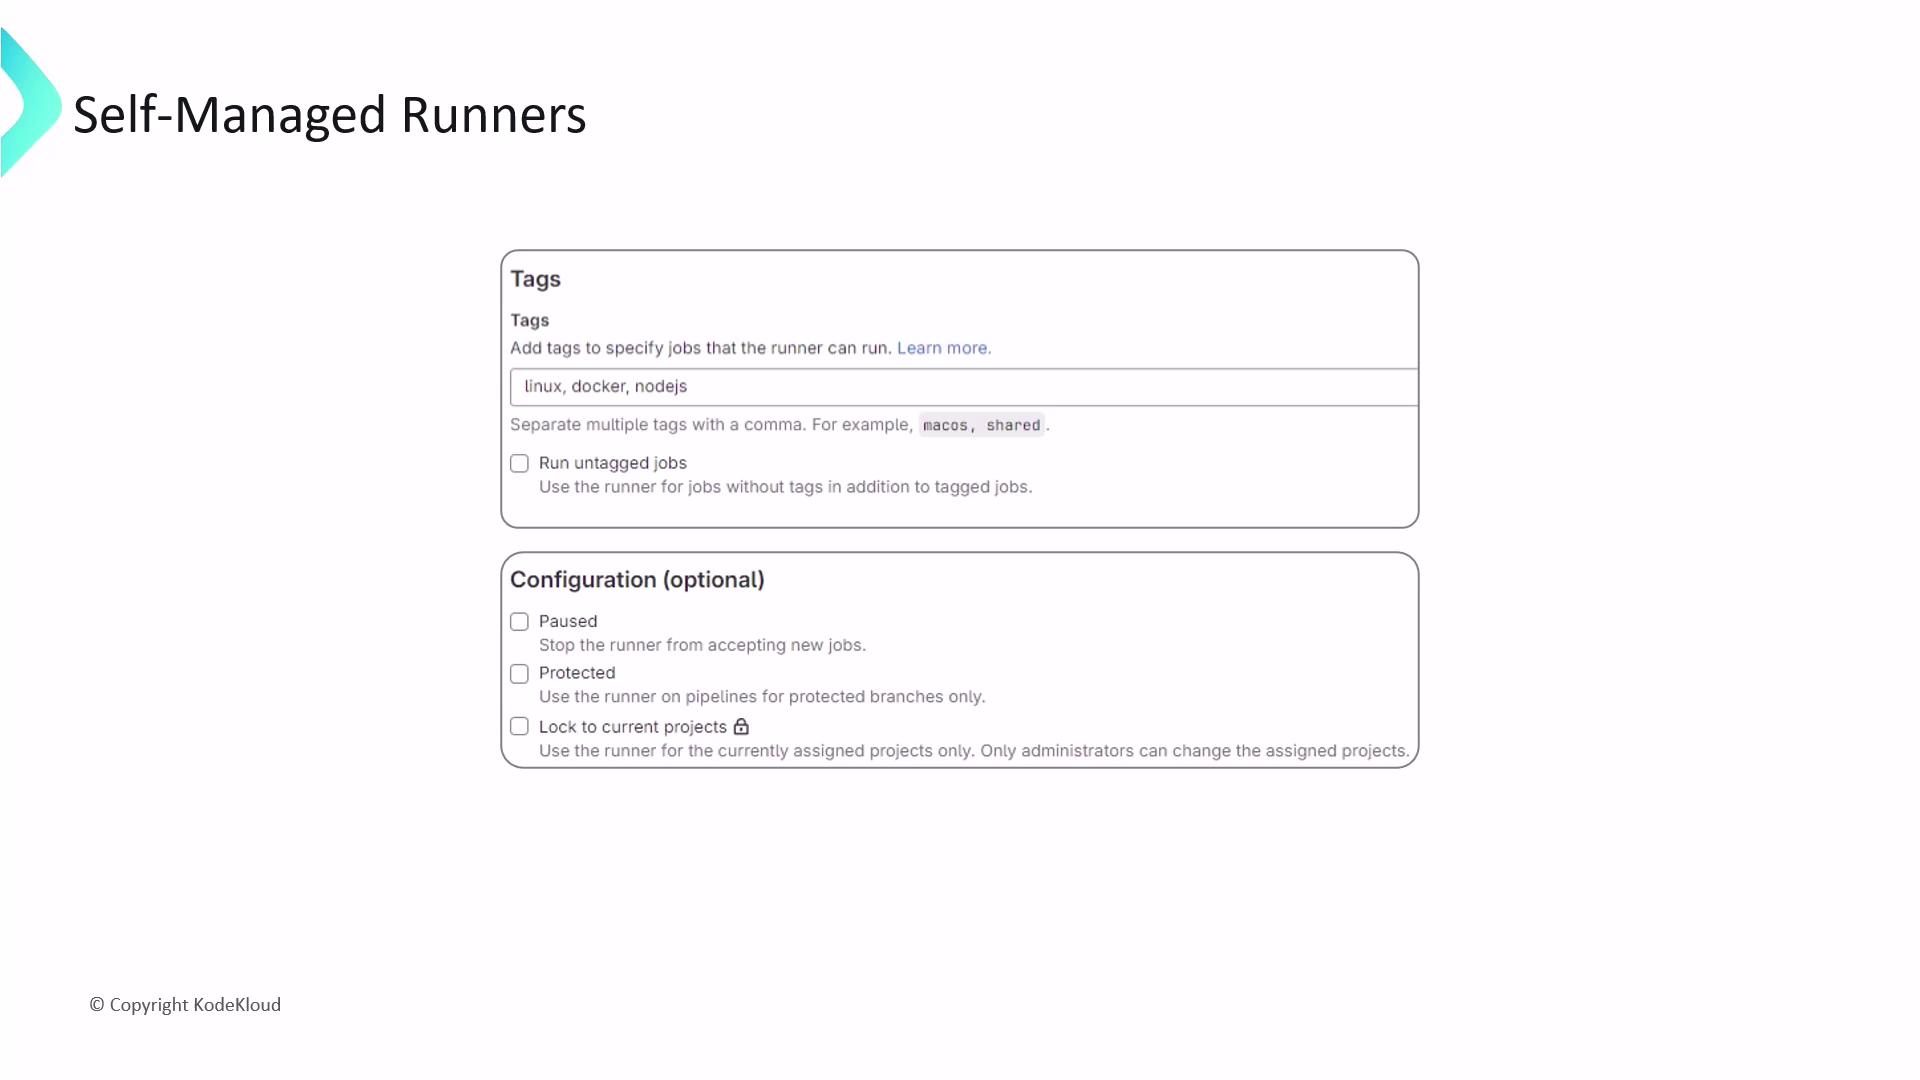
- Add tags to route jobs (
docker,linux,nodejs). - Enable Run untagged jobs for broader job assignment.
- Configure protection, pausing, and other advanced options.
Installing GitLab Runner
Install the GitLab Runner binary on your host before registering:Ensure
/usr/local/bin/gitlab-runner has correct ownership and permissions to prevent privilege escalation.Registering the Runner
Run the interactive registration command:- Runner name (e.g.,
ci-nodejs-linux). - Executor (
shell,docker,kubernetes). - Additional settings: default Docker image, tags, locked/unlocked status.
/etc/gitlab-runner/config.toml.
Keep your registration token secret. Do not commit it to source control or share publicly.
Customizing config.toml
Open /etc/gitlab-runner/config.toml to tailor your runner:
nameandtagsfor job routing.executorblock to configure Docker images, volumes, and networks.- Resource limits:
cpu,memory, and disk quotas. - Environment variables (
[[runners.environment]]). - Cache and artifact paths for faster CI/CD runs.