

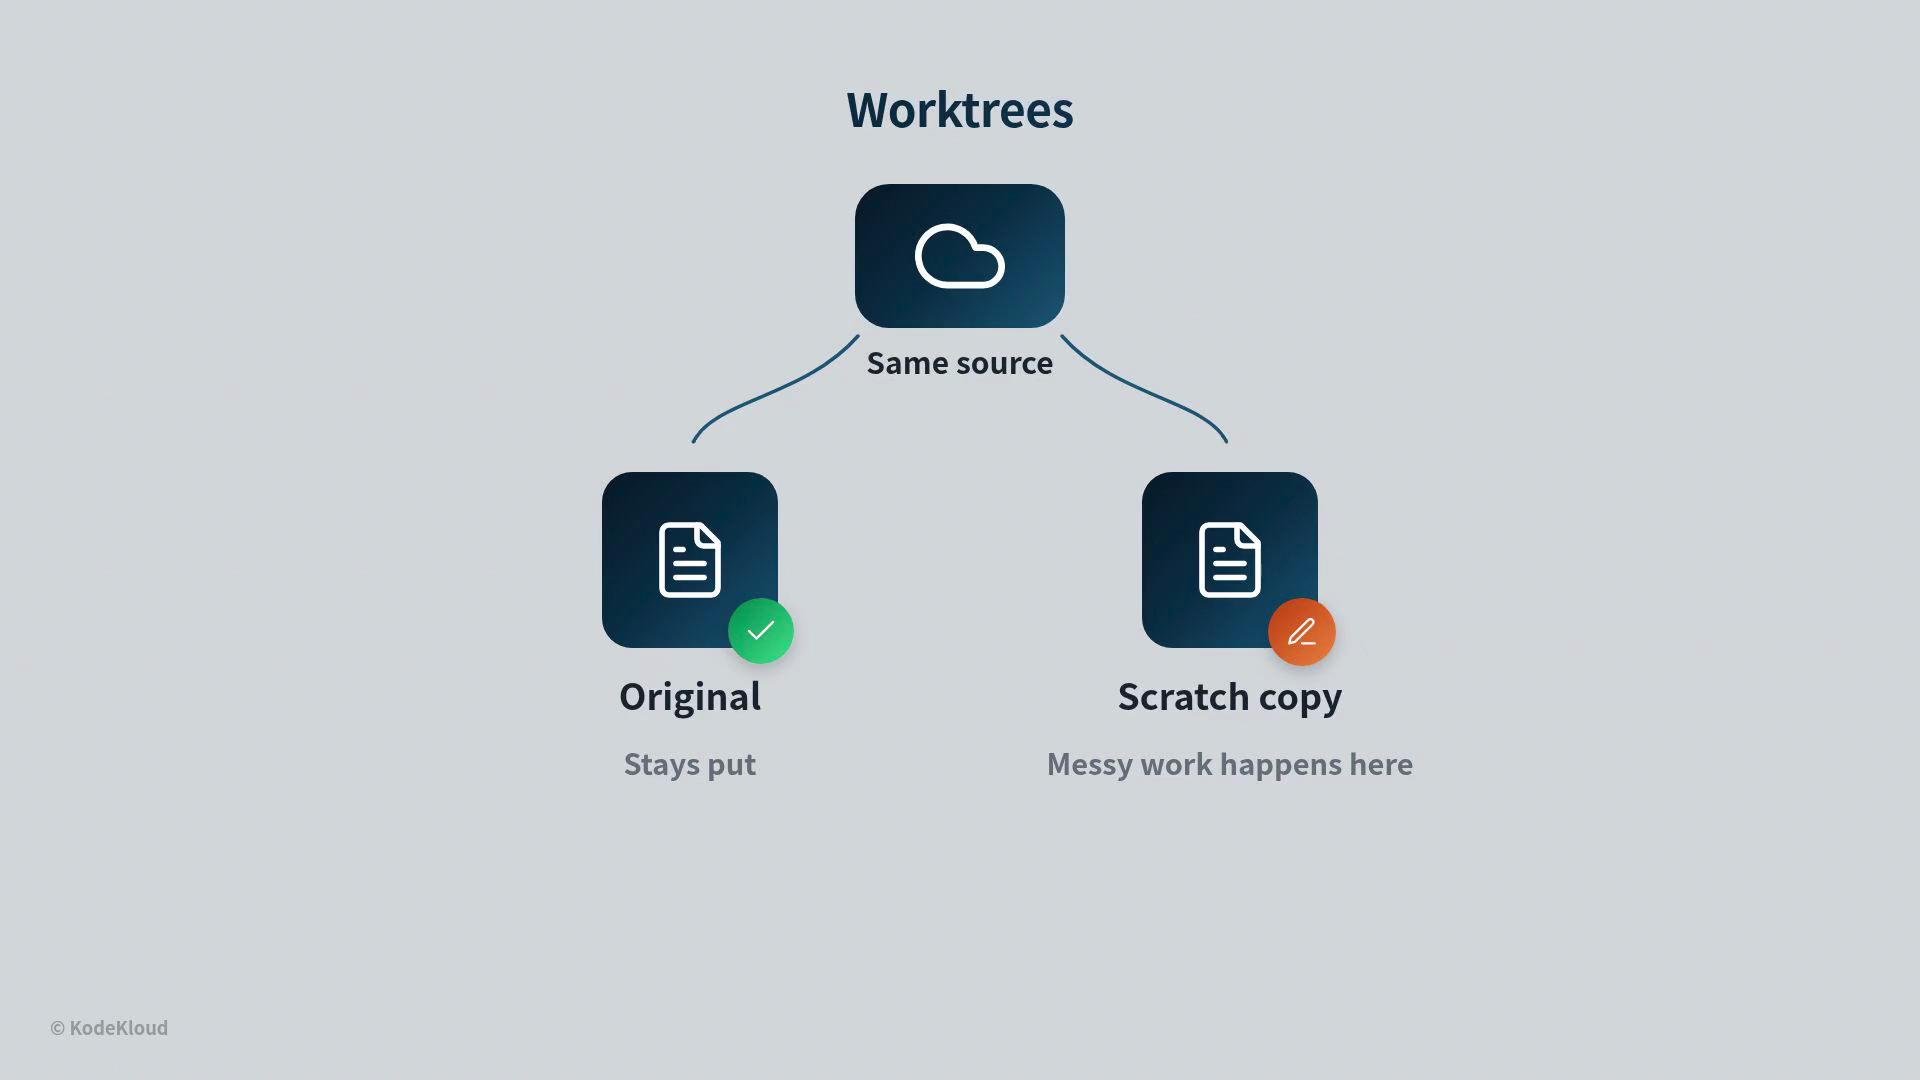
- A worktree is a separate working copy of the same Git repository.
- Every worktree lives in its own folder with its own checked-out files.
- Worktrees share a single repository history stored in the main
.gitdirectory. - Each worktree contains a small
.gitfile (not a directory) that points back to the shared git data (for example, agitdir:reference into.git/worktrees/...).
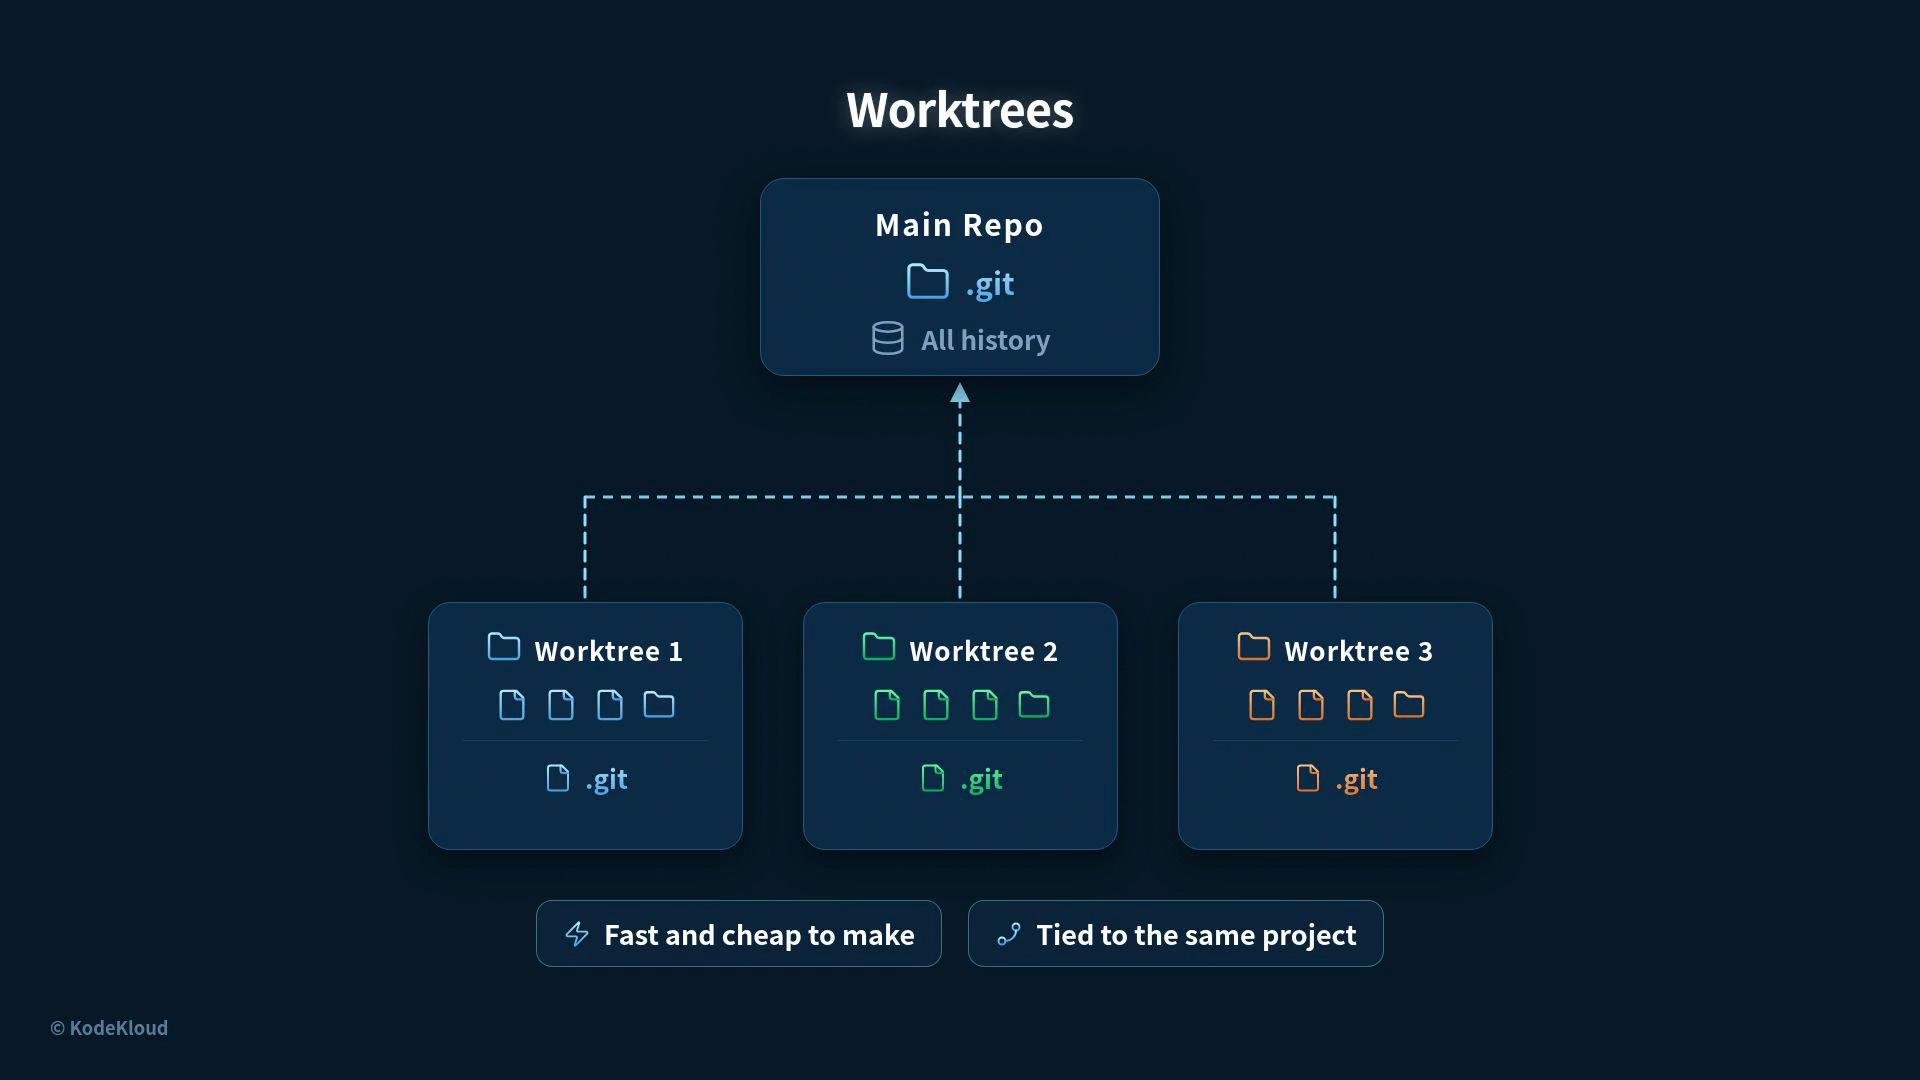
- The original repository (the main folder) stays put and untouched while the worktree is the place for messy or experimental work.
- Changes made inside a worktree do not affect the original until you commit, merge, and push from that worktree.
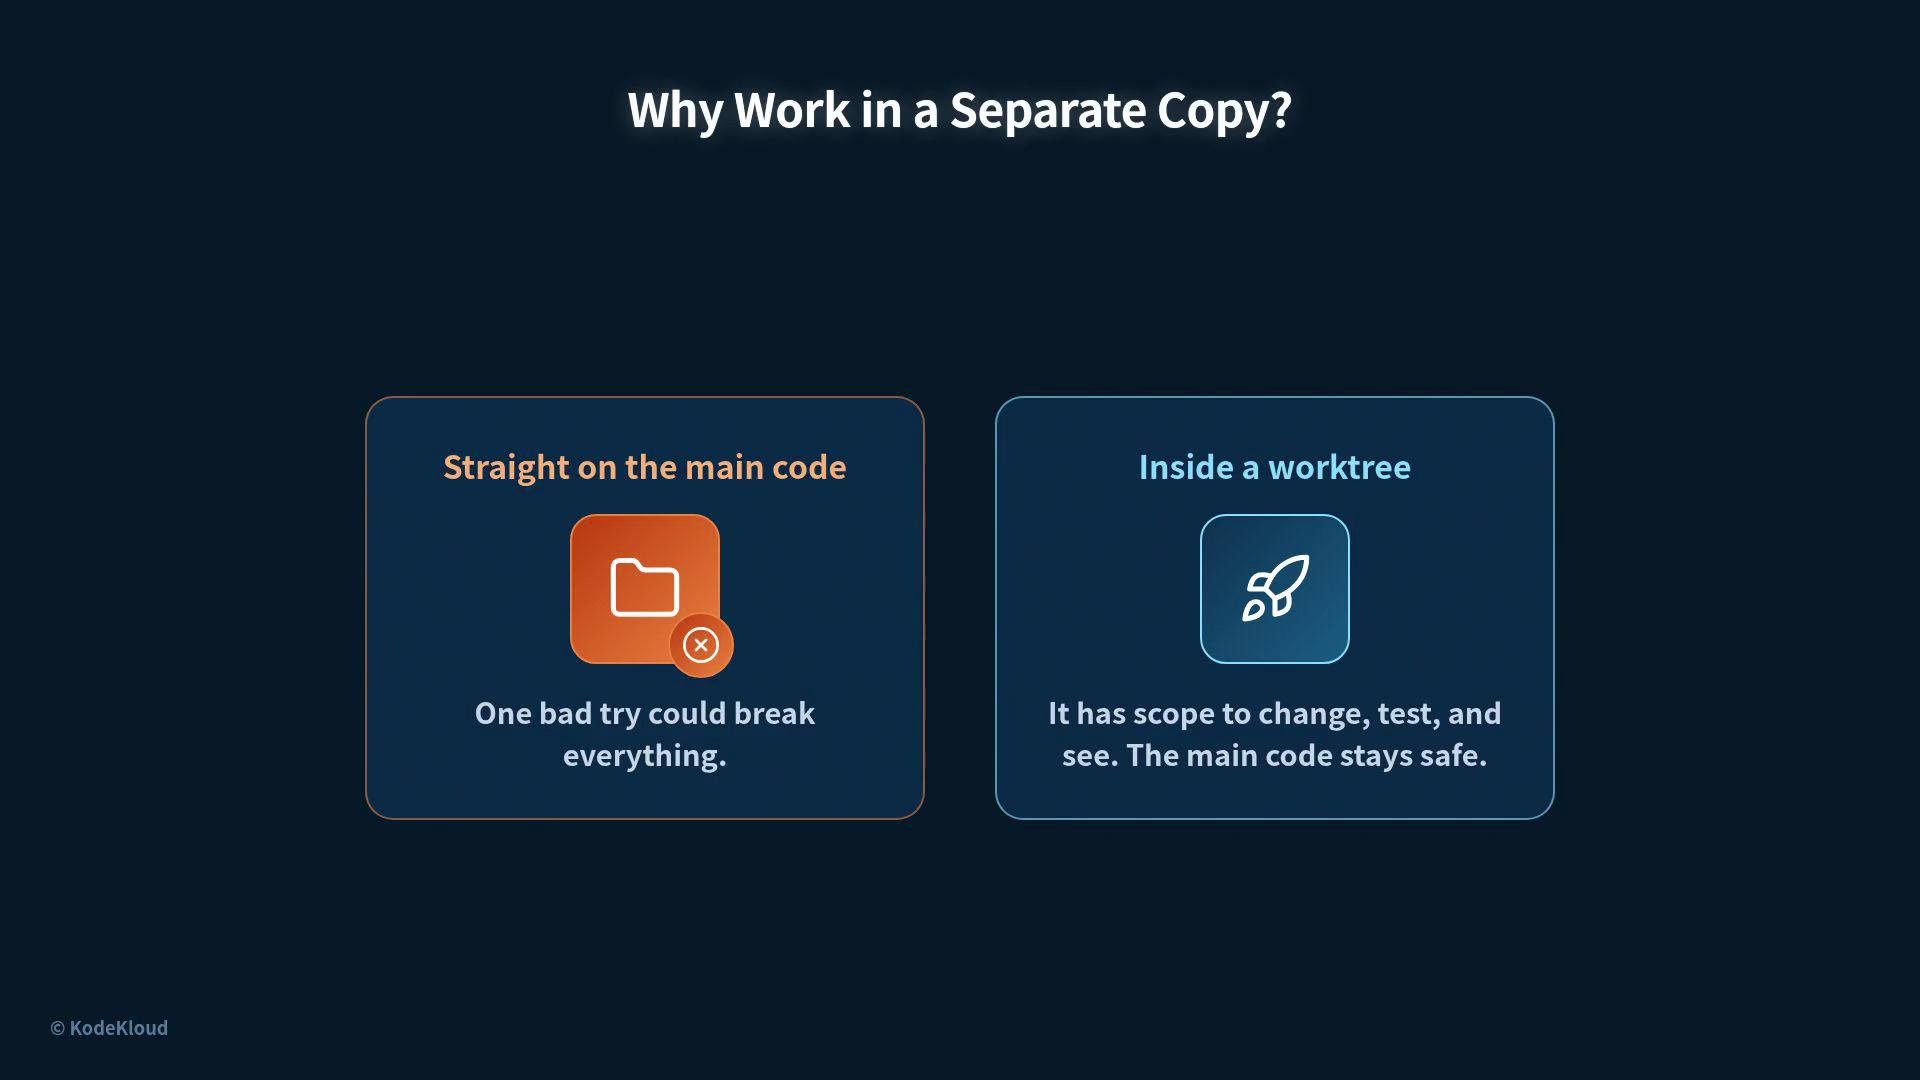
- Some experiments succeed and some fail. Running experiments directly in the main code risks breaking the primary branch.
- A worktree gives you an isolated place to make large changes, run tests, and iterate, without endangering the main codebase.
git worktree commands for creating, listing, removing, and cleaning up worktrees.
Example workflows
Create a new worktree and branch:
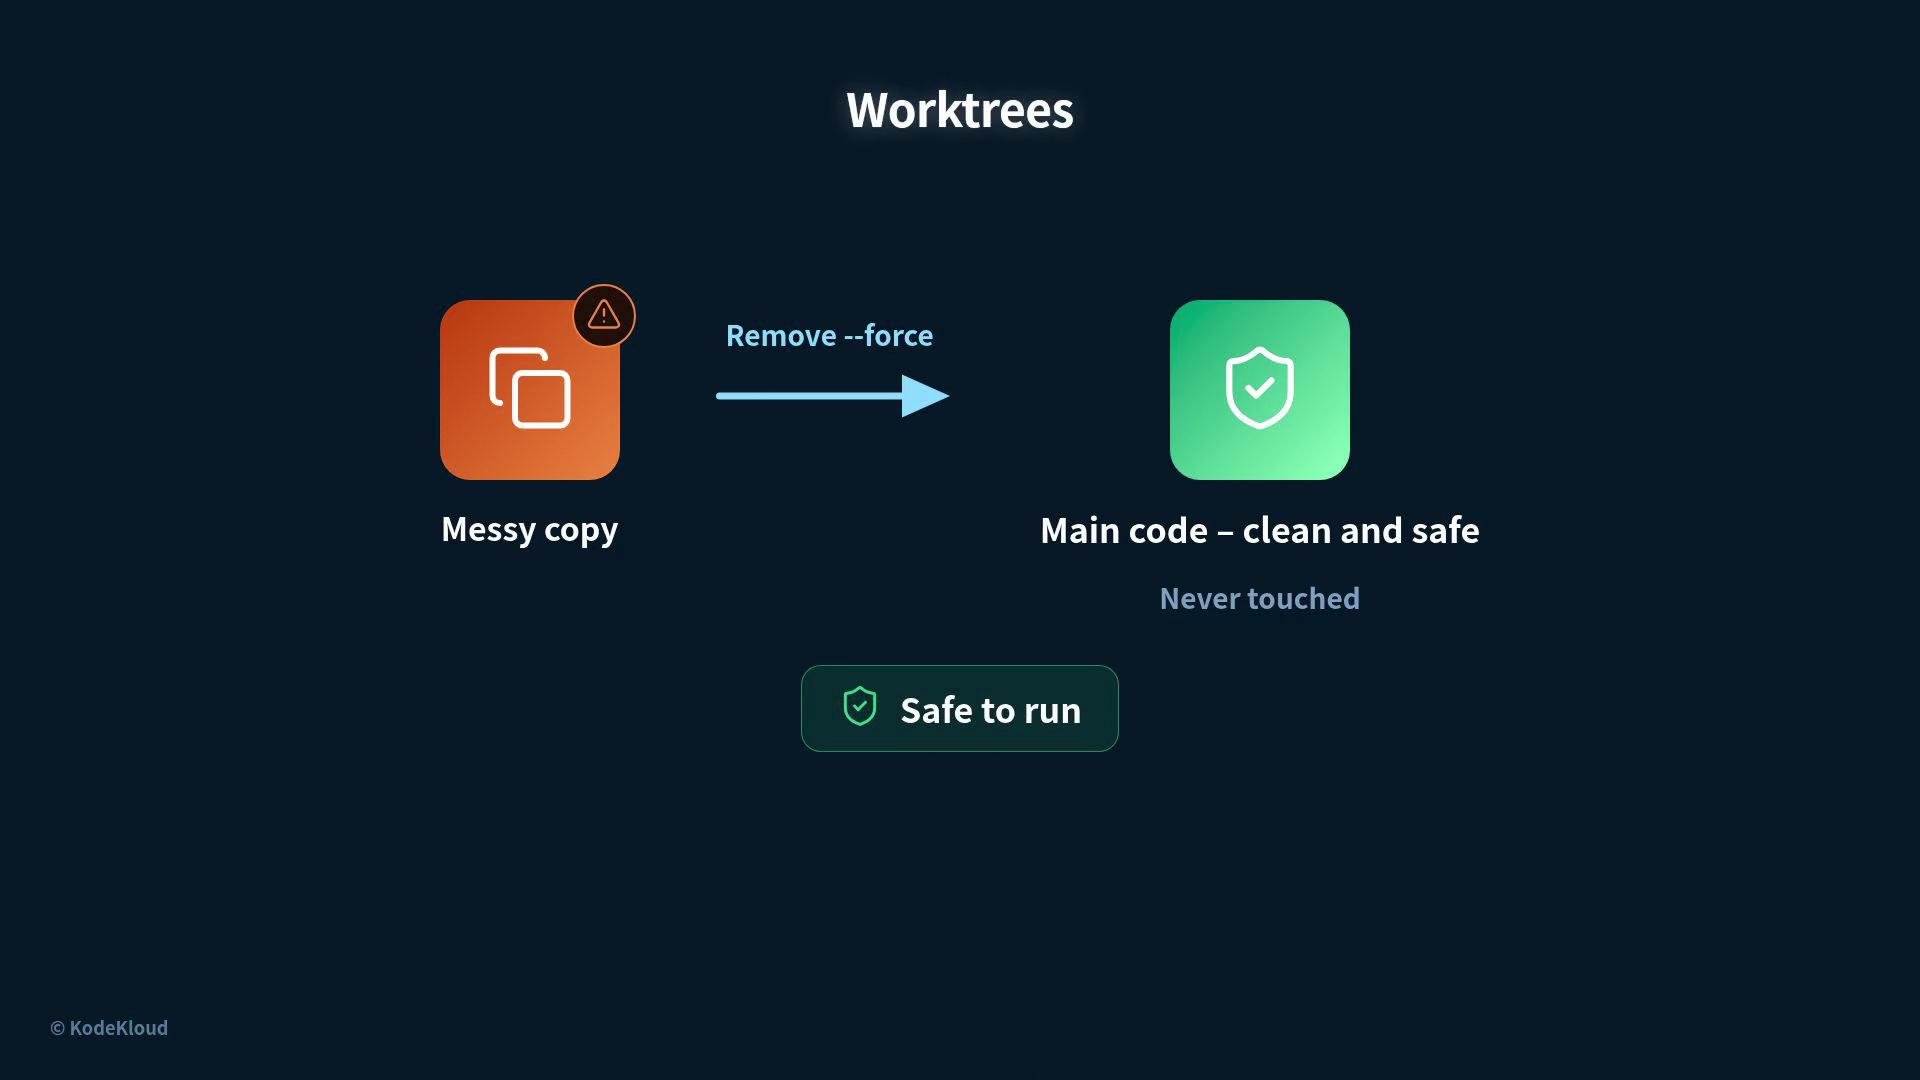
--force:
Worktrees share the same repository history (the main
.git) while keeping separate working trees. The small .git file inside each worktree points Git back to the shared data, which is why creating a worktree is inexpensive.- If a try fails, the usual cost is simply removing the worktree. The main repository remains clean.
- Worktrees make automated experiments and hands-off loops safe: failed tries are disposable, and multiple experiments can run concurrently without interfering with each other.
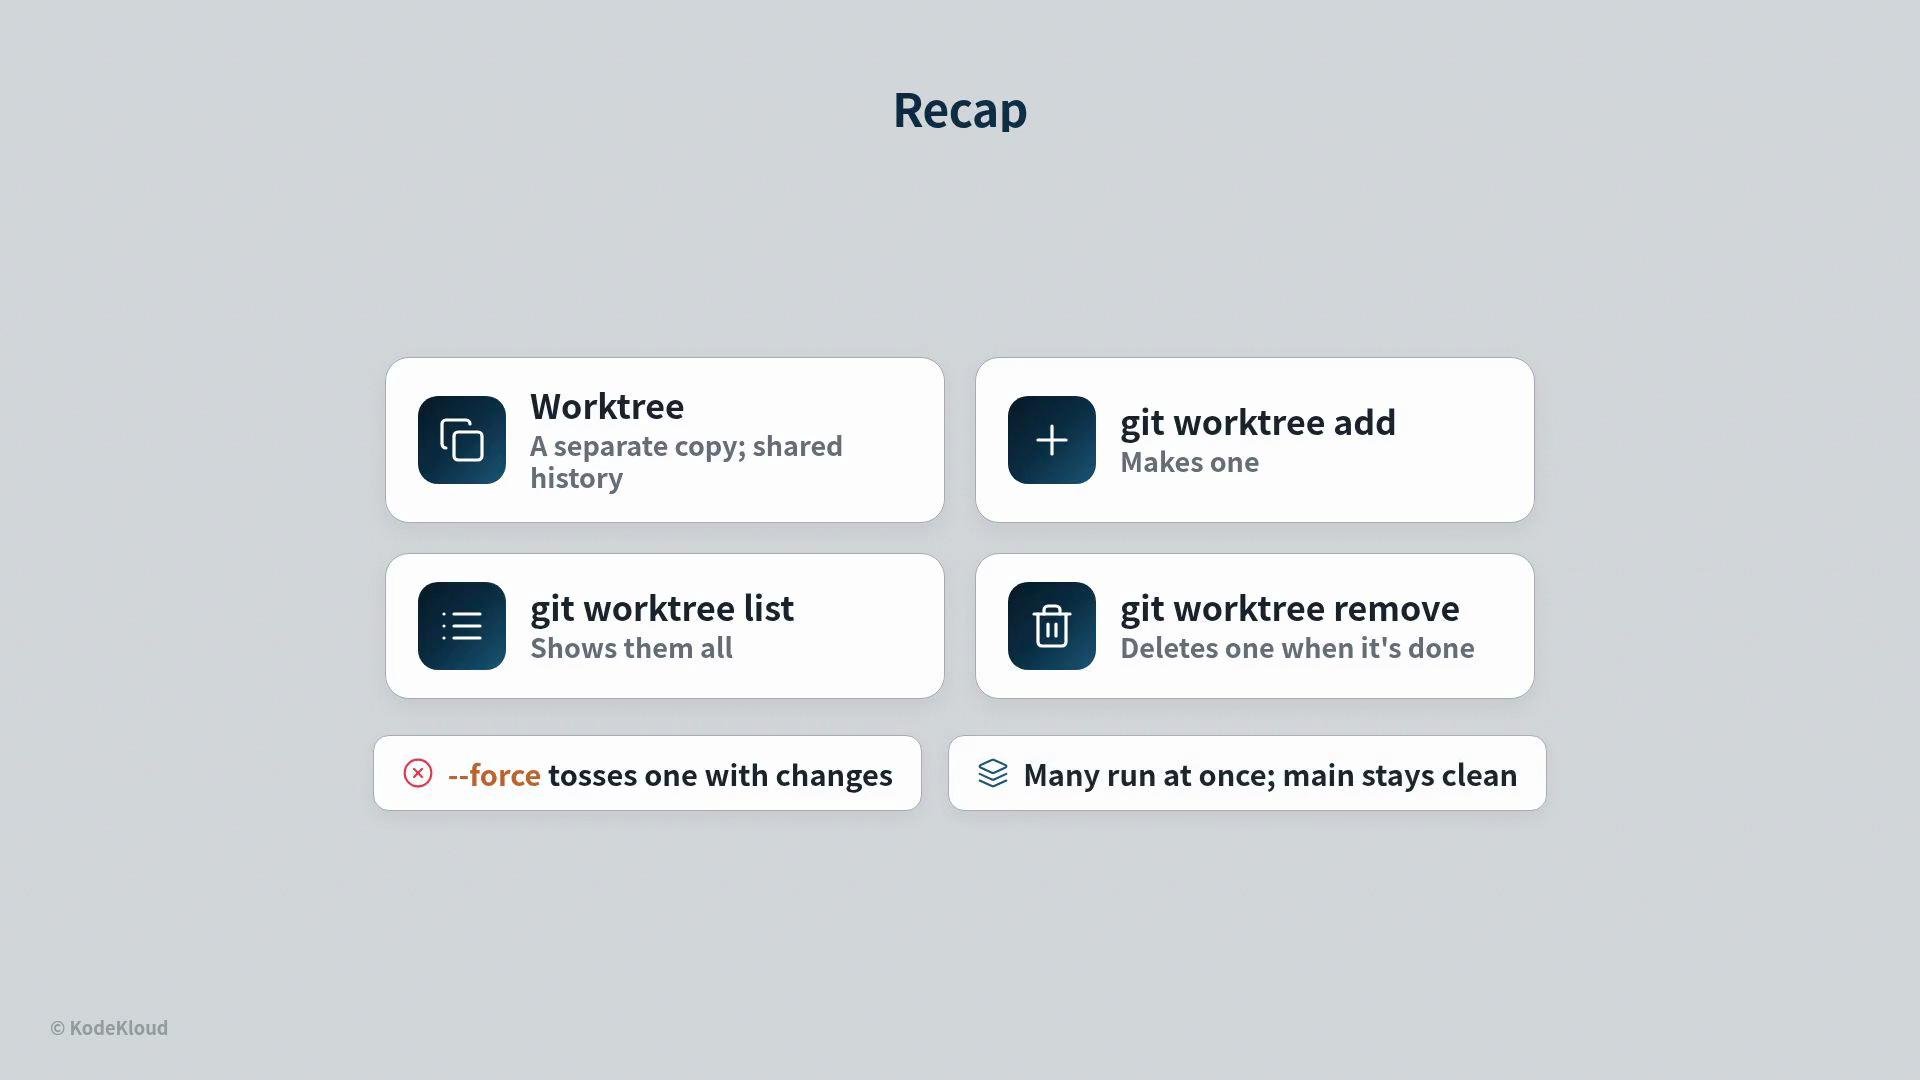
- A worktree is a separate working copy that shares the repository history.
- Use
git worktree addto create one,git worktree listto display them, andgit worktree removeto delete when finished. - Add
--forceto discard a worktree with local changes, and rungit worktree pruneto clean up stale entries. - Multiple subagents or experiments can run in parallel without clashing; failed attempts are cheap to throw away.
- Git worktree documentation
- Git reference manual
- For detailed workflows and best practices, search for “git worktree workflows” or consult your CI system’s docs for integrating ephemeral worktrees into automated loops.