

Example NGINX proxy caching configuration
Below is a typical configuration that enables proxy caching. Read the following sections for detailed explanations of each directive.Key directives explained
proxy_cache_path
- Sets where cached files are stored and configures the shared memory zone for keys/metadata.
- Example details:
/var/lib/nginx/cache— directory to store cached files (ensure NGINX can read/write).levels=1:2— creates a two-level subdirectory layout (e.g.,/cache/a/b/...) to avoid many files in a single directory.keys_zone=app_cache:8m— shared memory zone namedapp_cachewith 8 MB for keys and metadata.max_size=50m— optional on-disk cap (useGto specify gigabytes).
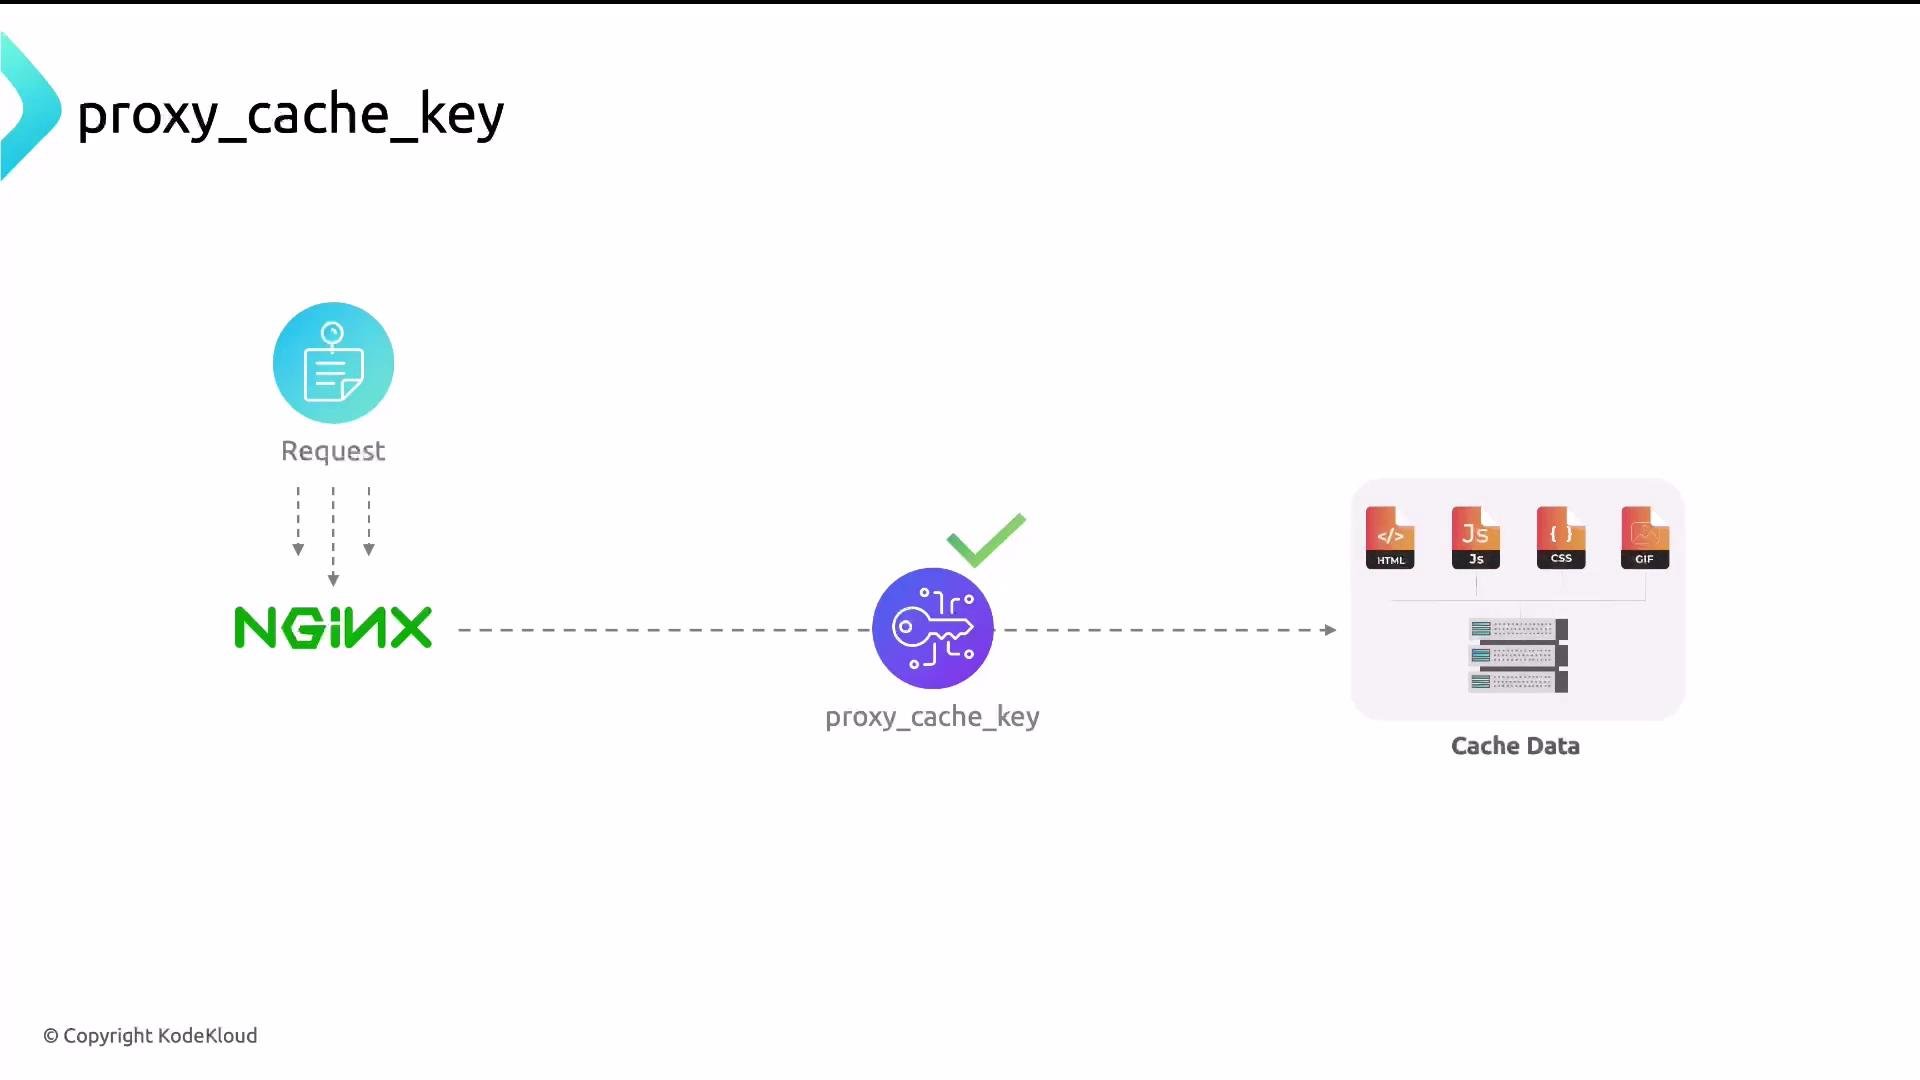
proxy_cache_key
- Determines the unique key used to look up cached responses. Customize as needed for your application.
- Common key:
- Components:
$scheme—httporhttps.$request_method—GET,POST, etc. (Normally cacheGET; be cautious withPOST.)$host— host header (e.g.,www.example.com).$request_uri— path + query string.
proxy_cache_valid
- Controls how long responses are kept in cache depending on HTTP status code.
- Example:
- In this configuration:
200and302responses are cached for 10 minutes;404responses for 1 minute.
Enabling caching in server/location blocks
- Reference the same
keys_zonedeclared inproxy_cache_path:
proxy_cache_bypass — use with caution
proxy_cache_bypass lets you skip cache for specific requests (for example, when the client sends Cache-Control: no-cache). Overusing this directive defeats caching because many requests will be forwarded to the backend. Prefer bypass rules only for dynamic endpoints or authenticated requests.Expose cache status for debugging
- The variable
$upstream_cache_statusindicatesHIT,MISS,BYPASS,EXPIRED, etc. - To make this visible in a browser’s network inspector:
Use
add_header to expose cache status in response headers to the client (useful for debugging). proxy_set_header is different — it sets headers on the request to the upstream backend.How to confirm caching is working
- Quick method: browser DevTools
- Open DevTools (Inspect).
- Go to the Network tab.
- Select a resource and inspect response headers for
X-Proxy-Cache,X-Cache, orCache-Status.
- You can also inspect NGINX or backend logs for cache-related messages.
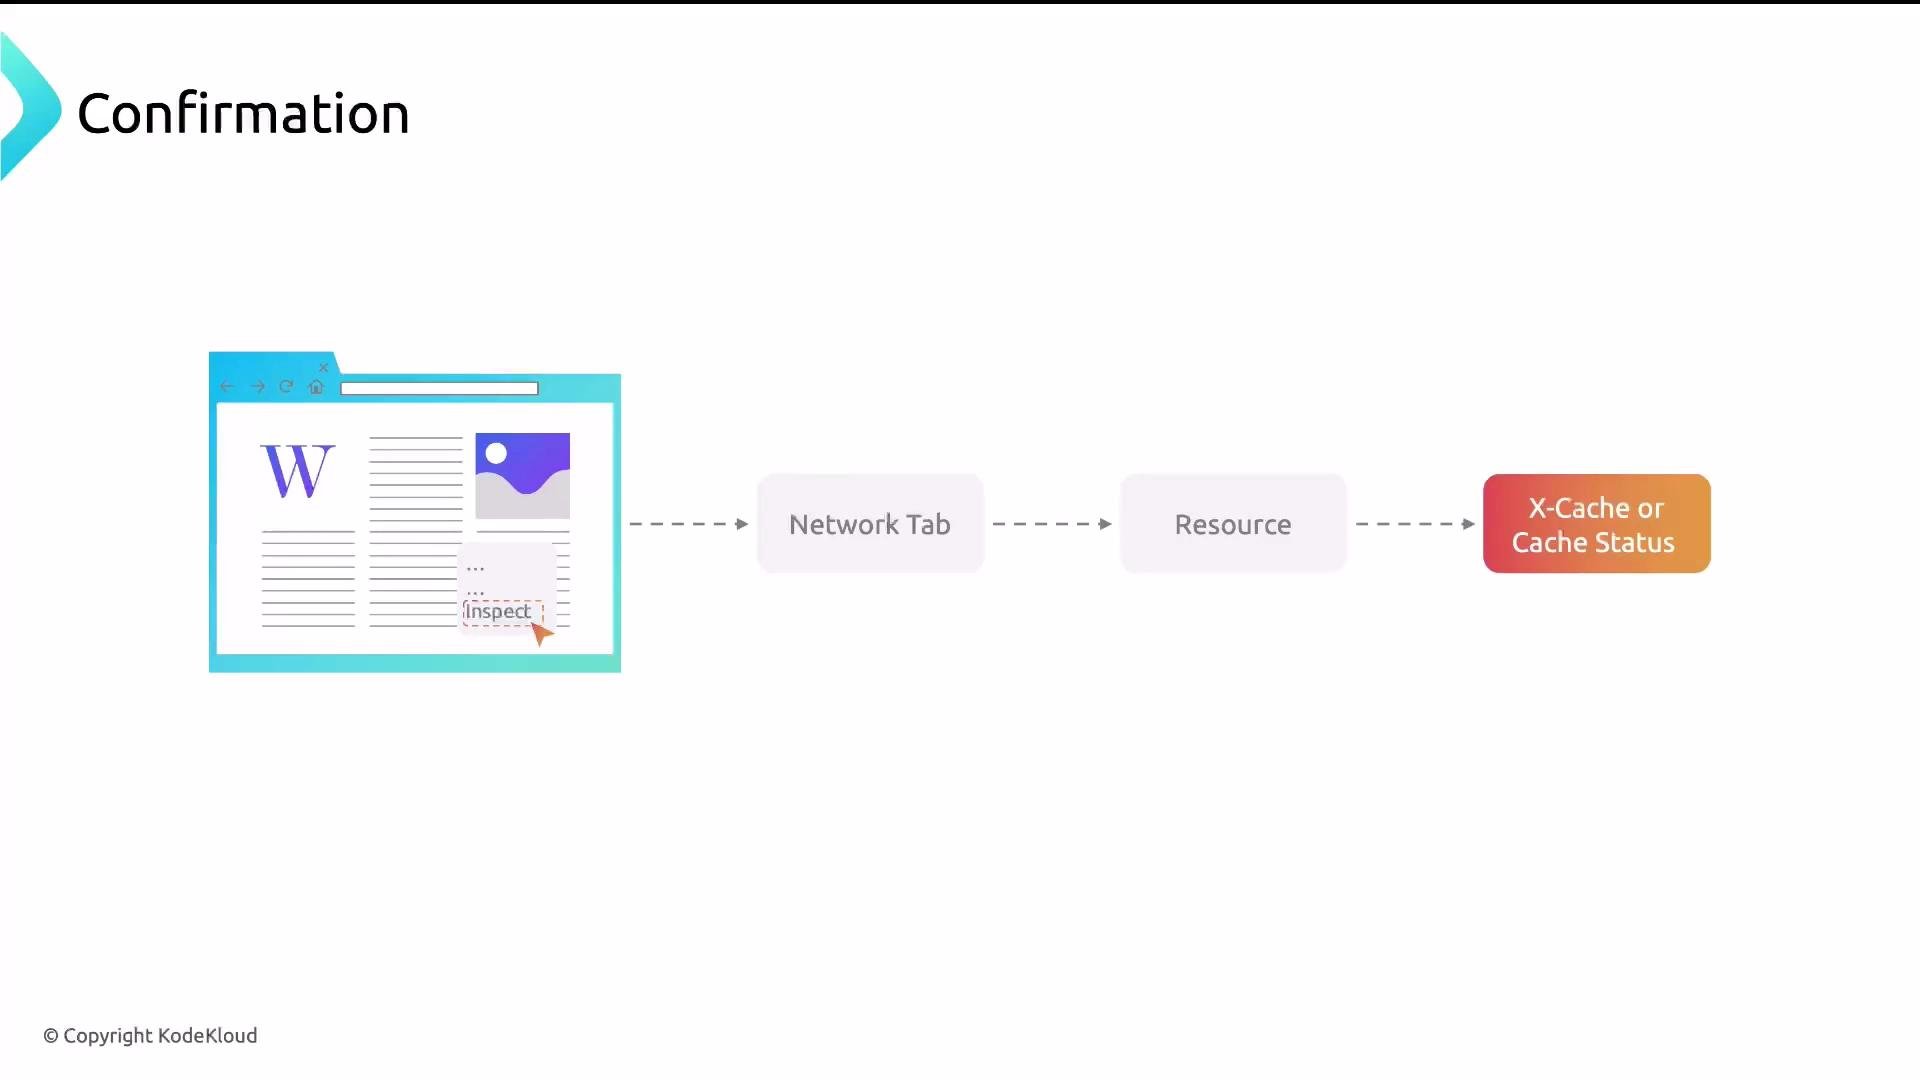
X-CacheorX-Proxy-CacheshowingHITindicates a cached response.Ageshows how long the response has been in cache.
Clearing the cache
- Remove files under the cache directory (for example, delete contents inside
/var/lib/nginx/cache) or rename the cache directory. - If you remove files while NGINX is running, in-memory metadata may still reference deleted entries — reload or restart NGINX after clearing to reset the cache state.
- NGINX will recreate the cache files when it starts writing new entries.
Next steps
- Start by caching static assets (images, CSS, JS) — these are safe and high-impact.
- Add cache for specific dynamic endpoints after validating correctness.
- Use
X-Proxy-Cache(or a similar header) to verify cache behavior in your environment.