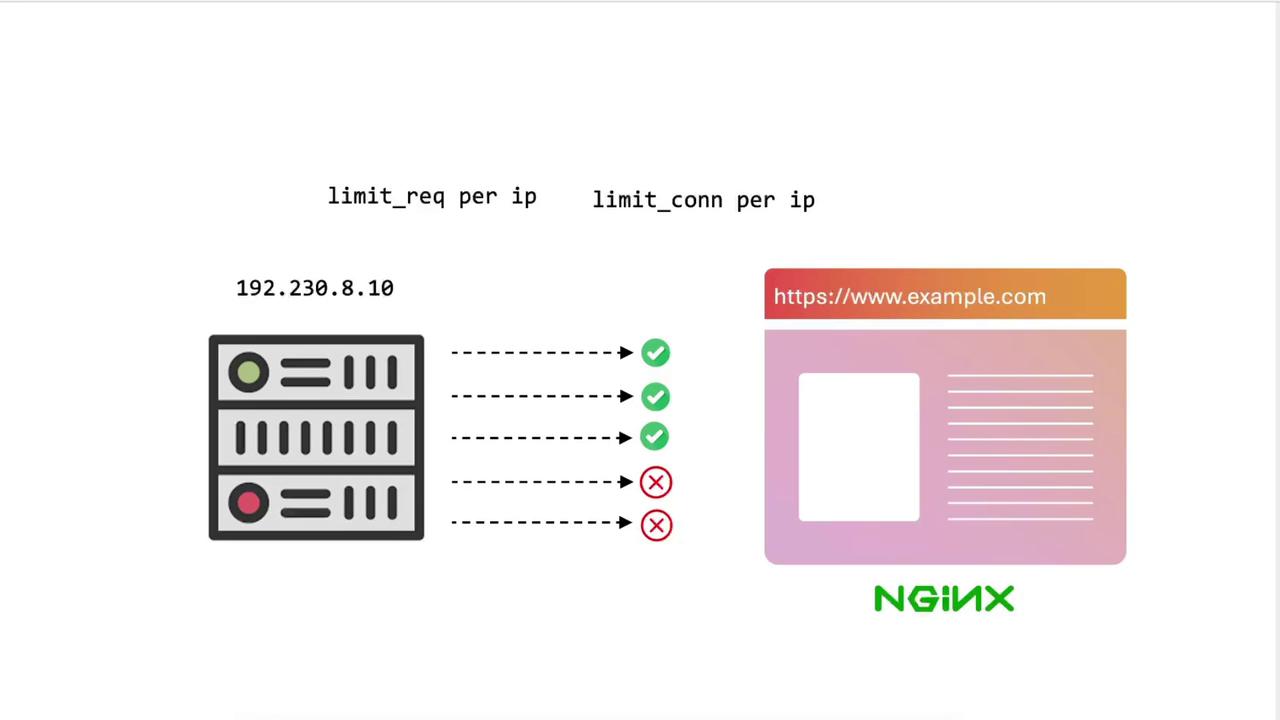
In this tutorial, you’ll learn how to benchmark a plain NGINX server, then apply and tune both request rate limiting and connection rate limiting . By the end, you’ll understand how to protect your site from abusive traffic and optimize performance.
Ensure you have sudo privileges on both client and server nodes. Install ab (Apache Benchmark) and curl if they’re not already available.
1. Benchmarking Without Rate Limiting On your client machine (e.g., node01), map the domain to your NGINX server’s IP:
sudo tee -a /etc/hosts << EOF 192.231.179.3 example.com EOF
1.2 Quick curl Test Verify basic connectivity and headers:
# Basic HTTPS request (ignore certificate errors) curl -k https://example.com/ # Fetch only headers for a specific page curl -Ik https://example.com/generic.html
1.3 Looping Requests Send multiple sequential requests:
for i in { 1..20} ; do curl -Ik https://example.com/generic.html done
You should receive HTTP/2 200 on each iteration.
1.4 Apache Benchmark (ab) Check that ab is installed:
Run a simple benchmark:
# 100 sequential requests ab -n 100 https://example.com/
Sample output:
Complete requests: 100 Failed requests: 0 Requests per second: 449.37 [#/sec] (mean) Time per request: 2.225 [ms] (mean)
Bump up to 1000 requests:
ab -n 1000 https://example.com/
All 1000 requests should succeed, confirming no limits are in place.
2. Enabling Request Rate Limiting We’ll start by limiting each client IP to 10 requests per minute .
2.1 Global Rate Limit Settings (nginx.conf) Edit /etc/nginx/nginx.conf and add inside the http block:
http { sendfile on ; tcp_nopush on ; types_hash_max_size 2048 ; include /etc/nginx/mime.types; default_type application/octet-stream; ## Rate Limiting limit_req_zone $ binary_remote_addr zone=limit_per_ip:10m rate=10r/m; limit_req_status 429 ; # ... SSL and other settings ... }
Reload to apply:
sudo nginx -t sudo nginx -s reload
2.2 Apply Rate Limit in Site Config In sites-available/example-https, update the location / block:
server { listen 443 ssl; server_name example.com; ssl_certificate /etc/ssl/certs/example.com.pem; ssl_certificate_key /etc/ssl/certs/example.com-key.pem; root /var/www/html; location / { limit_req zone=limit_per_ip; try_files $ uri $ uri =404 ; } }
Reload NGINX:
2.3 Test with Apache Bench ab -n 1000 https://example.com/
You’ll see most requests fail with 429 Too Many Requests:
Complete requests: 1000 Failed requests: 999 Non-2xx responses: 999 Requests per second: 461.68 [#/sec]
3. Tuning the Request Rate 3.1 Increase to 100 requests per minute Edit the zone rate:
limit_req_zone $ binary_remote_addr zone=limit_per_ip:10m rate=100r/m;
Reload and run:
sudo nginx -s reload ab -n 100 https://example.com/
Expect around 1 failure in a burst of 100.
3.2 Switch to 100 requests per second limit_req_zone $ binary_remote_addr zone=limit_per_ip:10m rate=100r/s;
Reload and retest:
sudo nginx -s reload ab -n 100 https://example.com/
Failures should drop further as the rate increases.
4. Enabling Connection Rate Limiting Now we’ll restrict concurrent connections per IP.
4.1 Global Connection Limit Settings In /etc/nginx/nginx.conf:
http { sendfile on ; tcp_nopush on ; types_hash_max_size 2048 ; include /etc/nginx/mime.types; default_type application/octet-stream; ## Rate & Connection Limiting limit_req_zone $ binary_remote_addr zone=limit_per_ip:10m rate=1000r/s; limit_conn_zone $ binary_remote_addr zone=conn_per_ip:10m; limit_req_status 429 ; # ... SSL Settings ... }
Reload:
sudo nginx -t sudo nginx -s reload
4.2 Apply in Site Configuration location / { # Connection rate limit: max 1 concurrent connection per IP limit_conn conn_per_ip 1 ; try_files $ uri $ uri =404 ; }
Reload NGINX:
4.3 Test Concurrent Connections
Running high-concurrency benchmarks against production servers can impact real users. Use a staging environment where possible.
# Sequential test ab -n 100 https://example.com/ # 1000 requests with 10 concurrent connections ab -n 1000 -c 10 https://example.com/
Some requests will be dropped due to the 1-connection limit. To allow more:
limit_conn conn_per_ip 100 ;
Reload and rerun the benchmark to see zero failures.
5. Inspecting the Logs Tail the error log to view rate-limiting events:
tail -n 20 /var/log/nginx/error.log
Typical entries:
[error] limiting requests, excess: 1.000 by zone "limit_per_ip", client: 192.231.179.3 [error] limiting connections by zone "conn_per_ip", client: 192.231.179.3
6. Final Configuration Example http { sendfile on ; tcp_nopush on ; types_hash_max_size 2048 ; include /etc/nginx/mime.types; default_type application/octet-stream; # Request & Connection Limiting limit_req_zone $ binary_remote_addr zone=limit_per_ip:10m rate=1000r/s; limit_conn_zone $ binary_remote_addr zone=conn_per_ip:10m; limit_req_status 429 ; # SSL Settings ssl_protocols TLSv1.2 TLSv1.3; }
Comparison of Limiting Types Limiting Type Directives Example Configuration Request Rate limit_req_zone / limit_reqrate=100r/sConnection Rate limit_conn_zone / limit_connconn_per_ip 100
Adjust rate= and limit_conn values based on expected traffic patterns. Continuous monitoring and benchmarking will help you strike the right balance.
Links and References