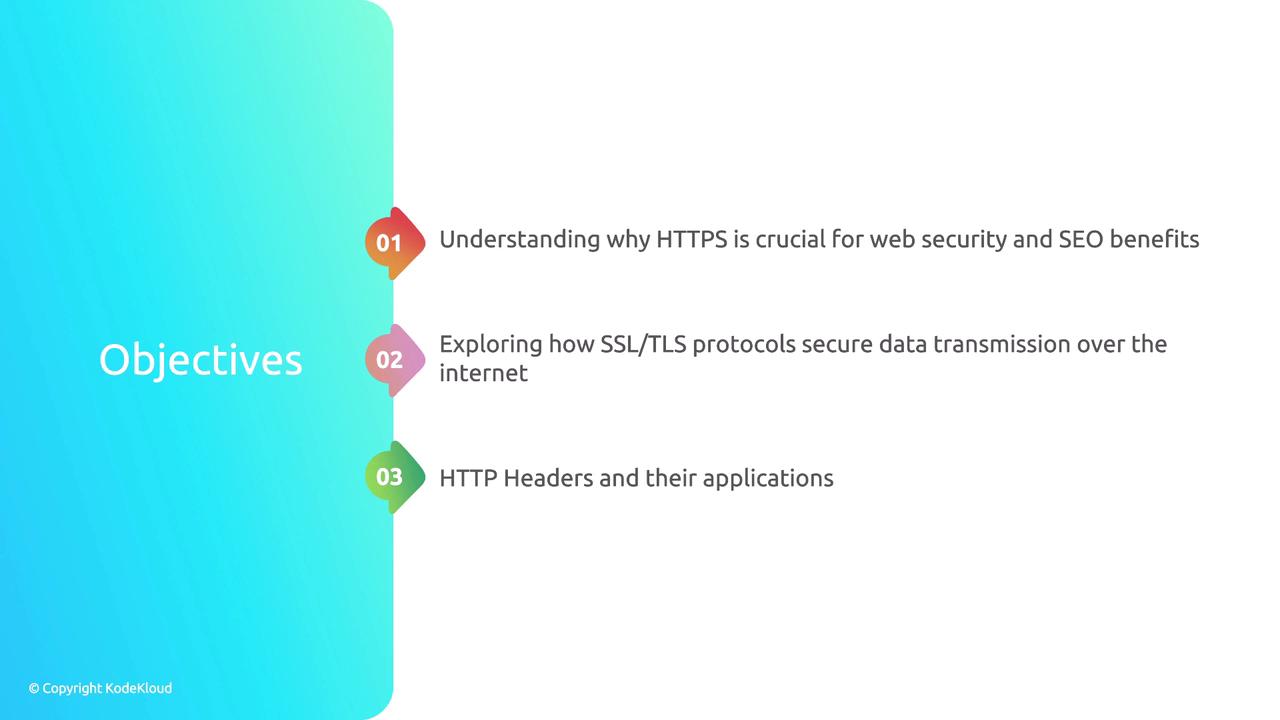
- Enable HTTPS using TLS certificates
- Understand TLS protocols and data encryption
- Implement secure HTTP response headers
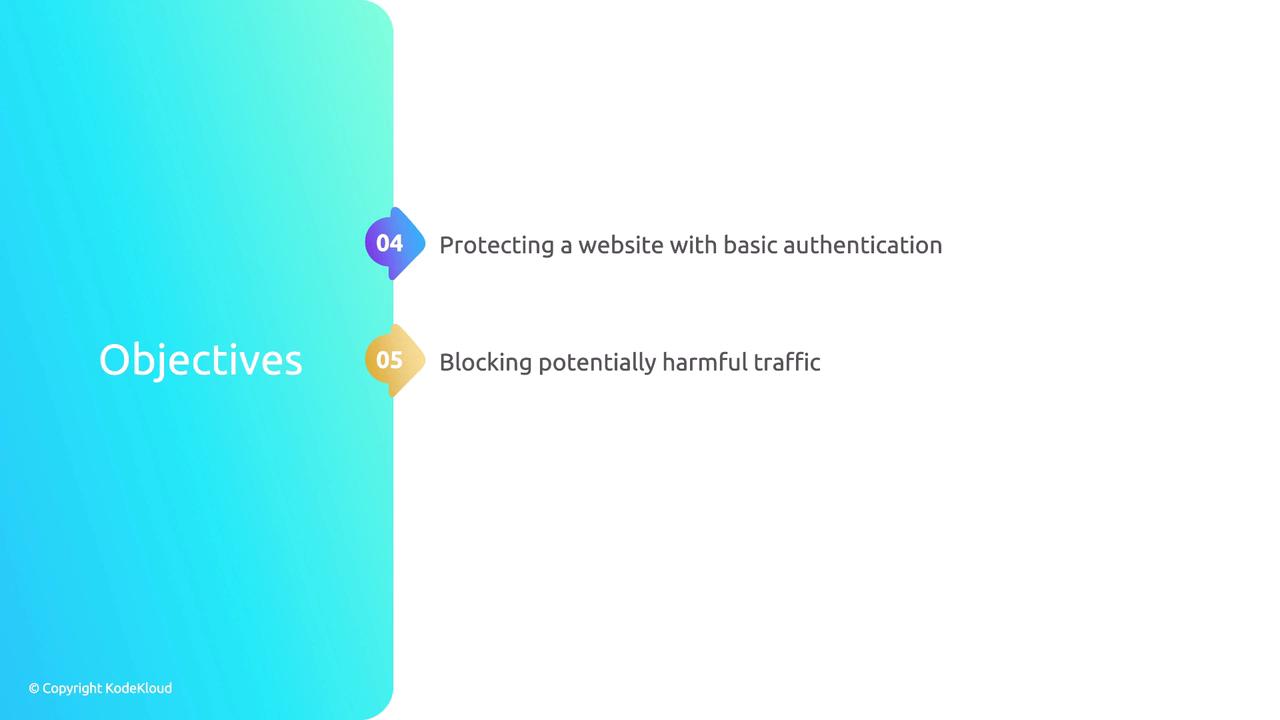
- Protect resources with Nginx Basic Authentication
- Control access and integrate fail2ban for automated bans
1. Enabling HTTPS with Self-Signed Certificates
To get HTTPS running locally, we’ll use mkcert for generating a trusted, self-signed certificate without needing a public domain.mkcert is perfect for development and testing environments because it automatically adds the generated CA to your local trust store. For production, switch to automated certificates from Let’s Encrypt using Certbot.
2. How TLS Protects Data in Transit
TLS ensures data integrity and confidentiality with:| Feature | Description |
|---|---|
| Encryption | Encrypts payload to prevent eavesdropping |
| Authentication | Verifies server identity via certificates |
| Integrity Checking | Detects tampering with message authentication |
3. Secure HTTP Response Headers
Adding HTTP headers can mitigate common web attacks. Configure these in your Nginxserver block:
| Header | Purpose | Example Value |
|---|---|---|
| Content-Security-Policy | Prevents XSS and data injection | default-src 'self'; |
| X-Frame-Options | Stops clickjacking | DENY |
| X-Content-Type-Options | Disallows MIME-type sniffing | nosniff |
| Referrer-Policy | Controls referral information | no-referrer-when-downgrade |
4. Protecting Endpoints with Basic Authentication
Nginx’sauth_basic module offers a simple user/password prompt for selected locations.
Basic authentication uses a flat file for credentials and should only be used for low-risk or internal applications. Consider OAuth or LDAP for stronger authentication mechanisms.
5. Allowing, Denying, and Automating Bans with fail2ban
Control access withallow and deny directives, then integrate fail2ban to automatically block repeated offenders:
Let’s get started with HTTPS configuration in the next section.