Nginx For Beginners
Security
Summary
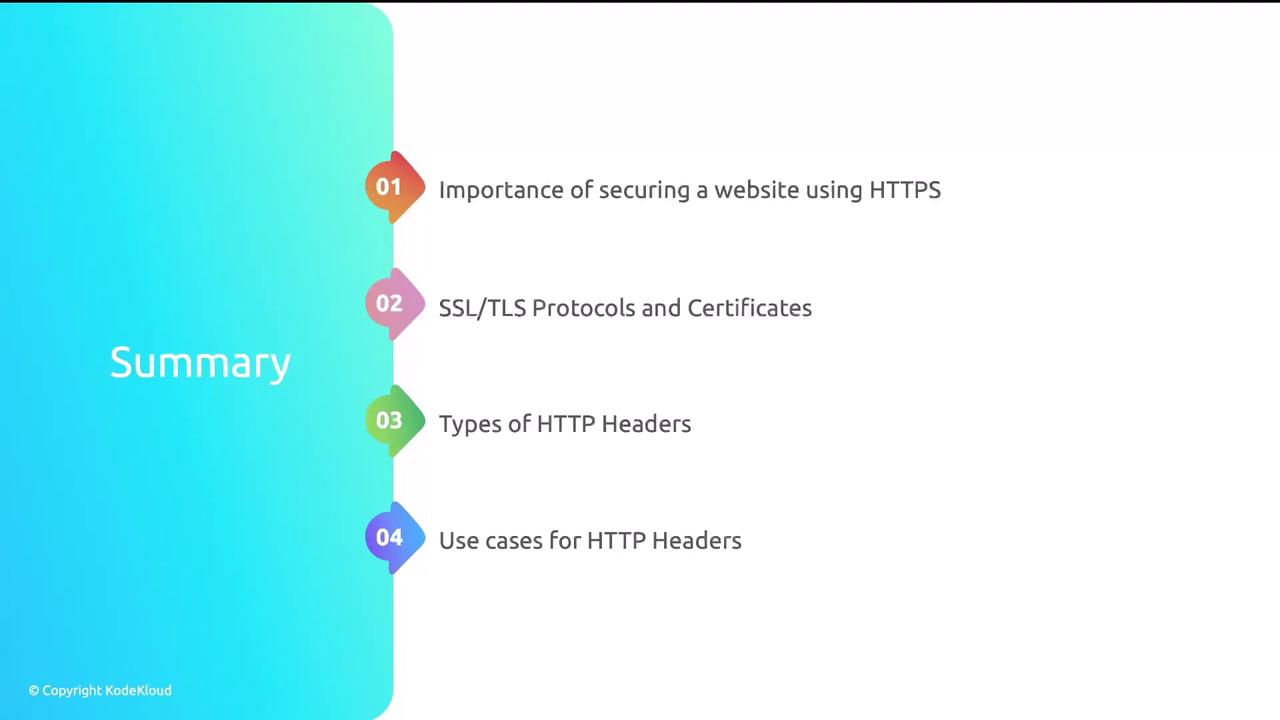
In this module, we explored critical web security topics for Nginx:
- HTTPS & HTTP-to-HTTPS redirection
- SSL/TLS protocols and certificate management
- HTTP header types and use cases
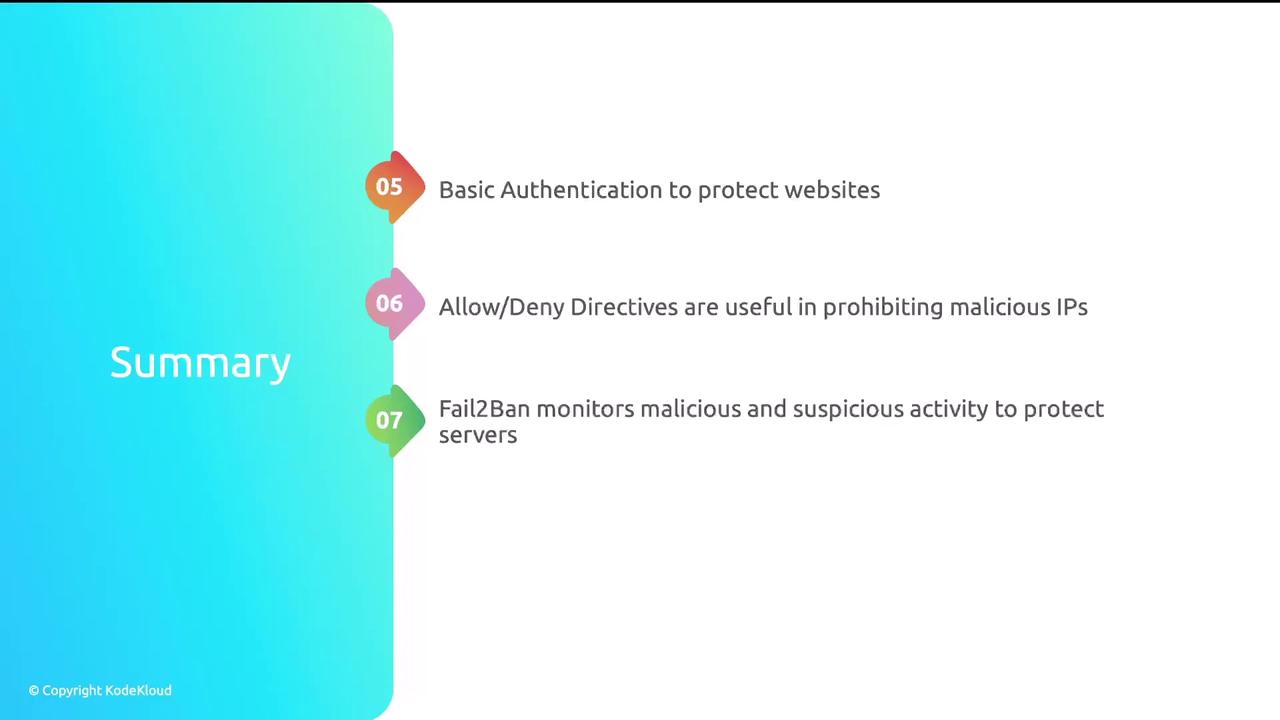
- Access control (Basic Auth, allow/deny) and automated banning with Fail2Ban
HTTPS & HTTP-to-HTTPS Redirection Best Practices
Secure communication is non-negotiable: modern browsers flag HTTP sites as “Not Secure” and may restrict features like geolocation or service workers. Redirecting all HTTP traffic to HTTPS ensures data integrity and privacy.
server {
    listen 80;
    server_name example.com www.example.com;
    return 301 https://$host$request_uri;
}
Note
Use HTTP status code 301 for permanent redirects. For temporary testing, you can use 302.
SSL/TLS Protocols and Certificate Management
TLS (Transport Layer Security) supersedes SSL, offering stronger cipher suites and better performance. In development environments, mkcert helps you generate locally trusted certificates:
mkcert -install
mkcert example.com localhost 127.0.0.1 ::1
For production, free certificates from Let’s Encrypt are highly recommended:
sudo certbot --nginx -d example.com -d www.example.com
Commercial CAs (e.g., DigiCert, Comodo) offer extended validation for enterprise needs.
HTTP Header Configuration for Reverse Proxies
Headers control caching, pass client context, and enforce security policies. Configure them in the Nginx http or server block:
| Header Type | Purpose | Example |
|---|---|---|
| Forwarding | Pass client IP or host to backend | proxy_set_header X-Real-IP $remote_addr; |
| Cache Control | Define browser or proxy caching behavior | add_header Cache-Control "public, max-age=3600"; |
| Security | Mitigate XSS, clickjacking, MIME sniffing | add_header X-Frame-Options DENY; |
Always forward critical headers:
proxy_set_header Host              $host;
proxy_set_header X-Forwarded-For   $proxy_add_x_forwarded_for;
proxy_set_header X-Forwarded-Proto $scheme;

Authentication & IP-Based Access Control
Basic authentication provides a simple username/password prompt, but it’s not ideal for public sites or high-security requirements. For internal tools, you can combine it with IP whitelisting:
location /admin {
    auth_basic           "Admin Area";
    auth_basic_user_file /etc/nginx/.htpasswd;
    allow 192.168.1.0/24;
    deny  all;
}
Warning
Basic Auth transmits credentials in Base64. Always use it over HTTPS and consider stronger solutions (OAuth2, OIDC) for production.
Automated Banning with Fail2Ban
Fail2Ban monitors your Nginx logs and dynamically bans IPs that exhibit malicious behavior, reducing manual maintenance of allow/deny lists.
- Install Fail2Ban:
sudo apt update sudo apt install fail2ban - Create a jail for Nginx in
/etc/fail2ban/jail.local:[nginx-http-auth] enabled = true filter = nginx-http-auth logpath = /var/log/nginx/error.log maxretry = 5 bantime = 3600 - Restart the service:
sudo systemctl restart fail2ban

Next Steps
Continue to the next module to dive deeper into load balancing, caching strategies, and performance tuning.
Links and References
Watch Video
Watch video content