

- Initializing a Git repository
- Staging and committing files
- Inspecting commit history
Table of Contents
- Initialize a Git Repository
- Stage and Commit
greetings.txt - Add and Commit
bye.txt - Quick Reference: Common Git Commands
- Links and References
1. Initialize a Git Repository
Start by creating a new directory and turning it into a Git repository:2. Stage and Commit greetings.txt
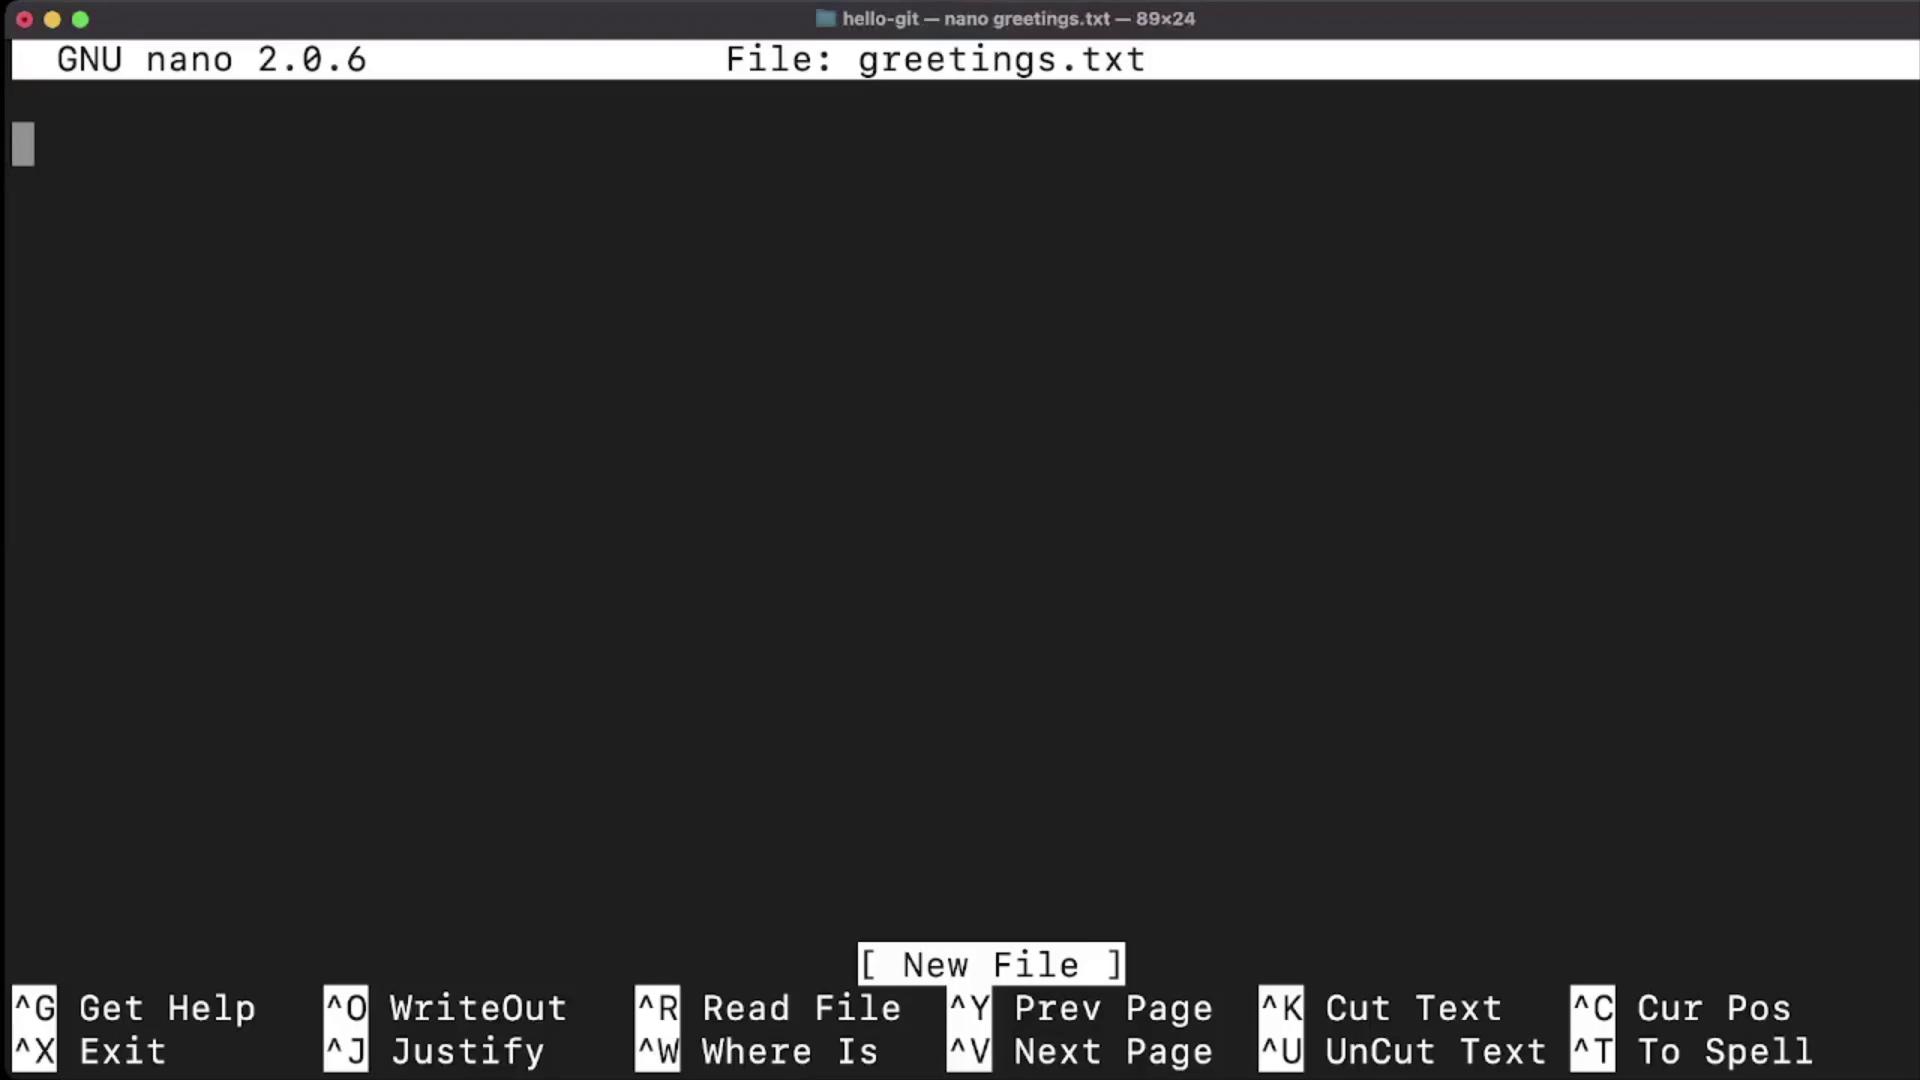
First, create a file named greetings.txt:
A clear, descriptive commit message helps you and your team understand the purpose of each change.
3. Add and Commit bye.txt
Repeat the workflow to add a second file:
-
Create
bye.txt: -
Confirm it’s untracked:
-
Stage all changes at once:
-
Commit with a message:
-
Review the full commit history:
Always run
git status before committing to avoid accidentally omitting or including unwanted files.