PyTorch
Model Deployment and Inference
Introduction to Flask
In this guide, we explore how to deploy PyTorch models using Flask—a lightweight Python web framework that seamlessly transforms research code into accessible, production-ready services. You’ll learn what Flask is, why it’s an excellent choice for deployment, and how to set up a basic Flask application that loads a trained PyTorch model and creates an inference API endpoint.
Let's dive in.
Flask is a simple, lightweight, and flexible web framework that makes building Python web applications fast and modular. Its minimalistic approach means you only add the functionality you require, which keeps projects well-organized and scalable—ideal for both beginners and more complex applications.
Flask comes equipped with a built-in development server and debugger, along with robust support for creating RESTful APIs. These features make it perfectly suited for deploying machine learning models where quick testing and clear error reporting are critical.

With its clarity, comprehensive documentation, and seamless integration with PyTorch, Flask is a top choice for deploying machine learning services. Although it is not designed for high-performance computing out-of-the-box, its stability and ease of use make it a robust choice for a wide range of applications.

Installing Flask
To start using Flask, install it via pip. Open your terminal and run the following command:
# Install Flask via pip
pip install Flask
Note
Remember to manage your Python environments effectively using tools like virtualenv or conda to keep dependencies organized.
After installation, verify the proper setup of Flask by checking its version:
# Check the version of Flask
python -m flask --version

# Expected Output
# Python 3.12.4
# Flask 3.1.0
# Werkzeug 3.1.3
Setting Up a Flask Application
Establishing a well-organized project structure is key for maintainability. Create a primary folder for your application that contains an app.py file for your main logic, along with dedicated folders for models, static assets (CSS, images, JavaScript, etc.), templates, and tests.
Example project structure:
flask_app/
    app.py
    model/
        pytorch_model.pth
    static/
        style.css
    templates/
        index.html
        layout.html
    tests/
        test_app.py
        test_model.py
Within app.py, import Flask, set up an instance, and define routes with decorators. For example:
# Simple Flask App
from flask import Flask

app = Flask(__name__)

@app.route('/')
def home():
    return "Welcome to Flask!"

if __name__ == '__main__':
    app.run(debug=True)
When you navigate to the root URL, the application responds with "Welcome to Flask!" This simple setup establishes a foundation for further expansion.
Integrating a PyTorch Model
To integrate a PyTorch model, load it into memory when the Flask app starts—this prevents redundant loading during inference. Use torch.load to import your model and set it to evaluation mode:
# Load a PyTorch model in Flask
import torch
from flask import Flask, request, jsonify

app = Flask(__name__)

# Load model
model = torch.load('model/pytorch_model.pth')
model.eval()
Loading the model at startup ensures that it is ready to handle incoming requests efficiently.
Creating an Inference Endpoint
Next, define an endpoint (e.g., /predict) that processes POST requests. This endpoint will accept JSON data, convert it to a PyTorch tensor, perform inference, and return the prediction as JSON. Consider the following example:
# Define an inference endpoint
@app.route('/predict', methods=['POST'])
def predict():
    data = request.json
    input_tensor = torch.tensor(data['input'])
    output = model(input_tensor)
    return jsonify({'output': output.tolist()})
Example JSON request and response:
{
    "input": [1.0, 2.0, 3.0]
}
{
    "output": [0.85, 0.10, 0.05]
}
This endpoint processes the input, generates inferences, and returns the results in a structured JSON format.
Running the Flask Server
After setting up your application, run the Flask development server locally by executing your Python file. For example, with app.py as your main file:
# Run Flask application
python app.py

# Output
* Serving Flask app "app"
* Debug mode: on
WARNING: This is a development server. Do not use it in a production deployment. Use a production WSGI server instead.
* Running on http://127.0.0.1:5000
Press CTRL+C to quit
Warning
The built-in server is intended for development only. For production environments, consider using a production-ready WSGI server.
Deploying with Gunicorn
For production deployments, use a WSGI server like Gunicorn. First, install Gunicorn:
# Install Gunicorn
pip install gunicorn
Then, run your Flask application using Gunicorn:
# Run Flask app with Gunicorn
gunicorn -w 4 -b 0.0.0.0:8080 app:app

# Output example:
# [2024-12-06 14:03:30 -0500] [96381] [INFO] Starting gunicorn 23.0.0
This command starts Gunicorn with four worker processes, binding to all network interfaces on port 8080. Here, app:app tells Gunicorn to locate the Flask instance named app within the app.py file.
Best Practices for Flask Deployment
Adhering to best practices ensures your application is efficient, secure, and scalable:
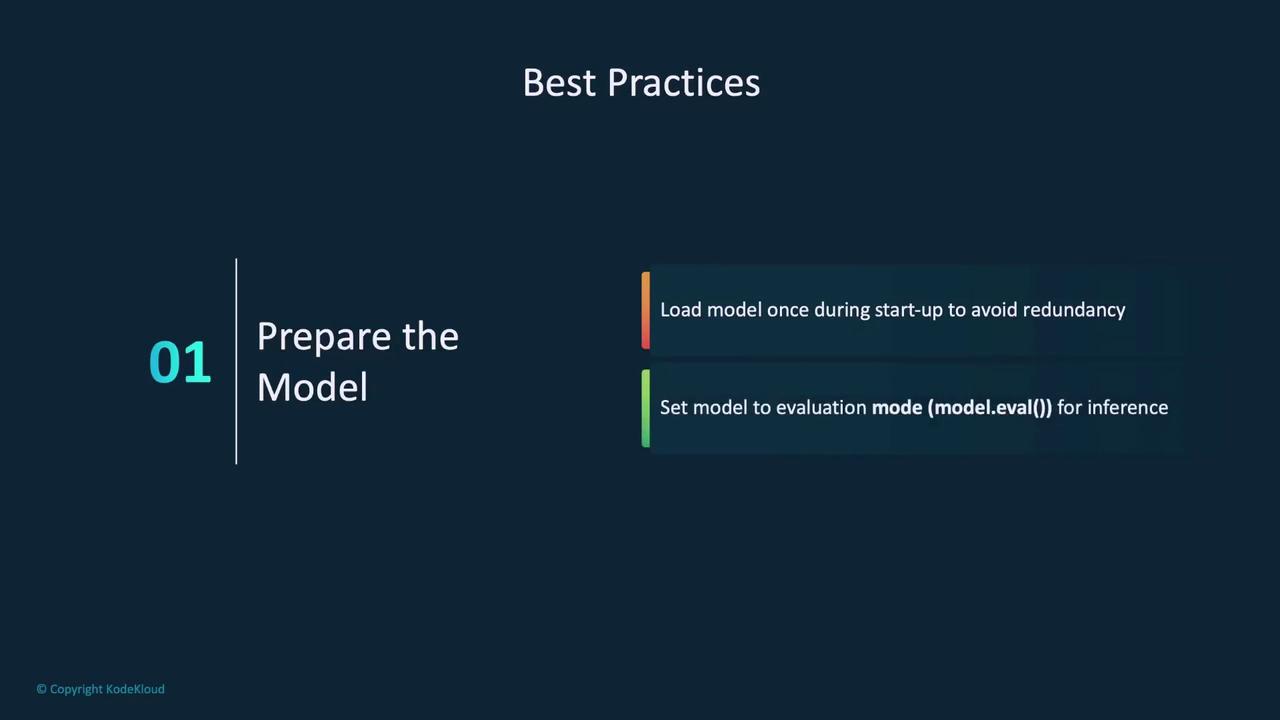
Prepare the Model:
- Load the model once at startup to avoid repetitive loading.
- Set the model to evaluation mode for accurate predictions.
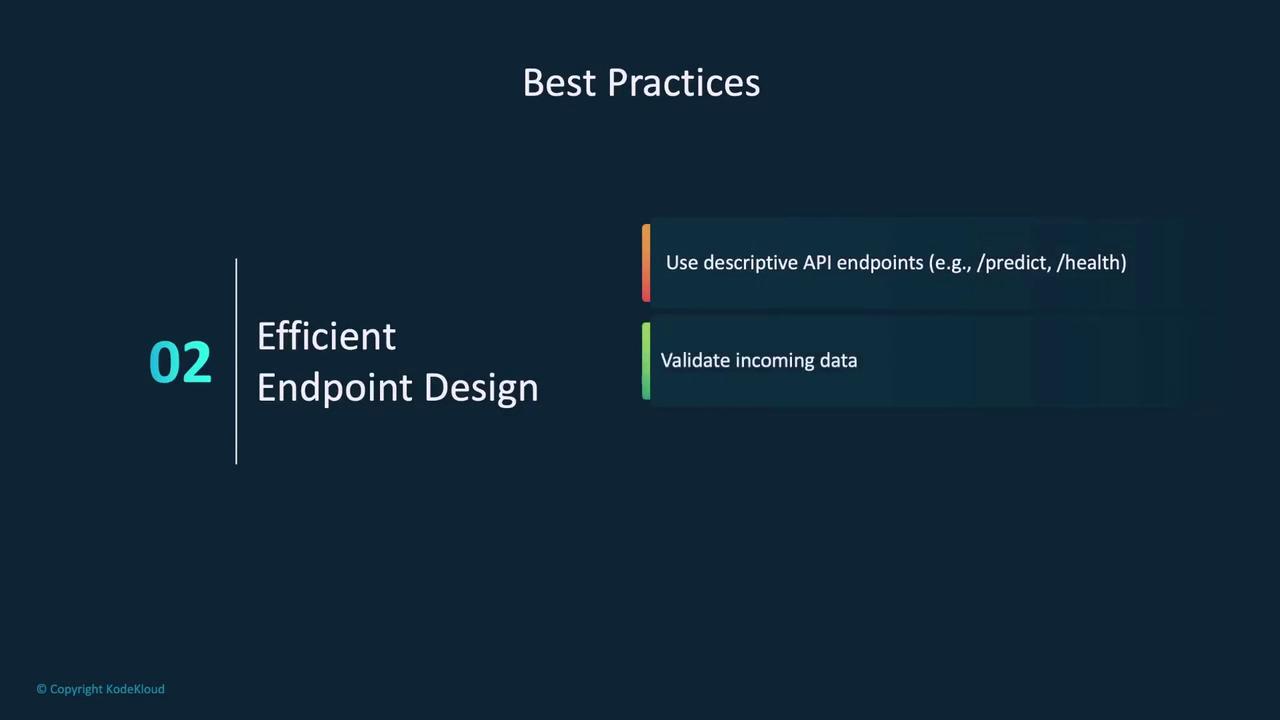
Efficient Endpoint Design:
- Design clear and descriptive API endpoints.
- Validate incoming data to meet model requirements.
Error Handling:
- Implement robust error handling to return clear messages and proper HTTP status codes for invalid requests.
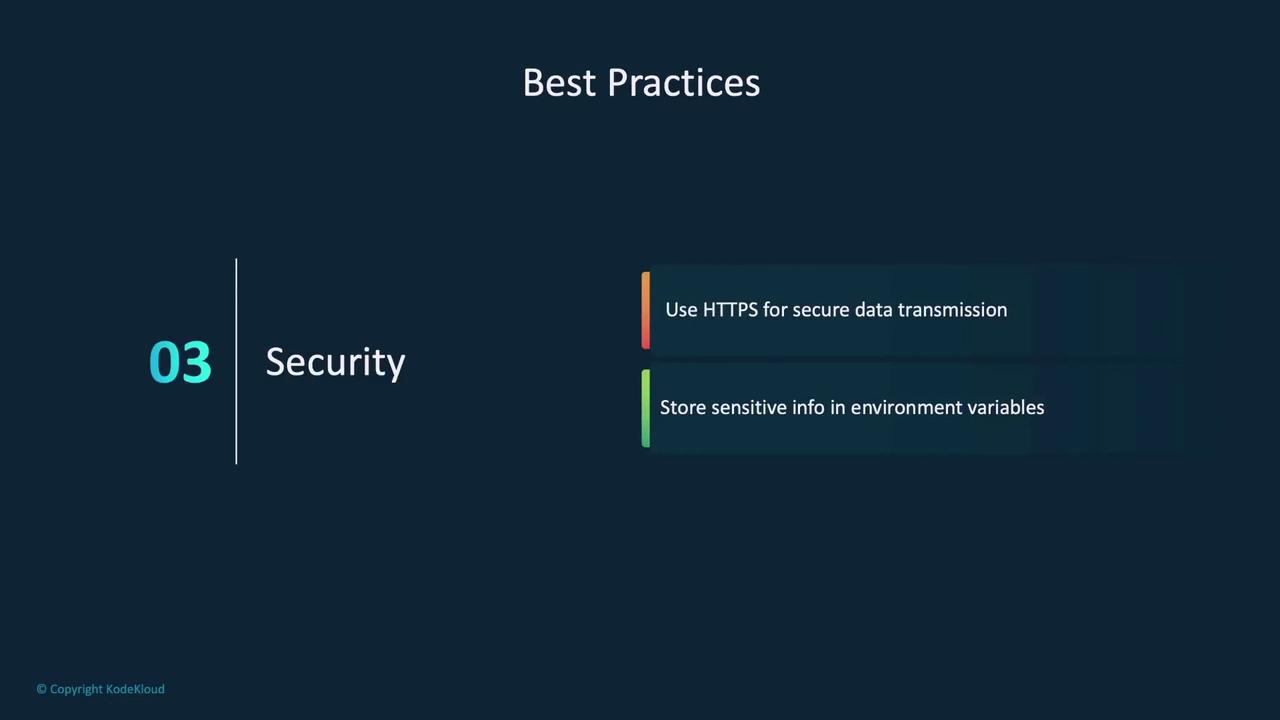
Security:
- Utilize HTTPS to secure data transmission.
- Store sensitive details like API keys or credentials in environment variables instead of hard-coding them.
Monitoring and Logging:
- Log API usage, errors, and inference times to facilitate troubleshooting.
- Consider implementing a health endpoint to continuously monitor application status.
These practices can help maintain a highly efficient, secure, and reliable Flask application.
Summary
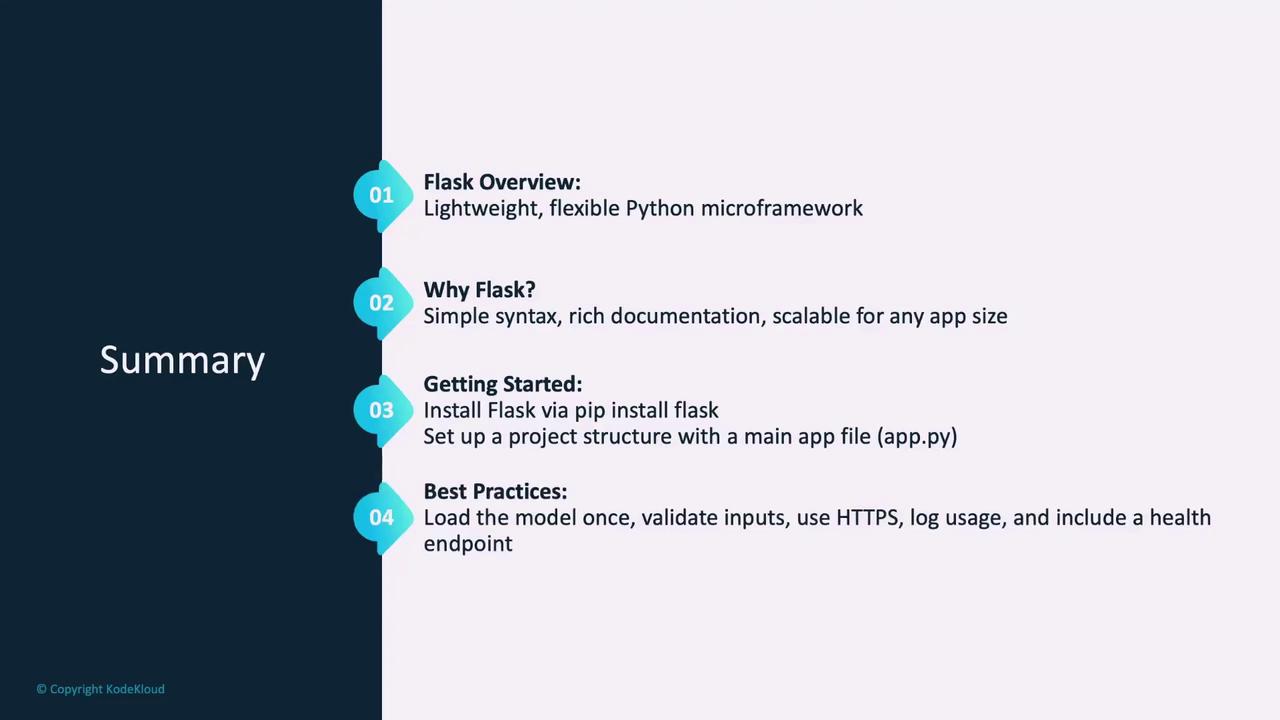
In summary, this article covered:
- An introduction to Flask and its benefits for deploying PyTorch models.
- Steps to install Flask and organize your project structure.
- How to integrate a PyTorch model and create an inference API endpoint.
- Instructions for running your application using Flask’s built-in server and deploying it with Gunicorn.
- Best practices for efficient model preparation, API design, error handling, security, and monitoring.
Let’s now move on to demoing a Flask application designed to serve a PyTorch model.
Watch Video
Watch video content