This article explores how buildpack layers enhance build efficiency by optimizing Dockerfile commands and enabling faster, reusable build processes.
In this lesson, we explore how buildpack layers can create efficient, reusable build processes. By leveraging layers, you can optimize Dockerfile commands, speed up build times, and reduce redundant work.
Each significant command in a Dockerfile produces a layer. Consider the following Dockerfile example:
# Use Node 20.16 alpine as base imageFROM node:20.16-alpine3.19 AS base# Copy the package.json and package-lock.json files to the /build directoryCOPY package*.json ./# Install production dependencies and clean the cacheRUN npm ci --omit=dev && npm cache clean --force# Copy the entire source code into the containerCOPY . .# Start the applicationCMD ["node", "src/server.js"]
Every step—from the base image selection to setting the entry point—creates a separate layer. This layering mechanism allows caches to be reused in subsequent builds. For example, if the Node.js installation layer remains unchanged, it is reused from cache, significantly reducing build time and workload.
Consider structuring your Dockerfile commands to maximize caching. By separating operations like dependency installation and source code copying into distinct layers, you only need to rebuild layers that change.
Currently, our buildpack script builds everything in one layer. If any part of the process changes, the whole build must be repeated. Separating components into multiple layers—such as one for Node.js and another for dependencies—ensures that unchanged parts are cached and reused.Below is an excerpt from our build script that downloads and extracts Node.js, installs dependencies, and leverages caching:
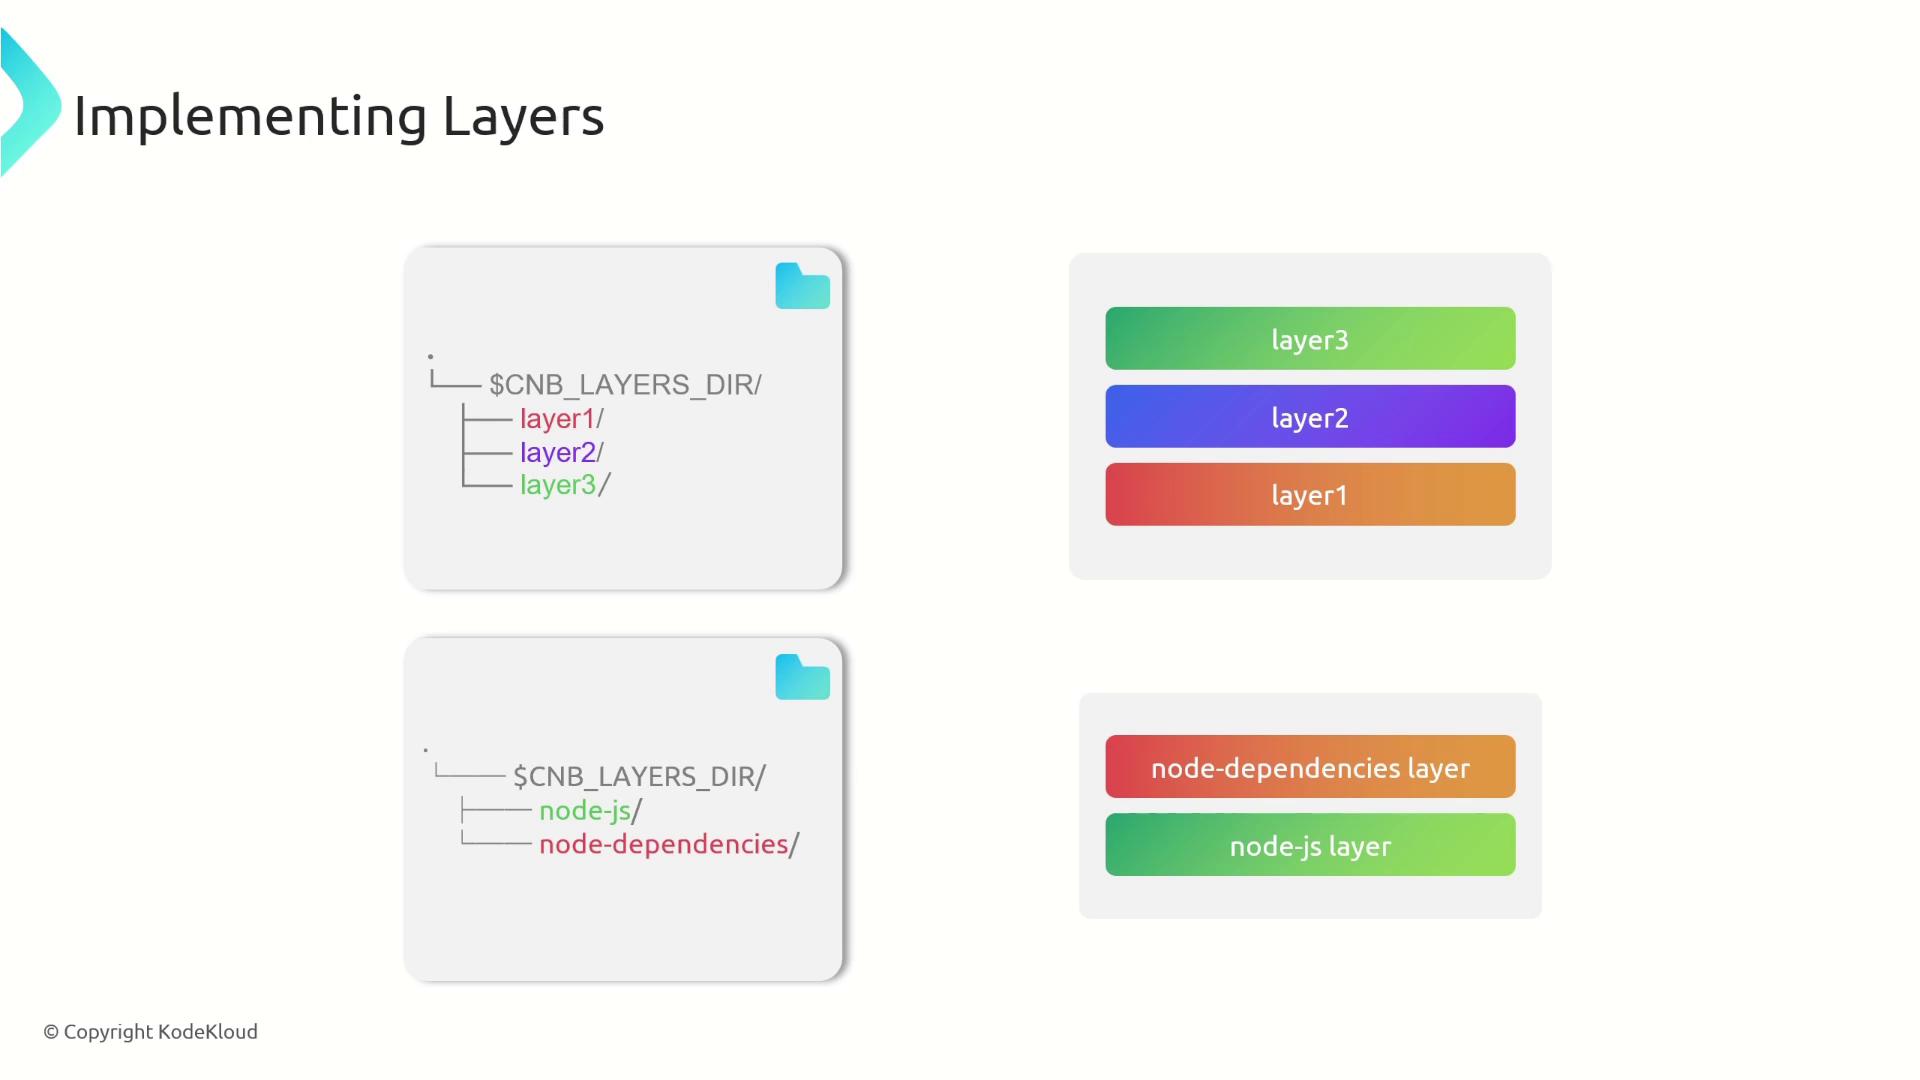
Buildpacks implement layers by structuring subdirectories under the environment variable directory CNB_LAYERS_DIR. Each subdirectory represents a layer in the final image. For example:
For instance, to separate concerns, you may create one layer for the Node.js runtime and another for application dependencies. When Node.js is downloaded, its binaries can be stored in the “node-js” directory, while npm-installed dependencies reside in “node-dependencies”. Each layer is then configured with its corresponding metadata file.
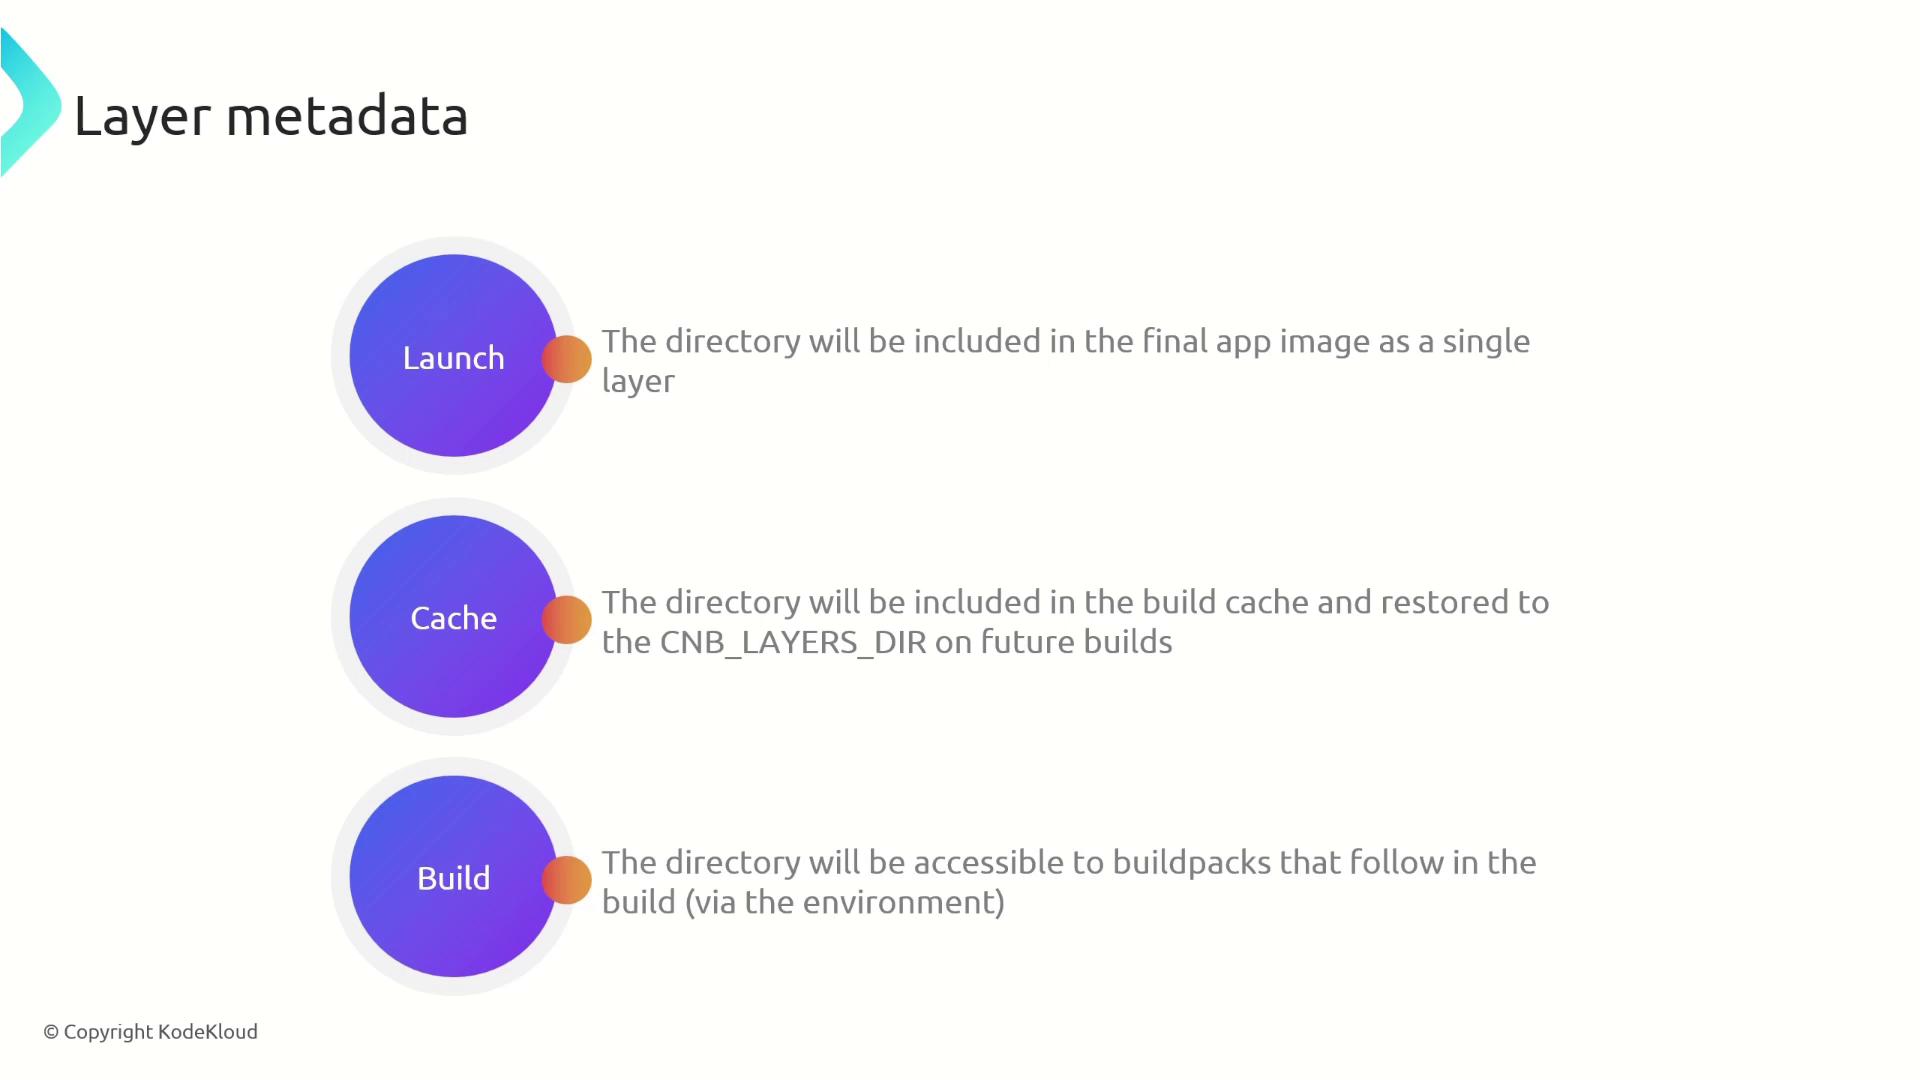
Each layer uses a TOML configuration file (named identically to the layer with a .toml extension) to dictate its behavior. The metadata includes three primary settings:
launch: If set to true, the layer is included in the final application image.
cache: Determines whether the layer is stored in the build cache.
build: Indicates if the layer should be available to subsequent buildpacks during the build phase.
For runtime layers like Node.js and application dependencies, set launch to true.
A typical TOML configuration for a runtime layer might look like this:
Below are step-by-step instructions to create two distinct layers for your buildpack: one for the Node.js runtime and one for your application dependencies.
Create a folder for the Node.js runtime layer under CNB_LAYERS_DIR and download Node.js into that directory. Then create the corresponding metadata file:
# Create the Node.js runtime layer directorynode_js_layer="${CNB_LAYERS_DIR}/node-js"mkdir -p "${node_js_layer}"default_node_js_version="18.18.0"# Retrieve the user's desired Node.js versionnode_js_version=$(cat "$CNB_BP_PLAN_PATH" | yj -t | jq -r '.entries[] | select(.name == "node-js") | .metadata.version' || echo ${default_node_js_version})echo "nodejs version: ${node_js_version}"echo "---> Downloading and extracting NodeJS"node_js_url=https://nodejs.org/dist/v${node_js_version}/node-v${node_js_version}-linux-x64.tar.xzwget -q -O "${node_js_url}" | tar -xJf - --strip-components 1 -C "${node_js_layer}"# Configure the Node.js layer to be available at launch timecat > "${CNB_LAYERS_DIR}/node-js.toml" << EOL[types]build = falselaunch = truecache = falseEOL
Create a separate layer for your Node.js dependencies. By copying package files, installing dependencies in the layer, and creating a symbolic link to the working directory, you ensure that dependencies are efficiently managed and available at runtime:
workdir=$(pwd)# Create layer for the node_modulesnode_modules_layer="${CNB_LAYERS_DIR}/node-dependencies"mkdir -p "${node_modules_layer}"echo "---> Installing Application Dependencies"# Copy package.json and package-lock.json to the layercp package*.json "${node_modules_layer}"# Install dependencies in the layercd "${node_modules_layer}"npm cicd "$workdir"# Symlink to make the node_modules directory available in the working directoryln -s "${node_modules_layer}/node_modules" "/workspace/node_modules"# Configure the node_dependencies layer metadatacat > "${node_modules_layer}.toml" << EOL[types]build = falselaunch = truecache = falseEOL
By separating your build process into distinct layers for runtime and dependencies, you enable efficient caching, faster builds, and easier updates when only parts of your application change.
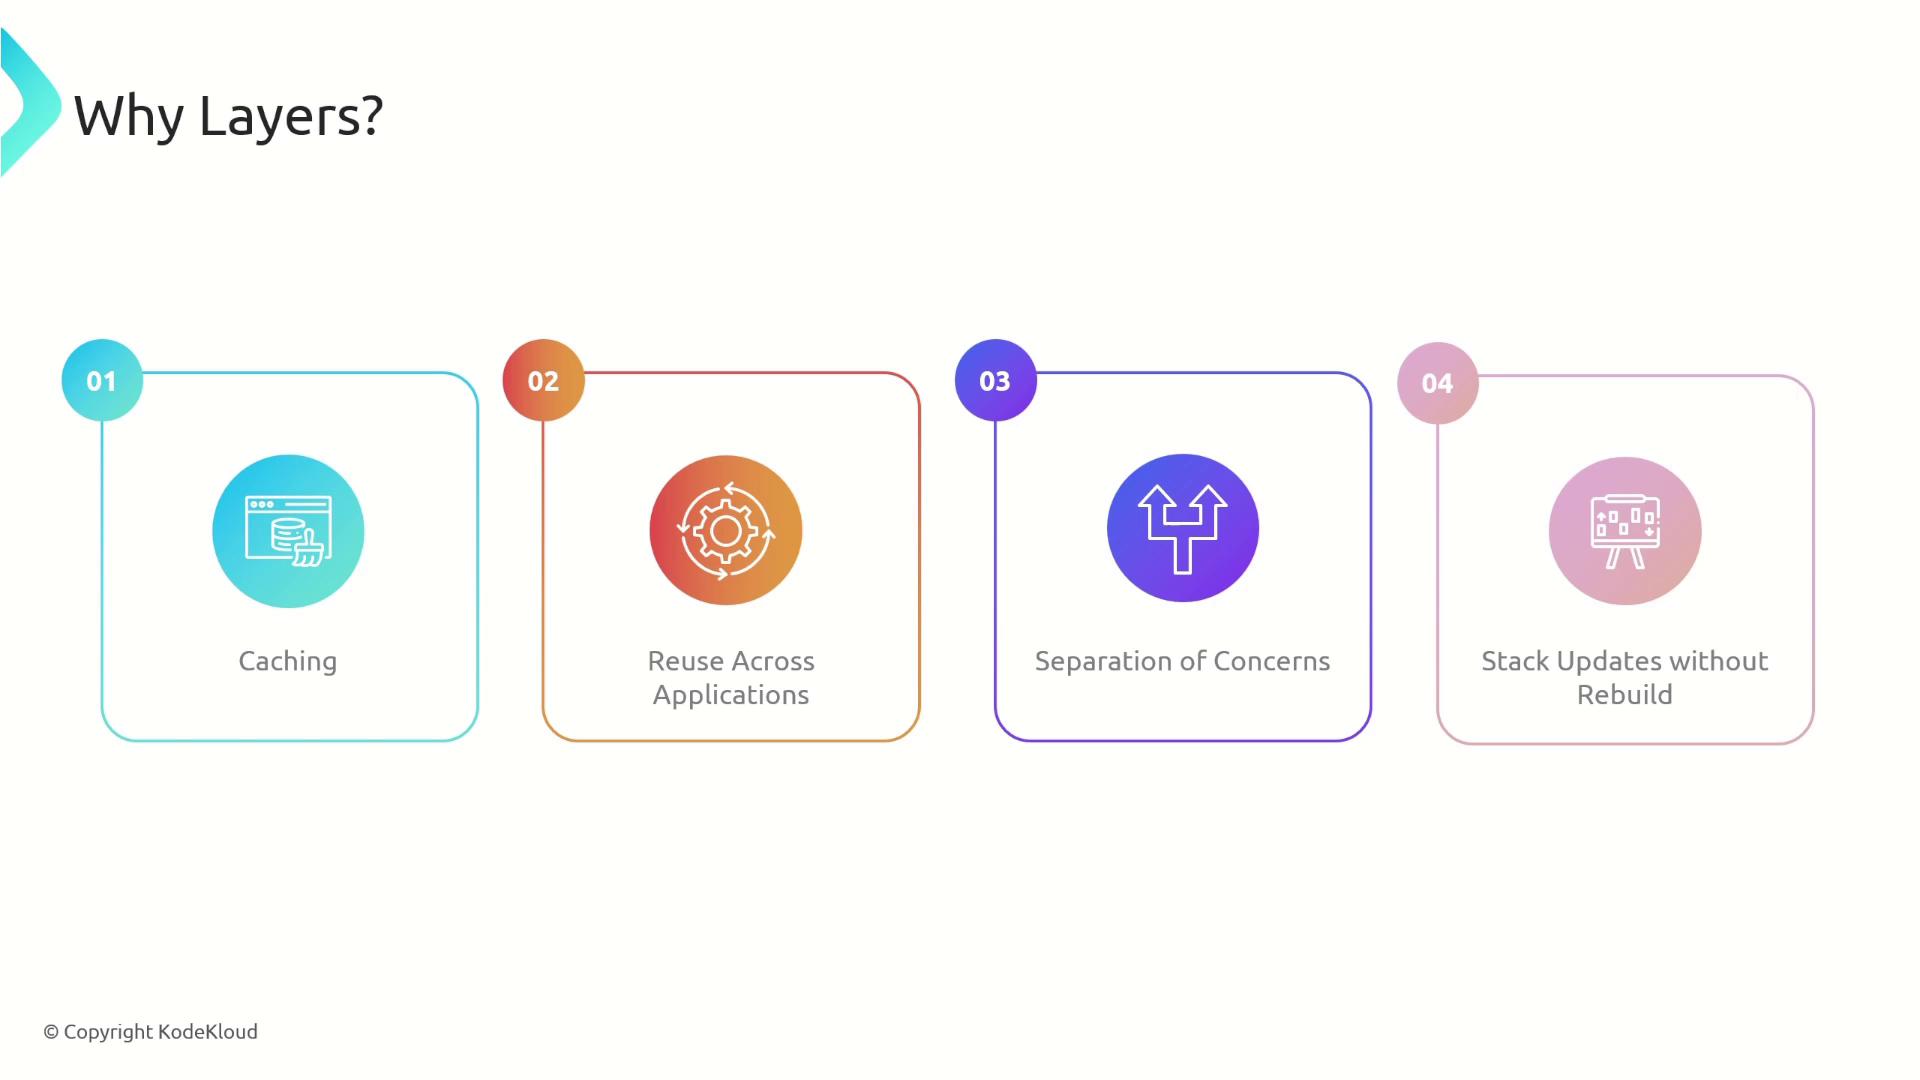
Organizing your buildpack with dedicated layers for the Node.js runtime and application dependencies offers significant advantages:
Faster and more efficient builds through effective caching.
Reduced bandwidth usage and improved reuse across applications.
Logical separation that simplifies updates and maintenance.
Utilizing these practices will help you achieve consistent, reproducible builds while optimizing your containerization workflow. For further reading on Docker optimization and buildpack strategies, refer to the Docker Documentation and Buildpacks Documentation.Happy building!