

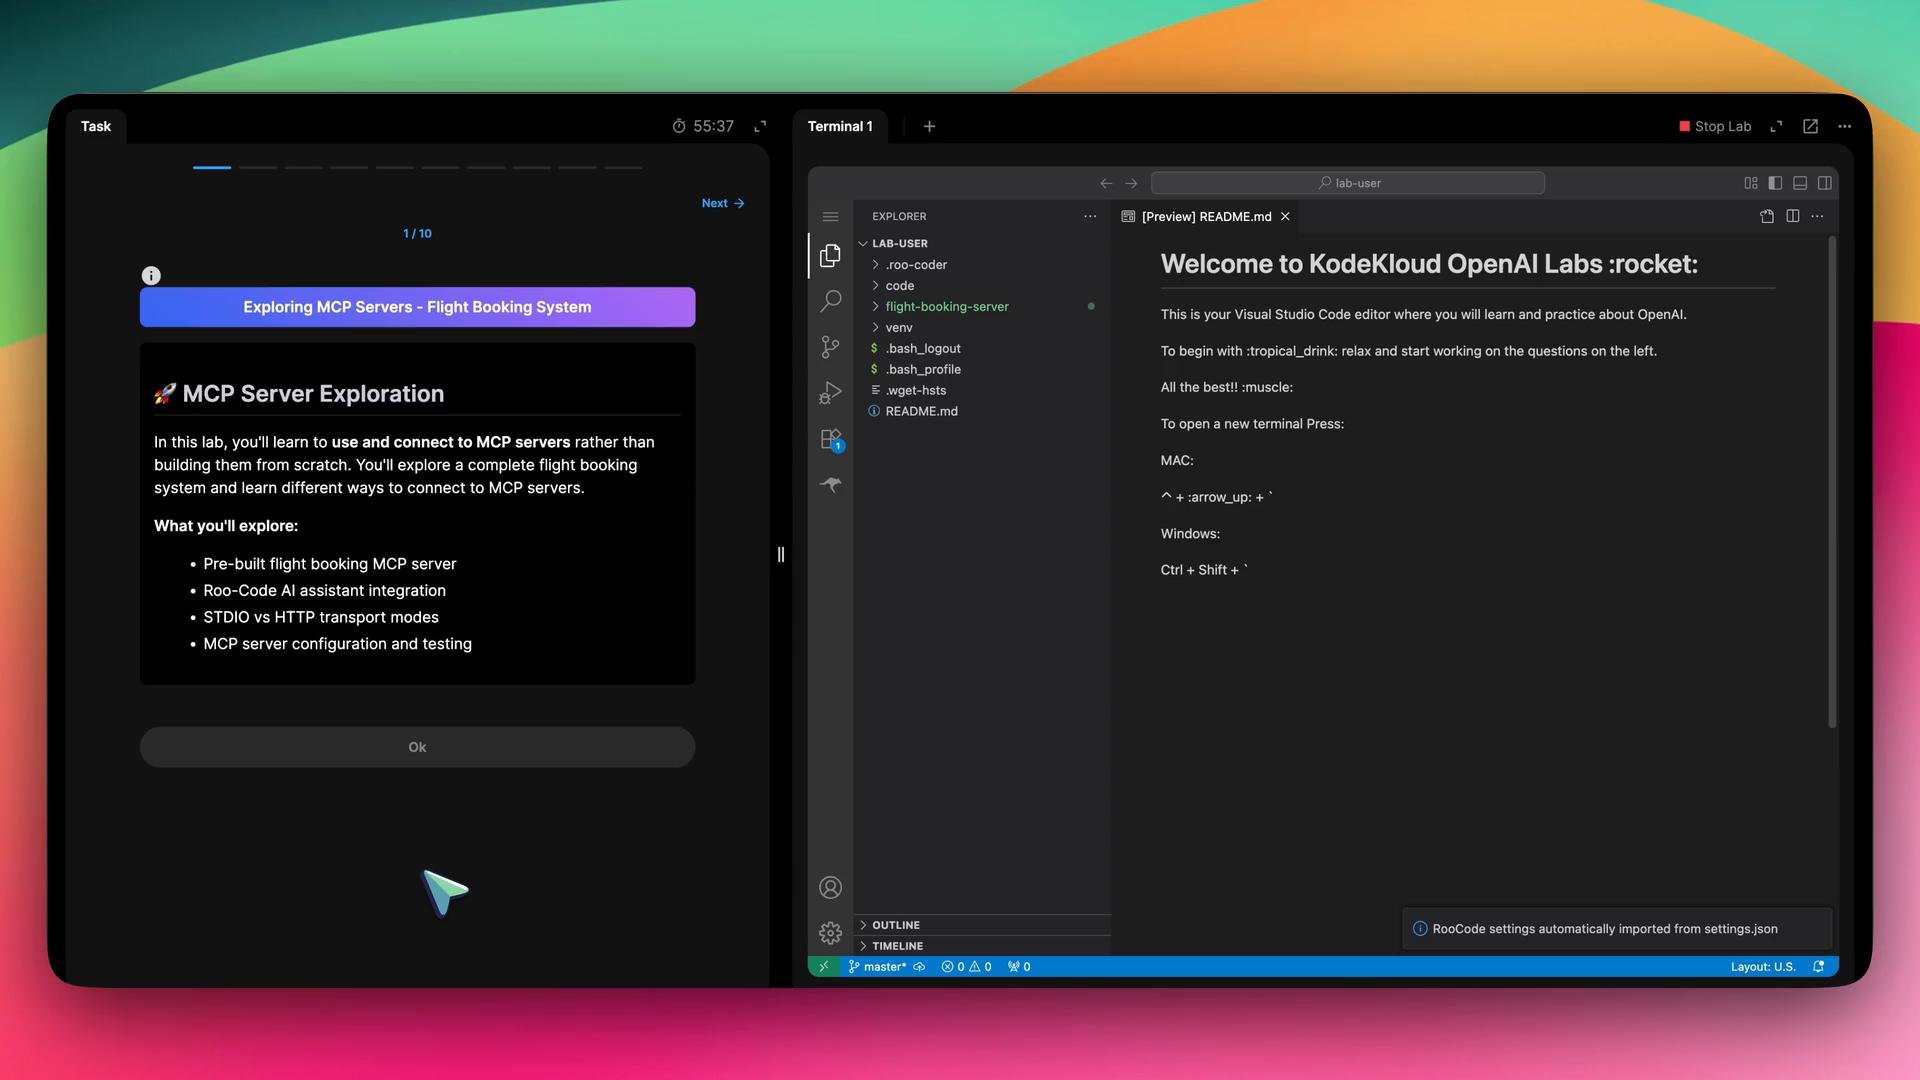
flight-booking-server folder. A typical listing in the workspace looks like this:
flight-booking-server. The important files for this lesson are server.py (the MCP server code) and pyproject.toml (dependency and project metadata).
Open server.py to inspect how resources and tools are exposed via MCP. You’ll see resource decorators similar to these:
You don’t need to memorize every line in
server.py right now — the focus here is registering and using the MCP server. We’ll look at relevant functions as needed when you query the server.command: the program RooCode will invoke (uvin this environment).args: the arguments to run the Python server (here,run python server.py).cwd: the working directory whereserver.pyis located.
- Open the RooCode extension/plugin in your workspace.
- Go to the “MCP servers” section and choose “Add Project MCP”.
- Paste the JSON configuration (above) into the configuration field and save.
- Refresh the MCP Servers list. The “flight-booking” entry should appear and show a green/success status when detected.
- Expand the server entry to view tools and resources discovered from
server.py.
When the assistant requests to use an MCP server you must approve the access. Only approve servers and configurations from trusted projects — the assistant will run server-side code on your behalf.
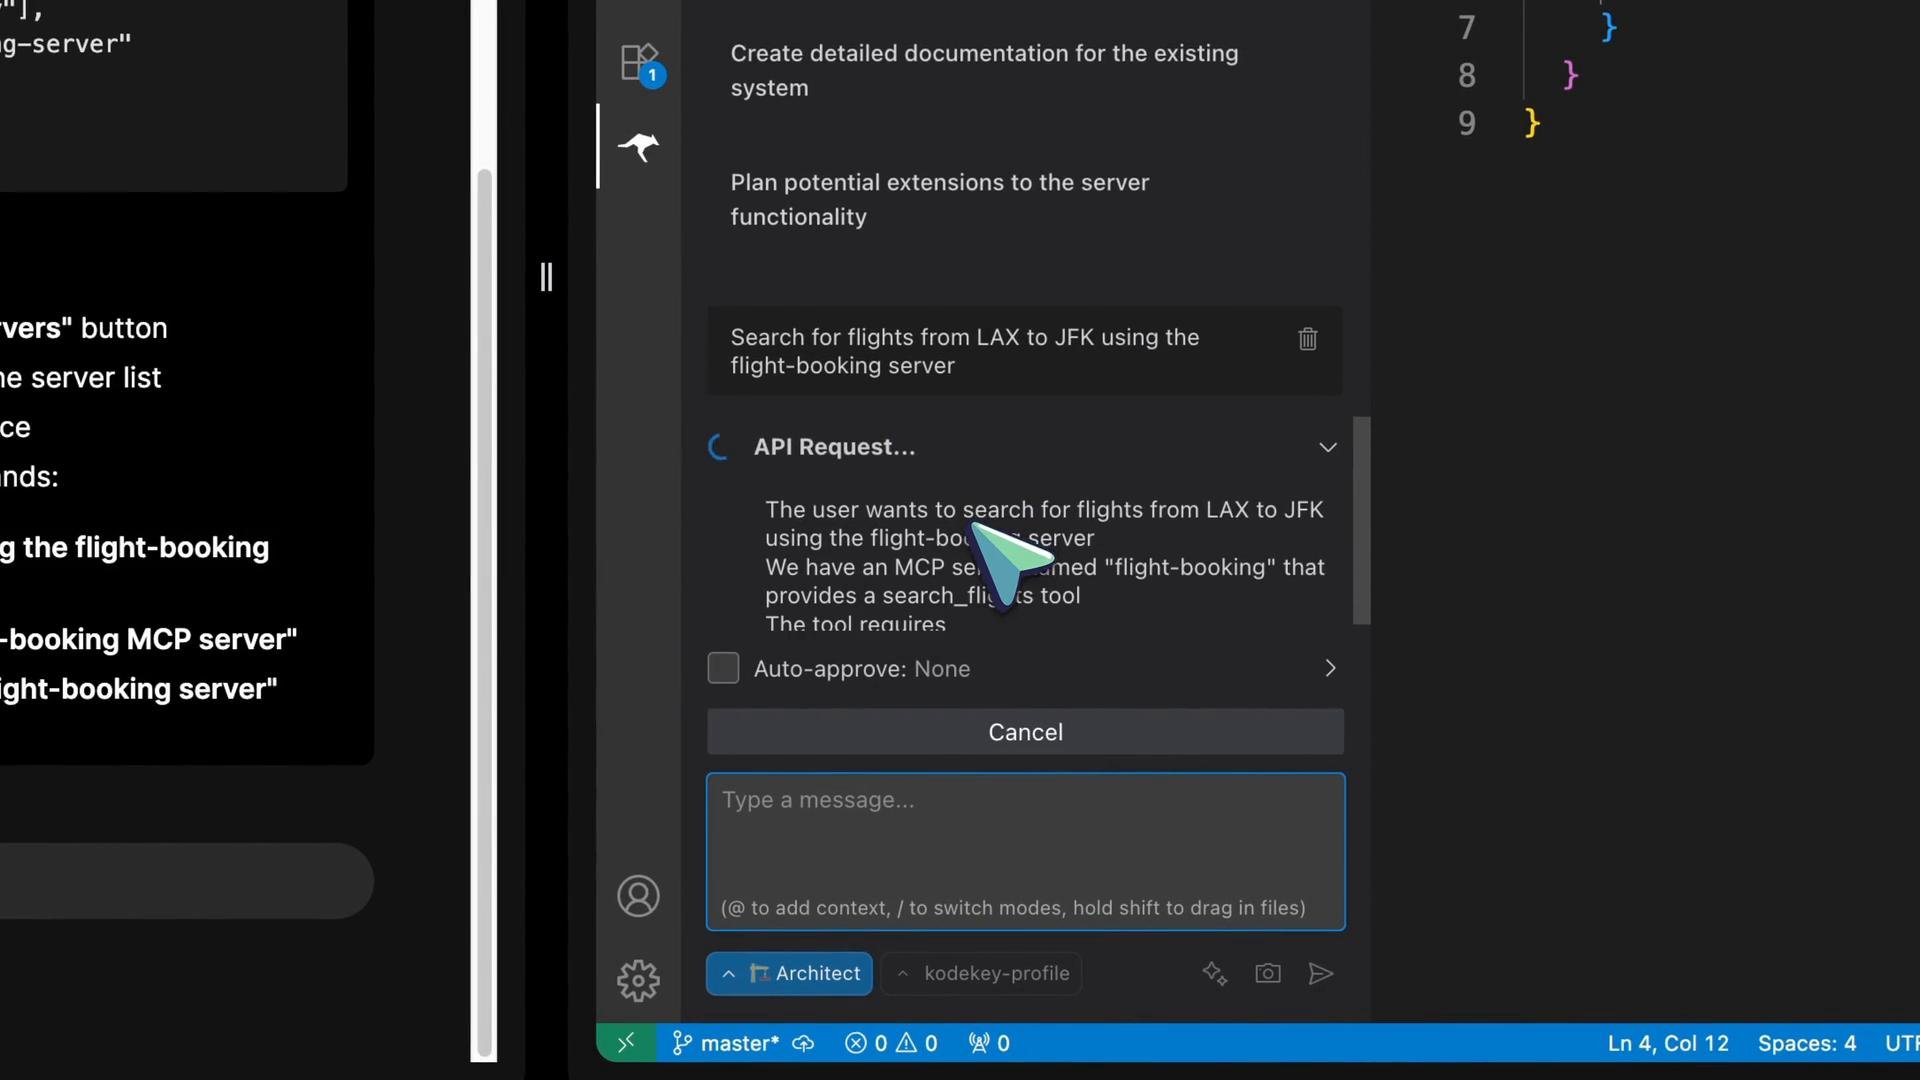
- Inspect
server.pyto see how resources, tools, and handlers are implemented and how MCP exposes them. - Modify or extend resource handlers (e.g., add booking, availability checks) and then reload the MCP entry in RooCode to test changes.
- Use
pyproject.tomlto manage dependencies and ensure the environment can run the server. - Experiment with
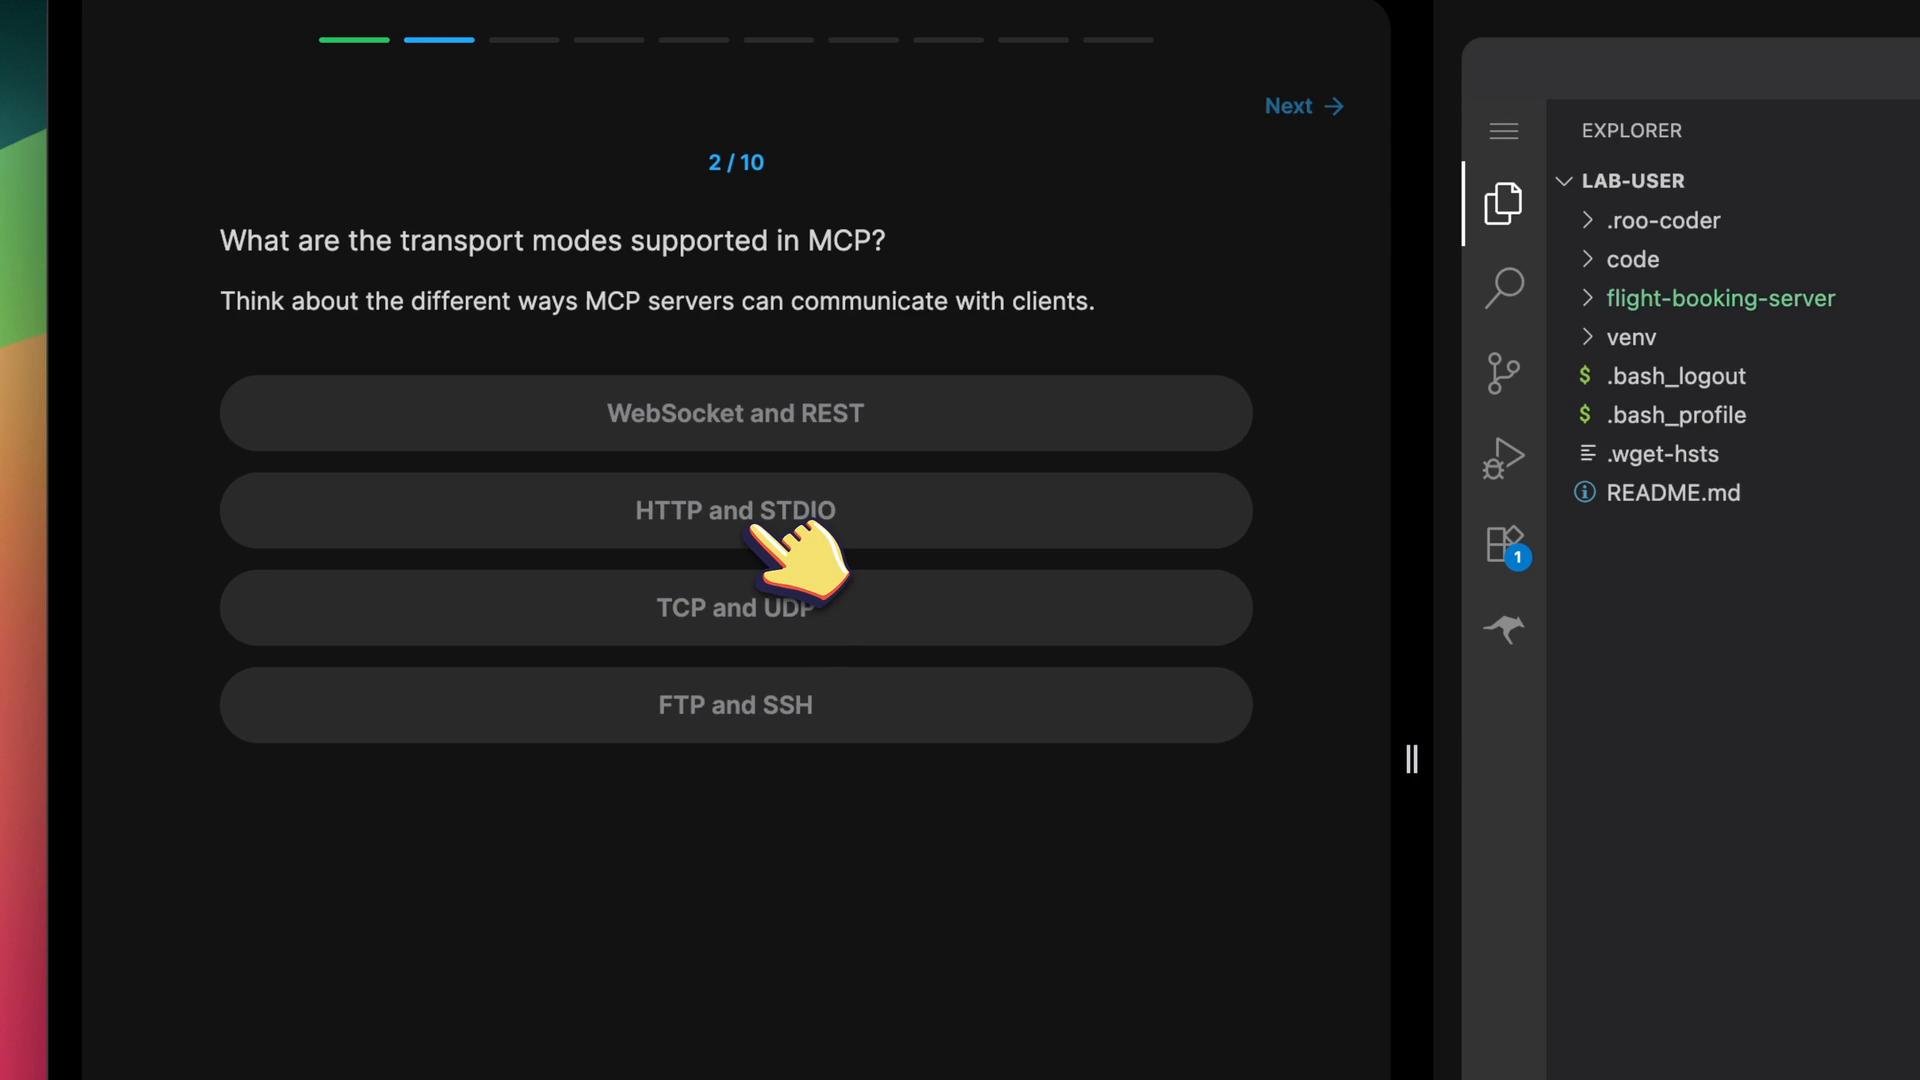
HTTPandSTDIOmodes if you adapt MCP transport options for other integrations.
- Python documentation: https://www.python.org/doc/
- If you’re using project tooling (like
uv/uvicorn), check the respective tool docs for command syntax and options.