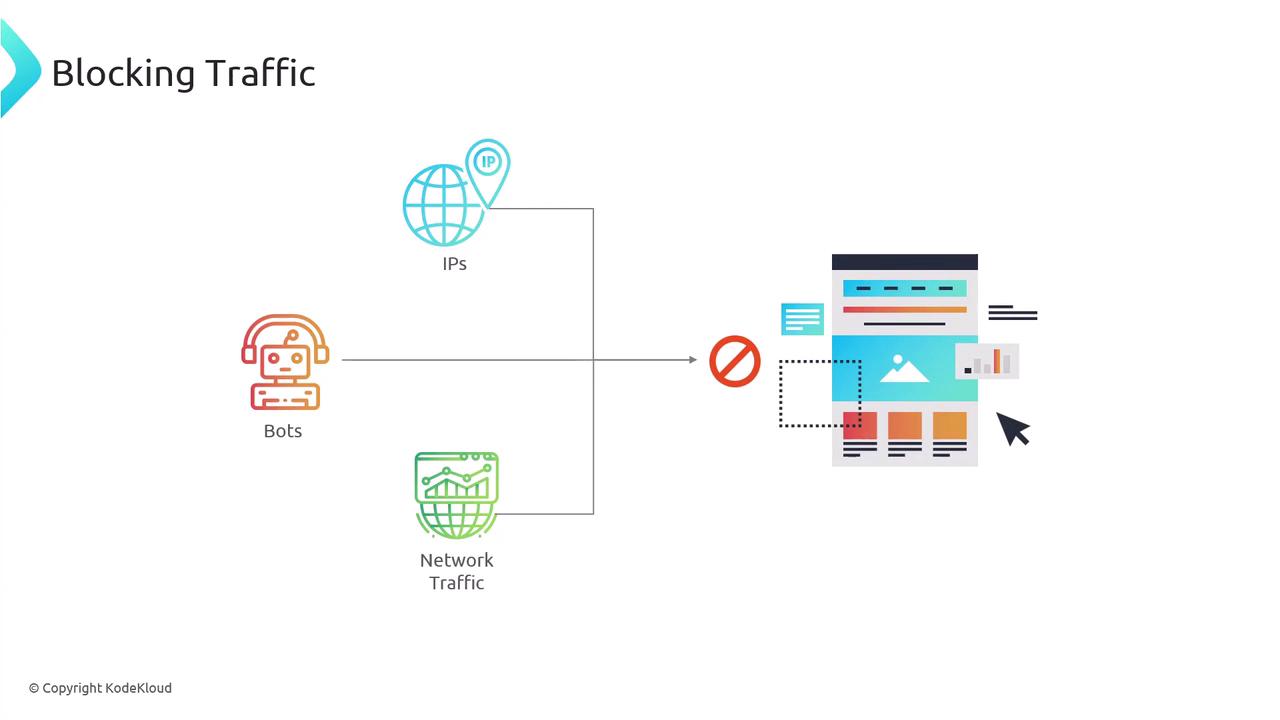
Nginx For Beginners

Security

Blocking Traffic

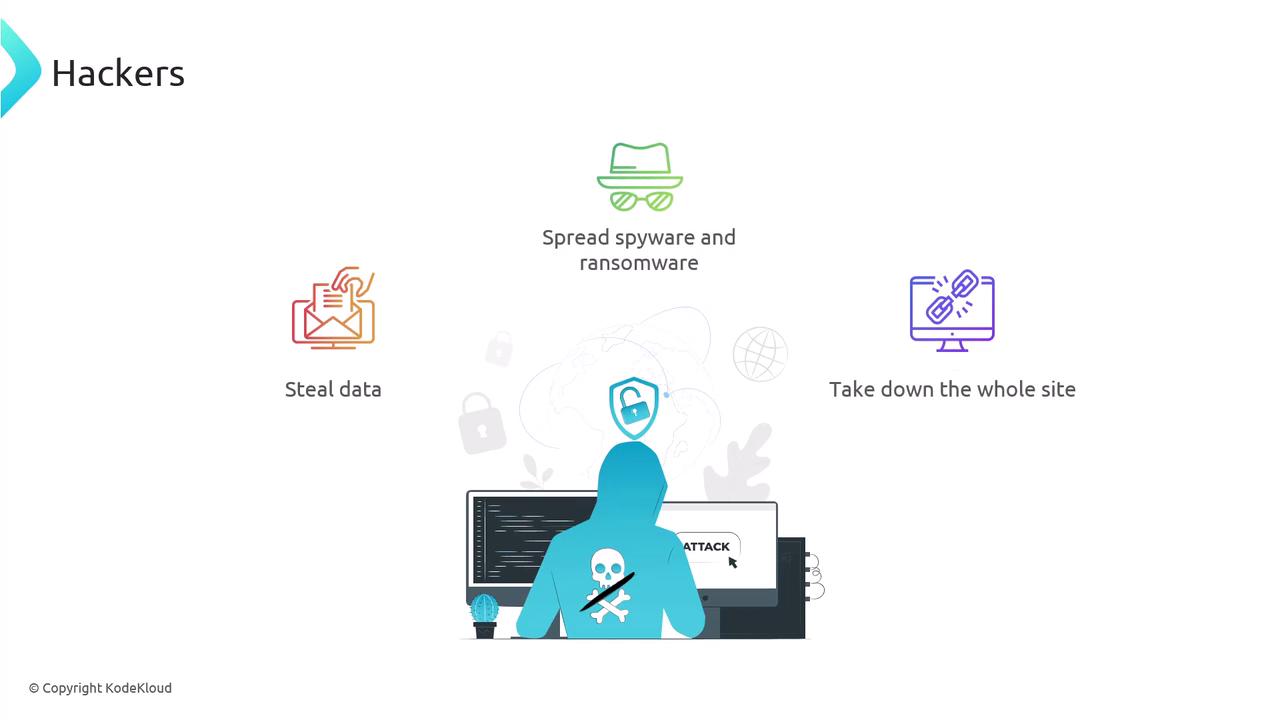
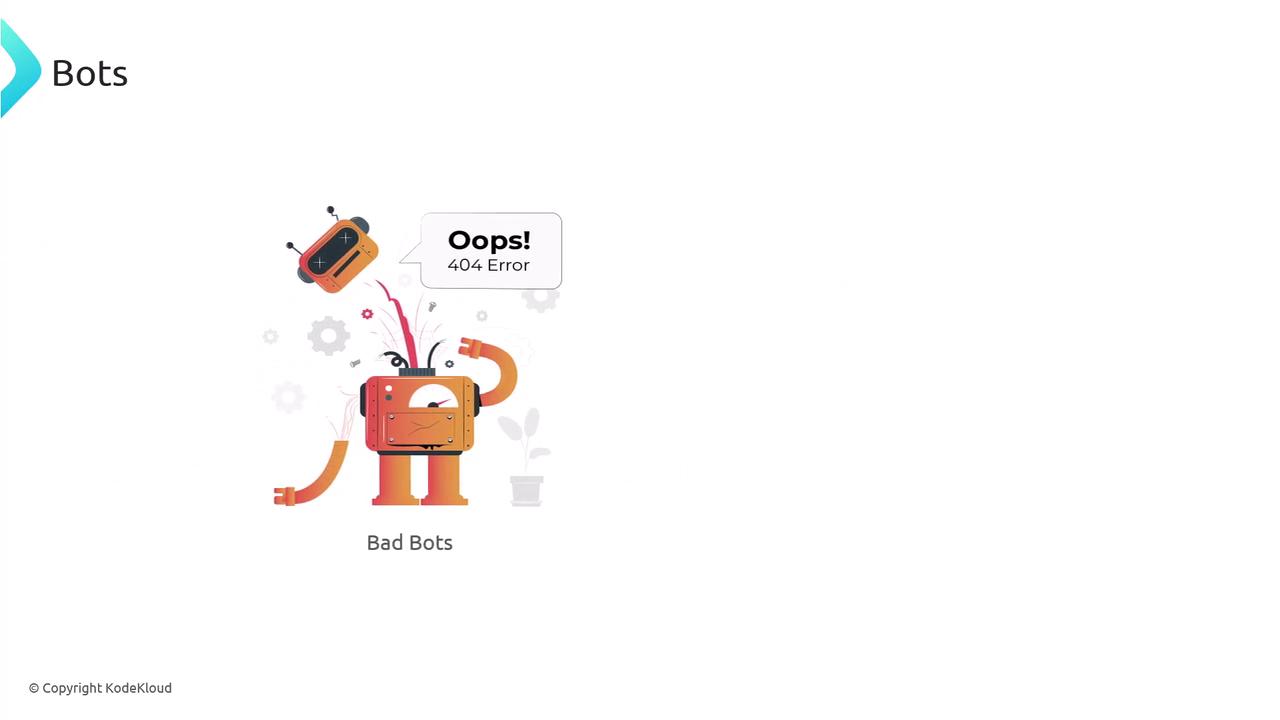
Hackers can steal data, distribute spyware or ransomware, and even bring down entire websites. While legitimate bots crawl your pages for search indexing,

The image illustrates a hacker in a hoodie at a computer, with icons and text describing activities like stealing data, spreading spyware and ransomware, and taking down websites.

malicious bots may spam forms, scrape content, or post fake reviews.

The image shows a cartoon robot with a detached head, displaying a speech bubble that says "Oops! 404 Error," labeled as "Bad Bots."

In this guide, we’ll cover how to block unwanted traffic—whether it’s individual IPs, bots, or entire network ranges—to protect your site.

The image illustrates the concept of blocking traffic, showing how IPs, bots, and network traffic are prevented from accessing a website or service.


Restricting Access by IP in Nginx

Nginx’s HTTP Access module uses two directives—allow and deny—to control client access at the server or location level.

DirectiveDescriptionExample
allowGrants access to a specific IP or subnetallow 192.168.1.0/24;
denyBlocks access from an IP or subnetdeny 203.0.113.0/24;

CIDR Basics

CIDR notation (/32 for a single IPv4, /24 for 256 addresses) lets you include entire IP ranges in one rule.

Example: Allow Only Two IPs, Block Everything Else

server {
    listen 80;
    server_name example.com www.example.com;
    root /var/www/example.com/html;
    index index.html;

    # Permit two individual IPs
    allow 192.168.1.100/32;
    allow 174.0.252.8/32;
    deny all;

    location / {
        try_files $uri $uri/ =404;
    }
}
  • /32 mask = single IPv4 address
  • deny all; blocks every other client

Example: Deny a Subnet Globally, Allow a Subnet to /admin

server {
    listen 80;
    server_name example.com www.example.com;
    root /var/www/example.com/html;
    index index.html;

    # Block the entire 203.0.113.0/24 network site-wide
    deny 203.0.113.0/24;

    location /admin {
        # Only allow 174.0.252.0/24 to access /admin
        allow 174.0.252.0/24;
        deny all;
        try_files $uri $uri/ =404;
    }
}

Why Manual IP Blocking Falls Short

Maintaining long lists of deny rules is error-prone—attackers simply switch IPs. For automated protection, consider using Fail2Ban.

Warning

Never rely on static IP denylists alone; automated tools help you stay ahead of rotating attackers.

The image is a logo for "Fail2Ban," featuring a house with a stop hand sign, and a description stating it enhances server security by blocking malicious IPs, especially against brute-force attacks.

Fail2Ban monitors logs for repeated failures or suspicious patterns, then automatically bans the offending IP for a configurable duration.

$ sudo tail -f /var/log/fail2ban.log
2024-08-10 19:26:27,469 fail2ban.jail   [7786]: INFO    Creating new jail 'ssh'
2024-08-10 19:26:27,473 fail2ban.filter [7786]: INFO    maxRetry: 2
...
2024-08-10 19:27:40,771 fail2ban.actions: NOTICE  [ssh] Ban 192.168.8.131

Installing Fail2Ban

On Ubuntu/Debian:

sudo apt update
sudo apt install fail2ban

On Red Hat/CentOS:

sudo yum install fail2ban

Configuring Jails

Copy the default jail.conf to jail.local and enable only the jails you need:

cd /etc/fail2ban
sudo cp jail.conf jail.local
sudo vim jail.local

Protecting Nginx HTTP Authentication

[nginx-http-auth]
enabled  = true
port     = http,https
filter   = nginx-http-auth
logpath  = /var/log/nginx/access.log
maxretry = 3
findtime = 600
bantime  = 600

Blocking Bad Bots

[nginx-badbots]
enabled  = true
port     = http,https
filter   = nginx-badbots
logpath  = /var/log/nginx/access.log
maxretry = 1
bantime  = 48h

Rate Limiting Excessive Requests

[nginx-limit-req]
enabled  = true
port     = http,https
filter   = nginx-limit-req
logpath  = /var/log/nginx/access.log
maxretry = 10
findtime = 3600
bantime  = 24h

Built-in Filters

Filters are stored in /etc/fail2ban/filter.d. Common patterns include Nginx, SSH, and more:

$ ls -l /etc/fail2ban/filter.d
-rw-r--r-- 1 root root  474 Nov  9 2022 nginx-bad-request.conf
-rw-r--r-- 1 root root  740 Nov  9 2022 nginx-botsearch.conf
-rw-r--r-- 1 root root 1048 Nov  9 2022 nginx-http-auth.conf
-rw-r--r-- 1 root root 1513 Nov  9 2022 nginx-limit-req.conf

To customize, edit or add new .conf files under this directory.

Checking Status and Unbanning

View a jail’s status:

sudo fail2ban-client status nginx-http-auth

Sample output:

Status for the jail: nginx-http-auth
|- Filter
|  |- Currently failed: 0
|  |- Total failed: 3
|  `- File list: /var/log/nginx/access.log
`- Actions
   |- Currently banned: 1
   `- Banned IP list: 108.172.85.62

Unban an IP if needed:

sudo fail2ban-client set nginx-http-auth unbanip 108.172.85.62

Fail2Ban operates independently of Nginx or SSH, so there’s no need to restart those services after making changes.


These techniques—IP-based restrictions in Nginx and automated bans with Fail2Ban—can significantly reduce brute-force and bot-driven attacks. In containerized platforms like Kubernetes, you may need different integrations, but the core ideas carry over to any host-based environment.

Watch Video

Watch video content

Previous
Demo Authentication