Nginx For Beginners

Security

Demo Authentication

In this tutorial, you’ll learn how to secure the /admin endpoint of your example.com site using HTTP Basic Authentication. The main site remains publicly accessible while only /admin requires credentials. We’ll cover:

  • Verifying your site setup
  • Updating the Nginx configuration
  • Generating an .htpasswd file
  • Testing and reloading Nginx
  • (Optional) Protecting the entire site
  • Exploring advanced auth solutions

1. Verify Your Site

Make sure Nginx is serving your site over HTTPS on port 443:

# In your browser, visit:
https://example.com
https://example.com/admin

Both URLs should load without authentication for now.

2. Update Nginx Configuration

Open your SSL-enabled server block (e.g., /etc/nginx/sites-available/example-https):

sudo vim /etc/nginx/sites-available/example-https

Locate and update the server block to include a dedicated /admin location:

server {
    listen 80;
    server_name example.com;
    return 301 https://$host$request_uri;
}

server {
    listen 443 ssl;
    server_name example.com;

    ssl_certificate     /etc/ssl/certs/example.com.pem;
    ssl_certificate_key /etc/ssl/certs/example.com-key.pem;
    root                /var/www/html;

    # Security headers
    add_header Strict-Transport-Security "max-age=31536000; includeSubDomains; preload";
    add_header X-Frame-Options "SAMEORIGIN";
    add_header Content-Security-Policy "default-src 'self'";
    add_header Referrer-Policy origin;

    index index.html index.htm index.nginx-debian.html;

    # Public content
    location / {
        try_files $uri $uri/ =404;
    }

    # Protect /admin with HTTP Basic Auth
    location /admin {
        auth_basic           "Restricted Access";
        auth_basic_user_file /etc/nginx/conf.d/.htpasswd;
    }
}

Save and exit.

Warning

HTTP Basic Authentication transmits credentials as Base64-encoded text. Always use HTTPS to prevent interception.

3. Create the .htpasswd File

Generate a username and encrypted password for Basic Auth:

  1. Change to the directory for password files:

    cd /etc/nginx/conf.d
    
  2. Initialize the file and add the admin user:

    sudo sh -c "echo -n 'admin:' > .htpasswd"
    
  3. Append an encrypted password (you’ll be prompted):

    sudo sh -c "openssl passwd -apr1 >> .htpasswd"
    
  4. Verify the contents:

    ls -la .htpasswd
    cat .htpasswd
    # Example output:
    # admin:$apr1$MASb7ZA.$8LOCauVuqg5nH2AIk72/
    

Note

Ensure that .htpasswd is readable by the Nginx user but not world-readable:

sudo chmod 640 /etc/nginx/conf.d/.htpasswd

4. Test and Reload Nginx

Validate and apply your configuration:

sudo nginx -t
sudo nginx -s reload

Now, refresh in your browser:

  • Public pages load as before.
  • /admin prompts for credentials.

The image shows a web browser with a login prompt for a website, asking for a username and password. The URL in the address bar is related to a KodeKloud lab environment.

Enter 
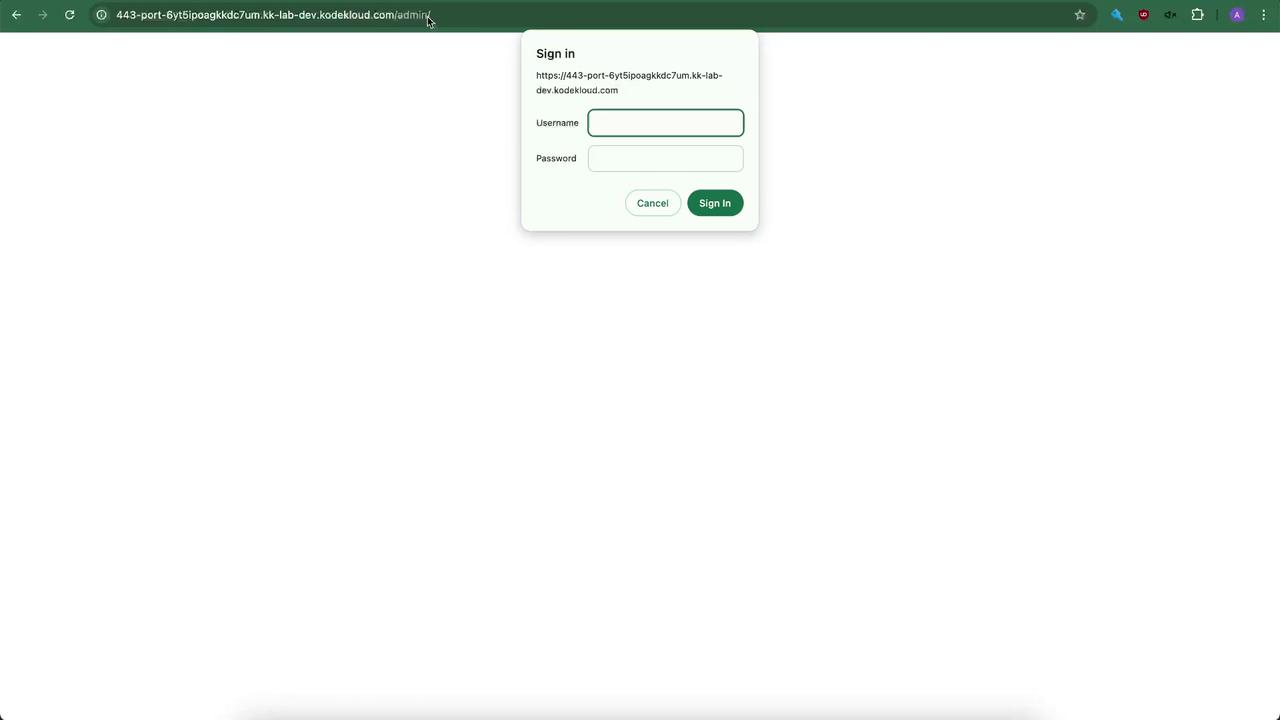
admin and your password to access the admin area.

5. (Optional) Password-Protect the Entire Site

If you want every page to require authentication, move the auth_basic directives into the / block:

server {
    listen 443 ssl;
    server_name example.com;

    ssl_certificate     /etc/ssl/certs/example.com.pem;
    ssl_certificate_key /etc/ssl/certs/example.com-key.pem;
    root                /var/www/html;

    # Security headers
    add_header Strict-Transport-Security "max-age=31536000; includeSubDomains; preload";
    add_header X-Frame-Options "SAMEORIGIN";
    add_header Content-Security-Policy "default-src 'self'";
    add_header Referrer-Policy origin;

    index index.html index.htm index.nginx-debian.html;

    location / {
        auth_basic           "Restricted Access";
        auth_basic_user_file /etc/nginx/conf.d/.htpasswd;
        try_files $uri $uri/ =404;
    }
}

Reload Nginx:

sudo nginx -t
sudo nginx -s reload

Every request to https://example.com will now prompt for the Basic Auth credentials. Test it in an incognito/private window.

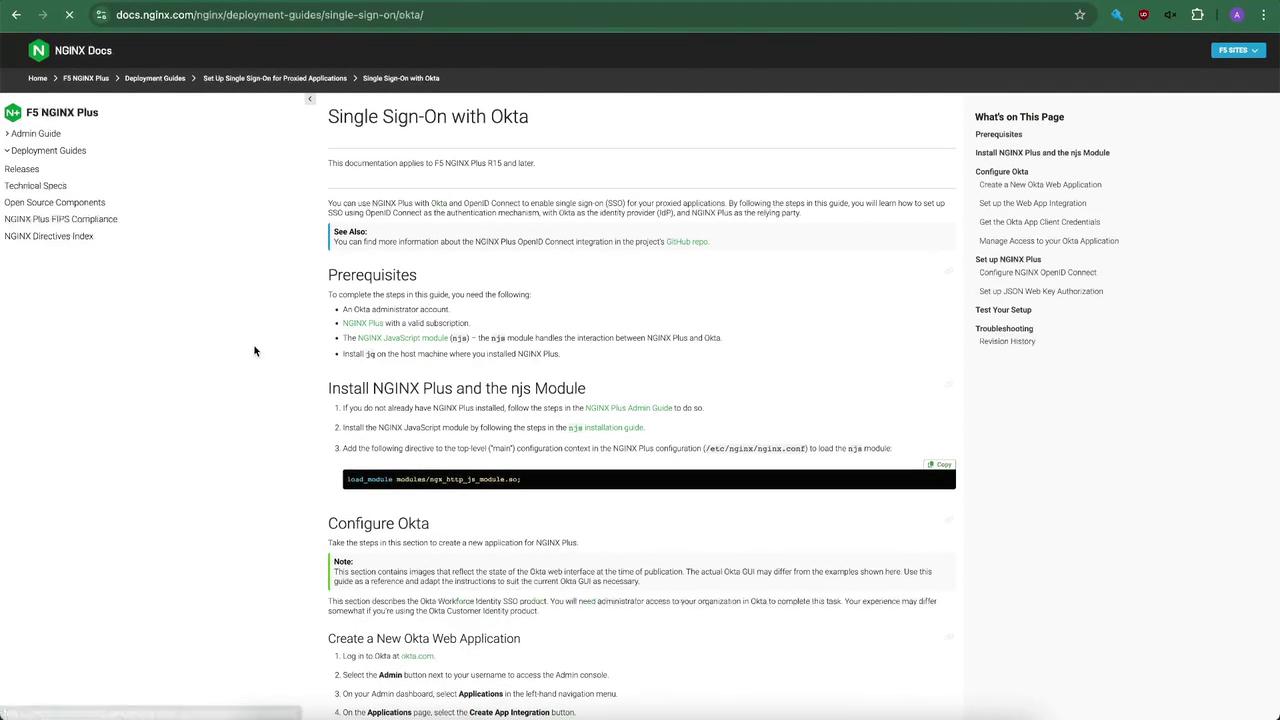
6. Beyond Basic Auth

For scalable, production-grade authentication, consider integrating with identity providers and single sign-on solutions:

ResourceUse CaseLink
OAuth 2.0 / OpenID ConnectToken-based authentication flowshttps://oauth.net/ / https://openid.net/connect/
Okta SSO (Nginx Plus)Enterprise SSO integrationhttps://www.okta.com/
Active DirectoryWindows AD integrationhttps://docs.microsoft.com/windows-server/identity/active-directory

The image shows a webpage from NGINX Docs detailing a guide on setting up Single Sign-On with Okta for NGINX Plus. It includes sections on prerequisites, installation, and configuration steps.

Installing the JavaScript module

Required by some advanced Nginx+ auth integrations:

OSCommand
Debian/Ubuntusudo apt install nginx-plus-module-js
RHEL/CentOSsudo yum install nginx-plus-module-js

And load it in your main nginx.conf:

load_module modules/ngx_http_js_module.so;

By following these steps, you’ve added HTTP Basic Authentication to your Nginx server and explored more robust alternatives for production. For further reading, see the official Nginx documentation and KodeKloud labs.

Watch Video

Watch video content

Practice Lab

Practice lab

Previous
Basic Authentication