Pipeline Overview
| Stage | AWS Service | Purpose |
|---|---|---|
| Source | CodeCommit | Store application code and scripts |
| Build | CodeBuild | Install dependencies and compile assets |
| Test | CodeBuild | Run automated tests |
| Deploy | CodeDeploy | Deploy artifacts to EC2 instances |
1. Source Stage with CodeCommit
- Open the AWS CodeCommit console and create a new repository named
kodekloudcpdemo.

- Enter Repository name as
kodekloudcpdemoand click Create.

- Clone the repo locally:
- Back in the console, click Upload file to add your application files (
after_install,application_start,appspec.yml, etc.). For each file, provide an author name and email, then commit.

- After each commit, you’ll see a success notification:
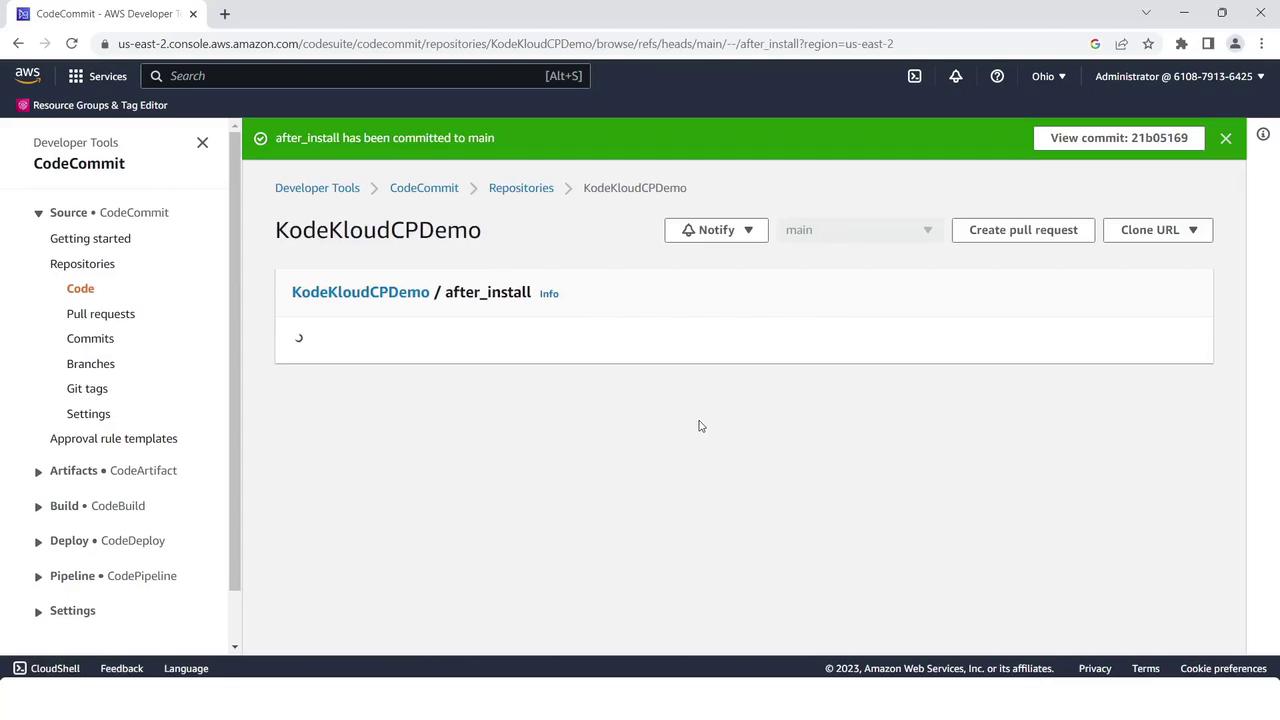
- When all nine files are uploaded, your repo should list them as shown:

2. Build Stage with CodeBuild
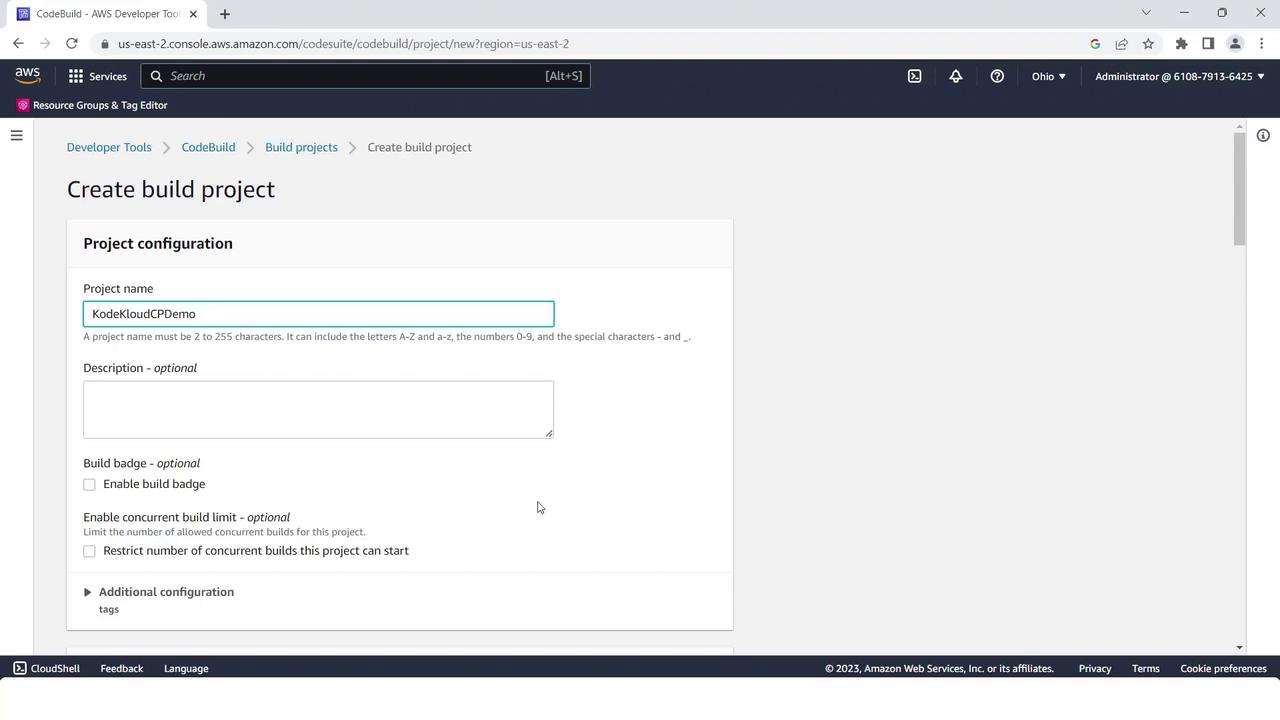
- Navigate to the AWS CodeBuild console and click Create build project.
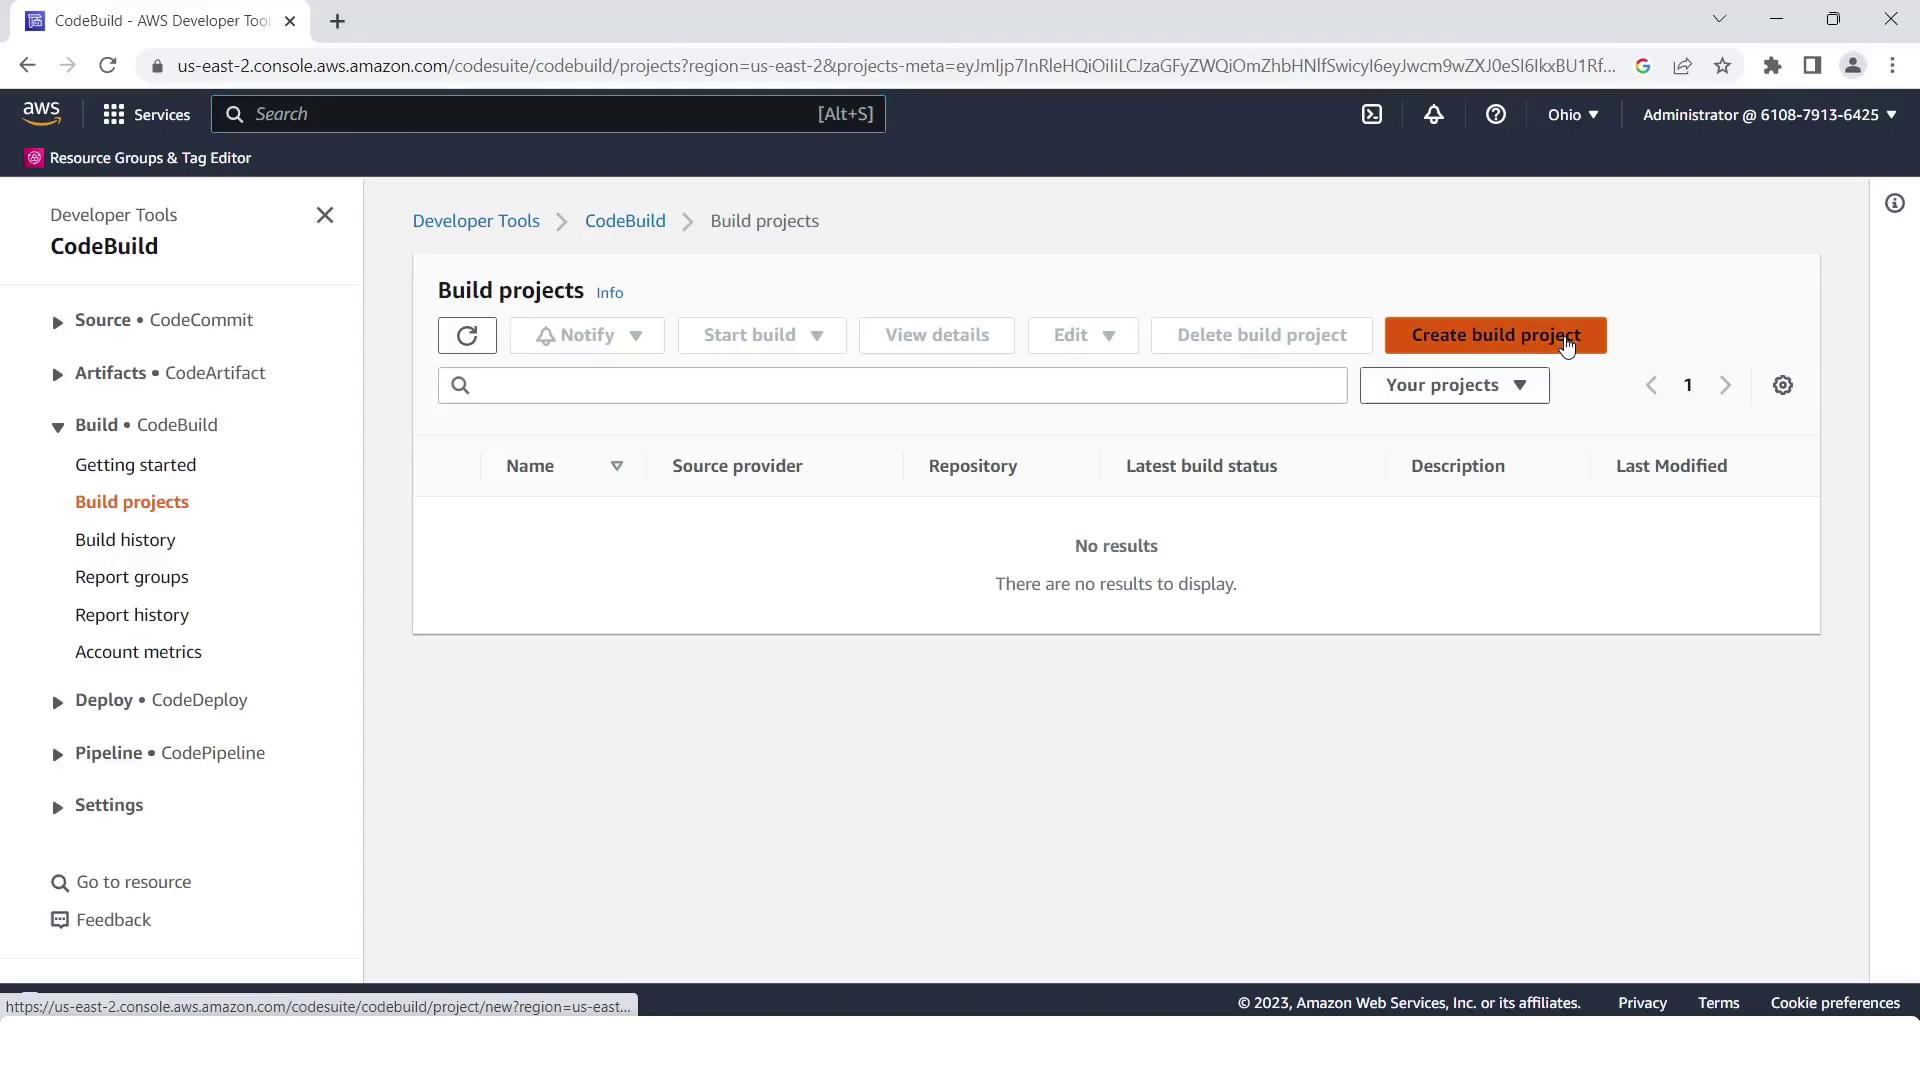
- Set Project name to
KodeKloudCPdemo.
- Under Source, select AWS CodeCommit, choose
kodekloudcpdemo, and branchmain.
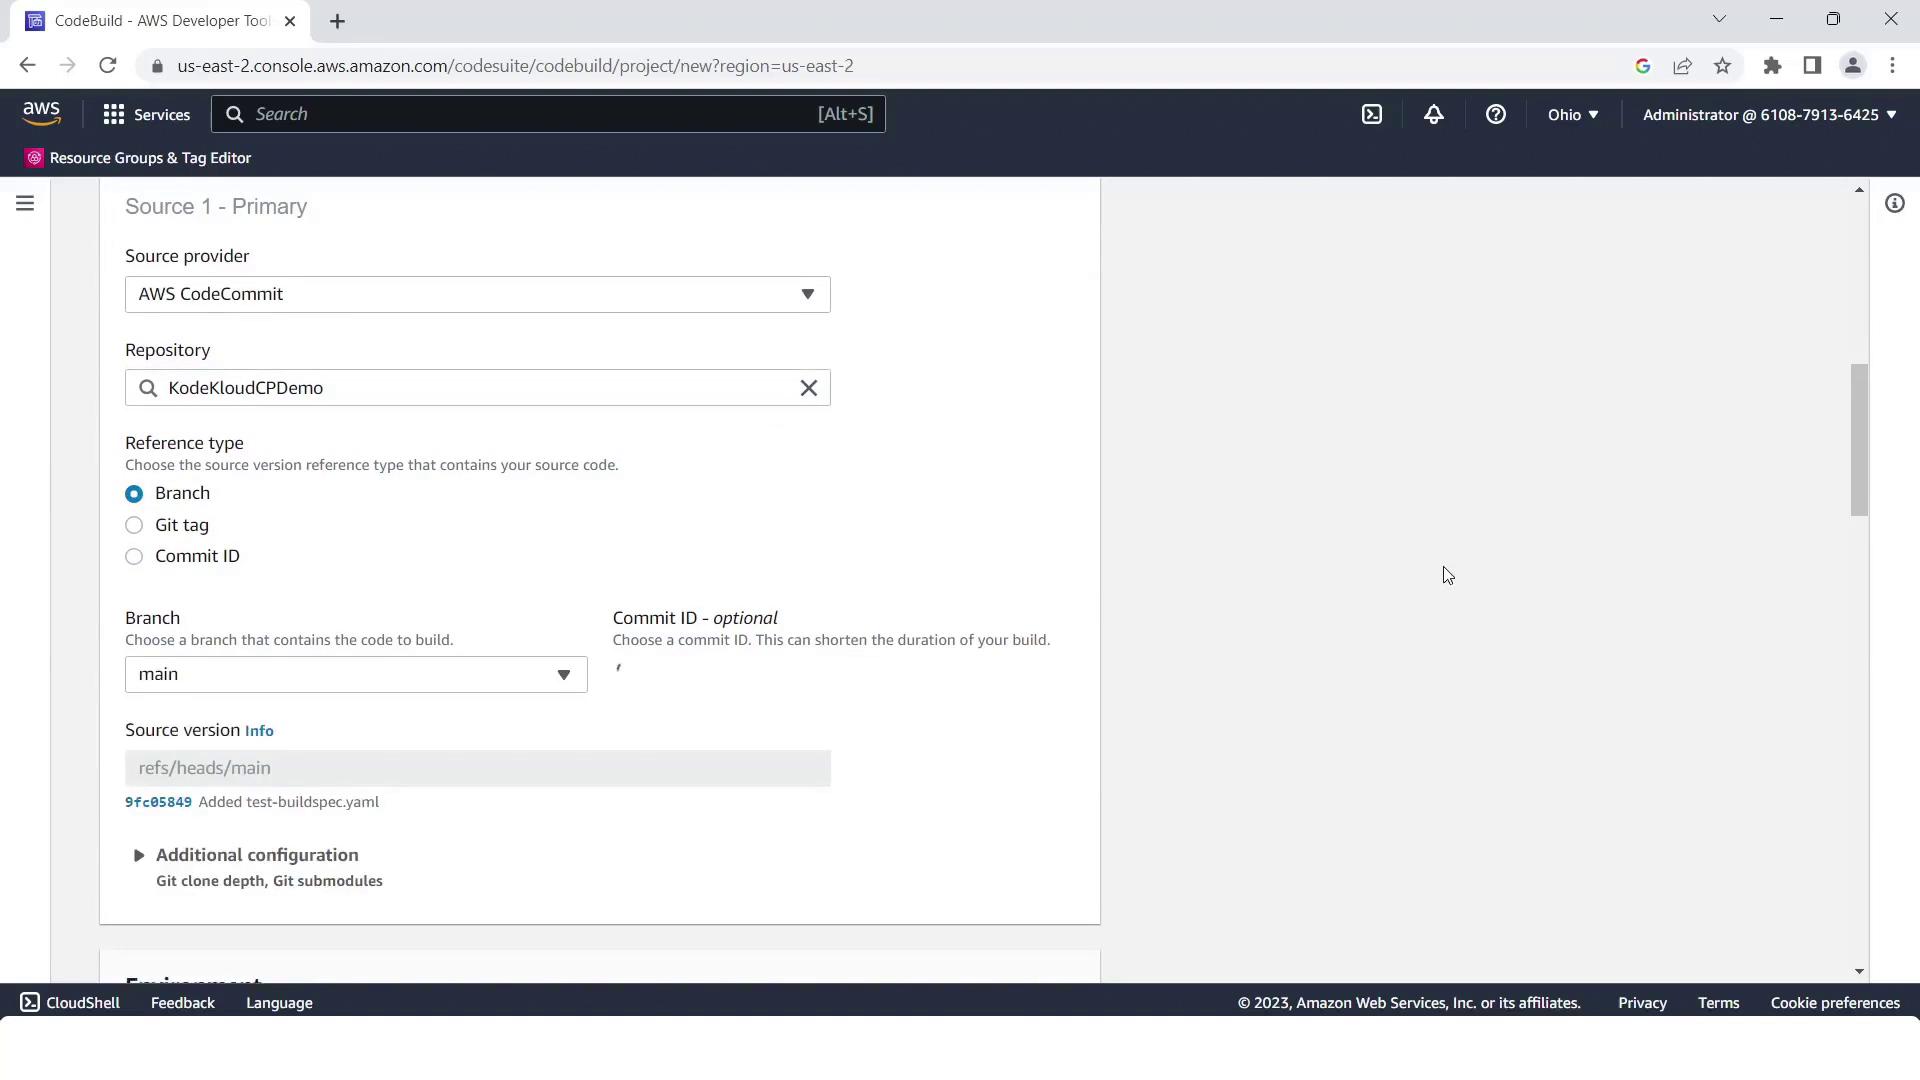
-
In Environment, pick:
- Operating system: Linux
- Runtime: Standard
- Image: aws/codebuild/standard:2.0
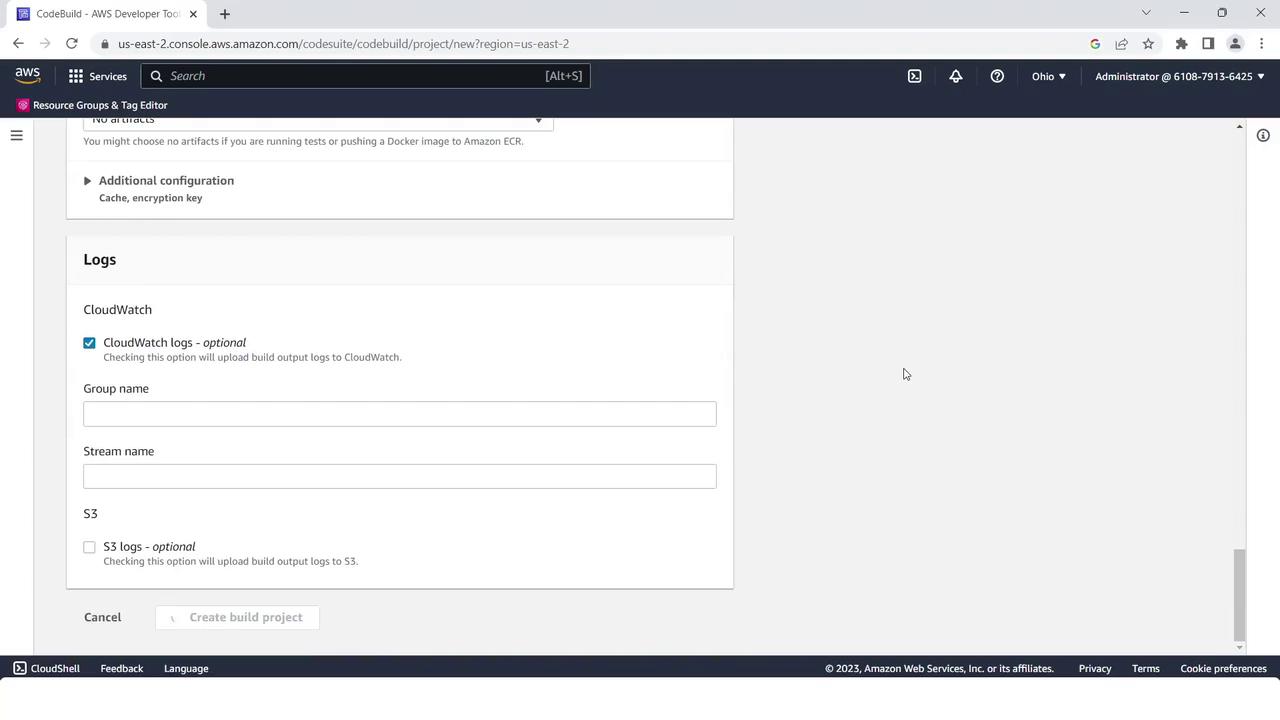
- Keep service role and log settings at their defaults, then click Create build project.
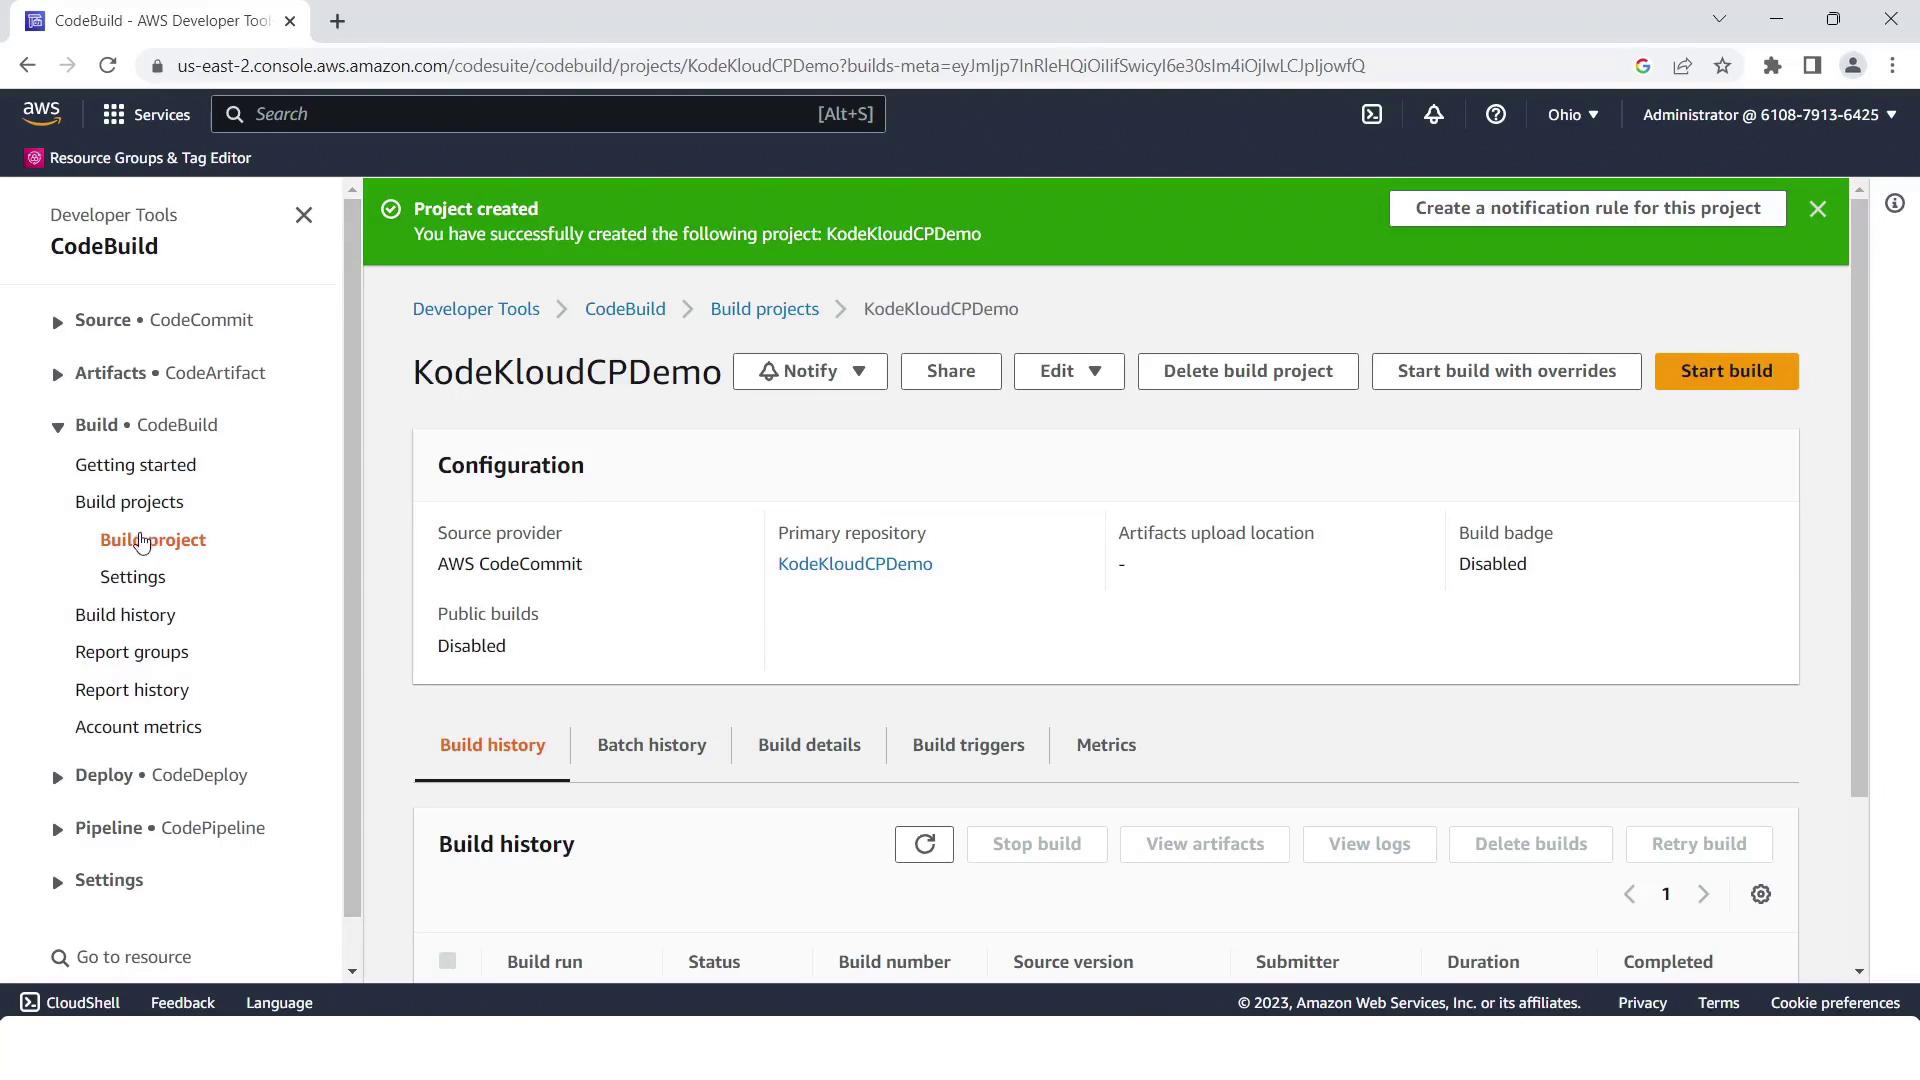
- Confirm your project is ready:
The default
buildspec.yml uses Node.js 14, but your app requires Node.js 10. Update the runtime-versions accordingly to avoid build failures.Adjusting the Buildspec
Openbuildspec.yml in your CodeCommit repo. Change Node.js version from 14 to 10:
3. Prepare EC2 Instances for CodeDeploy
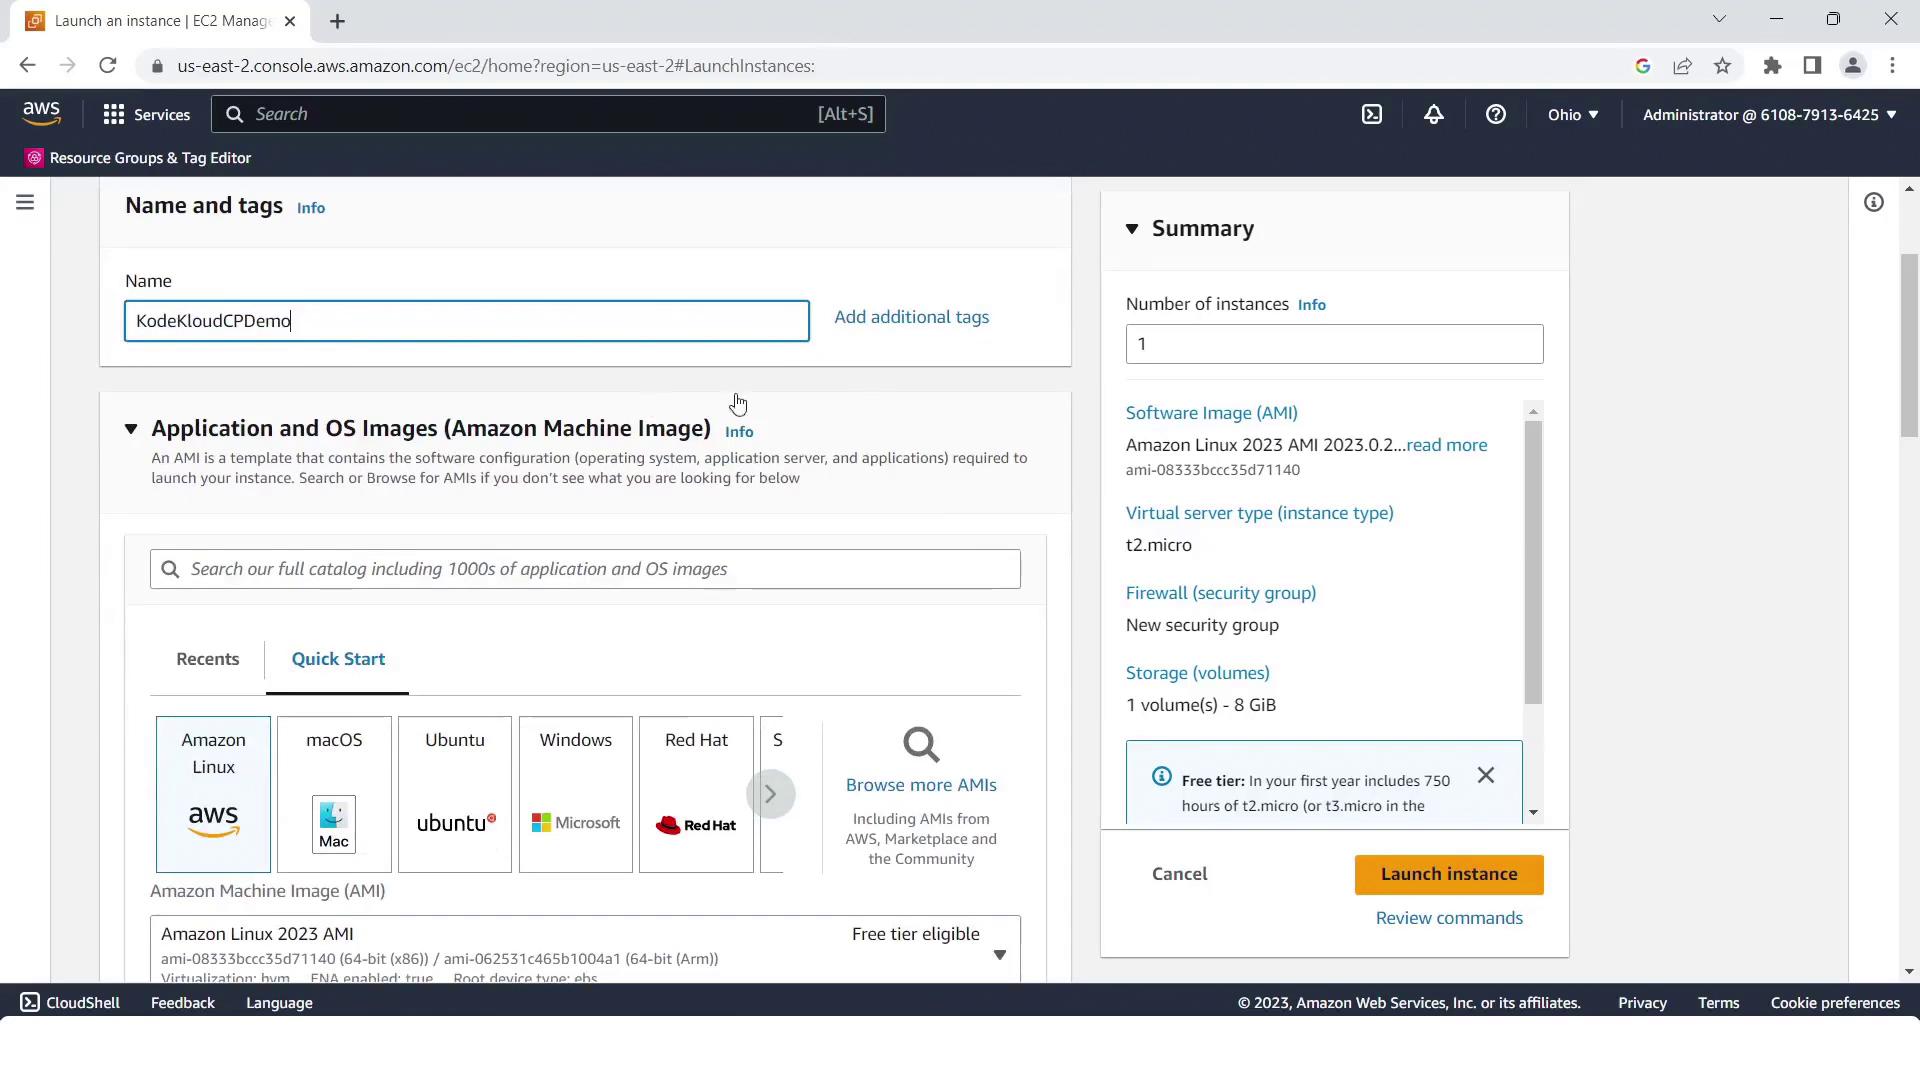
- In the EC2 console, click Launch Instance.
- Name the instance
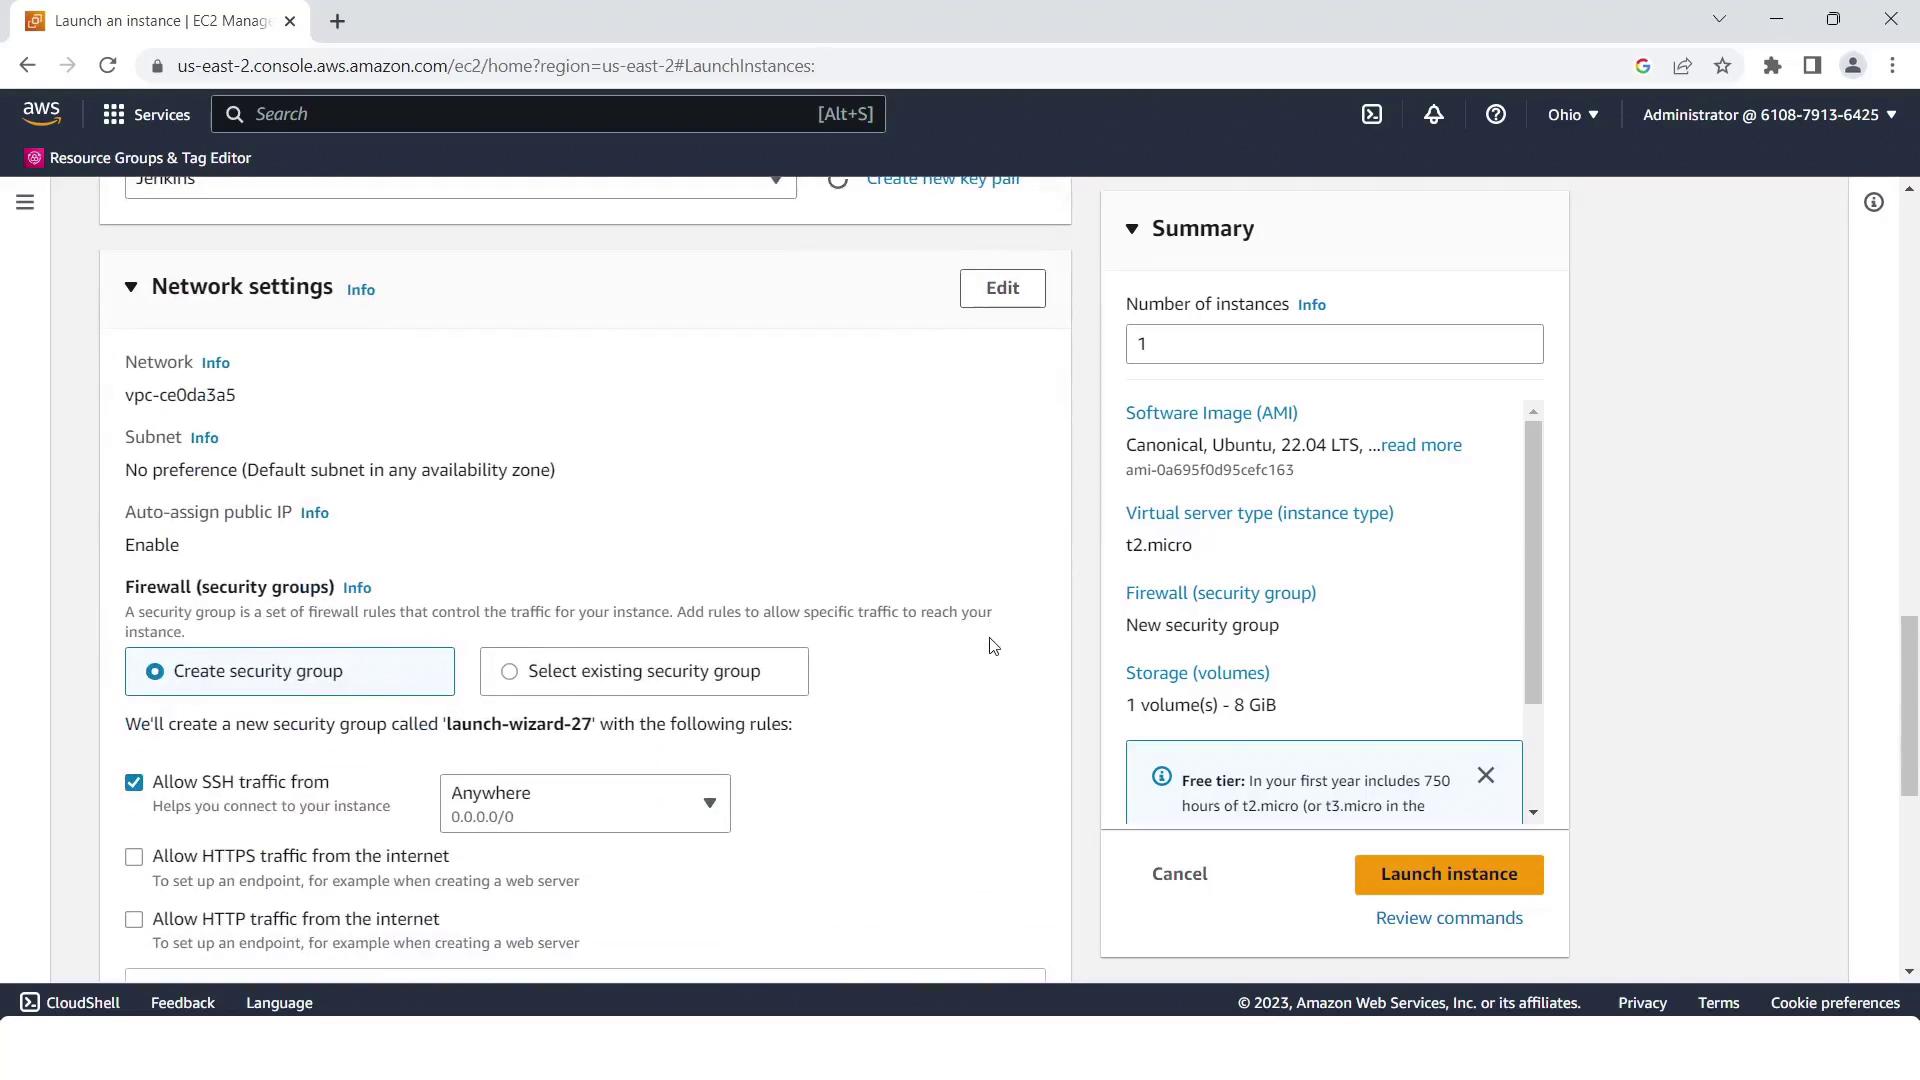
CodePipelineCPdemoand choose an Ubuntu AMI. - Select or create a key pair.
- Open HTTP (port 80) and HTTPS (port 443) in the security group.
- Enable Auto-assign Public IP.
- Under Advanced Details, attach an IAM instance profile with CodeDeploy permissions.
- Click Launch Instance.
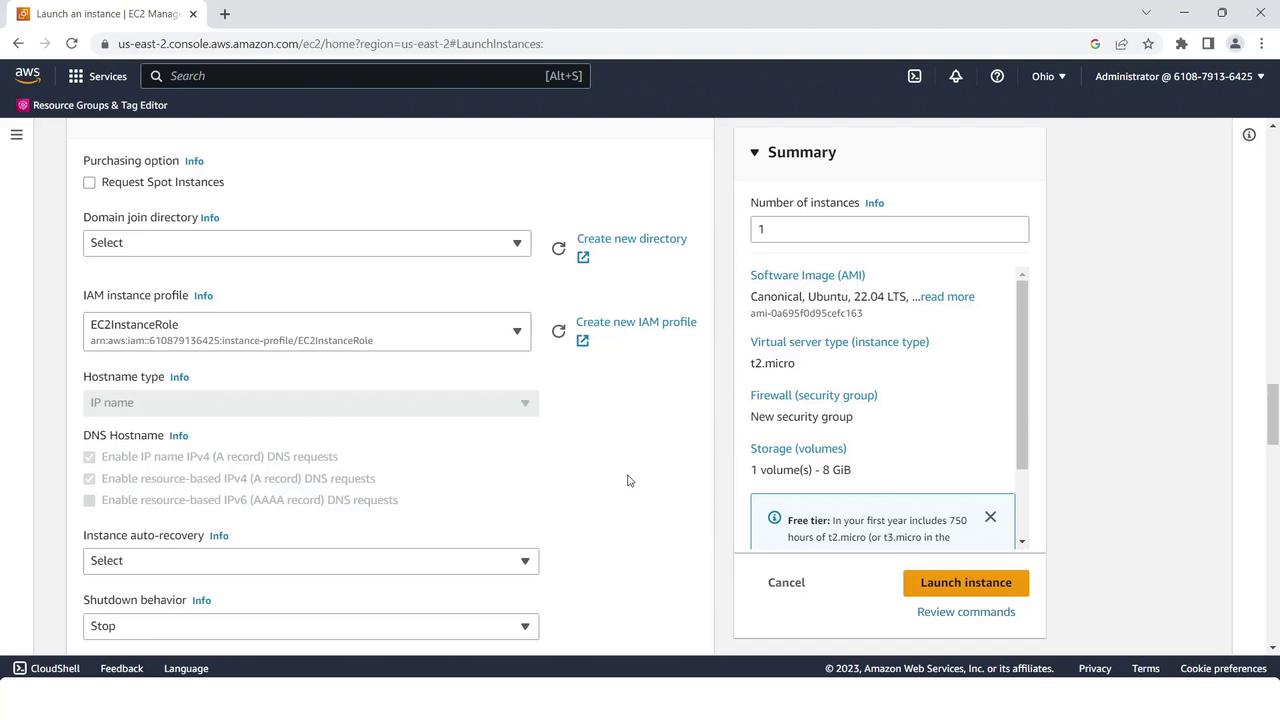
Ensure the IAM instance profile has
AmazonEC2RoleforAWSCodeDeploy permissions so the CodeDeploy agent can communicate with AWS.4. Deploy Stage with CodeDeploy
- Go to the AWS CodeDeploy console and click Create application.
- Name it
KodeKloudCPdemoand choose EC2/On-premises as the compute platform.
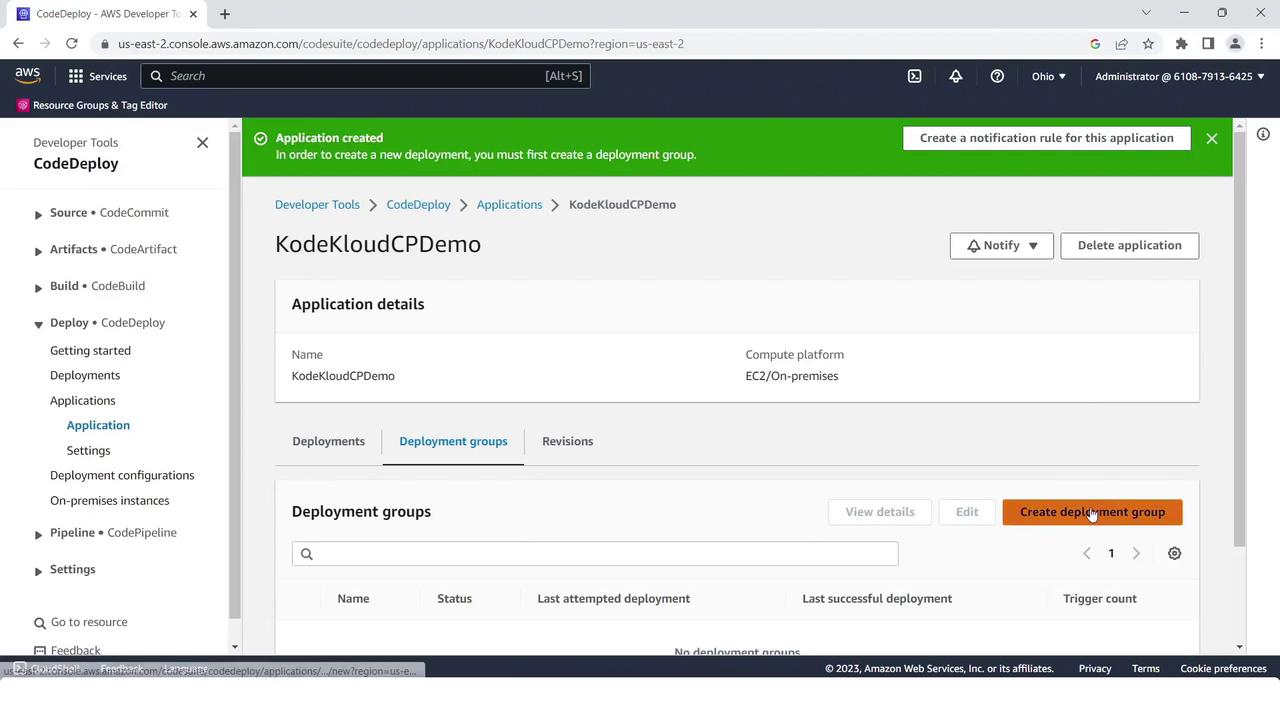
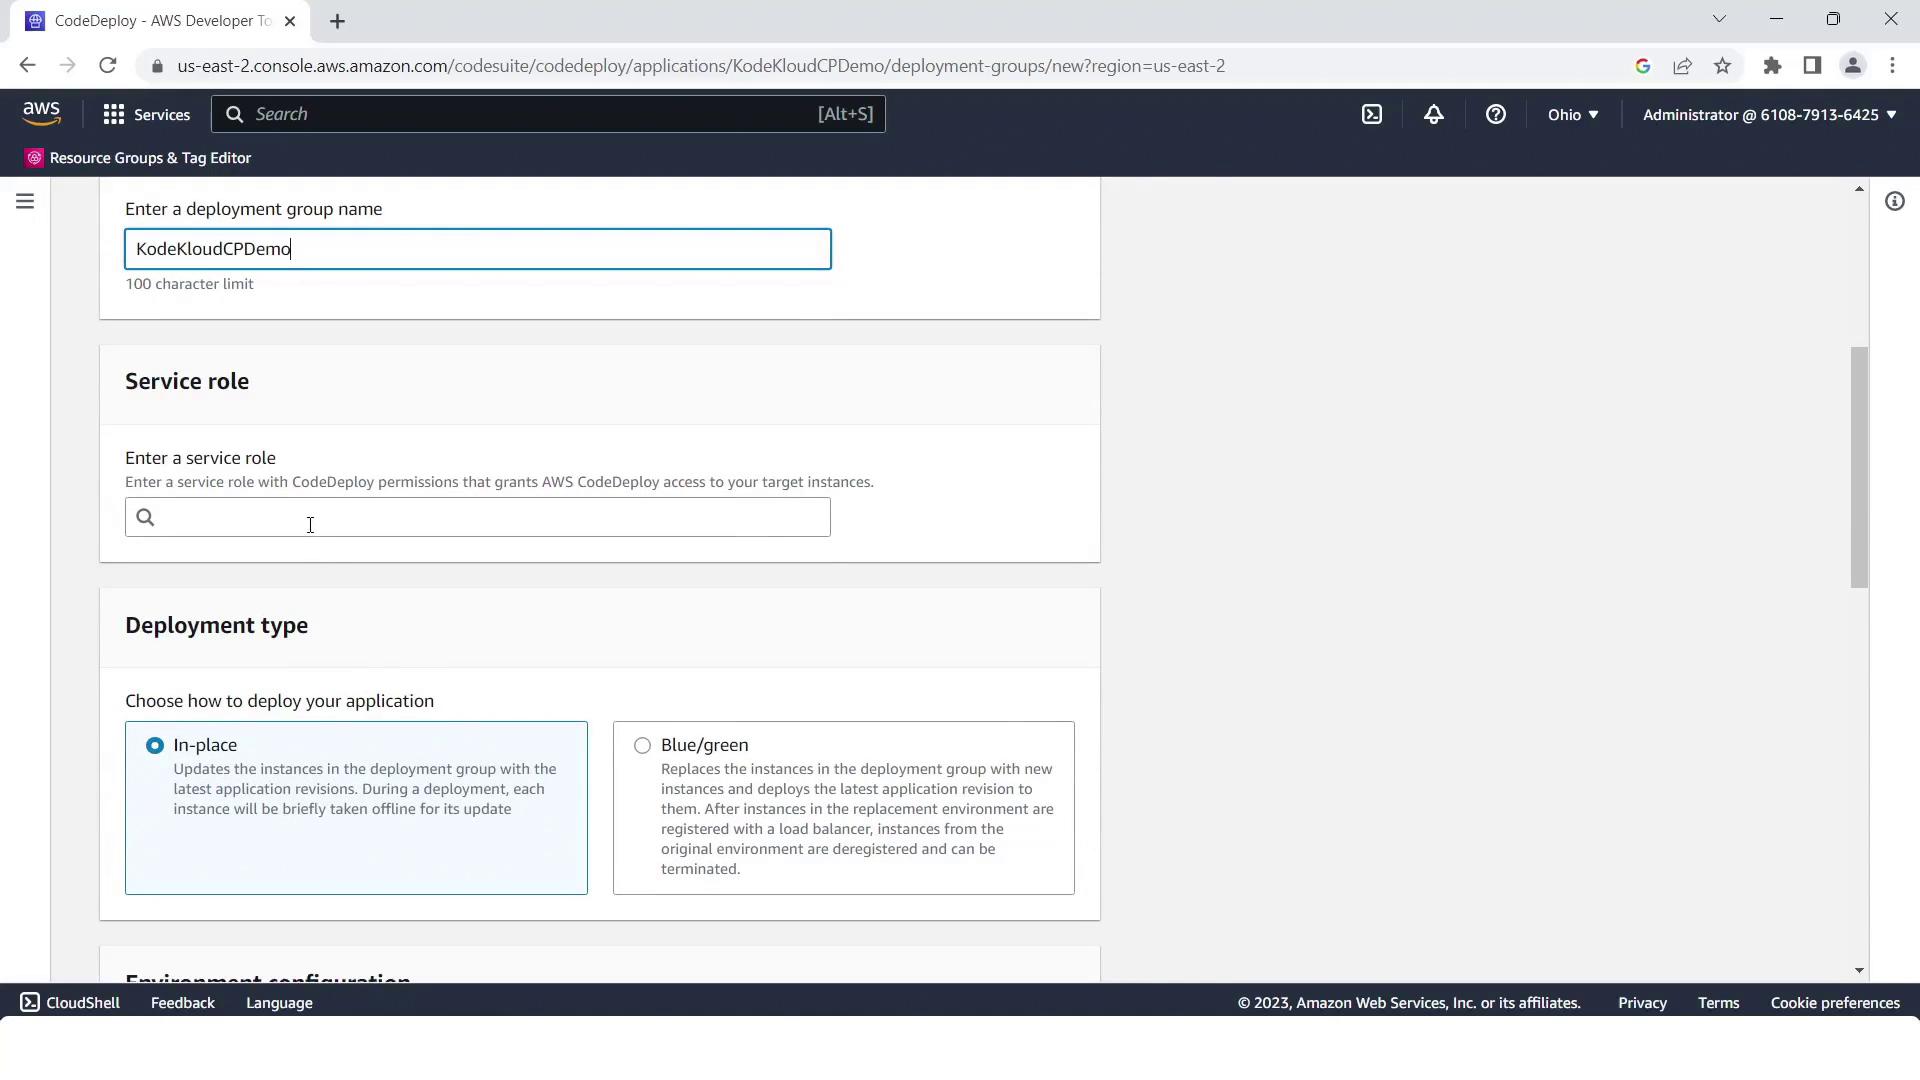
- Create a deployment group:
- Name: KodeKloudCPdemo
- Service role: CodeDeployDefault (or your custom role)
- Uncheck load balancer integration.
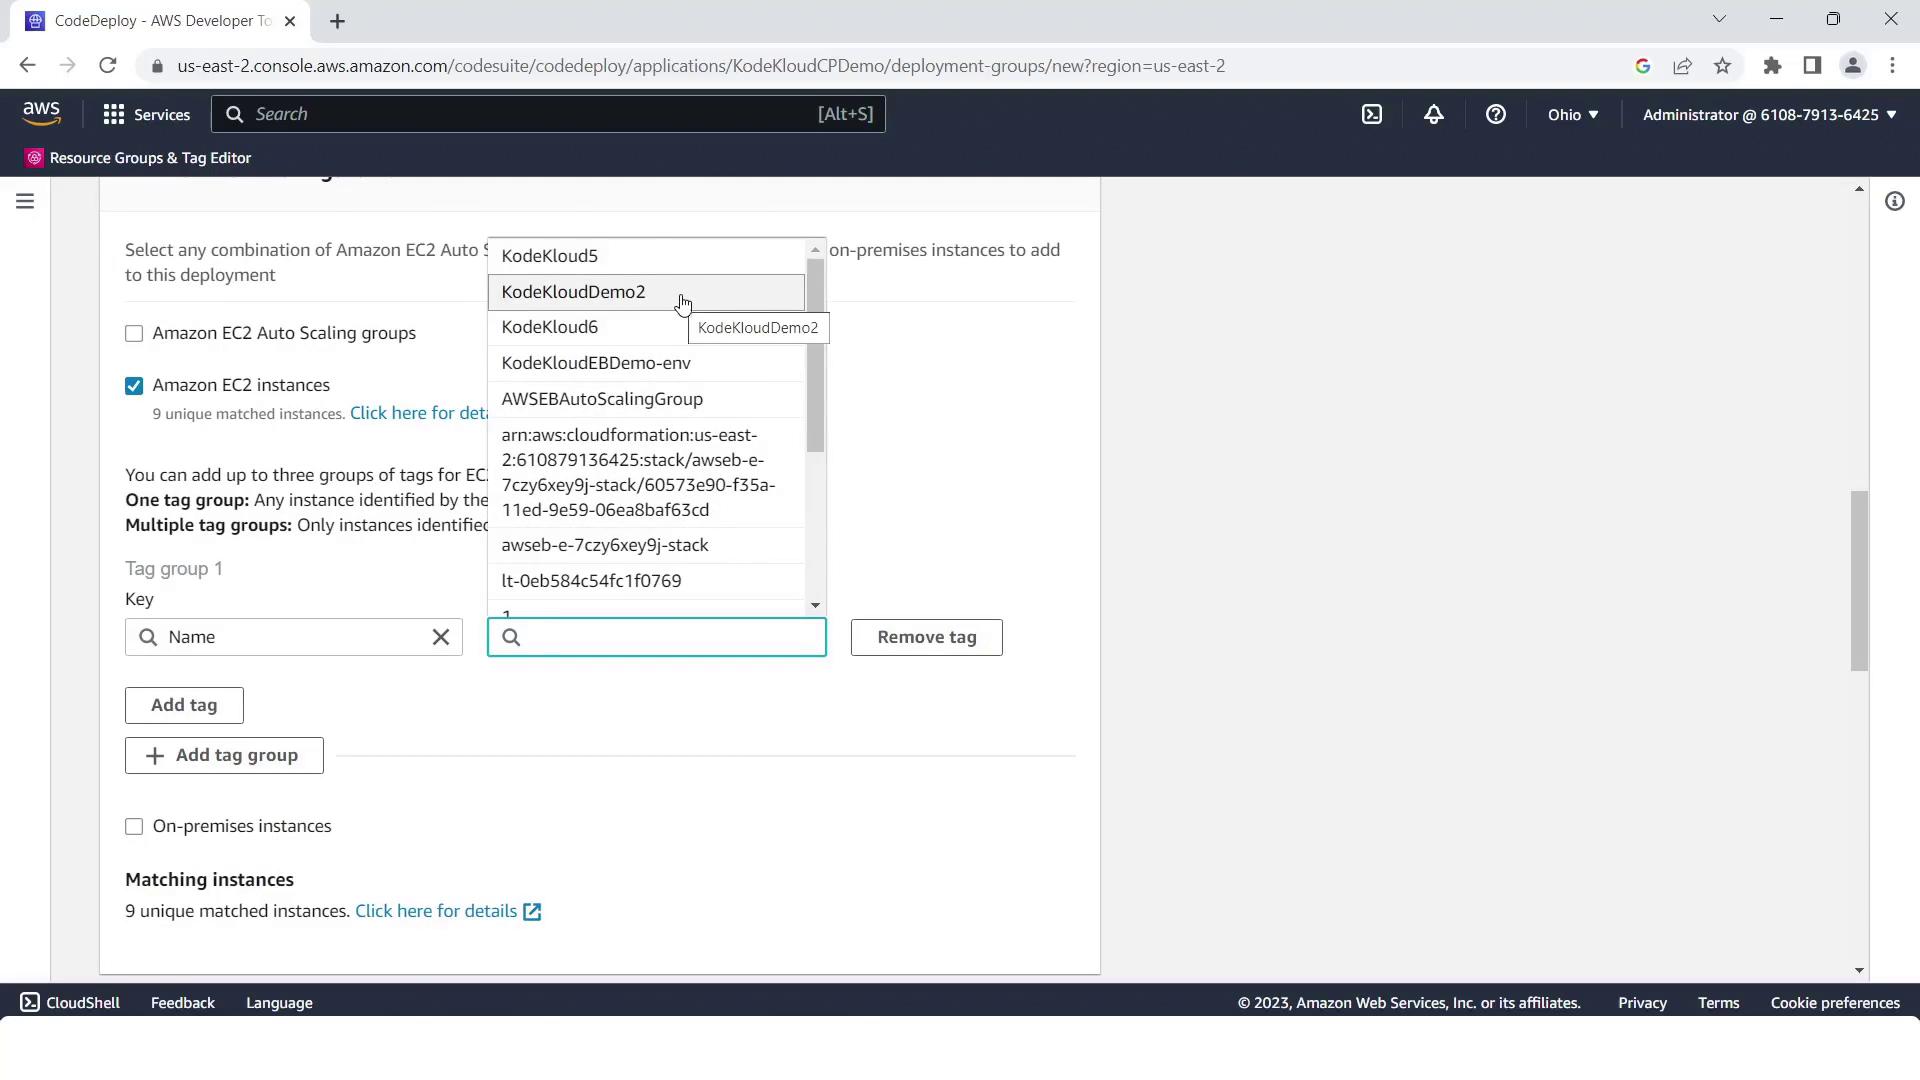
- Environment: EC2/On-premises
- Tag key/value matching your EC2 instance (
Name=CodePipelineCPdemo).
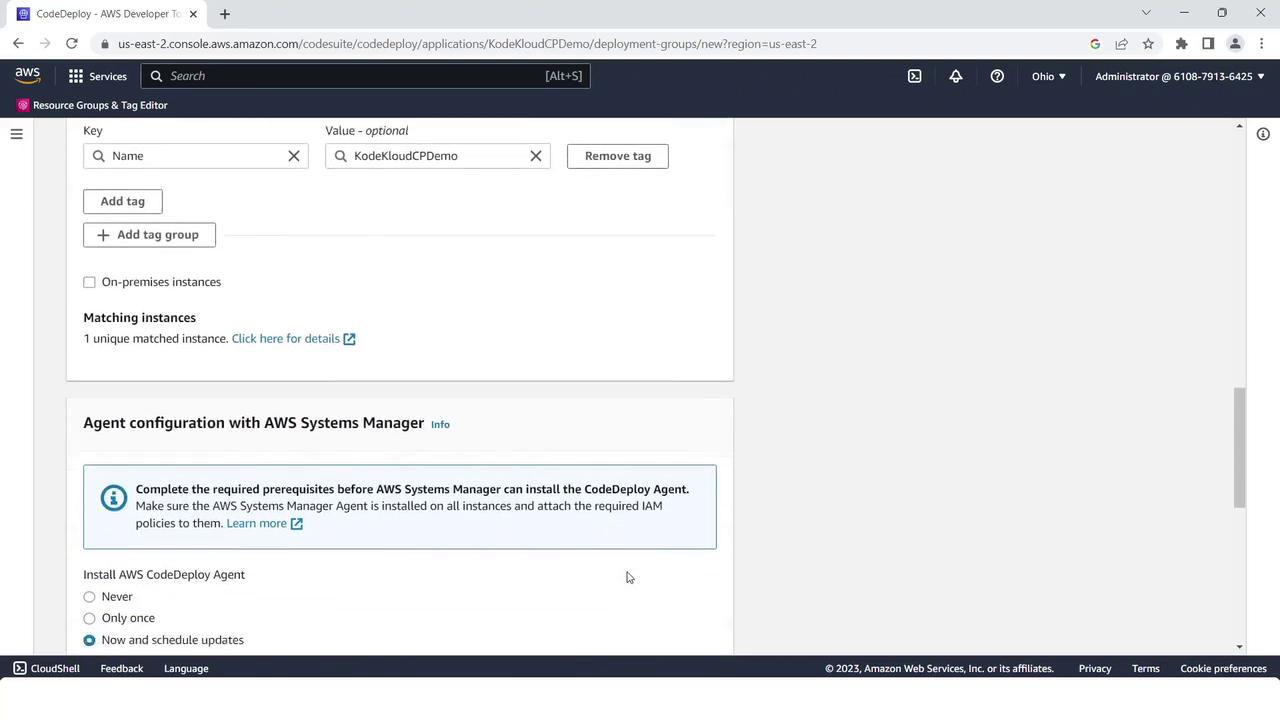
- Select the EC2 instance by tag:
- (Optional) Install or verify the CodeDeploy agent via Systems Manager, then click Create deployment group.
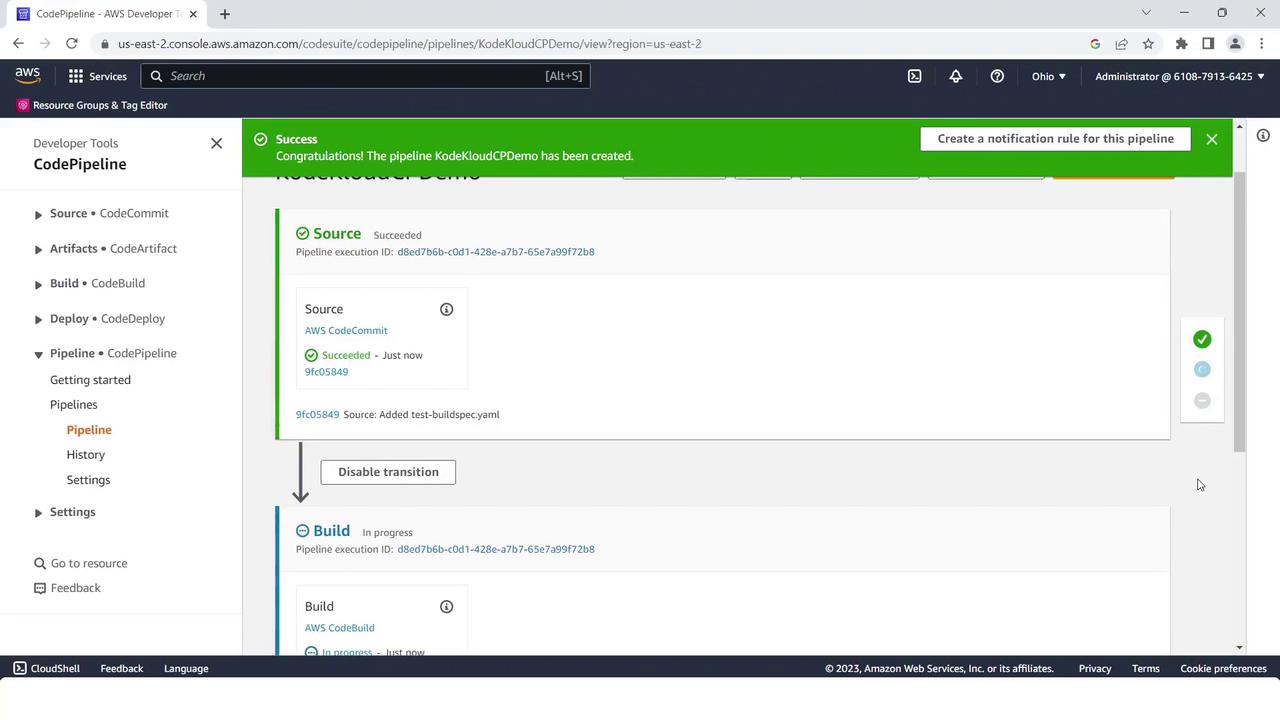
5. Create the Four-Stage Pipeline
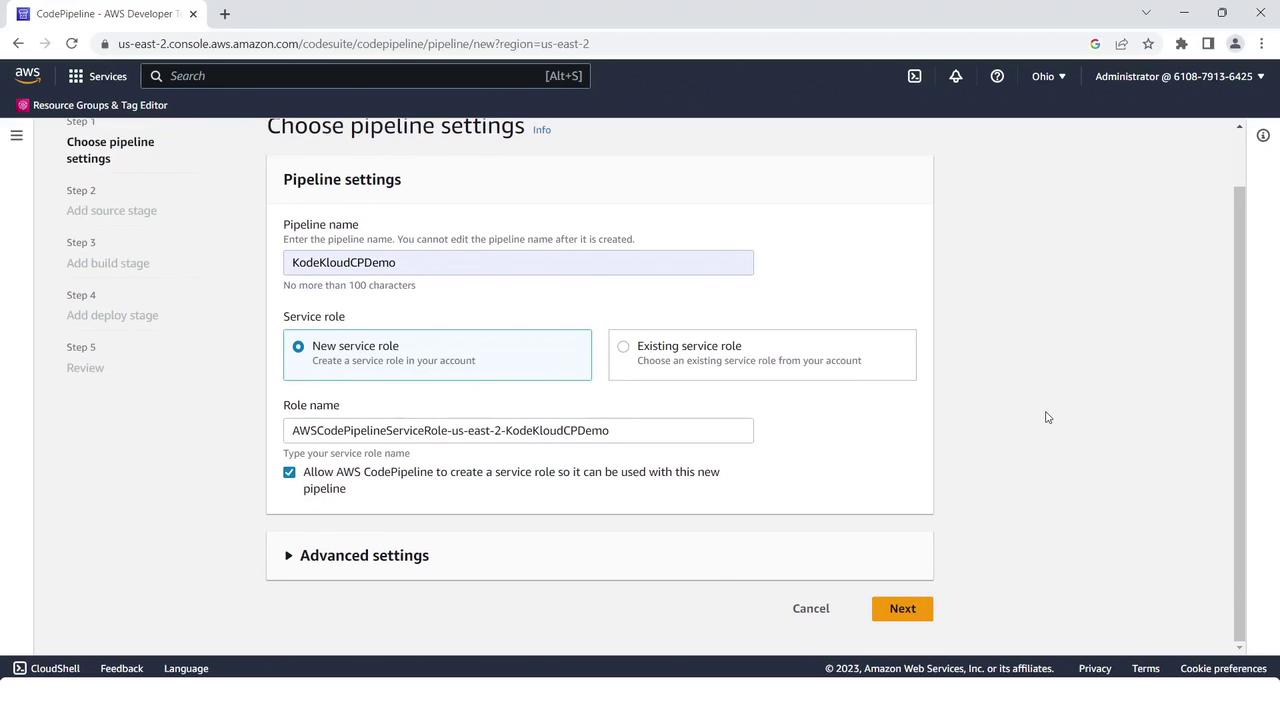
- Open the AWS CodePipeline console and click Create pipeline.
- Name it
KodeKloudCPdemoand use the default service role.
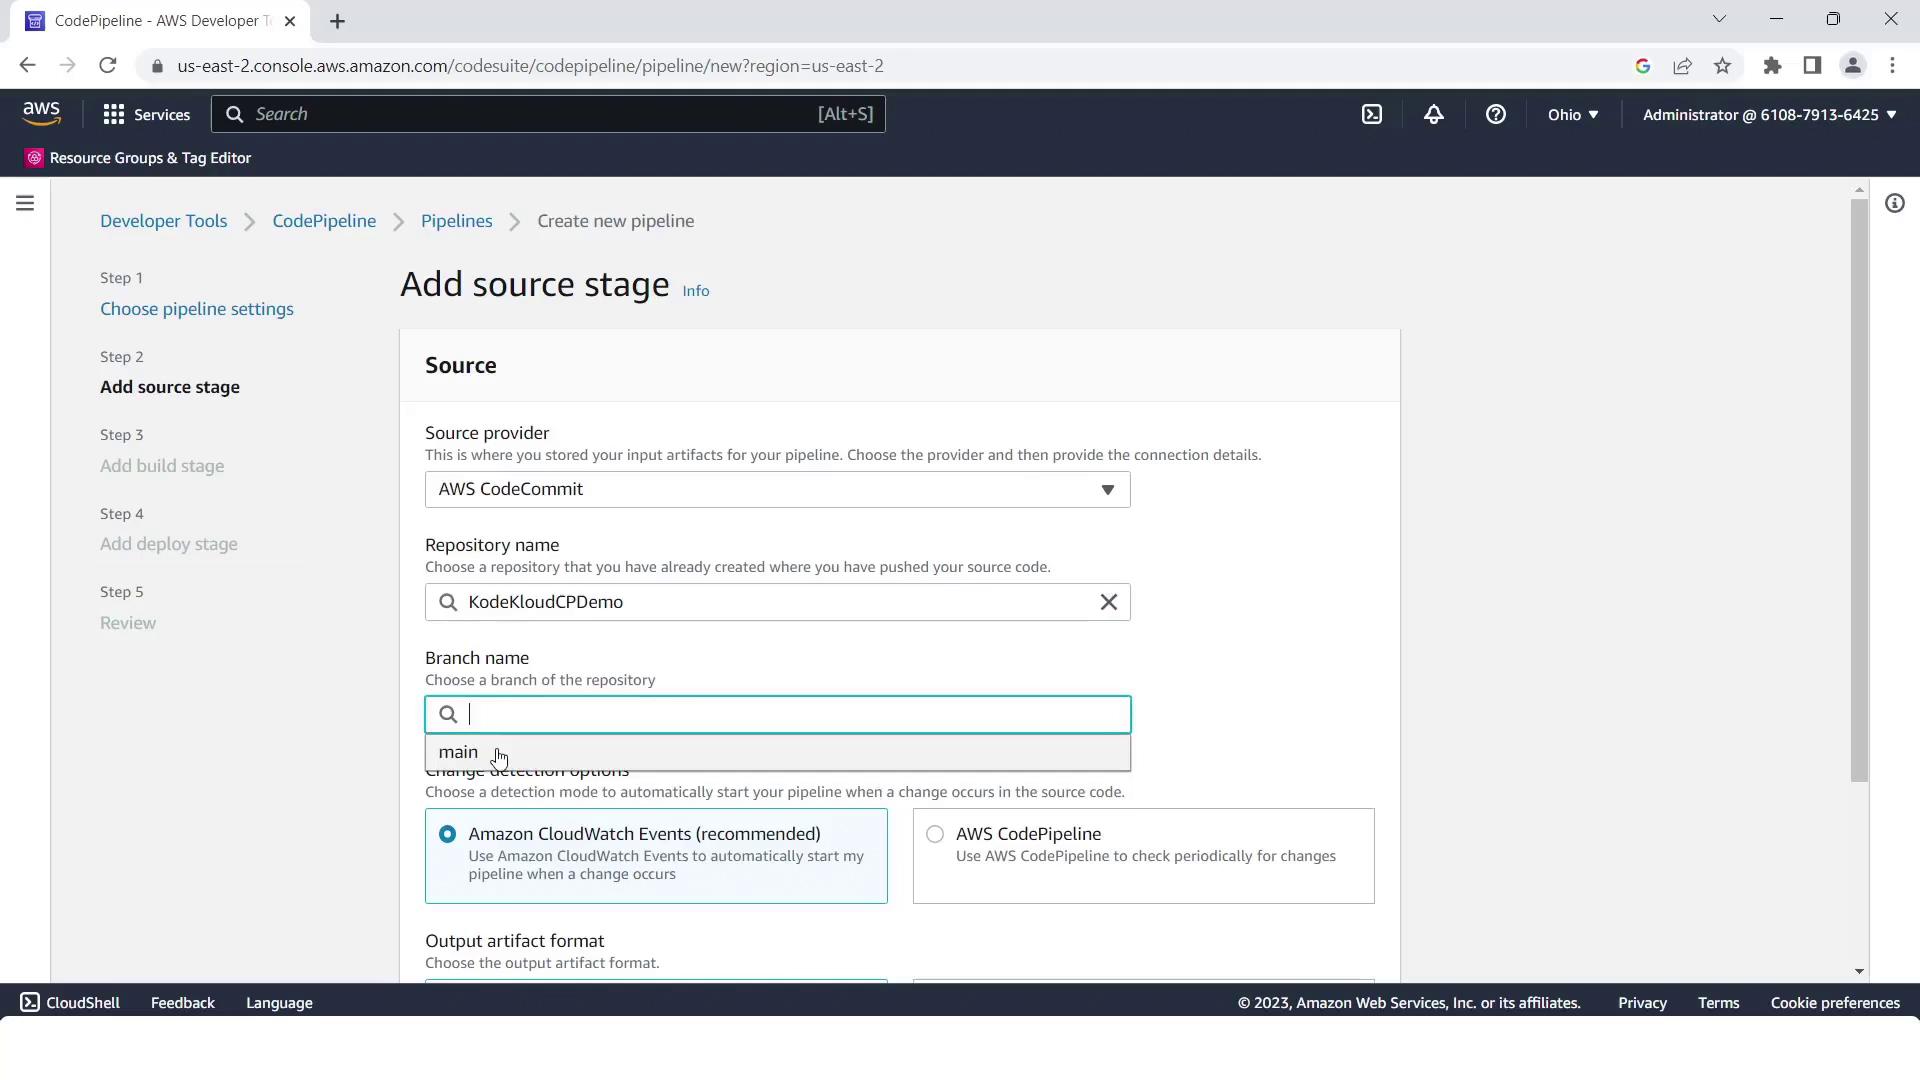
Source Stage
- Provider: AWS CodeCommit
- Repository:
kodekloudcpdemo - Branch:
main
Build Stage
- Provider: AWS CodeBuild
- Project name:
KodeKloudCPdemo

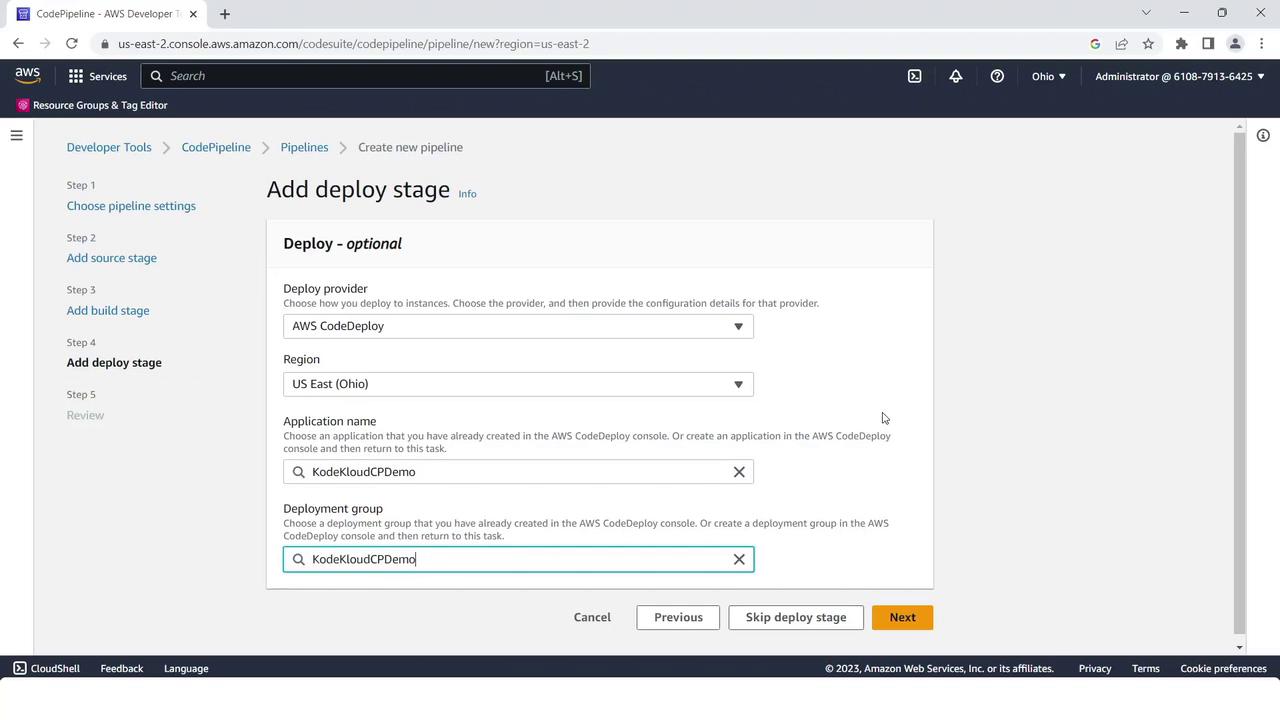
Deploy Stage
- Provider: AWS CodeDeploy
- Region: your AWS Region
- Application:
KodeKloudCPdemo - Deployment group:
KodeKloudCPdemo
6. Adding the Test Stage
Once the initial pipeline run succeeds, insert a Test stage between Build and Deploy:- Click Edit in the pipeline view.
- Under the Build stage, click Add stage, name it Test, then Add stage.
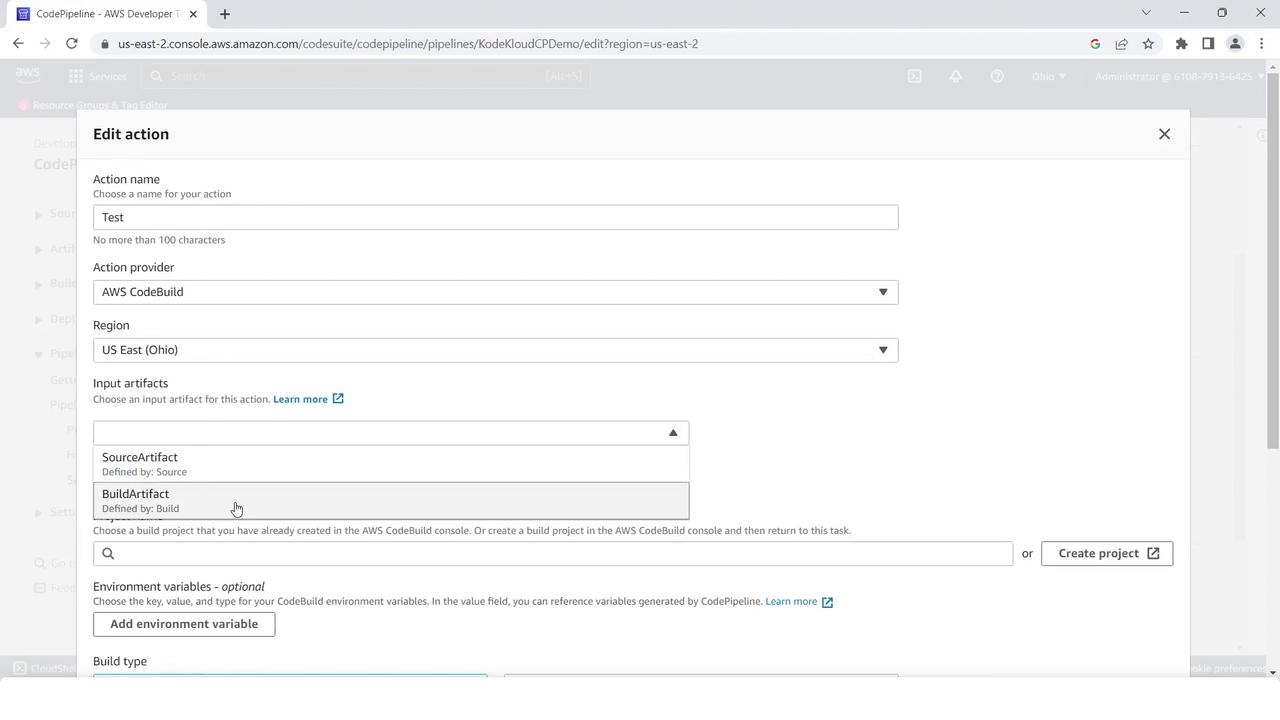
- Inside Test, click Add action group and configure:
- Action name:
TestAction - Provider: AWS CodeBuild
- Input artifact:
BuildArtifact - Project name:
KodeKloudCPdemo
- Action name:
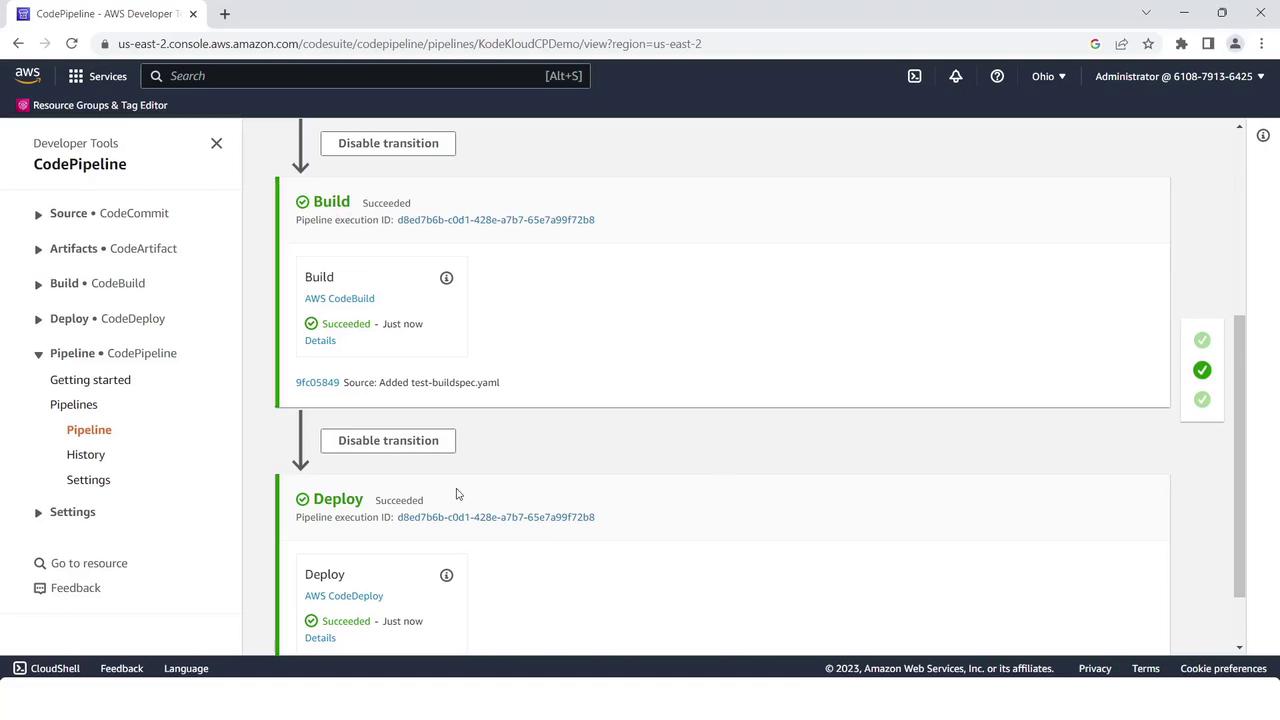
- Save changes and click Release change. The pipeline will now run all four stages in sequence, ending with a green success status across Source, Build, Test, and Deploy.
Summary
You have successfully built an automated four-stage CI/CD pipeline on AWS:- Source: CodeCommit
- Build: CodeBuild
- Test: CodeBuild
- Deploy: CodeDeploy
Links and References
- AWS CodePipeline Documentation
- AWS CodeCommit Documentation
- AWS CodeBuild Documentation
- AWS CodeDeploy Documentation
- EC2 Instance Connect