Step 1: Install Kiali and Add-ons
To begin, apply the configuration files from the samples folder to install Kiali with all available add-ons. Run the following command:The add-ons, such as Grafana and Jaeger, are intended for demonstration purposes only. They are not tuned for production performance or security.
Step 2: Review the Installation Output
Once you execute the command, you’ll see a detailed output showing the creation of various components. Here is an example of the installation output:Step 3: Verify the Kiali Deployment
After installation, it’s important to confirm that the Kiali deployment has rolled out successfully. Use your deployment file to verify the status with the following command:Step 4: Confirm Service Status
To ensure the Kiali service is active and running, check the service status in the Istio system namespace using the command below:Step 5: Launch the Kiali Dashboard
Once the installation and verification steps are complete, start the Kiali dashboard. Executing the launch command will automatically open your web browser to the dashboard’s overview page. You should notice the following elements:- The address bar indicates that the dashboard is served on port 20001.
- The left menu provides several options for visualizing your service mesh.
- A filter option in the top left lets you adjust the displayed data.
- Controls on the far right allow filtering by time intervals and adjusting the data refresh rate.
Step 6: Exploring Kiali Dashboard Features
Applications Overview
After launching the dashboard, you’ll see all the namespaces in your service mesh. Clicking the number next to the applications takes you to the applications page, which is also accessible from the left menu. In this view, you’ll find the four Bookinfo applications and have the option to switch namespaces for more details.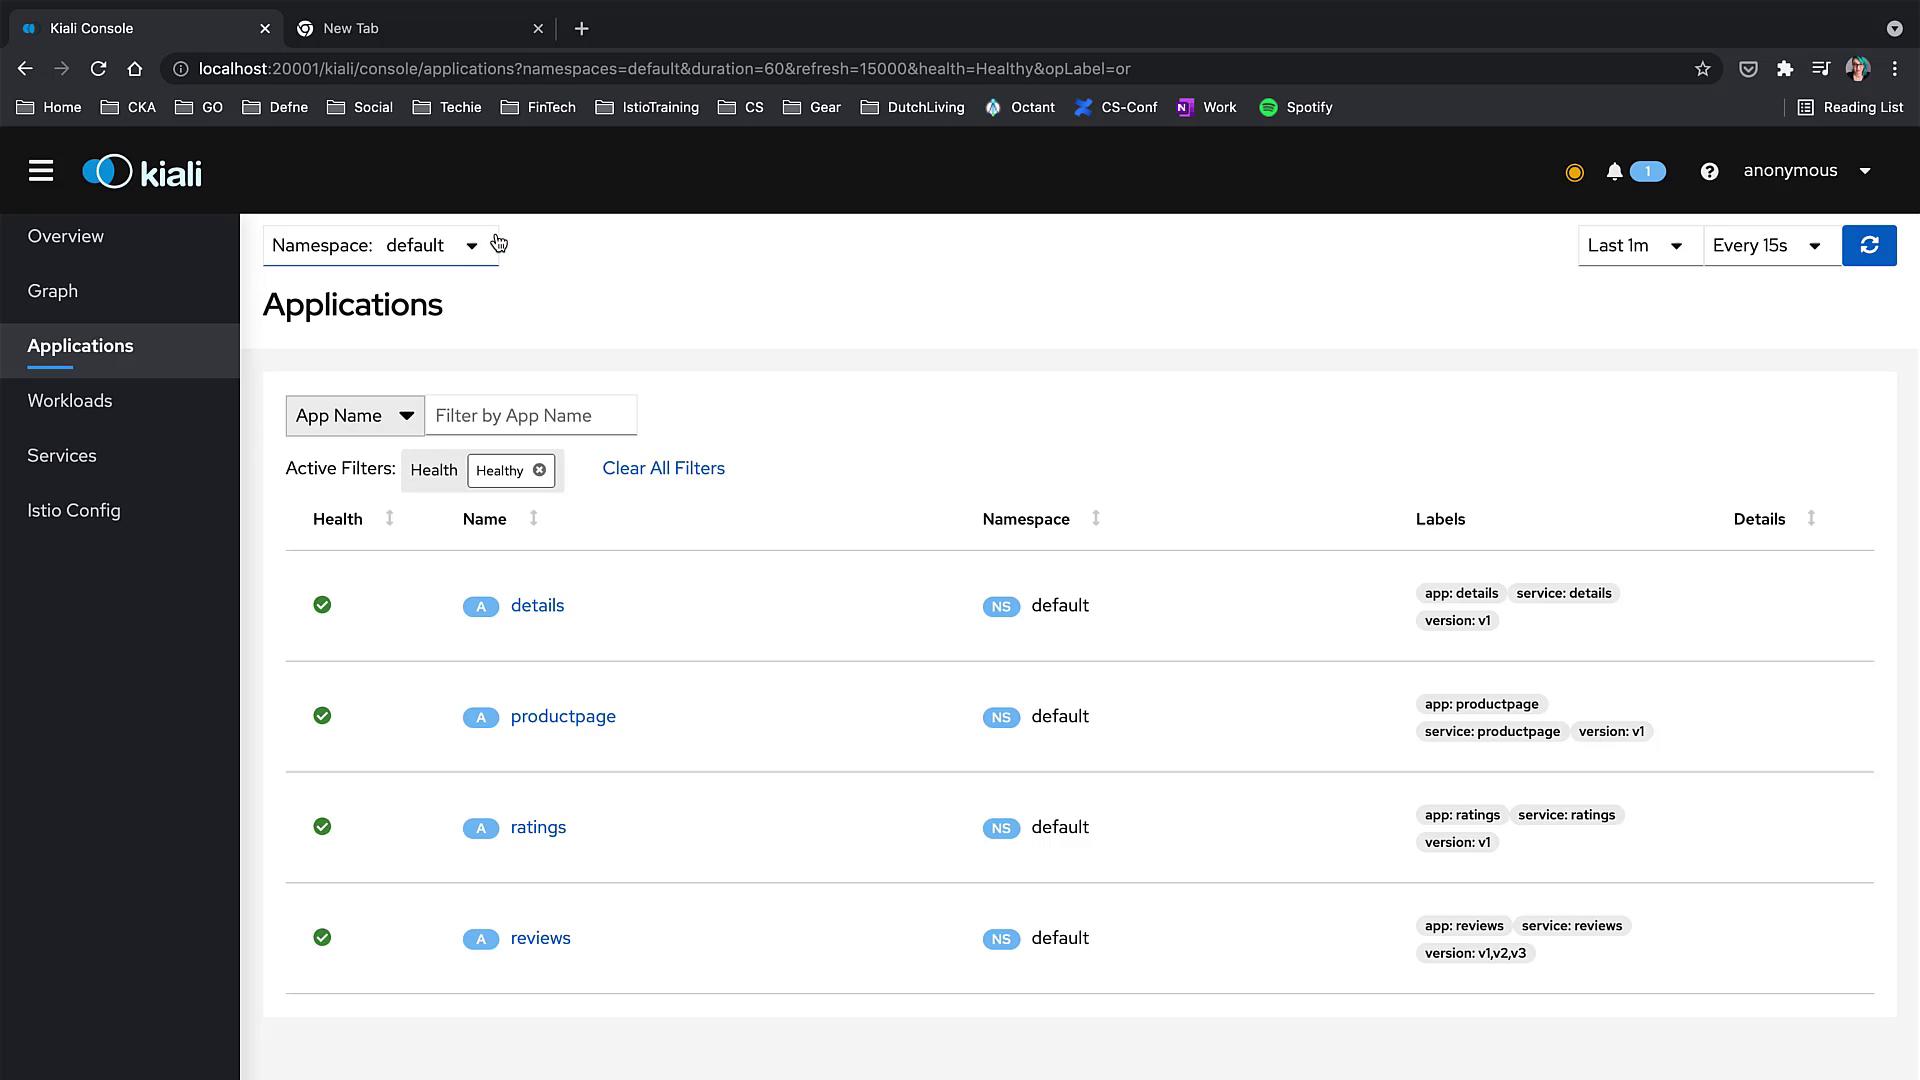
Workloads Overview
Navigate to the “Workloads” section from the menu to view all deployments listed as workloads. Each workload is displayed as healthy with labels indicating its application name and version.
Services and Istio Config
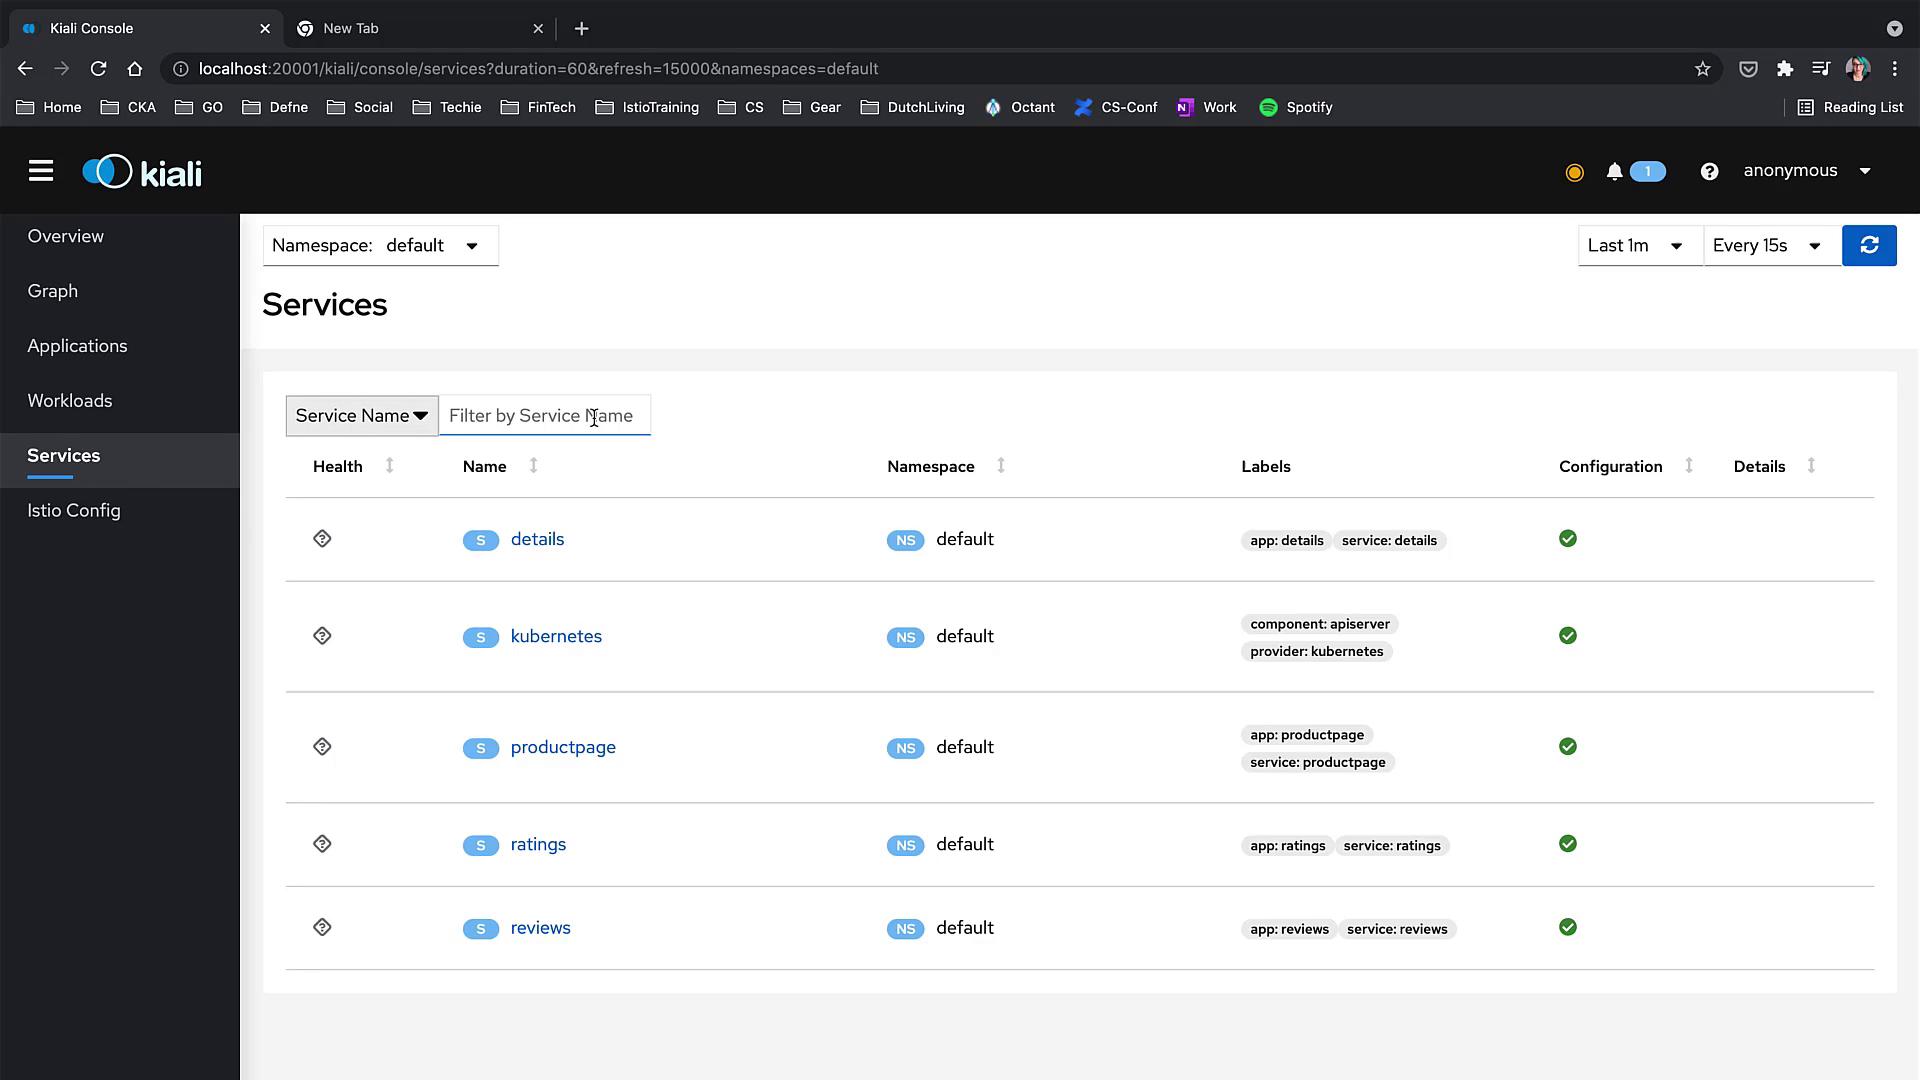
Next, check the “Services” section. Initially, no services might be displayed, which is normal as the Service Mesh applications and objects may take some time to load. After a short wait, the services will appear. When you access the “Istio Config” menu, you might notice that no configurations are shown. This indicates that there are currently no Istio configurations for the selected namespace.